|
|
Post by admin1 aka Ed on Jul 6, 2006 18:34:07 GMT -5
Please re-share the links & Pictures for resin casting parts. Thank you!  Ed |
|
|
|
Post by mayita on Jul 6, 2006 18:36:20 GMT -5
I will provide the pictures later on today , but it will be hard to explain averything again
|
|
|
|
Post by xiombarg on Jul 6, 2006 19:46:52 GMT -5
Here's a link to an awesome article on plastics over at the Zinc Panic site. The article also talks about resin and what the definition of resin is. Anyone who collects any kind of figures should find this interesting. www.zincpanic.com/article/25252.html |
|
|
|
Post by mayita on Jul 9, 2006 10:15:00 GMT -5
WELL here you have some pictures
|
|
|
|
Post by mayita on Jul 9, 2006 10:15:32 GMT -5
this is the item that will be recasted 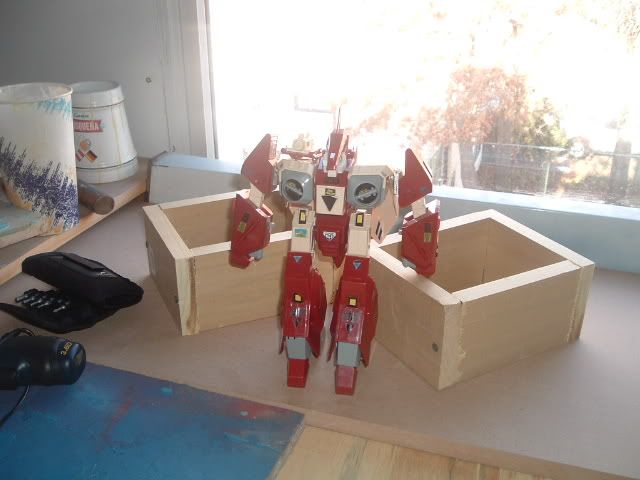 |
|
|
|
Post by mayita on Jul 9, 2006 10:16:25 GMT -5
we will start with 1 of the arms to do that we have to diasamble it 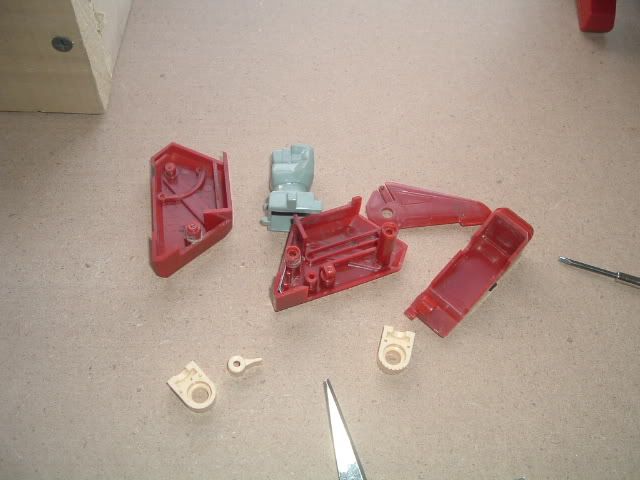 |
|
|
|
Post by mayita on Jul 9, 2006 10:18:01 GMT -5
these are some of the materials that we will need : mother molds (for bigger pieces) 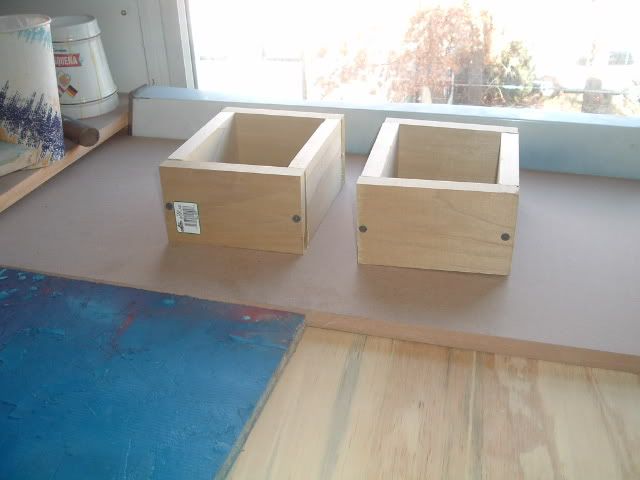 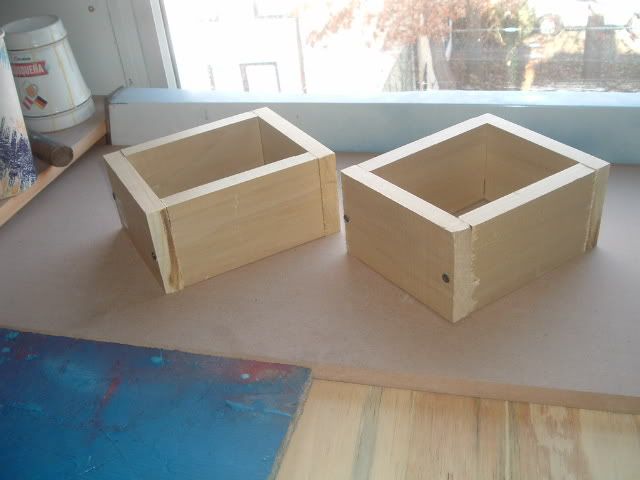 |
|
|
|
Post by mayita on Jul 9, 2006 10:18:33 GMT -5
molding clay 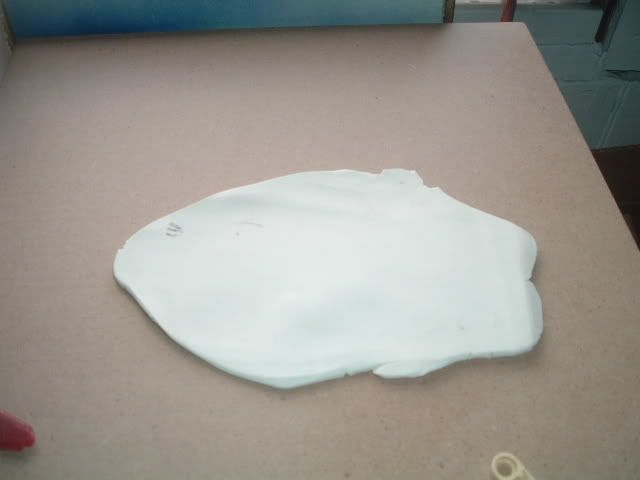 |
|
|
|
Post by mayita on Jul 9, 2006 10:19:24 GMT -5
this is the resin that we will use 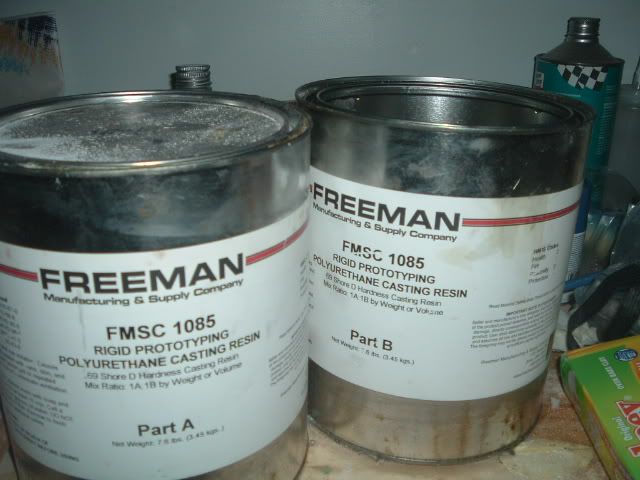 |
|
|
|
Post by mayita on Jul 9, 2006 10:20:31 GMT -5
well getting back to how to recast this ALPHA FIGHTER here you have a picture of the alpha whiout the arm : 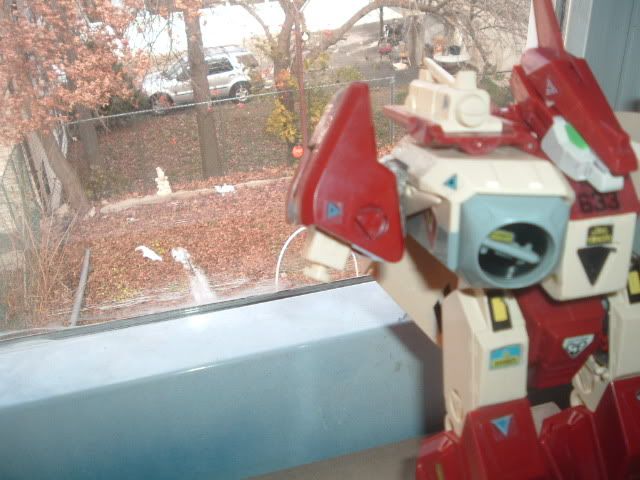 |
|
|
|
Post by mayita on Jul 9, 2006 10:21:56 GMT -5
we will start placing cups or anything to make small molds over the clay (you could use lego blocks also ) 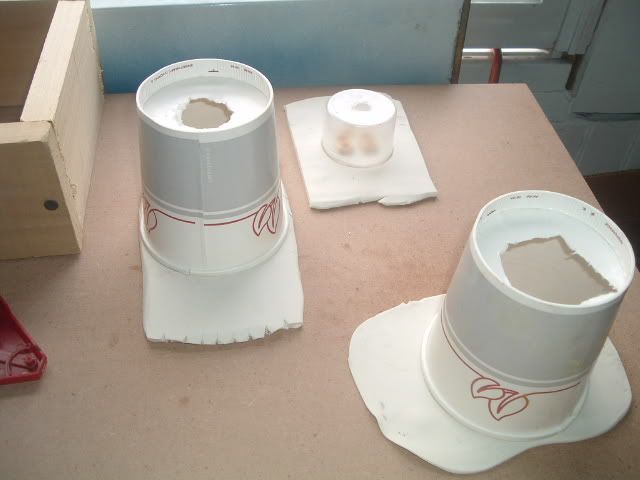 |
|
|
|
Post by mayita on Jul 9, 2006 10:22:47 GMT -5
This is how it will look with the pieces that we will recast inside 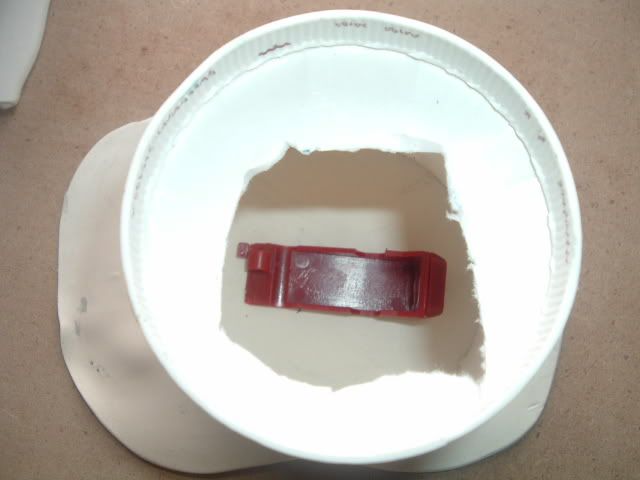 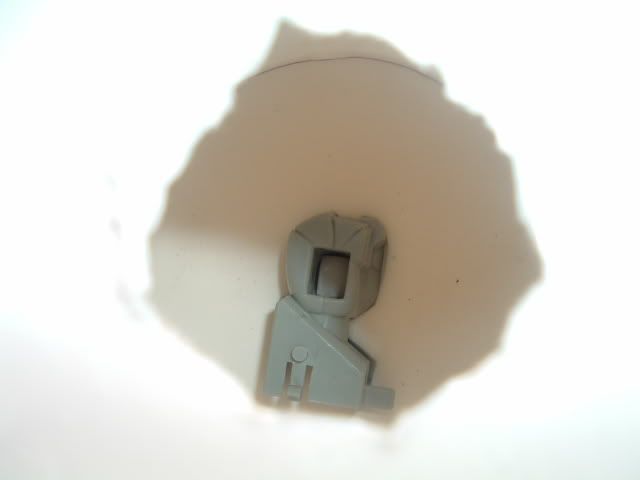 |
|
|
|
Post by mayita on Jul 9, 2006 10:23:30 GMT -5
This is how the silicone rubber will look when you start mixing it 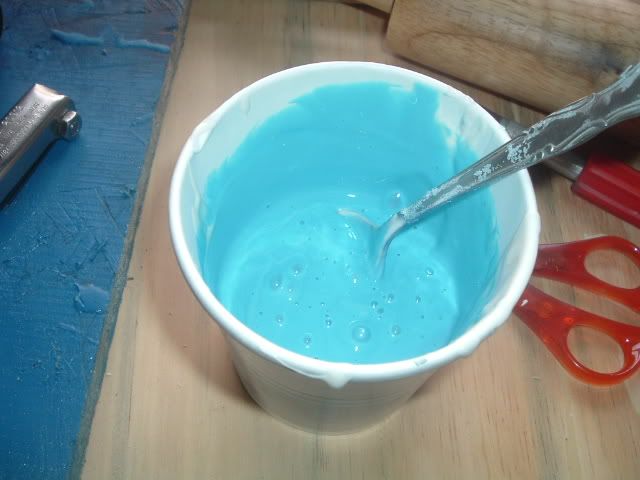 |
|
|
|
Post by mayita on Jul 9, 2006 10:24:24 GMT -5
now is time to start pouring the silicone rubber into the small molds that we previously made 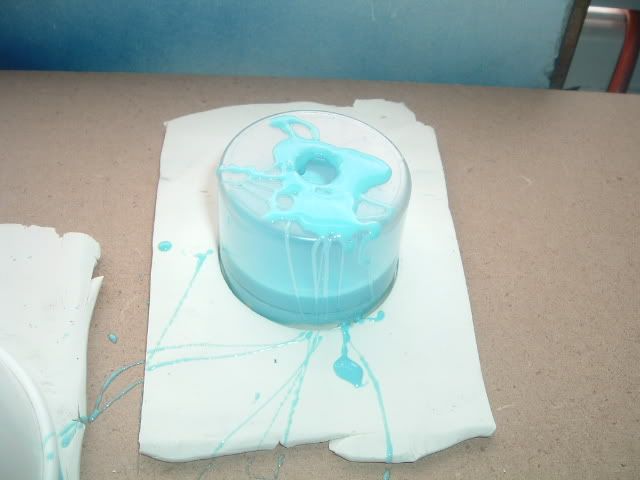 |
|
|
|
Post by mayita on Jul 9, 2006 10:24:45 GMT -5
|
|
|
|
Post by mayita on Jul 9, 2006 10:25:33 GMT -5
this is how 1 side of the mold will look after is cured : 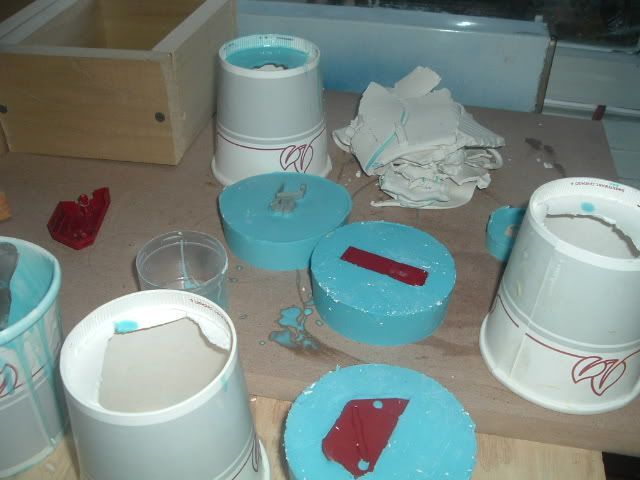 |
|
|
|
Post by mayita on Jul 9, 2006 10:26:22 GMT -5
This is how molds look like when they are finish 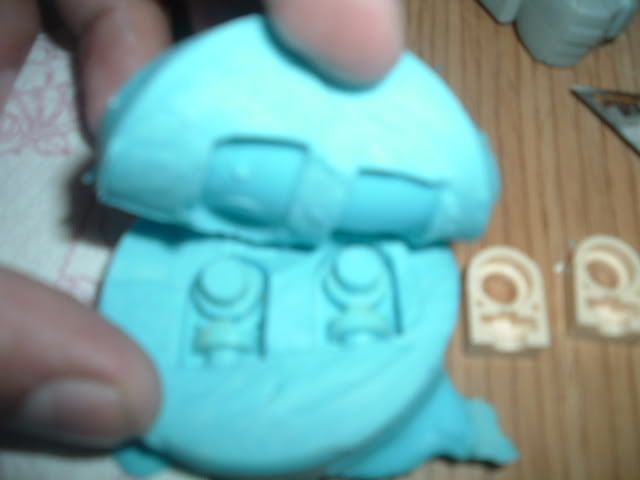 |
|
|
|
Post by mayita on Jul 9, 2006 10:27:16 GMT -5
here you have some pictures of some of the molds needed for this project 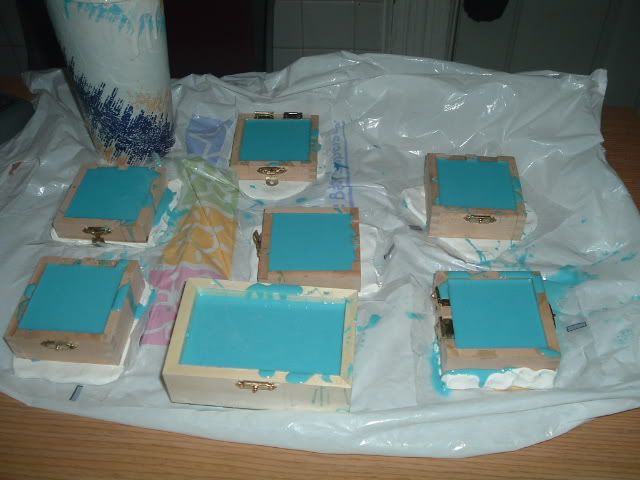 |
|
|
|
Post by mayita on Jul 9, 2006 10:27:36 GMT -5
|
|
|
|
Post by mayita on Jul 9, 2006 10:28:30 GMT -5
we put some ball bearings so when the other part of the mold is ready it will be use a lock when we start pouring the resin 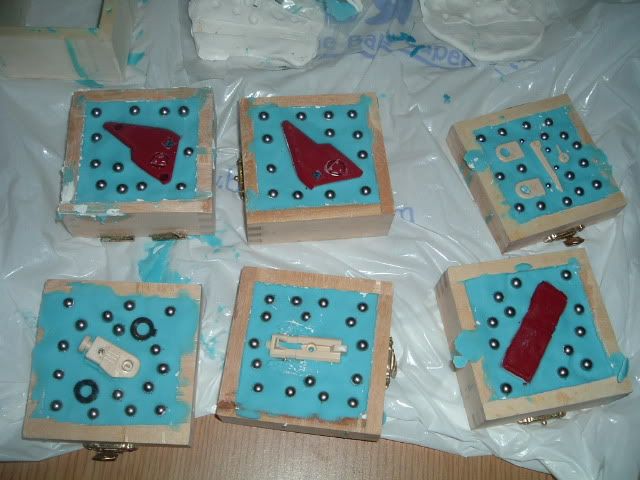 |
|