Post by chachipower on Oct 5, 2010 20:32:58 GMT -5
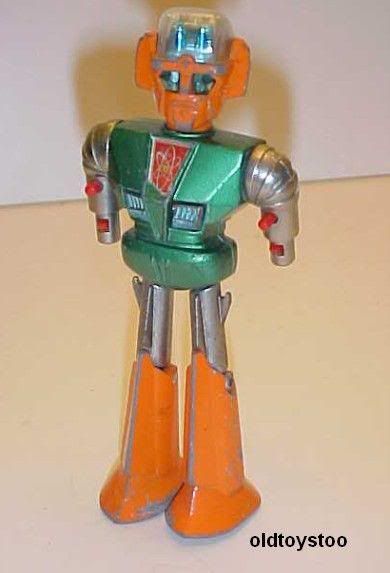
Ok, so I bought a rough Shinsei UFO Commander Vulcan-1 off ebay and it was in such sorry condition that I needed to do something about it. This only covers the painting as I have not had time to make the repro stickers.
Here he is in his straight off ebay condition
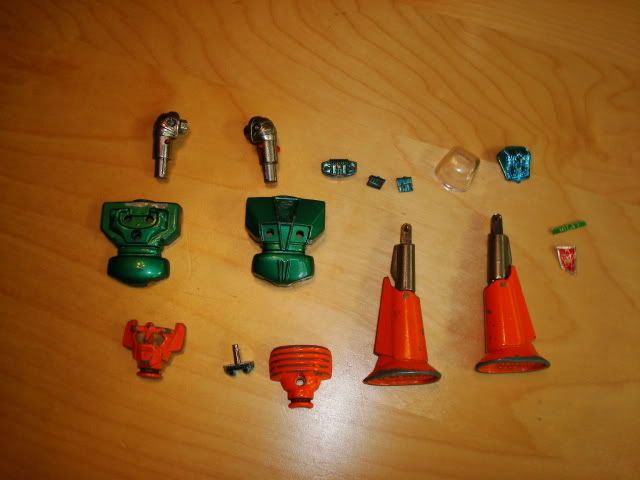
Next I screwed him apart and removed stickers carefully.
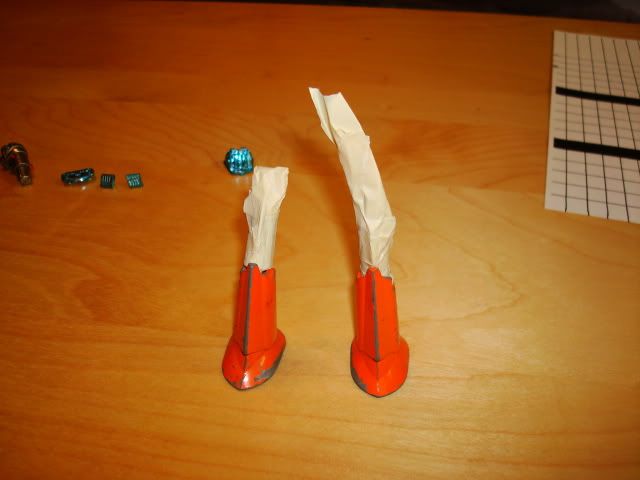
Next I masked off the bare metal parts of the legs so that I can spray the paint with paint remover.
Once the painted parts have been stripped I cleaned them thoroughly so the new paint will stick. Then I check themed to make sure there is no residue or old paint left.
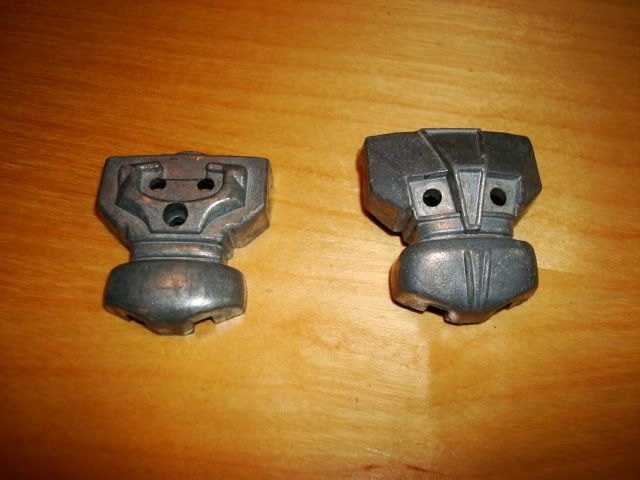
Then I reassembled him just to see what he looks like in bare metal. I was half tempted to send this guy out to be chromed. He is like 99% metal!
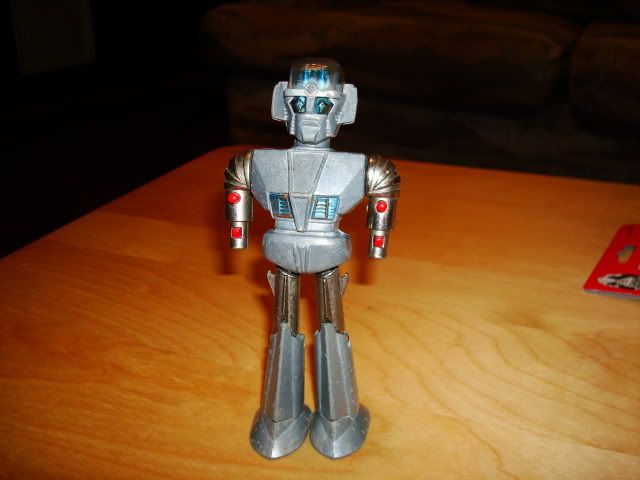
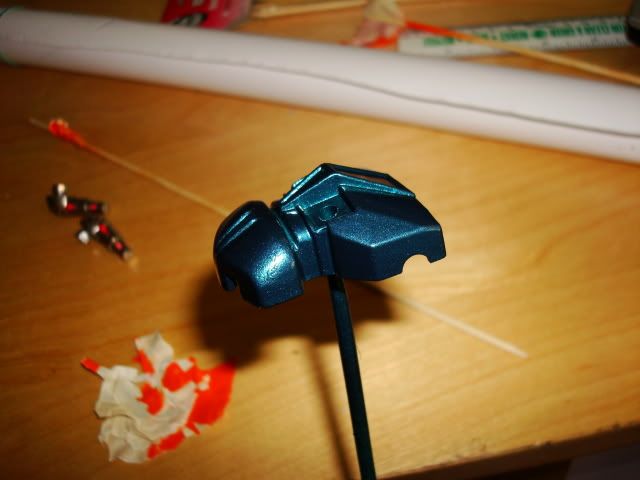
Next came paint. I used a simple Home Depot Gloss orange which matched perfect and applied well. I misted the first coat to make sure the next few coats would stick. I avoided using primer for budget sake and because its only for display. The chest pieces were painted using a Ford Green automotive paint. It was the closest match I could find without having to get custom paint.
After letting the parts dry for 24 hours to make sure I dont leave fingerprints, I assembled the figure. Tip: Dont blow on the pieces to get them to dry...this may build condensation and kill the gloss. Here is the figure assembled sans stickers which will come later. Here he is next to another loose Vulcan I have. Notice I had to sculpt some fists... I used sculpey and did my best. Hopefully I find good replacements in the future.
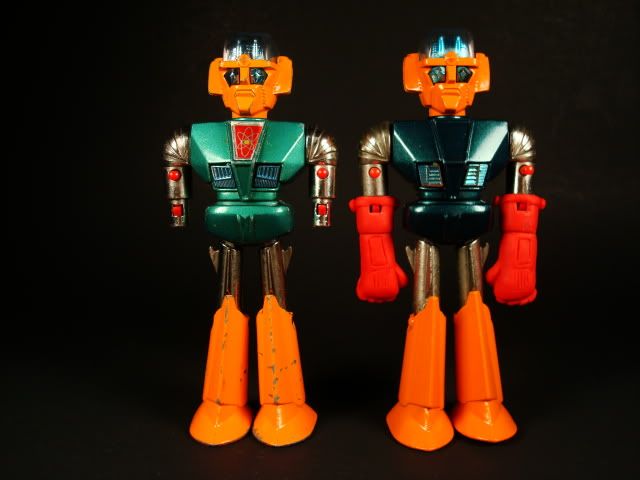
So the green doesnt match but its more striking in person due to its high metallic flake content. I will hopefully update soon with new stickers and hopefully figure out what to do with the worn blue chrome pieces.
Total cost:
Vulcan $16 shipped
Orange Paint $3.50
Ford Green Auto Paint $6
$25.50, not too bad for an interesting newish looking all metal robot toy.
Here he is in his straight off ebay condition

Next I screwed him apart and removed stickers carefully.

Next I masked off the bare metal parts of the legs so that I can spray the paint with paint remover.

Once the painted parts have been stripped I cleaned them thoroughly so the new paint will stick. Then I check themed to make sure there is no residue or old paint left.

Then I reassembled him just to see what he looks like in bare metal. I was half tempted to send this guy out to be chromed. He is like 99% metal!

Next came paint. I used a simple Home Depot Gloss orange which matched perfect and applied well. I misted the first coat to make sure the next few coats would stick. I avoided using primer for budget sake and because its only for display. The chest pieces were painted using a Ford Green automotive paint. It was the closest match I could find without having to get custom paint.

After letting the parts dry for 24 hours to make sure I dont leave fingerprints, I assembled the figure. Tip: Dont blow on the pieces to get them to dry...this may build condensation and kill the gloss. Here is the figure assembled sans stickers which will come later. Here he is next to another loose Vulcan I have. Notice I had to sculpt some fists... I used sculpey and did my best. Hopefully I find good replacements in the future.

So the green doesnt match but its more striking in person due to its high metallic flake content. I will hopefully update soon with new stickers and hopefully figure out what to do with the worn blue chrome pieces.
Total cost:
Vulcan $16 shipped
Orange Paint $3.50
Ford Green Auto Paint $6
$25.50, not too bad for an interesting newish looking all metal robot toy.


