Post by magengar on Dec 26, 2013 0:56:07 GMT -5
This is a cool and humble Christmas gift for everyone here at Robot-Japan...
....a custom DIY Photo-bench.

Someone asked "Hey, this isn't even a custom robot toy!
So then, Why post about furniture and photography gear in this forum?"
The answer is quite simple:
This is a custom DIY project about building
a custom tool for you to use for Photographing and Video-recording
your custom DIY robot toy projects!
This won't cost you a lot of money... it might not even cost you
any money at all!
If you're a Dumpster-diver like me, you can build this thing for FREE!
Materials needed:
Optional materials:
Tools needed for this project:
A screwdriver (either Flat-head or Philips-head),
a medium rasping file (to remove the screw-hole burs from inside the aluminum desk frame)
and a saw (for cutting the broom stick).
Now lets build our photo-bench..............
STEP 1:

The aluminum tubing of this computer desk frame is about an inch in diameter.
The broom stick is slightly smaller in diameter and will fit inside the aluminum tubes.
But first you need to shove the rasping file inside the tubing and rasp away all
the aluminum burs and junk from behind those screw-holes inside the tubing;
or else the broom sticks will get blocked from sliding inside the tubes.
STEP 2:

Use the saw to cut the broom stick into two parts of equal proportions.....
.....in English, that means " Cut the broom stick in half ".
STEP 3:

Slide the broom stick inside the aluminum tubing of the desk frame.
The broom stick will serve as a connection between the three desk frames.
Old broom sticks come in handy for almost Anything... you just never know
when you'll need one; and this saves you from having to spend $10-friggin-dollars
for a so-called "7/8th inch" diameter wooden dowel at Home Depot
that just MIGHT Not even fit inside the 1 inch tubing! ...Word!
STEP 4:

Do da deed, Dudes... Drive a screw through the screw-holes to lock the broom sticks so
that they will no longer slide inside the aluminum tubing.
If you Don't do this, you'll be coming to sue me later on when your photo-bench
collapses and kills your robot-chicken Voltron that still hasn't formed right.
STEP 5:

You now can see the principle behind inserting the broom stick inside the aluminum tubing
of the desk frame.
One end of the broom stick is stuck and SCREW-LOCKED inside the BOTTOM feet of the tube
of one desk frame...
...now slide the other end of the broom stick inside the TOP of the tube of the other
desk frame.
You can do this if your old aluminum computer desk has THREE or more frames.
If they were just two frames, you'd have to create additional attachment frames
from other scrap tubing and broom sticks.
You can use as many frames as you'd like to build your own configuration.
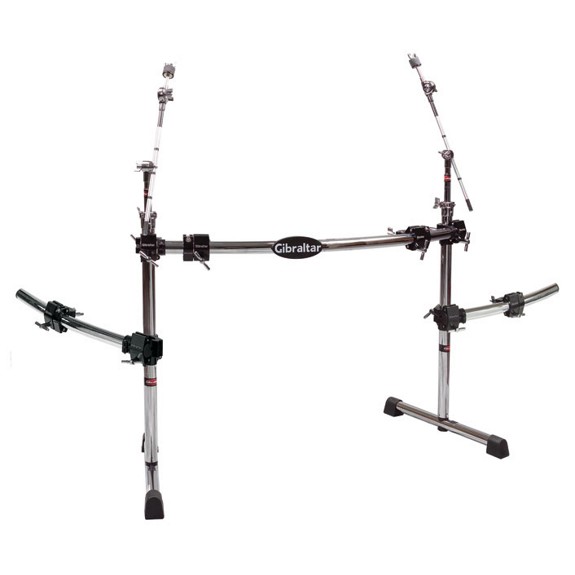
With these aluminum frames you can even build a drummer's rack-tom cage for
an electronic drum kit or your GuitarHero drum kits... or a giant-sized barebones
computer open chasis...
...and you can even build a jungle-gym for your pet pot-bellied pig!
STEP 7:

The photo-bench is now "complete"...
It's as complete as you want it to be, because it is so versatile with tubular attachments
and table top accessories.
I can snap photos on this thing, or I can use it as a Drafting table, the sky is the limit
and Heaven is the ground floor.
Enjoy this project... and, MERRY CHRISTMAS!
zozo-mag
....a custom DIY Photo-bench.

Someone asked "Hey, this isn't even a custom robot toy!
So then, Why post about furniture and photography gear in this forum?"
The answer is quite simple:
This is a custom DIY project about building
a custom tool for you to use for Photographing and Video-recording
your custom DIY robot toy projects!

This won't cost you a lot of money... it might not even cost you
any money at all!
If you're a Dumpster-diver like me, you can build this thing for FREE!

Materials needed:
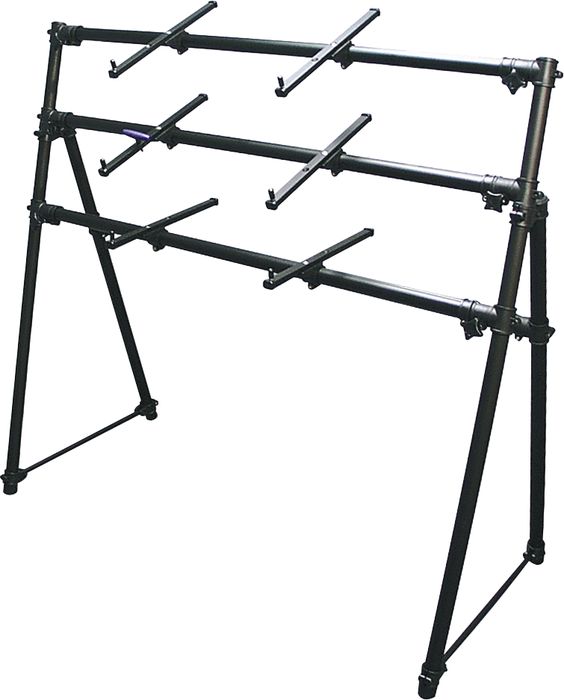
- An aluminum computer desk frame
- A broom stick

Your bull sister broke the table top on her $75 "Used-to-be-an-Ikea" aluminum computer desk,
or your girlfriend's braty cat scratched-n-shat da sh*t out of the desk top,
and it's about to get thrown away...
You'd better intervene like the mighty hand of God and rescue that old computer desk
from the trash!
I found my desk frame out on the street on Trash Night. It had some rotted shelves with their
black laminate surfaces peeling off. It used to be an Ikea desk made with compressed particle board.
It was so light-weight I could fling the frames across the street like frisbees.
I kicked off the rotted shelves and took the frame home, and cleaned the tubes inside out
and made the frame good as new. No re-paint needed.
Optional materials:
- A white laminated counter top or shelf board
- Additional broom sticks or PVC pipes
- A covered cone clamp-on lamp (you can get this at a Dollar Store for under $5 USD)
Tools needed for this project:
A screwdriver (either Flat-head or Philips-head),
a medium rasping file (to remove the screw-hole burs from inside the aluminum desk frame)
and a saw (for cutting the broom stick).
Now lets build our photo-bench..............
STEP 1:

The aluminum tubing of this computer desk frame is about an inch in diameter.
The broom stick is slightly smaller in diameter and will fit inside the aluminum tubes.
But first you need to shove the rasping file inside the tubing and rasp away all
the aluminum burs and junk from behind those screw-holes inside the tubing;
or else the broom sticks will get blocked from sliding inside the tubes.
STEP 2:

Use the saw to cut the broom stick into two parts of equal proportions.....
.....in English, that means " Cut the broom stick in half ".

STEP 3:

Slide the broom stick inside the aluminum tubing of the desk frame.
The broom stick will serve as a connection between the three desk frames.
Old broom sticks come in handy for almost Anything... you just never know
when you'll need one; and this saves you from having to spend $10-friggin-dollars
for a so-called "7/8th inch" diameter wooden dowel at Home Depot
that just MIGHT Not even fit inside the 1 inch tubing! ...Word!
STEP 4:

Do da deed, Dudes... Drive a screw through the screw-holes to lock the broom sticks so
that they will no longer slide inside the aluminum tubing.
If you Don't do this, you'll be coming to sue me later on when your photo-bench
collapses and kills your robot-chicken Voltron that still hasn't formed right.
STEP 5:

You now can see the principle behind inserting the broom stick inside the aluminum tubing
of the desk frame.
One end of the broom stick is stuck and SCREW-LOCKED inside the BOTTOM feet of the tube
of one desk frame...
...now slide the other end of the broom stick inside the TOP of the tube of the other
desk frame.
You can do this if your old aluminum computer desk has THREE or more frames.
If they were just two frames, you'd have to create additional attachment frames
from other scrap tubing and broom sticks.
You can use as many frames as you'd like to build your own configuration.
With these aluminum frames you can even build a drummer's rack-tom cage for
an electronic drum kit or your GuitarHero drum kits... or a giant-sized barebones
computer open chasis...
...and you can even build a jungle-gym for your pet pot-bellied pig!
STEP 7:

The photo-bench is now "complete"...
It's as complete as you want it to be, because it is so versatile with tubular attachments
and table top accessories.
I can snap photos on this thing, or I can use it as a Drafting table, the sky is the limit
and Heaven is the ground floor.

Enjoy this project... and, MERRY CHRISTMAS!

zozo-mag


