|
|
Post by droutmaster on Nov 14, 2010 17:59:01 GMT -5
the monitor thing, man i always consider that to be the creepiest part of the movie.
|
|
|
|
Post by candyman on Nov 15, 2010 16:56:32 GMT -5
|
|
|
|
Post by bt1 on Nov 15, 2010 17:06:20 GMT -5
Once again, amazing work candyman. This thing is incredible! Keep it up - can't wait to see the finished product  |
|
|
|
Post by candyman on Nov 17, 2010 18:09:23 GMT -5
moving onto the other end of the cable, gong to make a sort of worm drive to move the wire up and down 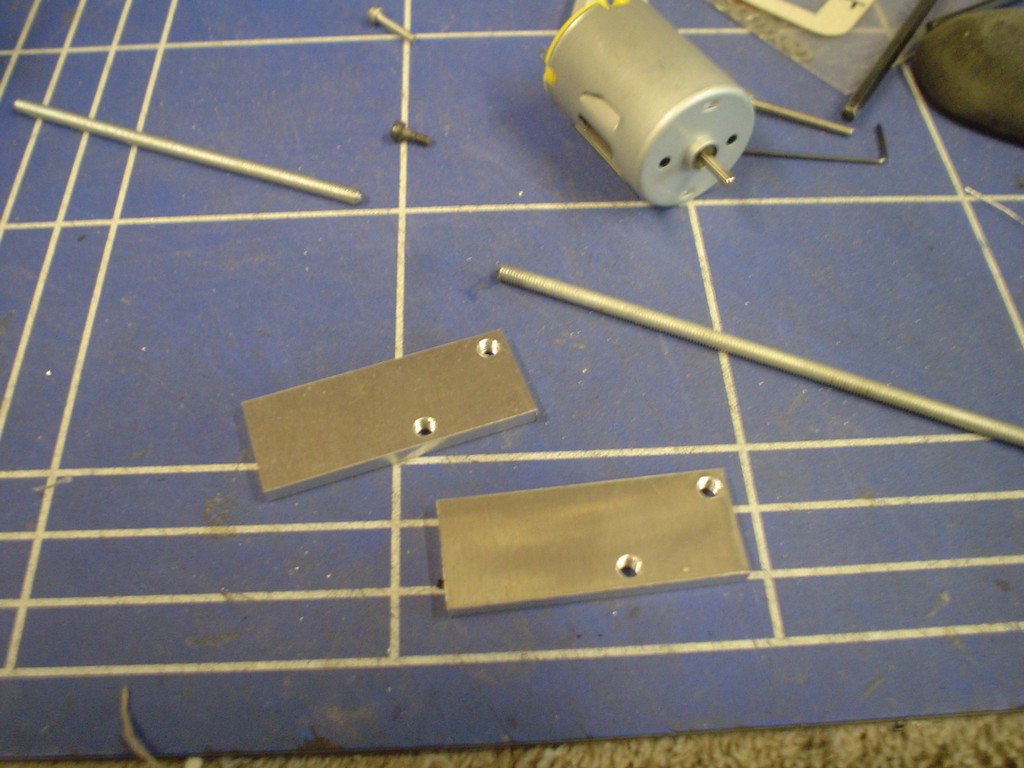 got me a little motor and a pully from somewhere. Motor turns the big pully which is on the thread/screw. The lump of metal on the right has a thread tapped in it and is stopped from spinning round by the 2 poles, it has no alternative than to move up and down the thread. 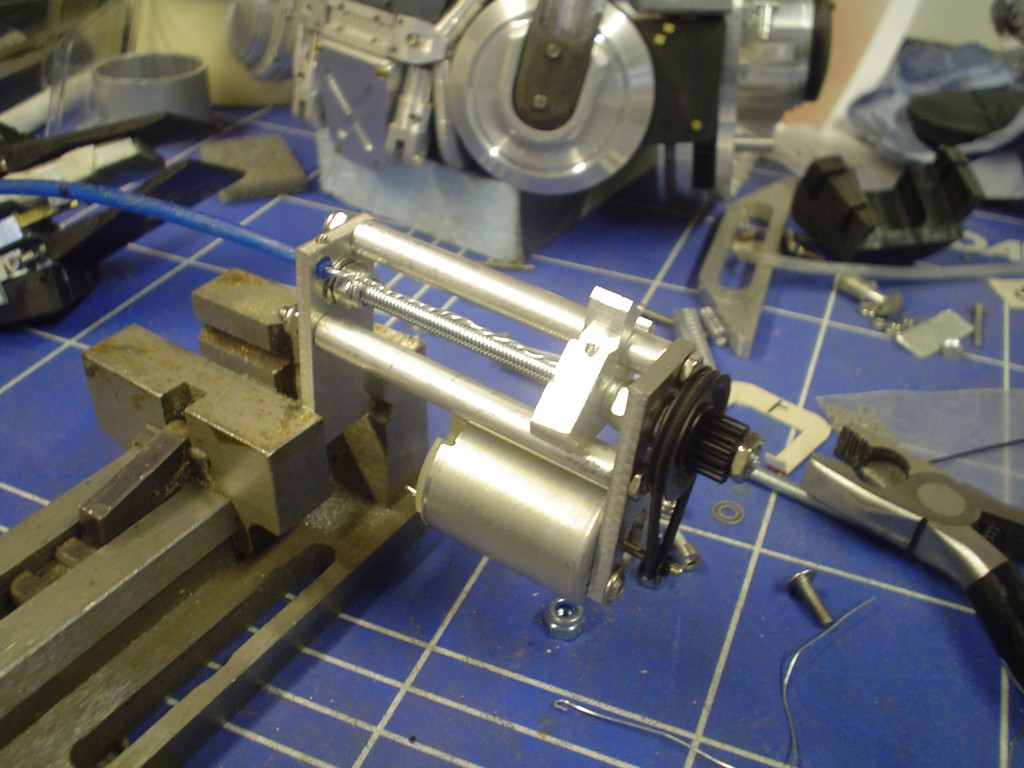 had to do some more work on the colar to get it to meet the head flush, even though it'll be lifted off the collar. 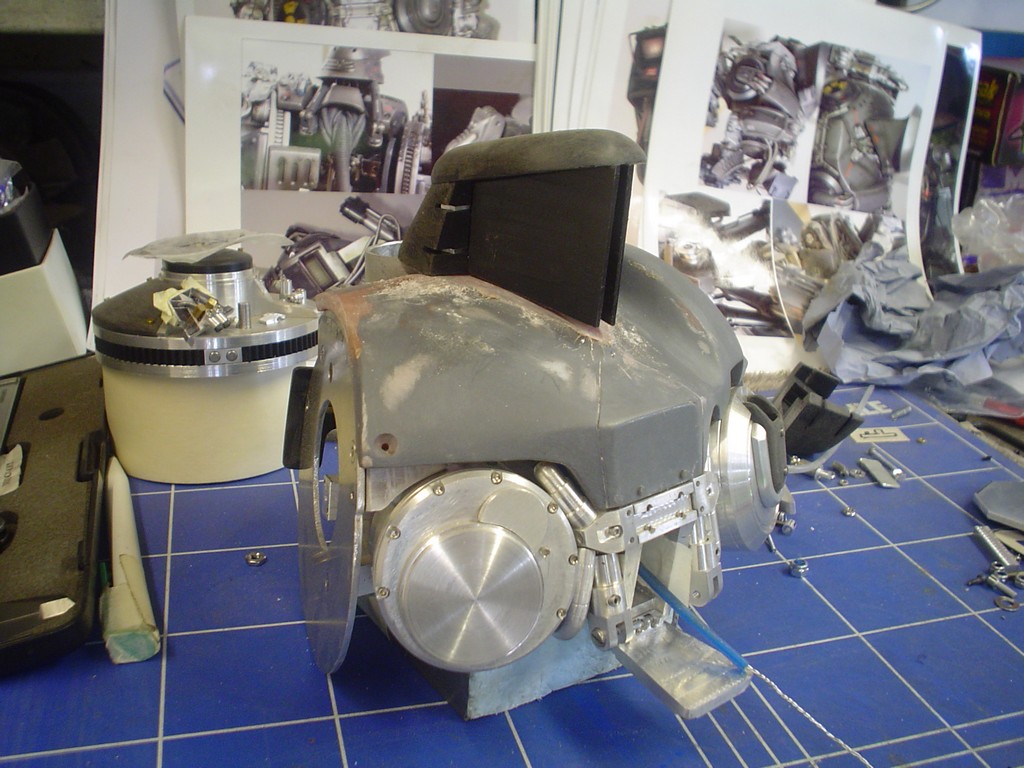 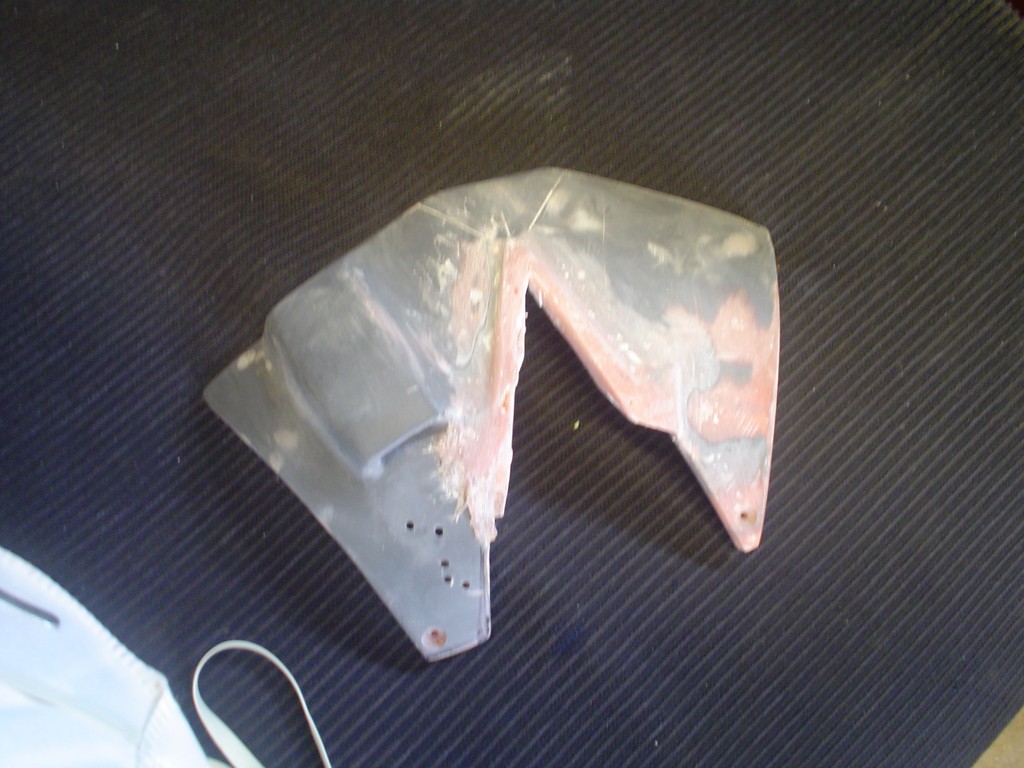 in place and nearly working, had to modify again, needed a lot more tension on the rubber band thing. It was a bit loose, lost traction and spun, the pulley on the motor got so hot it melted! so now made a lottle alloy pully you can just see it, good huh?  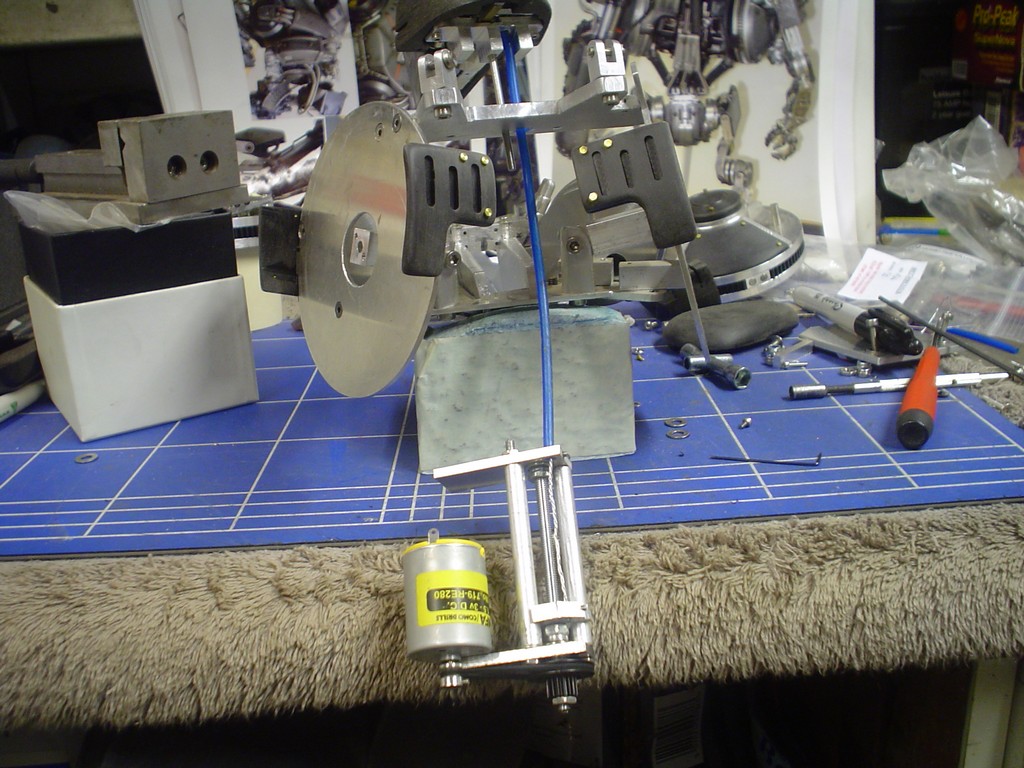 |
|
|
|
Post by snowdog on Nov 18, 2010 0:55:14 GMT -5
Each post tops the previous one. Excellent work Candyman!!!
|
|
|
|
Post by droutmaster on Nov 18, 2010 16:13:01 GMT -5
man this is getting better and better from each update.
btw are you gonna make his head articulated?
|
|
|
|
Post by magengar on Nov 18, 2010 21:18:54 GMT -5
|
|
|
|
Post by candyman on Nov 20, 2010 8:55:26 GMT -5
btw are you gonna make his head articulated? The head will move a little, its restricted by the cable that operates the screen. No more motorisation, im just pleased I got the screen working! I took the head apart and started to rub down all the rough edges and smooth the surface out, taking out all the machining marks.  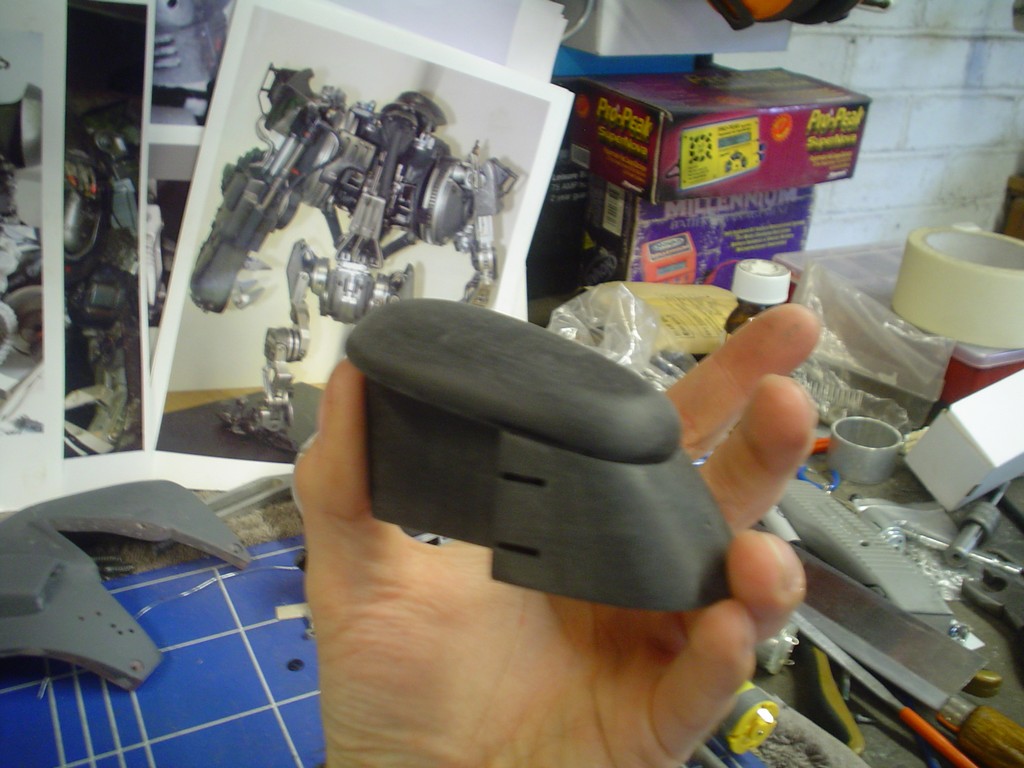 test fitted to the torso, started to turn the cylinders for teh back of the head, im going to fit them as close to the head as I can.  and drum roll please! I got my screen! This is the OLED (organic LED) from Australia, took me hours to get to grips with the software and finally get a proper image on the screen, now I know it works I can get on with editing a longer sequence and editing the colours down a bit. I know this looks a little odd but its good for a trial run! 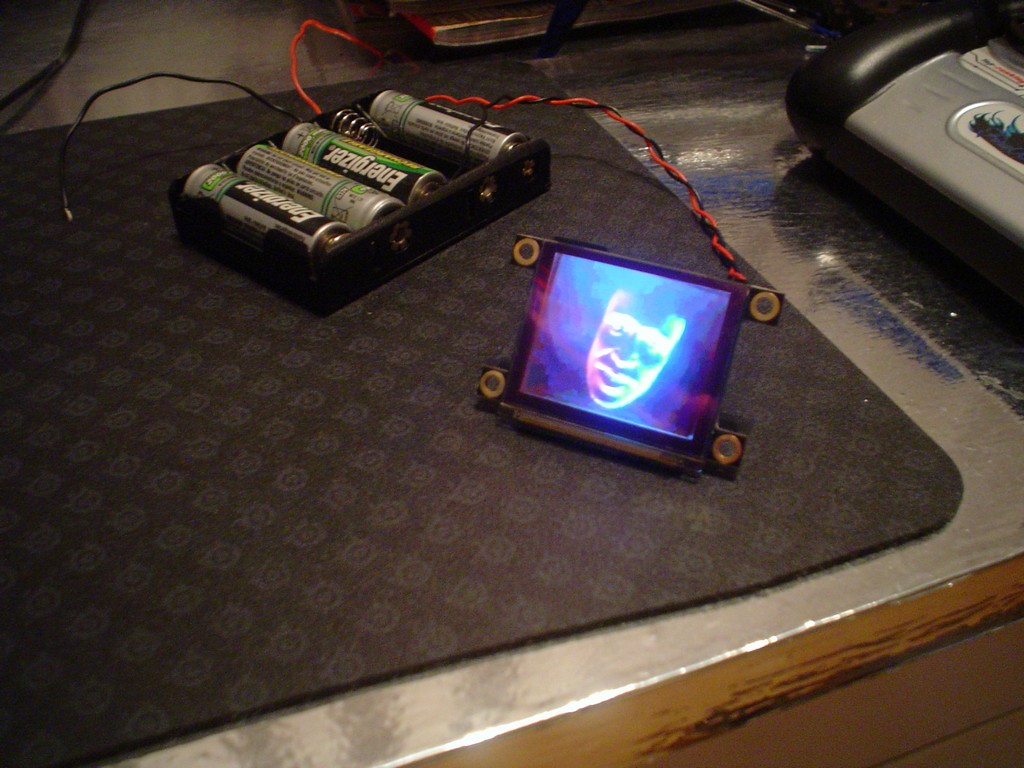 hey cain, whats happening!  |
|
|
|
Post by magengar on Nov 20, 2010 10:23:00 GMT -5
LOL!!!!! DuUude, that screen is The Highlight! I LOVE IT! Daaaaaamn, That is GENIUS!!!!!!!!! What are you using for programing that screen-- Arduino? The head's lookin Siiiiiiiiiiiick (as in, AWESOME!) I really dig the sculpt you gave it. It Rocks, ALL HANDS DAOOOOOOWN!  zozo-Magengar |
|
|
|
Post by droutmaster on Nov 20, 2010 12:17:07 GMT -5
excuse me my expression
HOLY sh*t!! SON OF A b*tch IS ALIVE!!!! f**k!!
yes, even after all this year he stills creepy me out.
|
|
|
|
Post by magengar on Nov 21, 2010 12:21:20 GMT -5
You aint Lying, Drout- he IS Quite ALIVE alright!  And That aint no jive Johnny #5 neither. LOL! -------------------- So.... what's gonna go on that screen- Robocain's face? A vocal pattern of his speech? Japanese video ads for Top Raman (as seen on the buildings in "Bladerunner")? Now I'm gonna go to Youtube and find some videos of the real Robocain so I can actually see what he's like.  ------------------ Late Edit...Man, I've been excrutiatingly IGNORANT; all this time I thought Robocain was a Star Wars character... ...he's from the ROBOCOP movies! Robocain goes trigger-happy... Robocain's face (before installed into the machine?)... If you have Firefox, use its downloader plugin to snatch this Youtube item before it gets yanked... perfect for that screen if you don't have anything available for it. Now here's a Youtube video review of the 3-inch Robocain figure. The original poster, and the folks on this youtube page aint seen Nothin yet! zozo-Magengar |
|
|
|
Post by candyman on Nov 21, 2010 18:05:36 GMT -5
The screen uses its own software form 4d systems, its ok, i got it now. Im going to edit the screen shots form the actual film and then play them, like the film, this will be as good as it can be gentlemen. Had to re mount the plate in the collar since re-shaping the collar. 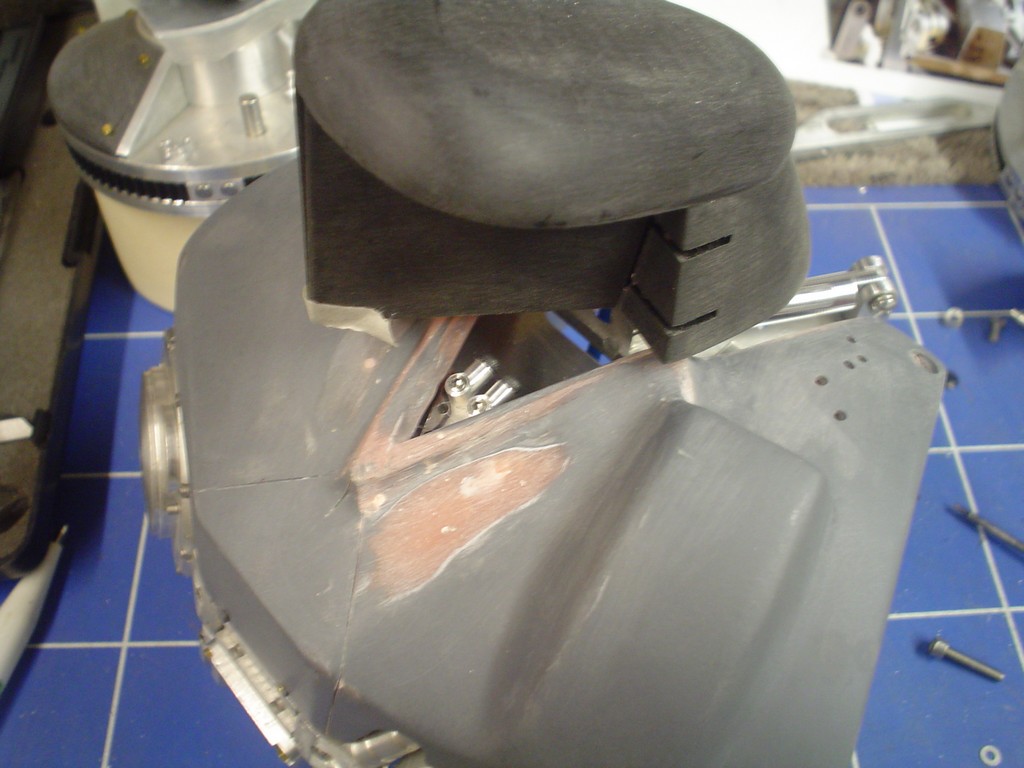 mounted more securly now with a proper joint so I can adjust the head, also finished and mounted the head hydraulics, considering they attach to the bottom of the head ather than inside the head I think they look good!  you can just see the front cylinders here, they should be more promanent but with the screen moving in and out here its just not possible so this is as far forward as they can come.  made another armour plate for the back of the neck 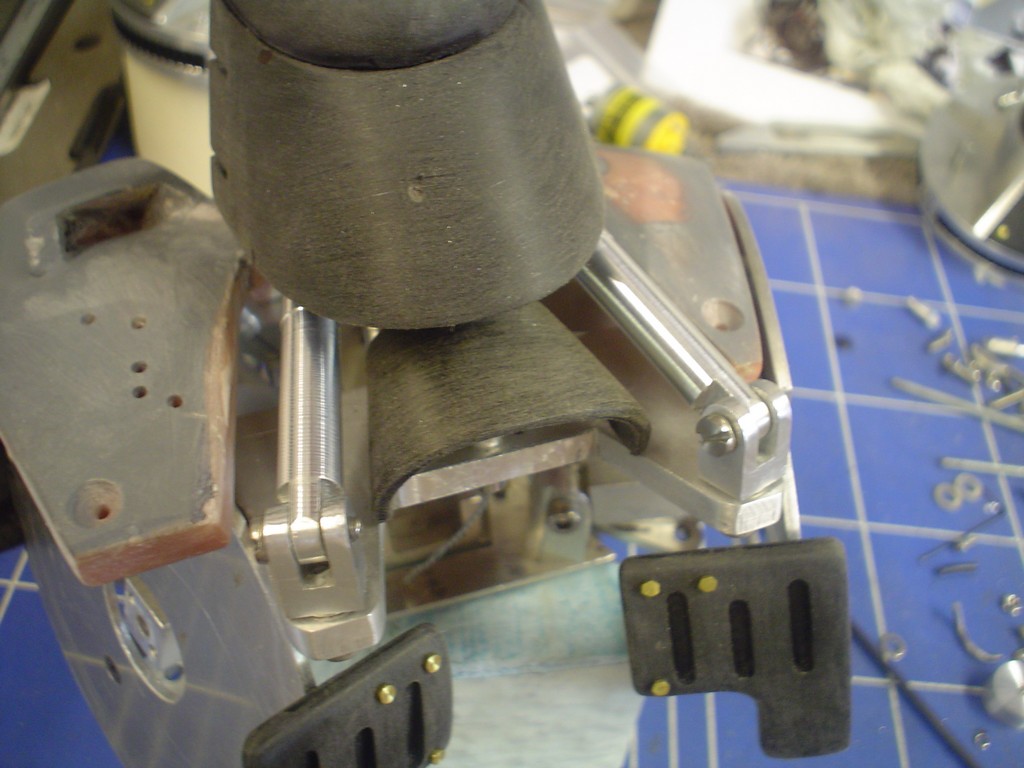 Onto a job I was putting off, having to cut the grooves in the head for detail, this was done with a hacksaw blade and a razor blade (no really) 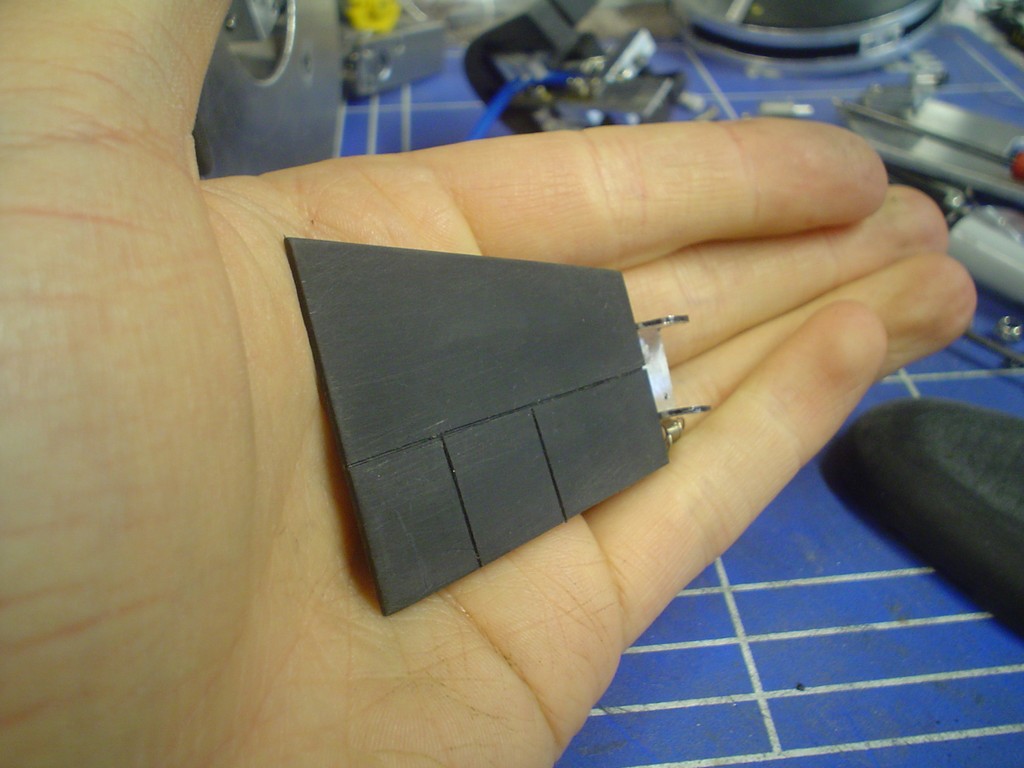 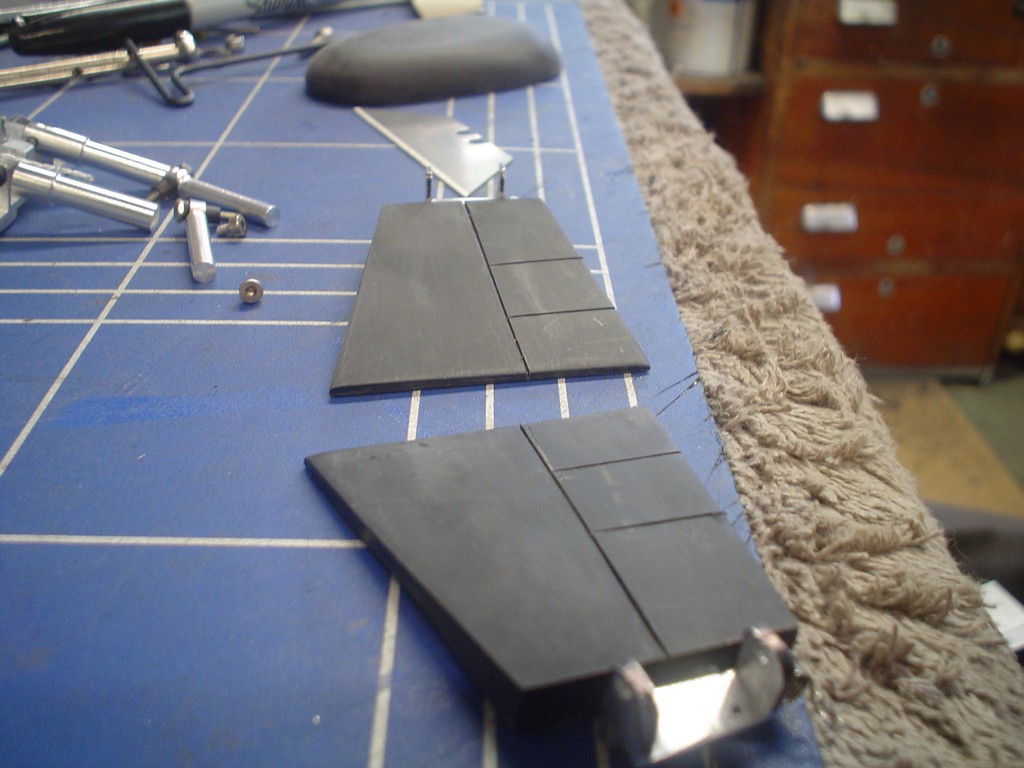 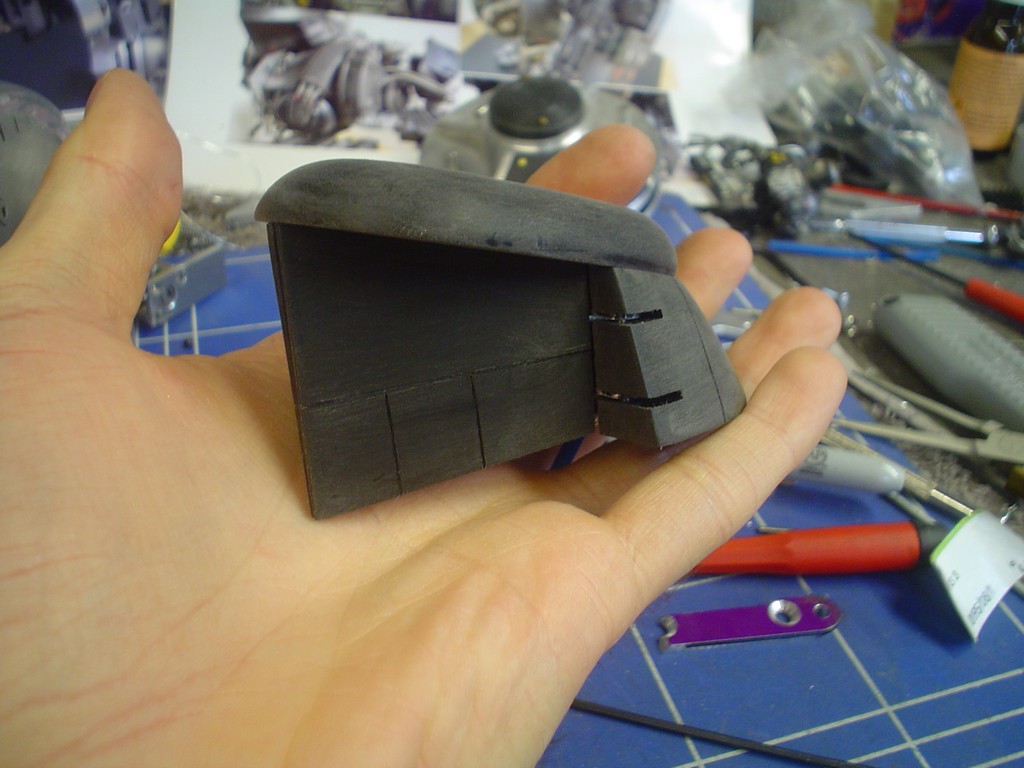 looks a bit more real now 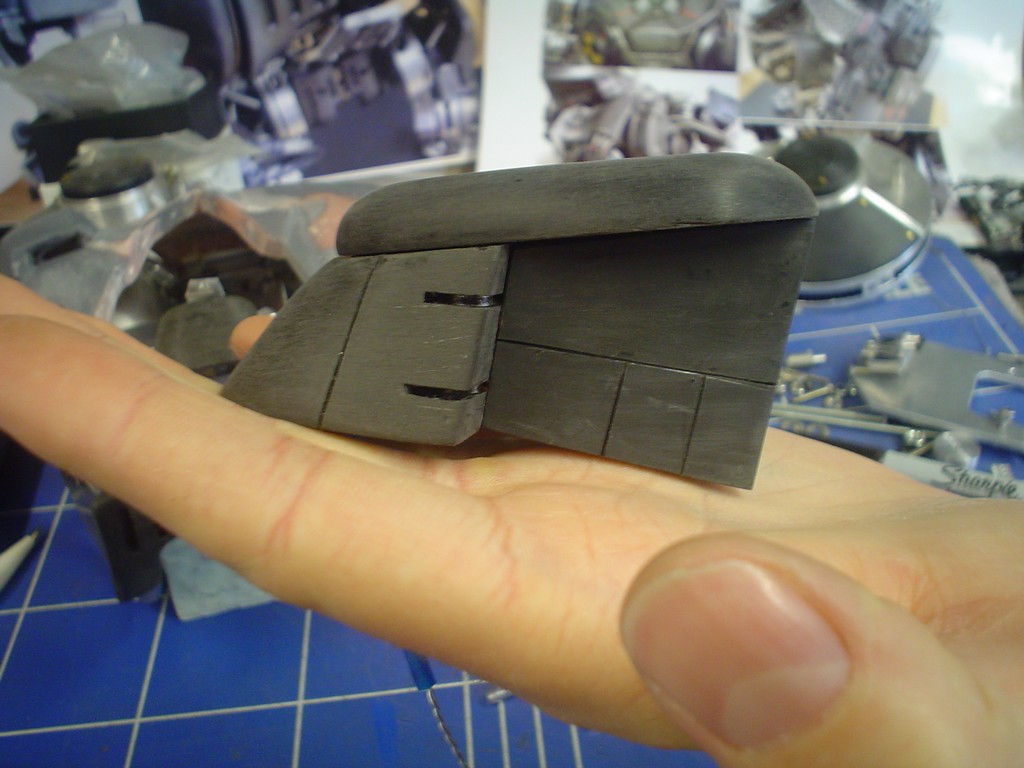 |
|
|
|
Post by magengar on Nov 21, 2010 19:06:05 GMT -5
Bro, that head turned out Perfect! And you thought you might have trouble with it; now you know what to do next time. ;D Good idea using the hacksaw blade and razor blade to cut the detail in those face plates... sometimes little details like That require to be done by hand for precision. Impressive; this custom of yours is definitely Rockin!  zozo-Magengar |
|
|
|
Post by Nyonk on Nov 22, 2010 9:49:23 GMT -5
nicely done !!!
|
|
|
|
Post by candyman on Nov 24, 2010 15:43:57 GMT -5
thank you , thank you head back together and mounted up 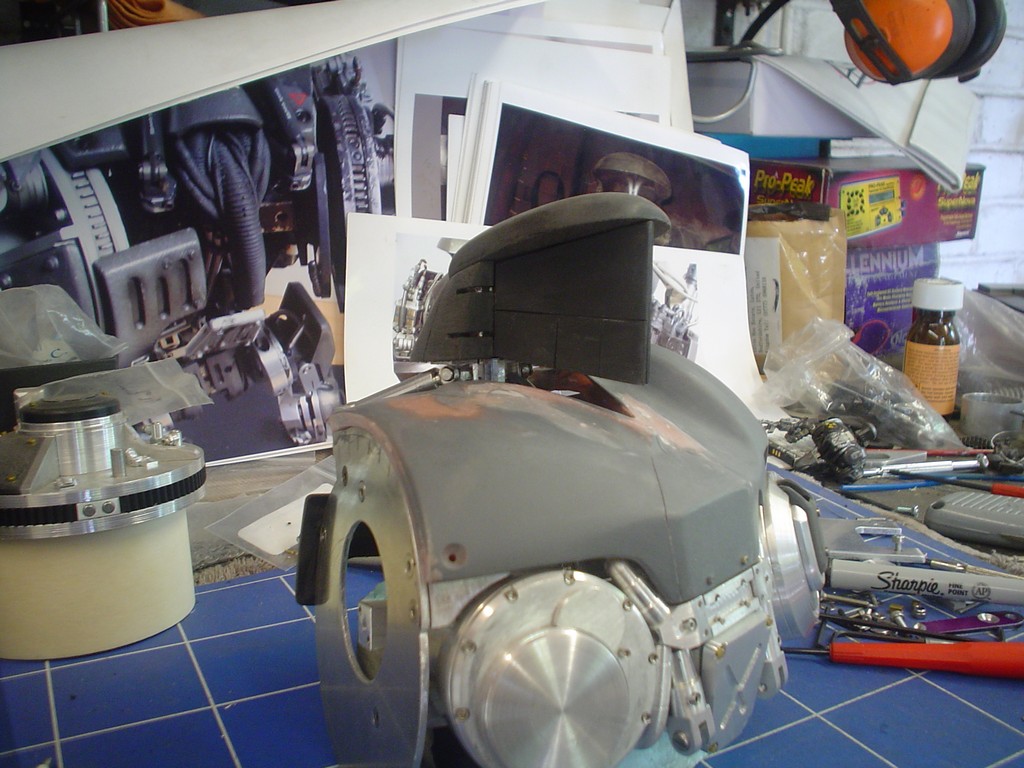 remaking the screw drive for the head, old plate on the left new in the middle. 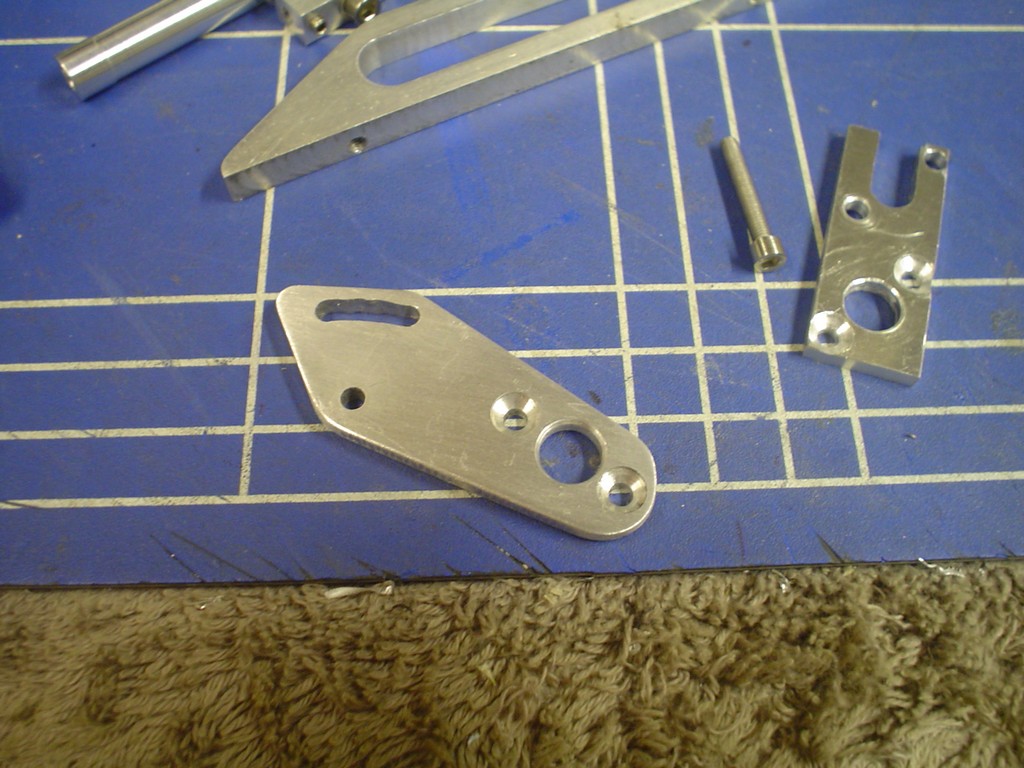 I wanted to mount the unit sideways in the middle of the chest but for this the cable had to do a 90 degree turn out of the screw drive and then another 90 in the head, this was too much the wire would kink. So I have to have it pointing straight up into the head, not a big deal, it'll stop the inside of it looking empty, its tucked away out of view from the front.  somthing else I missed before, slotting this part of the shoulder back plate. 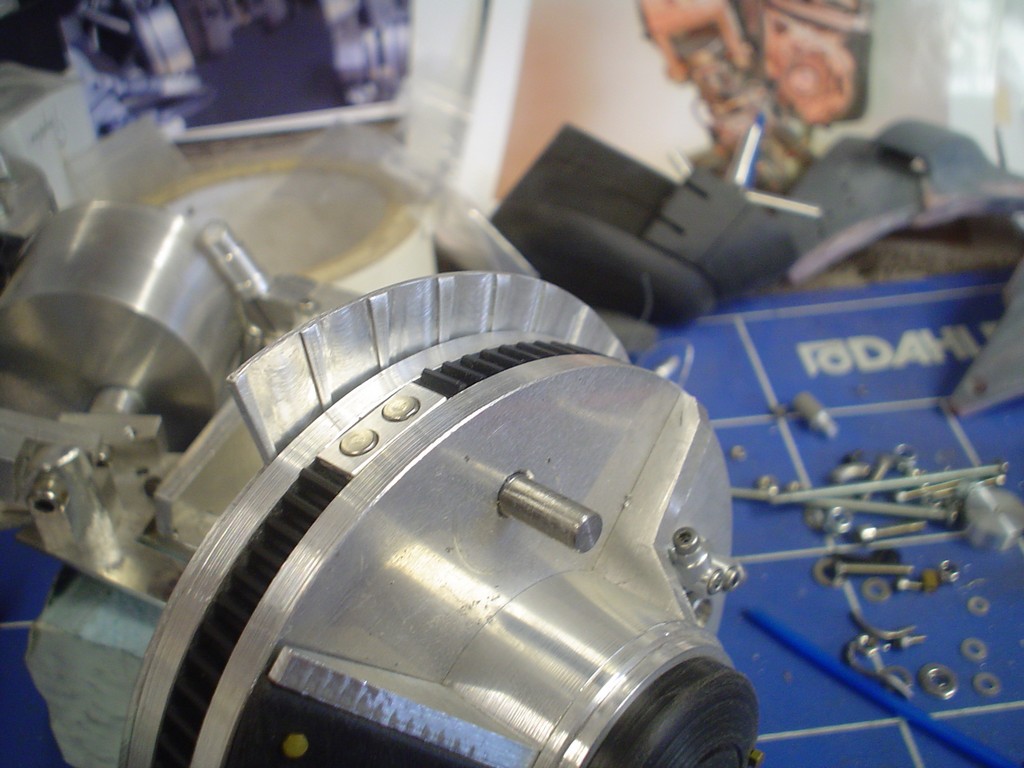 |
|
|
|
Post by candyman on Nov 26, 2010 10:26:20 GMT -5
smoothed the chest edges off and re primed  Now stripping the torso apart, the top plate is the old one the shoulders were mounted on, now I know exactly where they need to mount I made the plate at the bottom with the holes in the right place. Also re tapping holes and generally tidying up the insides. 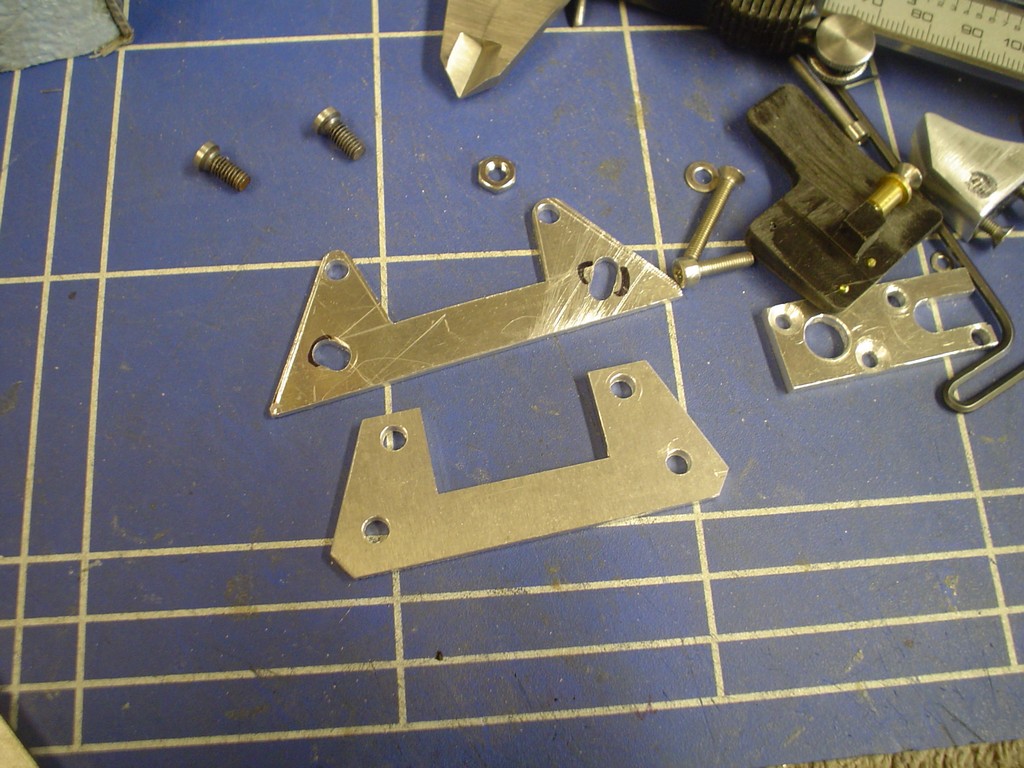 |
|
|
|
Post by candyman on Nov 27, 2010 18:25:00 GMT -5
2nd leg time.  im briefly documenting this as its pretty much the same as the other one  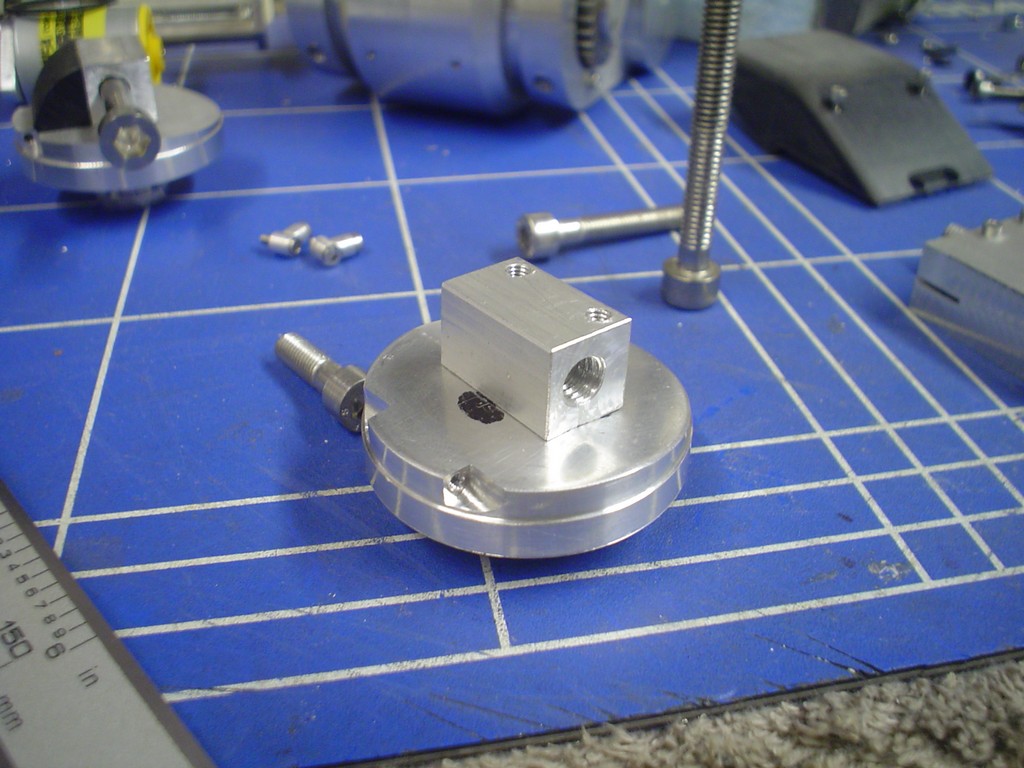 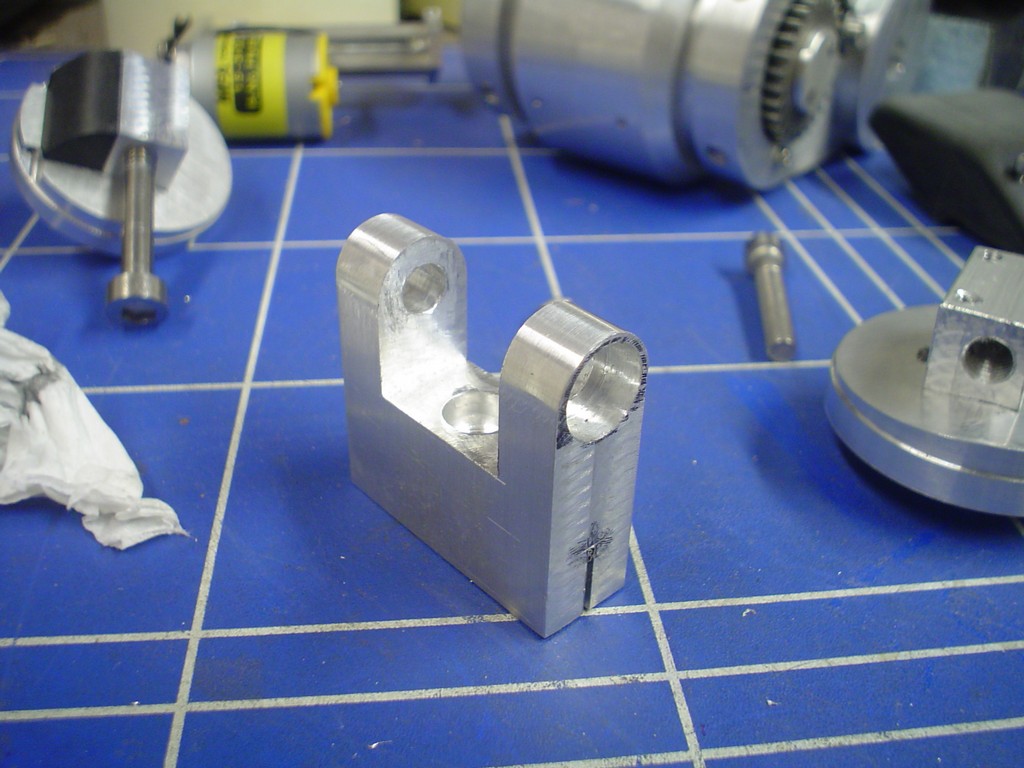 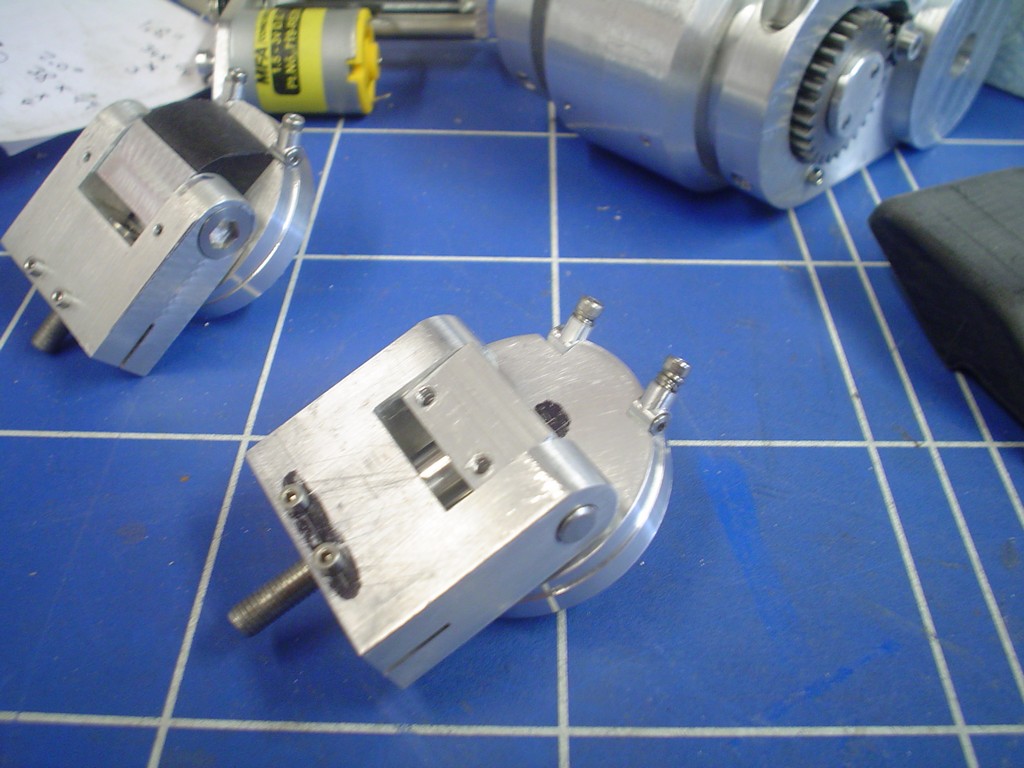 got my micro switches through and fitted them onto the screw drive, so it'll cut the power when it gets to the end of its travel. 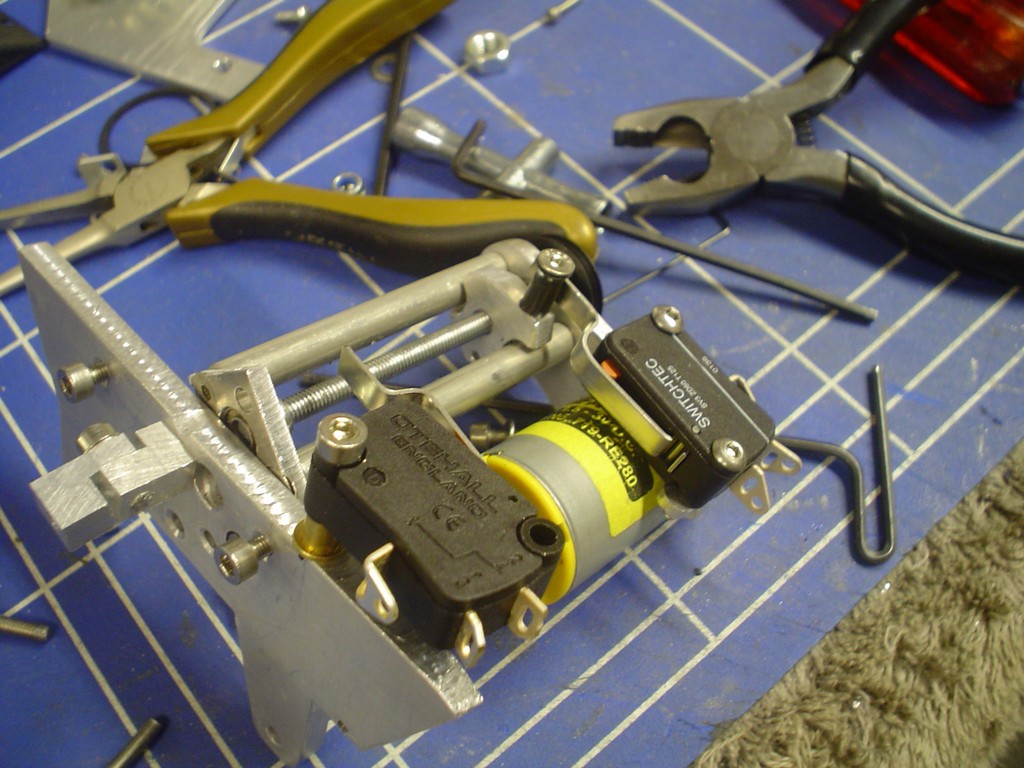 fitted up, made a few little brackets and hangers, one you can see above the motor 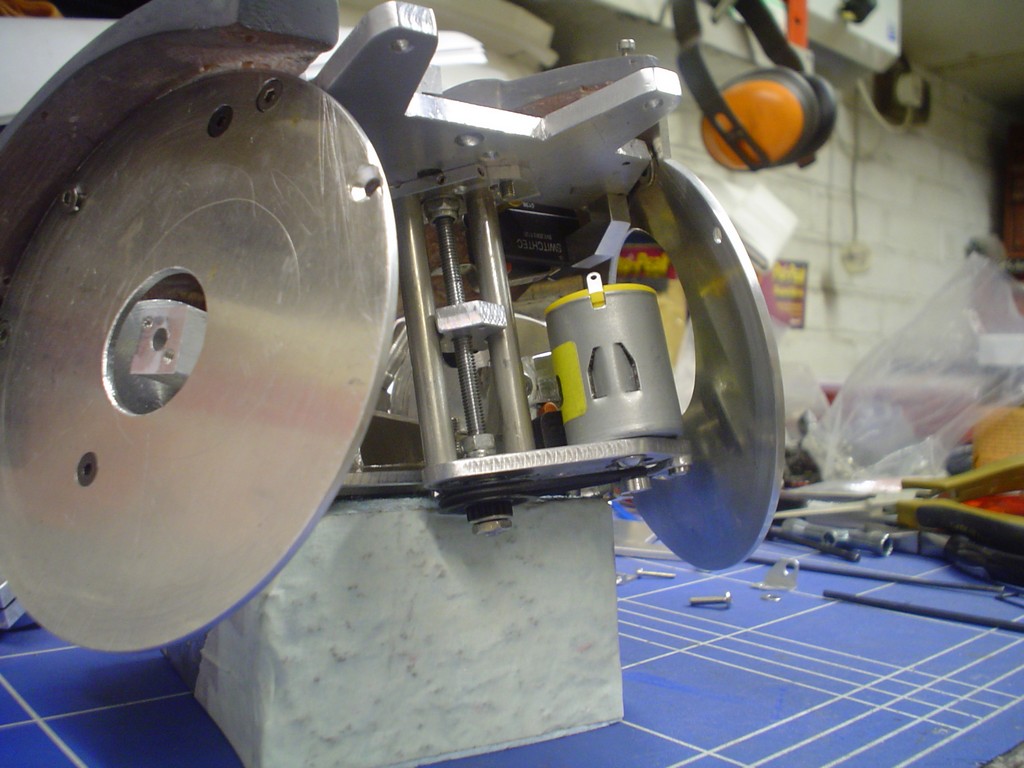 lump of delrin 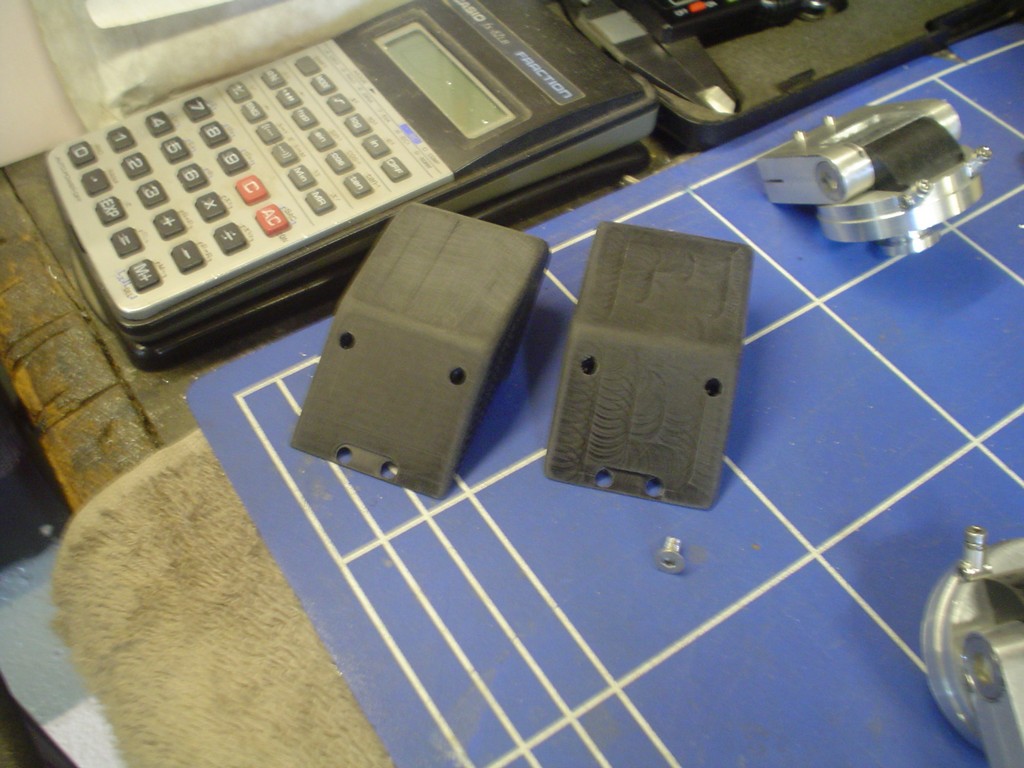 thats about 8 hours work, getting my head down here. |
|
|
|
Post by magengar on Nov 28, 2010 1:26:21 GMT -5
It's gonna WALK? YYYYYESSSSSS!!!!!!!!!!!!!!  zozo-Magengar |
|
|
|
Post by droutmaster on Nov 28, 2010 19:13:48 GMT -5
 is it really gonna walk? that would be so badass in so many levels. |
|
|
|
Post by candyman on Nov 29, 2010 17:34:43 GMT -5
lol, no its not gonna walk! Been working on the video file. Cut up the film into the clips of Cain, then cropped the image, did this for each section, spliced together, adjusted the brightness and contrast so it looks correct on the OLED 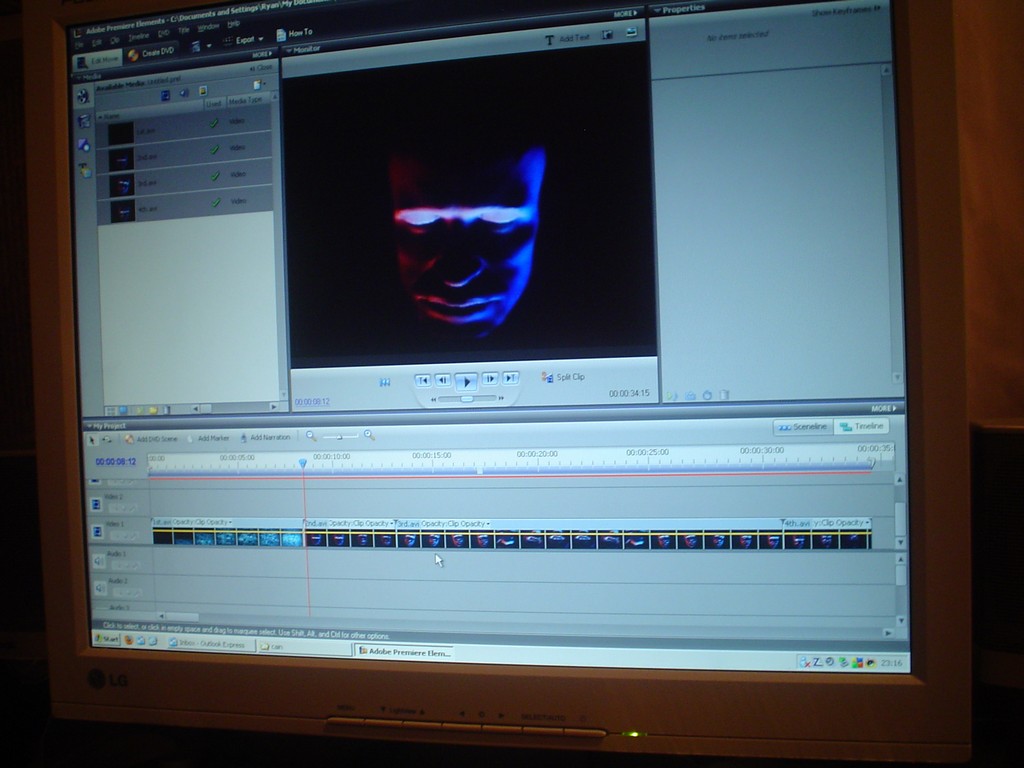  and made a knee. 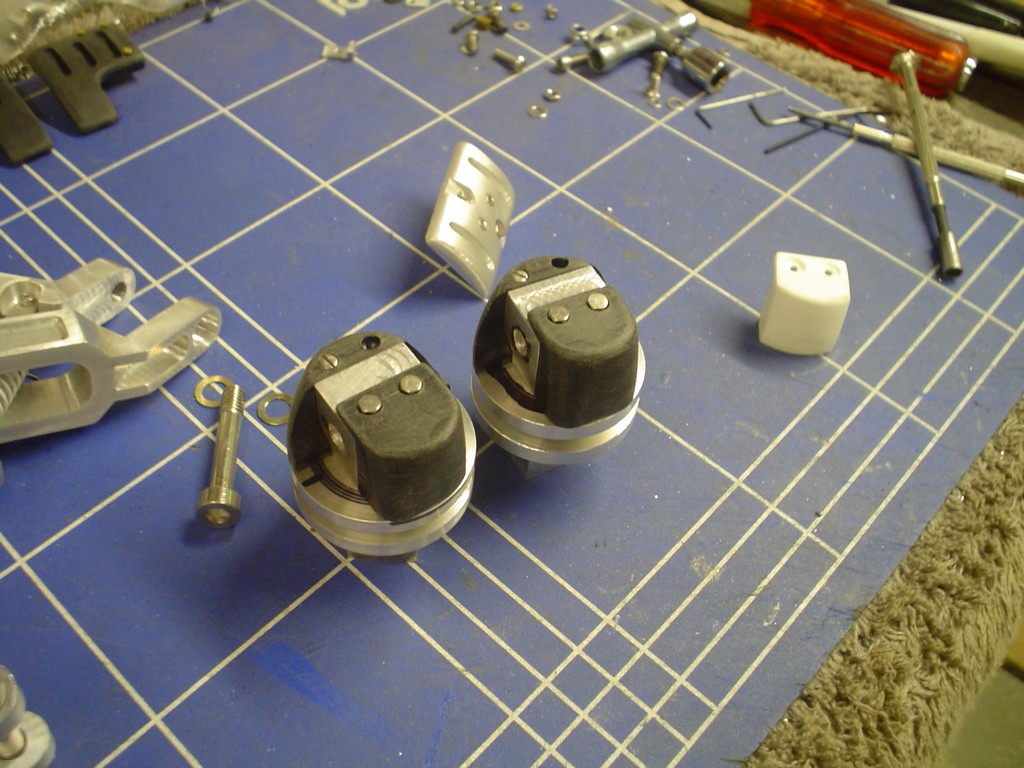 The original styrene capping on the right seemed a bit amatuer so I made 2 new ones out of delrin |
|