|
|
Post by magengar on Mar 28, 2010 12:36:57 GMT -5
CNC machining does wonders for all sorts
of metal, iron, and steel materials... if you have
a CNC machine shop of yer own, the sky's the limit
building custom toys! ;D
zozo-Magengar
|
|
|
|
Post by candyman on Mar 28, 2010 16:14:25 GMT -5
LOL, yeh you guys are funny, feast your eyes on my huge computerised setup  |
|
|
|
Post by Otaru Ikari on Mar 28, 2010 19:57:42 GMT -5
WOW! Almost missed the thread. Awesome work.
Now were you hiding the rest of the batcave? ;D
Kidding aside, thanks for sharing.
|
|
|
|
Post by magengar on Mar 29, 2010 10:35:03 GMT -5
Damn, look at all that machinery...
It all COMPUTERIZED!
I envy you ... N V U !!!
IIIIIIIII Looooove toooo haaaaaate youuuuuuuuuuu! LOL!
I envy you so much I beat up the
dude at his computer next to me
here at the public library! ;D
zozo-magengar
|
|
|
|
Post by candyman on Mar 31, 2010 11:30:26 GMT -5
Im sorry not being a regular round here I cant tell if your being sarcastic or not . I was, its a manual mill and lathe they were quite cheap. Couple of years back I made this: www.ukmonsters.co.uk/oldmadwebspace/WA2000%20Build%20pics/wa2000.htmusing nothing more than hacksaw, files, a vice, pilar drill and a dremel. Ok starting on the hip, not easy to see the shape of the curves, especially round the butt. started with 2 big chunks, this way I can attach the legs from the hip side then sandwich the two halfs together. 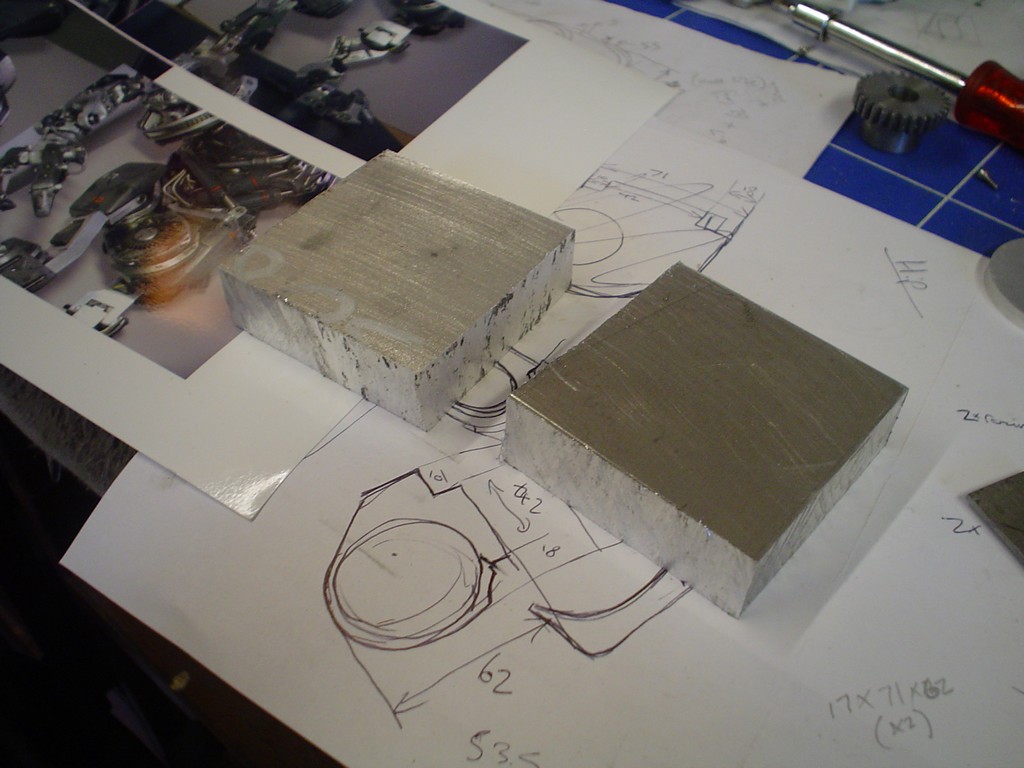 bit of a big curve to do by hand so using the rotary table to get the shape 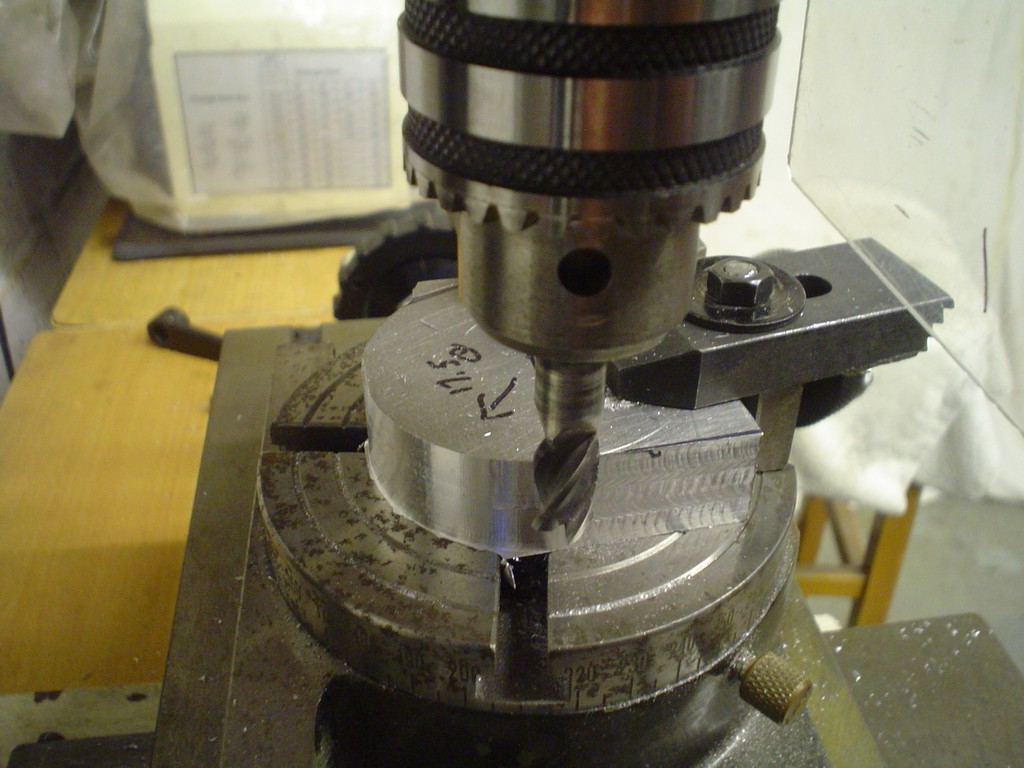 something like that, drilled through the middle and everything lines up, turned a spacer (right) to hold the leg away from the hip 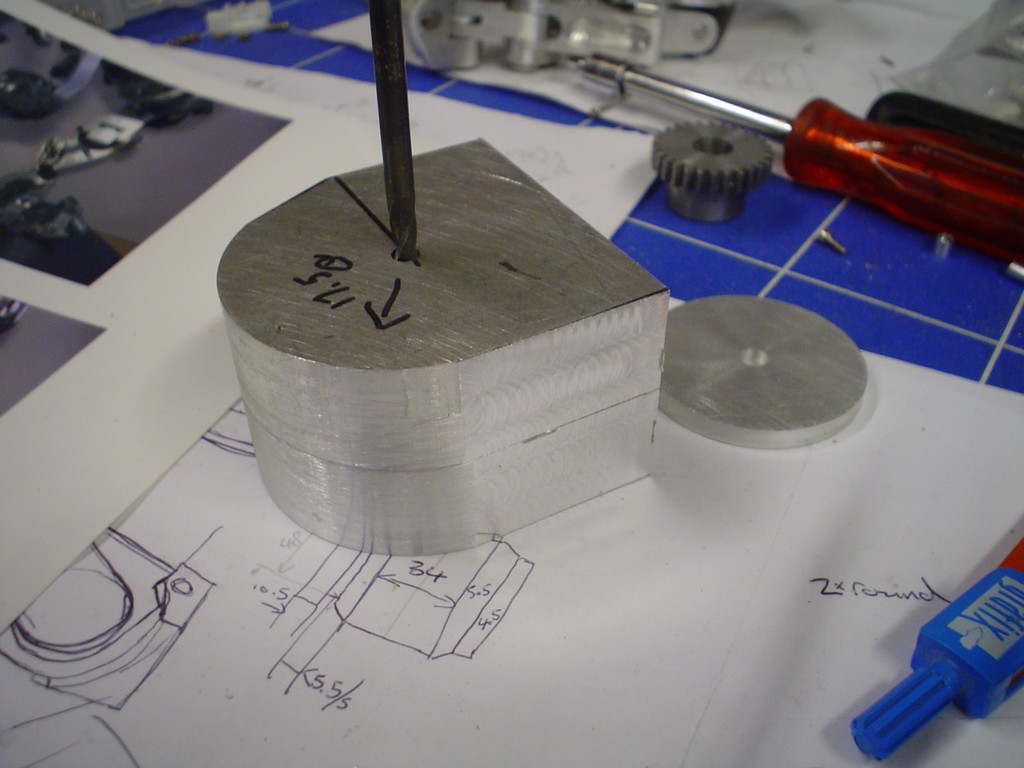 looks ok, dimentions feel right 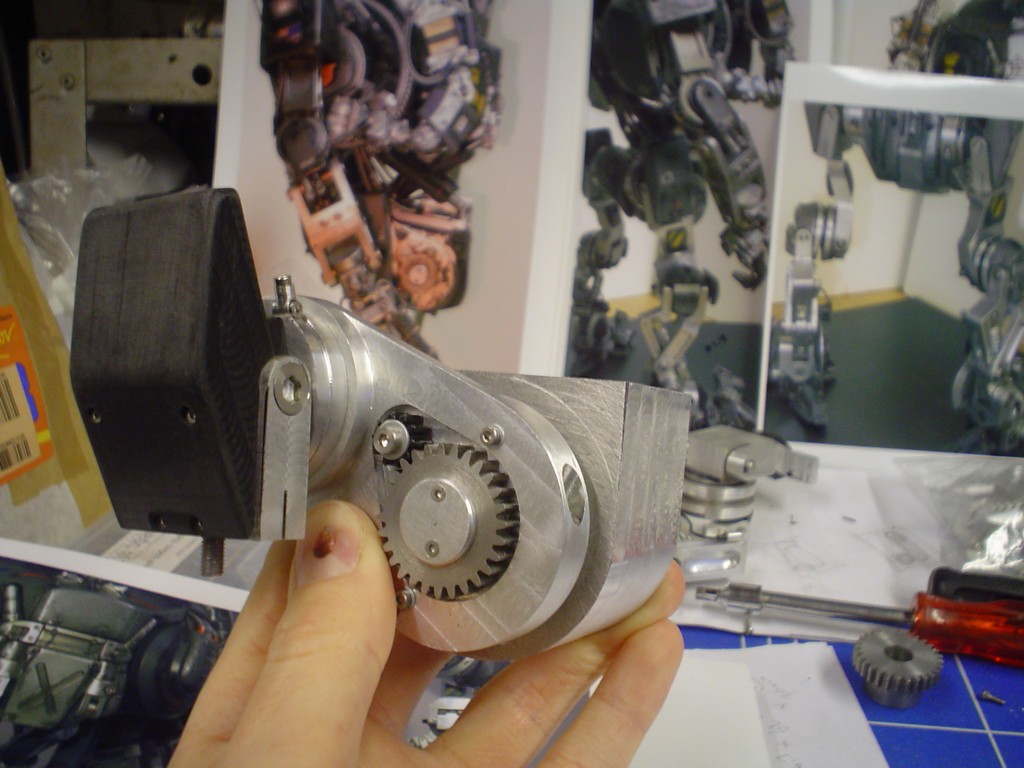 now having to put the bevel on both sides, I did consider fitting it back up on the rotary table but that would have been a pain so im doing it by hand. 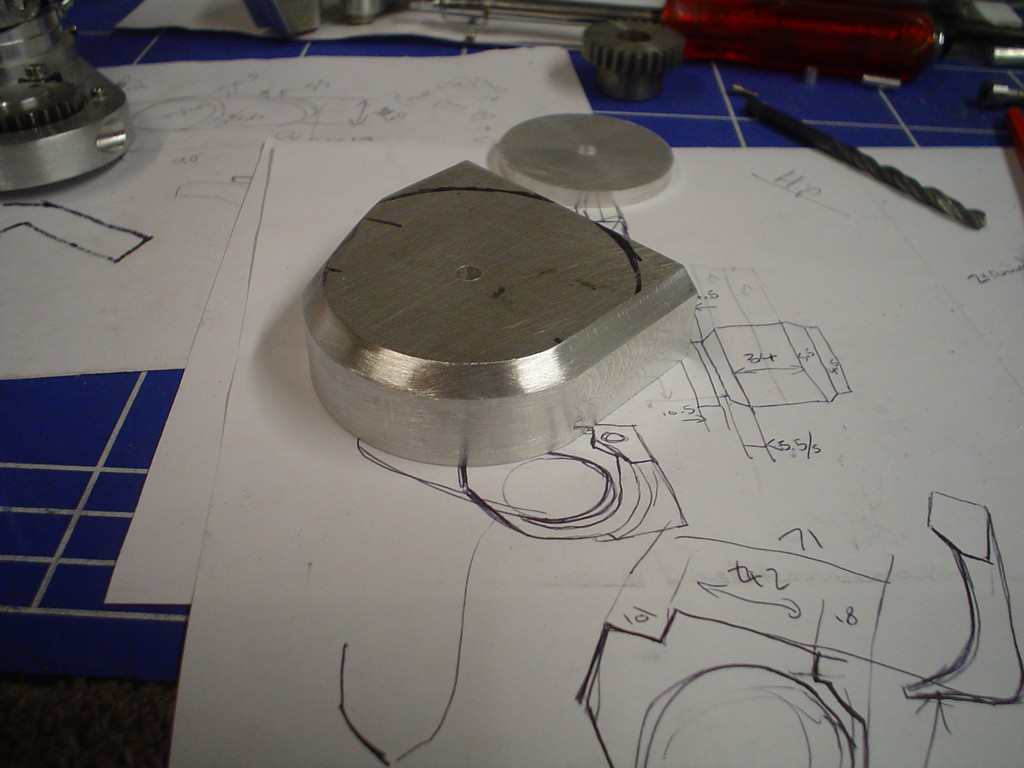 |
|
|
|
Post by magengar on Mar 31, 2010 15:37:13 GMT -5
I'm mesmorized seeing your work there, and again I'm speechless. You are so right, if yer gonna make something do a 100% good bloody job at it. Hands Down! The patience and dexterity to build these types of custom items can't be measured in the mere mind... ...Some folks have it, others don't. Thanks for sharing!  zozo-magengar |
|
|
|
Post by KingboyD on Apr 1, 2010 10:04:11 GMT -5
Man, your work is phenomenal! I wish I had the skillz to do something like this. I've done some machining in the past, but nothing like this. I can really appreciate the level of difficulty involved. Thanks for keeping us abreast of your progress.
|
|
|
|
Post by candyman on Apr 2, 2010 11:41:10 GMT -5
Thank you for your kind words  Beveled the other edge to match and cut a recess then made a plate to secure the 2 halves together, looks pretty close to the real one (you'll see later) 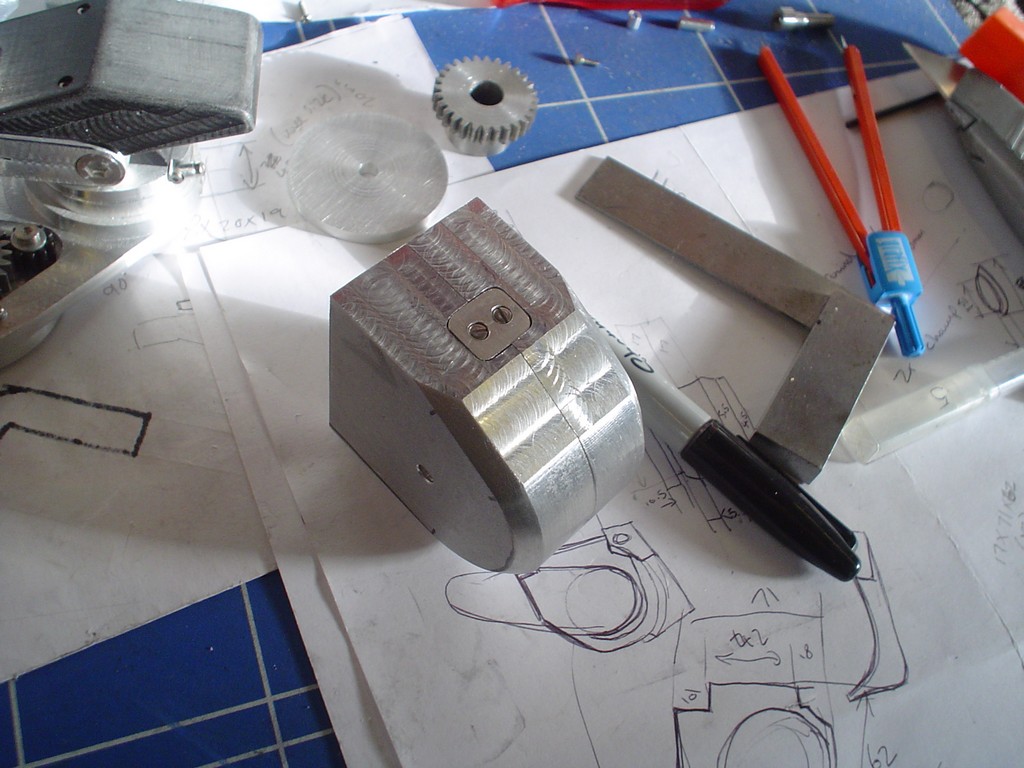 next groin, what fun. Rough shape out of delrin  had to file the matching curve by hand 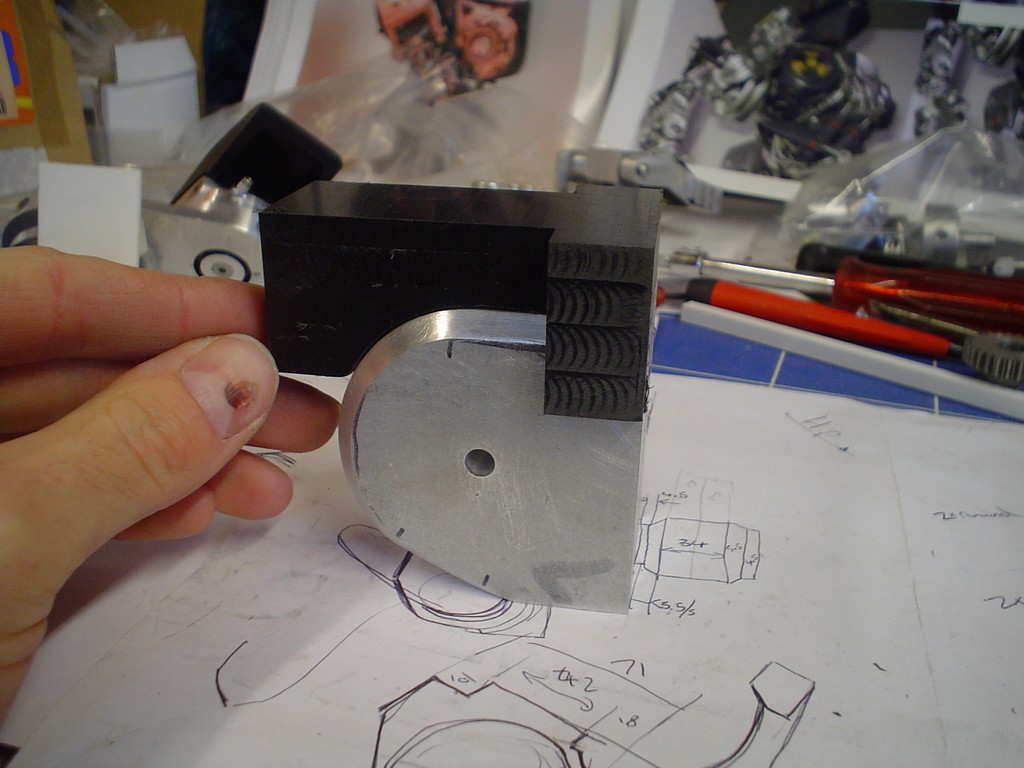 ......... next followed a lot of hacking away, and swearing where I forgot to take pics, I got a bit involved 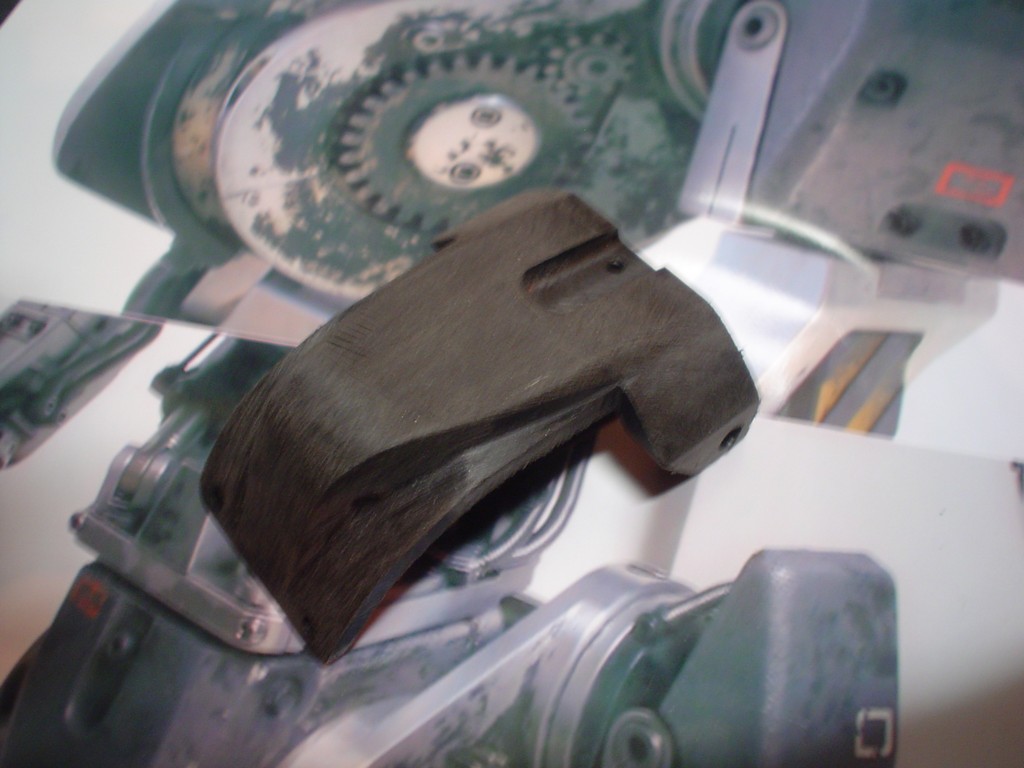 something like that  attached with hardware as per the pic.  |
|
|
|
Post by droutmaster on Apr 2, 2010 12:28:57 GMT -5
wow, this will look so awesome when its done. btw when you finish this project, do you have plans for another project?
|
|
|
|
Post by candyman on Apr 4, 2010 11:11:33 GMT -5
well im only 100 hours into this, there is potentially 700-900 hours left. I will need to be 100% focused on this to finish it. so no more about other projects for now Ok on to the rear end! hand to cut pieces like this on the mill as theres never much to grip in the vice 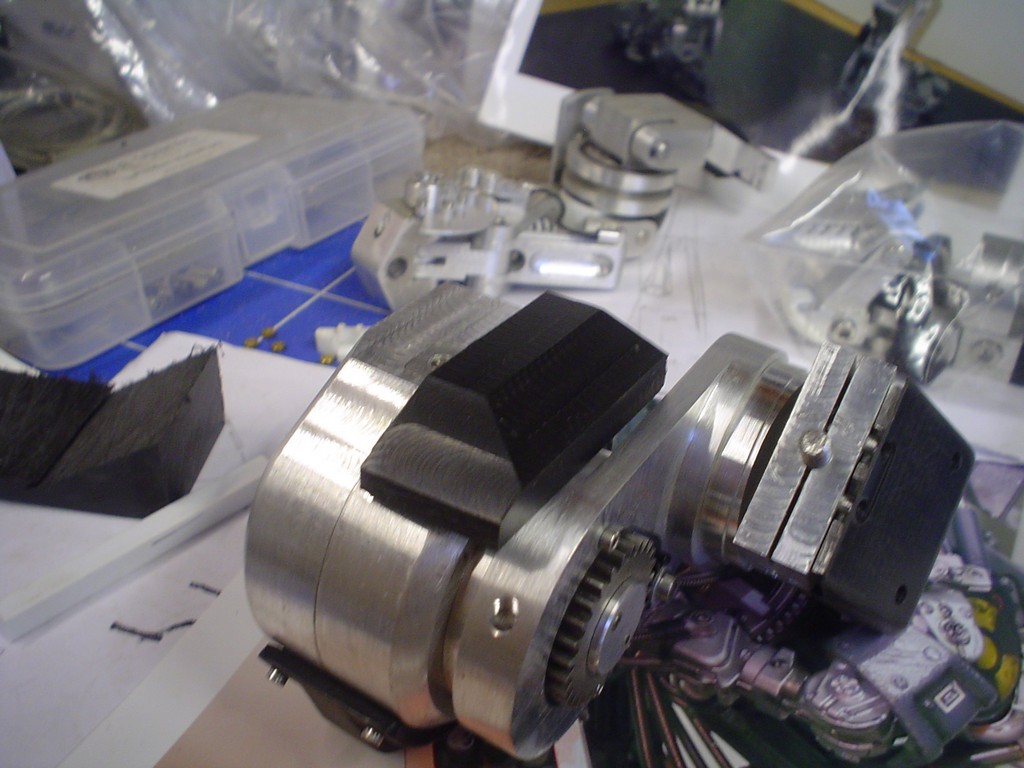 2nd one 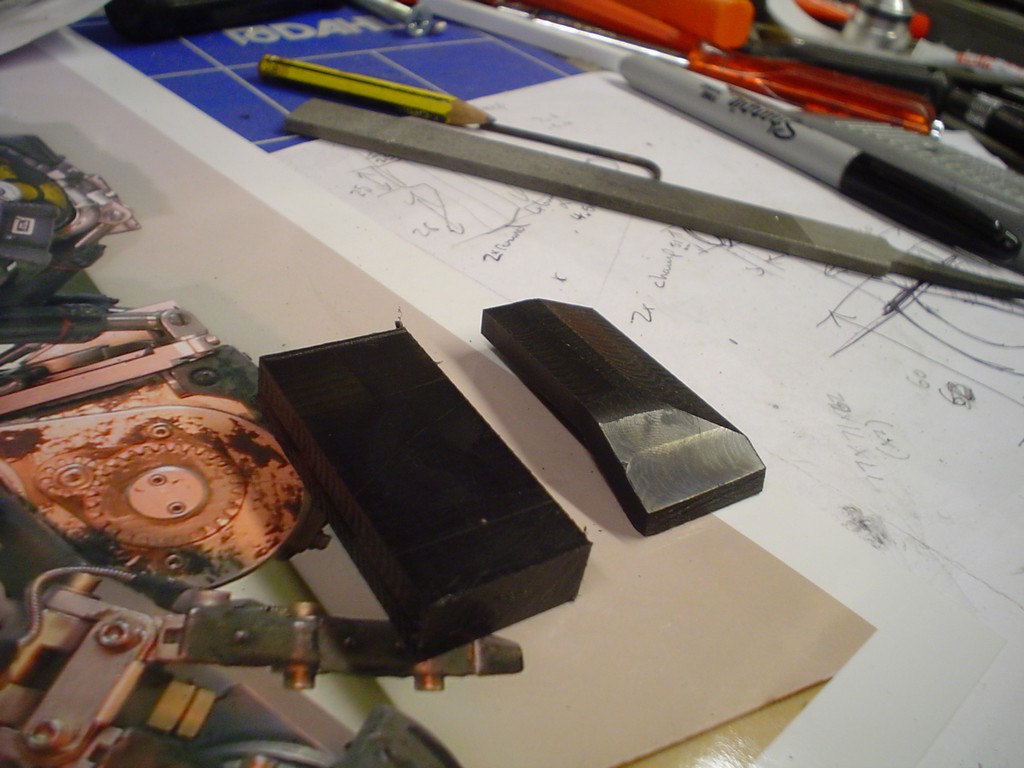 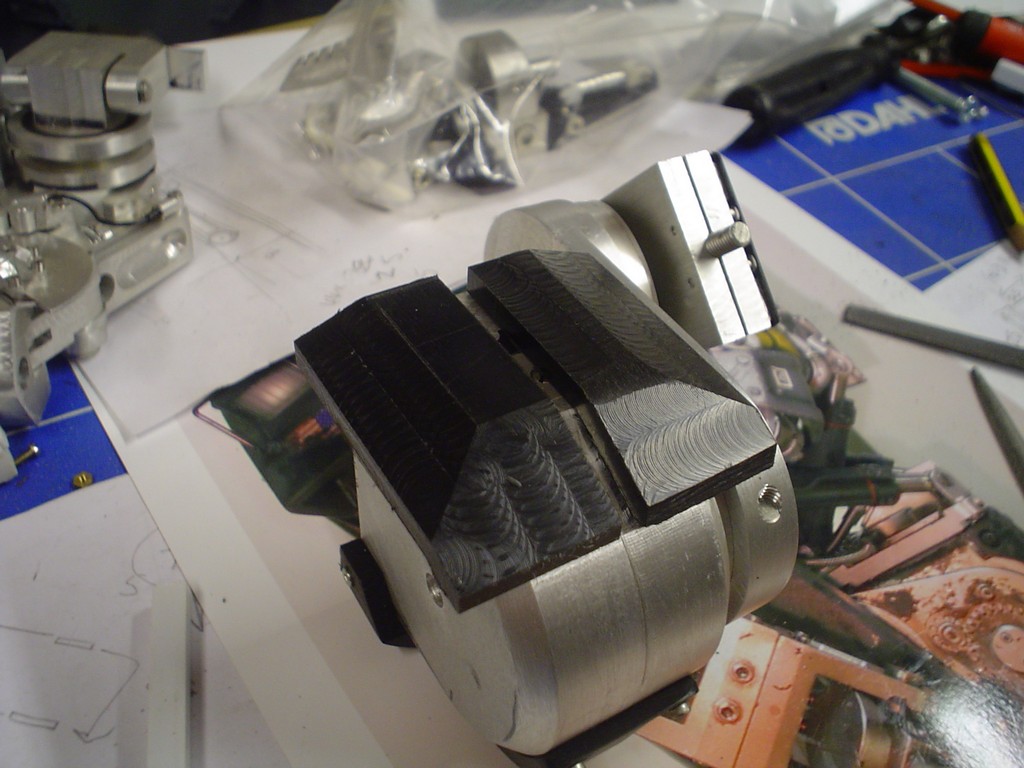 trimmed back  picture on the left, see the little plate that joins the 2 halves together 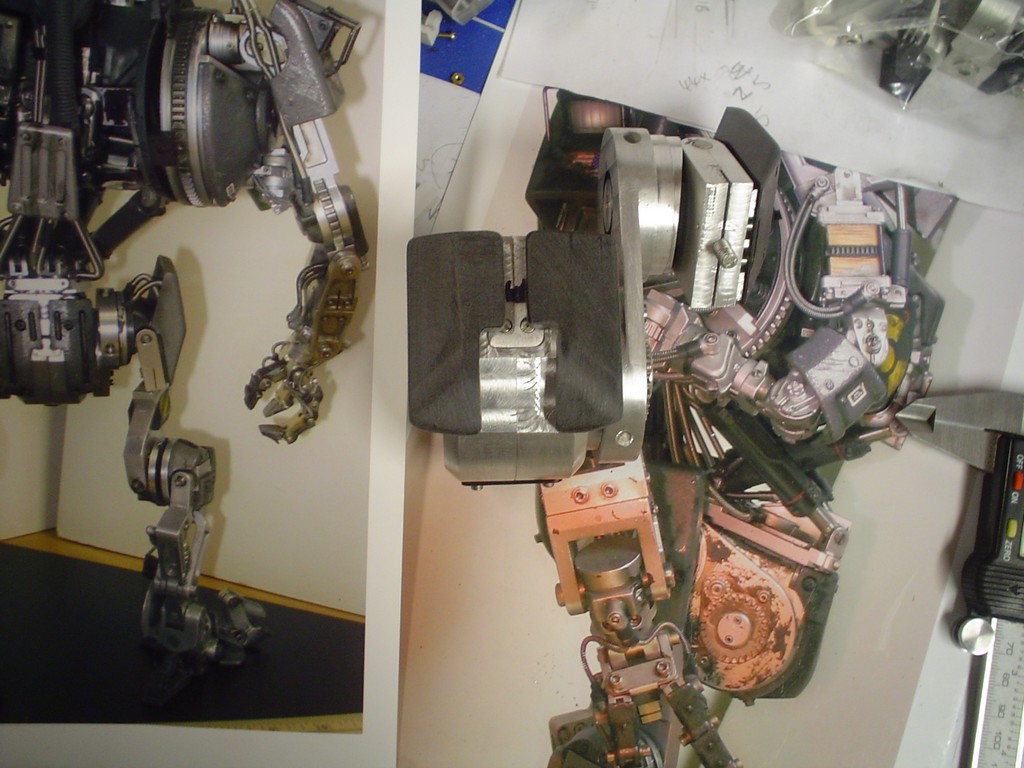 rather carefully milled the grooves out 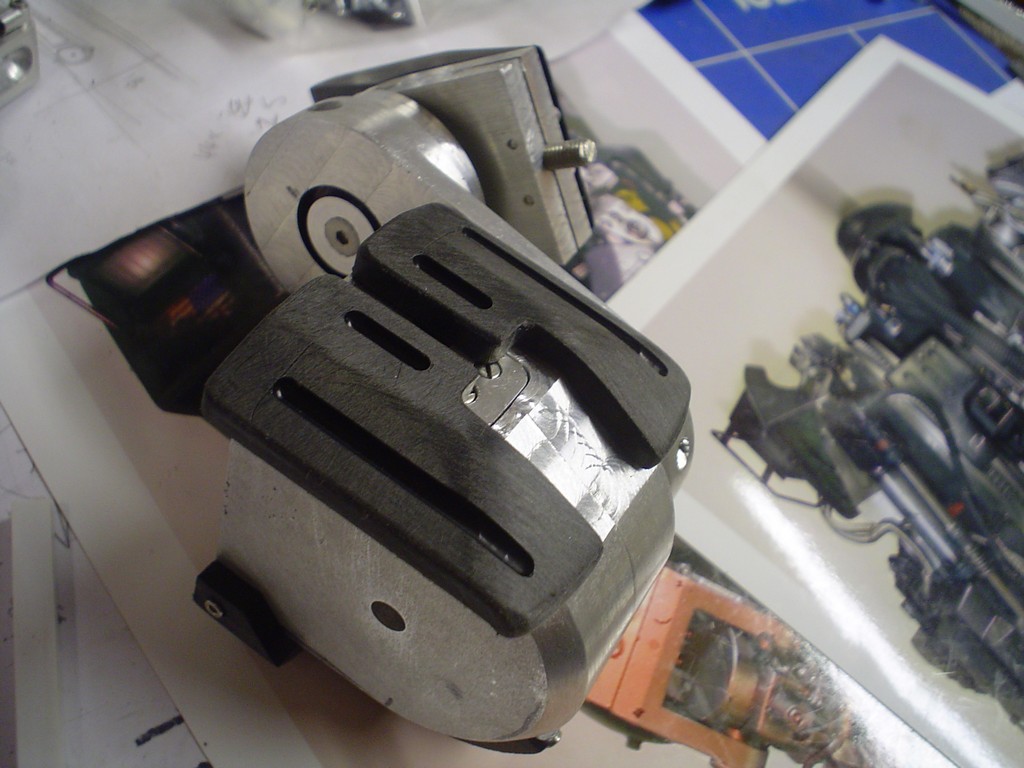 then drilled, countersunk and tapped with 2mm hardware.  |
|
|
|
Post by snowdog on Apr 5, 2010 2:15:16 GMT -5
Wow!! Can't help feeling impressed at each set of new pics. Keep them coming  |
|
|
|
Post by candyman on Apr 5, 2010 13:37:19 GMT -5
Now onto the waist/torso, bit of guess work here, hard to estimate the shape and size of the plate.  trimmed and rounded 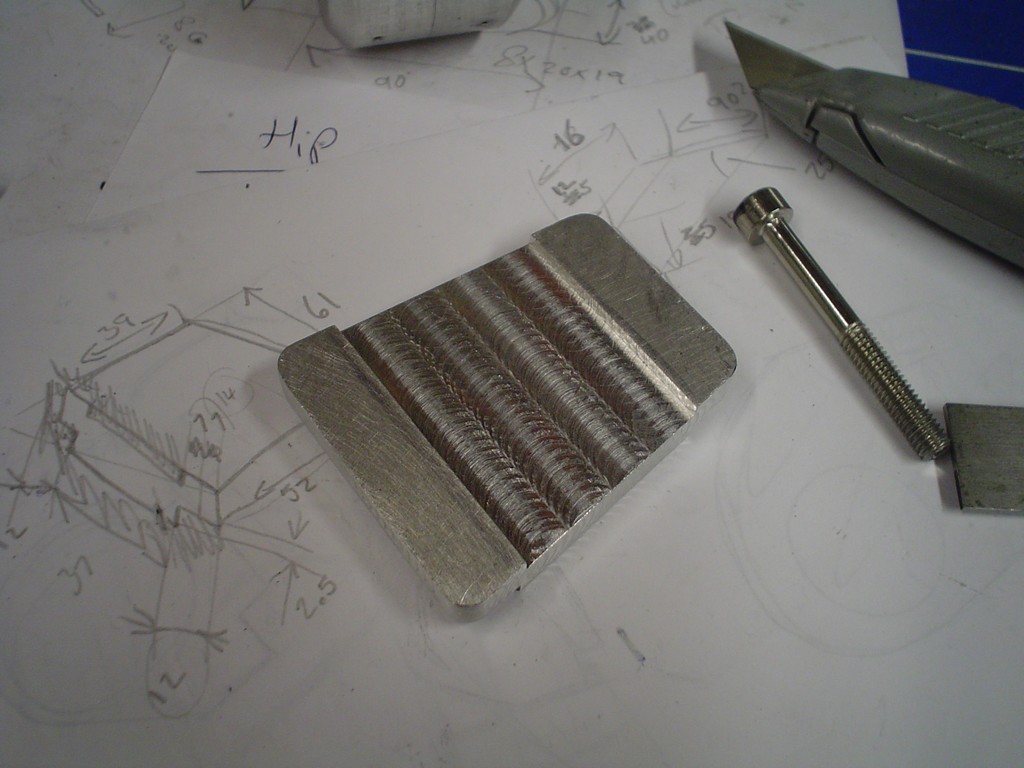 ...after looking at the pics again i decided this is too thick 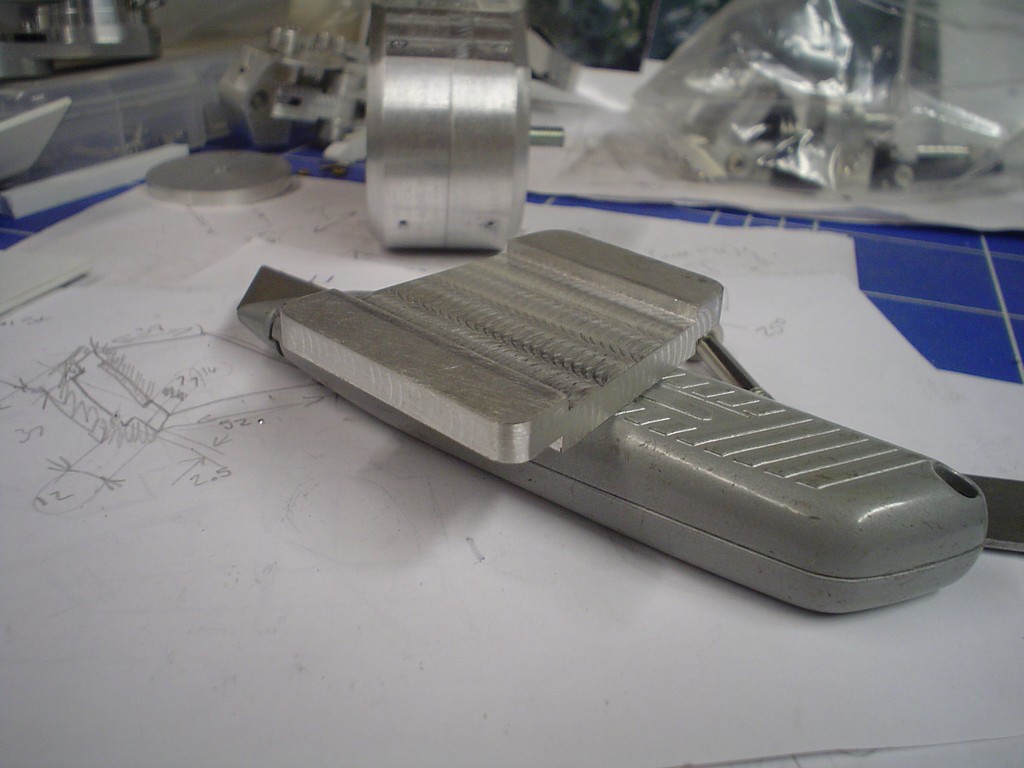 so took 1mm off the top and put the holes in it. Picture in the background for reference. 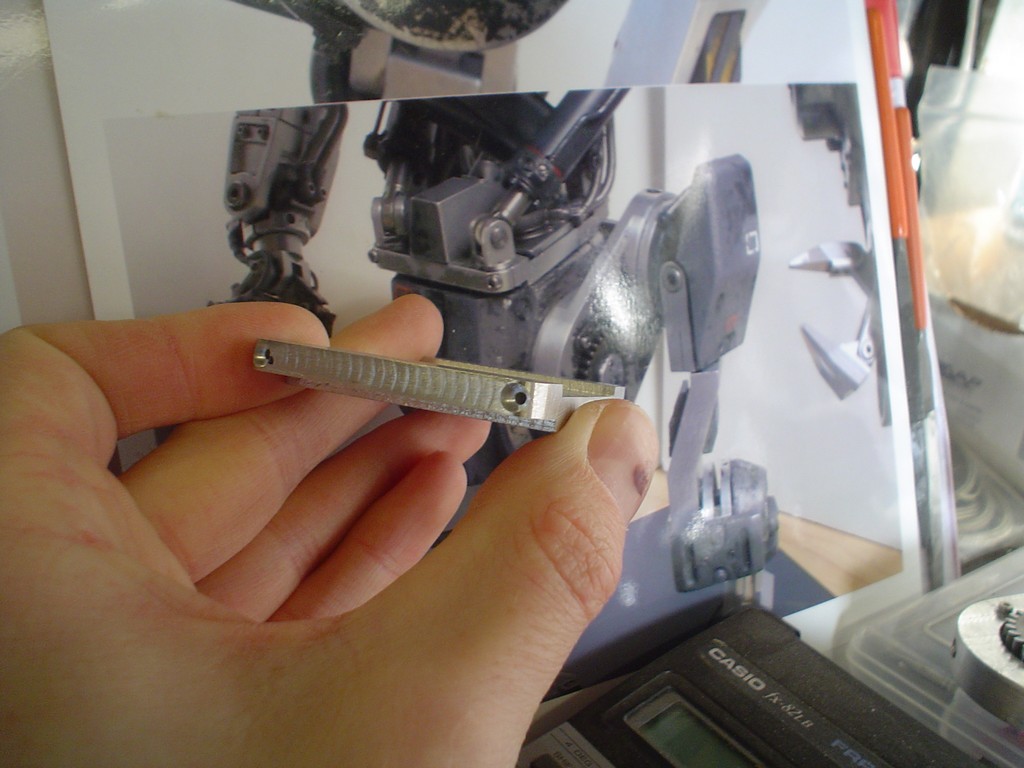 used a slitting saw to cut the slots 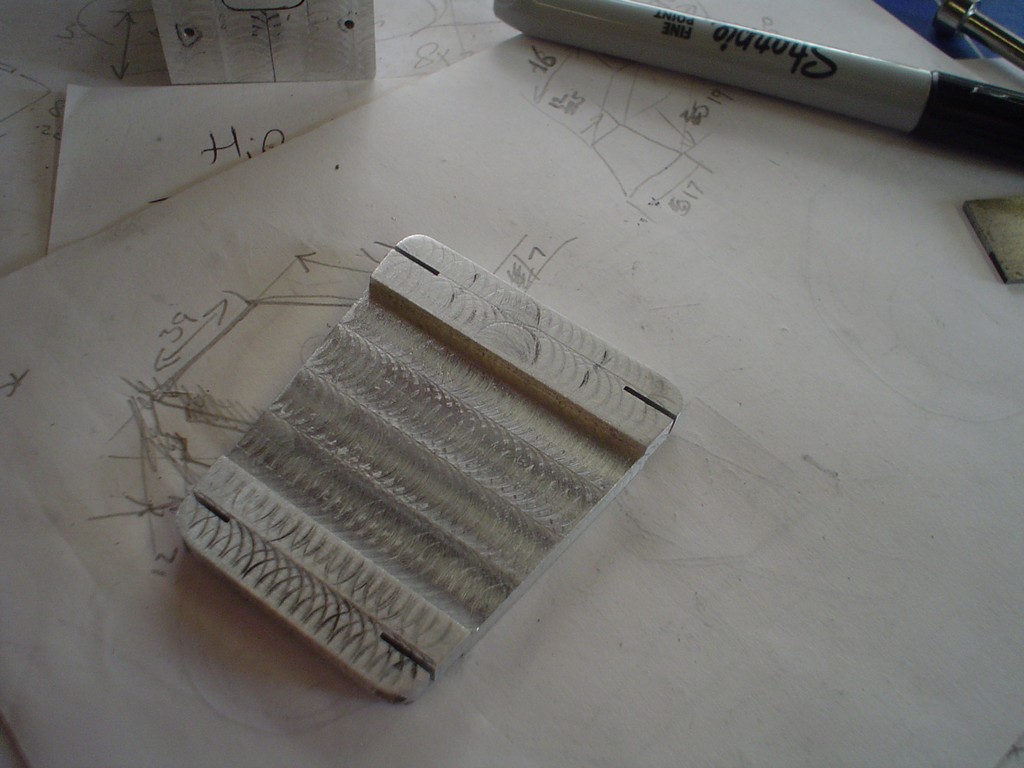 onto the big lump in the middle 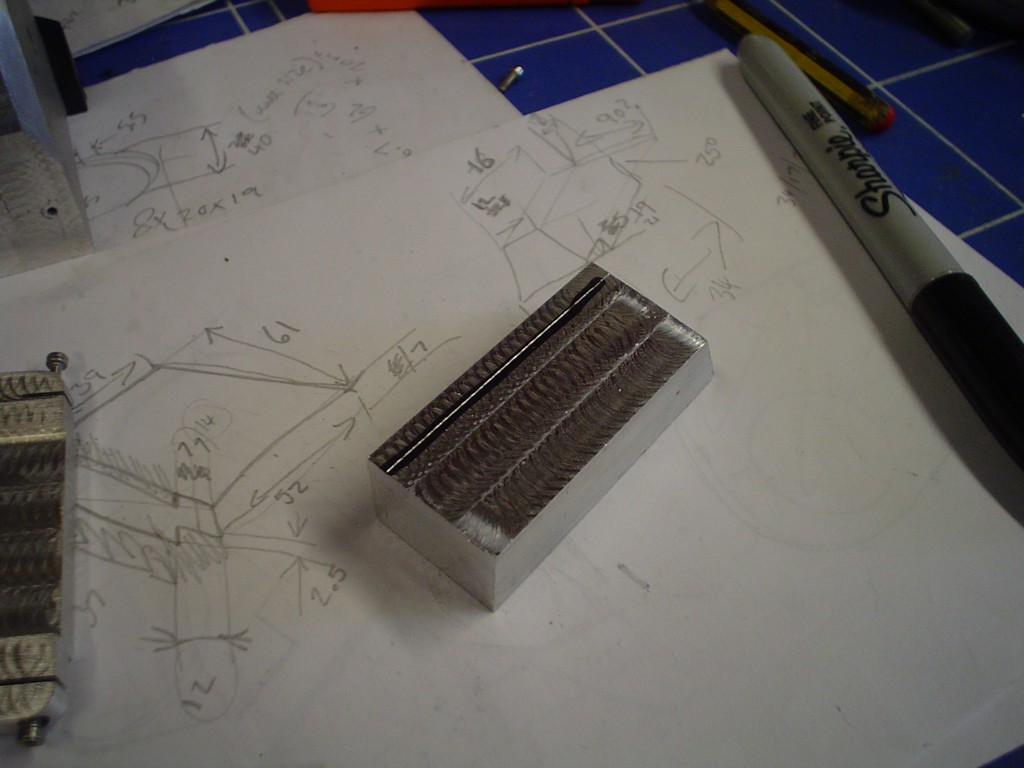 this looks a bit big too..... hmm 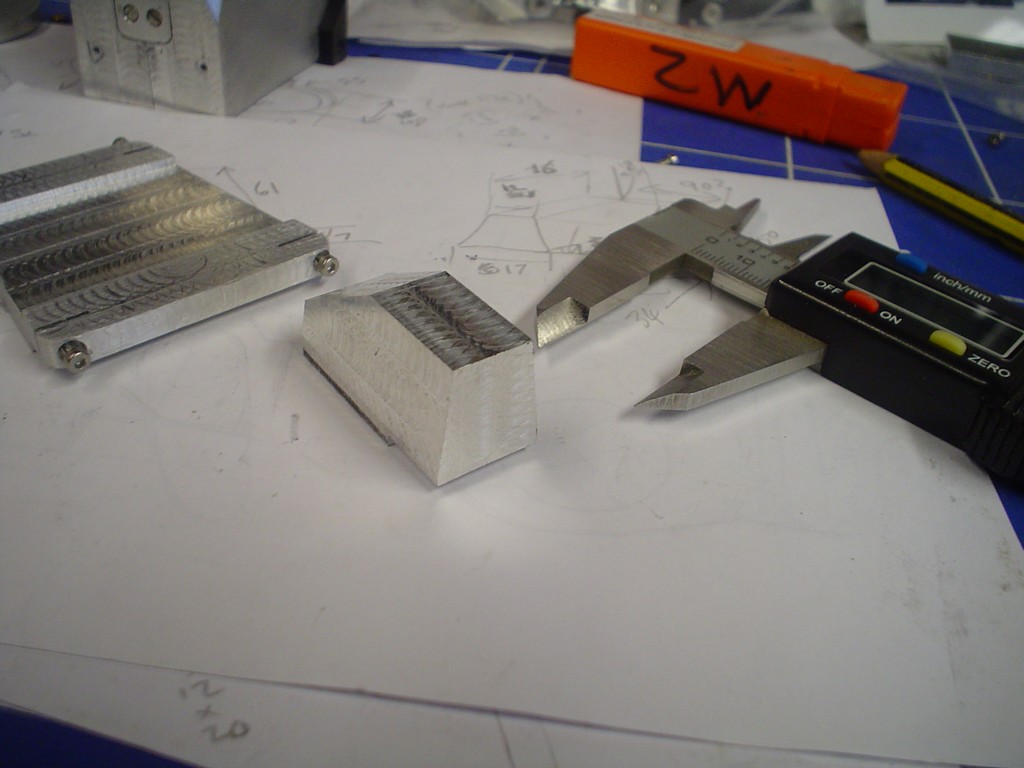 might end up taking it down a bit, be glad to get this stupid bit out the way! 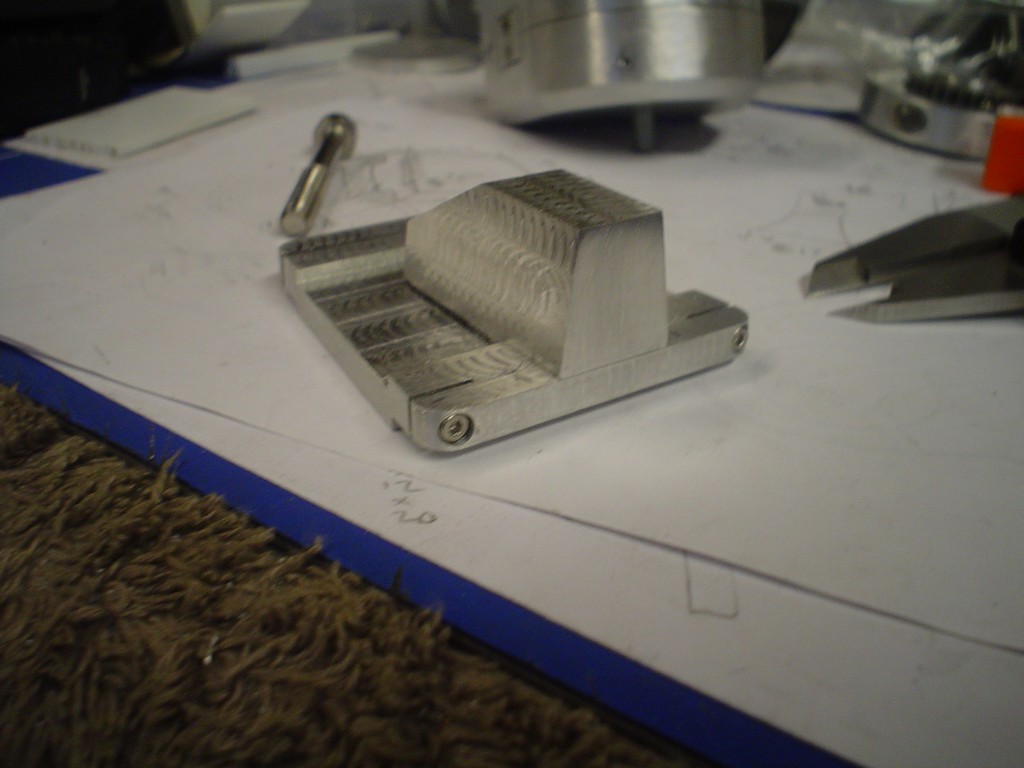 |
|
|
|
Post by xiombarg on Apr 5, 2010 15:29:58 GMT -5
I'm guessing this is a fairly expensive project, no? Like how much are these blocks of metal per cubic inch/foot and are you getting a discount by chance?
|
|
|
|
Post by candyman on Apr 5, 2010 16:42:07 GMT -5
metals cheap, ebay is a great source of ally, plus I have quite a lot laying about. Half the cost is the metal and half hardware, some of the screws are quite hard to find and I want to get everything perfect. £200 so far, I have a running total on my site www.ukmonsters.co.uk/robocain |
|
|
|
Post by chachipower on Apr 5, 2010 20:57:14 GMT -5
wow, most of us are freaks for metal robots.. I know I am, and aside from that I love the industrial feel of machined pieces. This project blends the two together, awesome work, Im definitely keeping an eye on this thread
|
|
|
|
Post by candyman on Apr 8, 2010 11:35:44 GMT -5
im struggling to see the parts on this plate, a lot of it is molded and im not going to do it exactly as it'll be all but covered by the cylinders and all the pipes and wires. So:  i'll have to fill all the gaps before painting, most of it will be covered anyway  onto the little U brackets fo the cylinders, I have to make 8 of these all exactly the same. 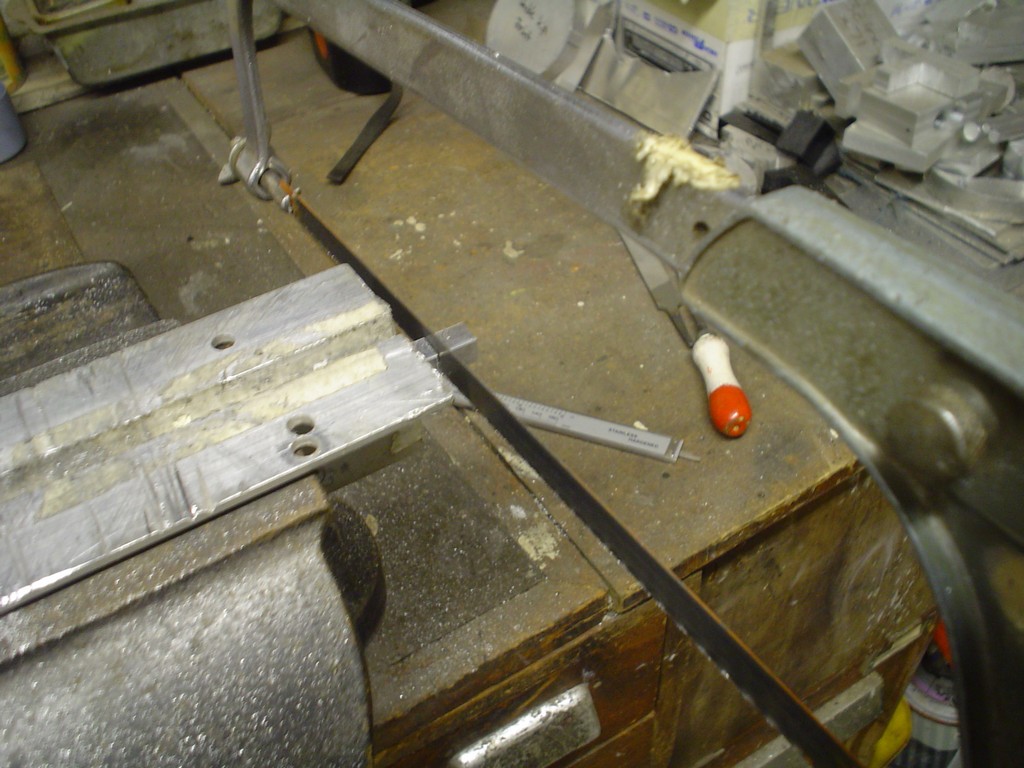 cop them all off 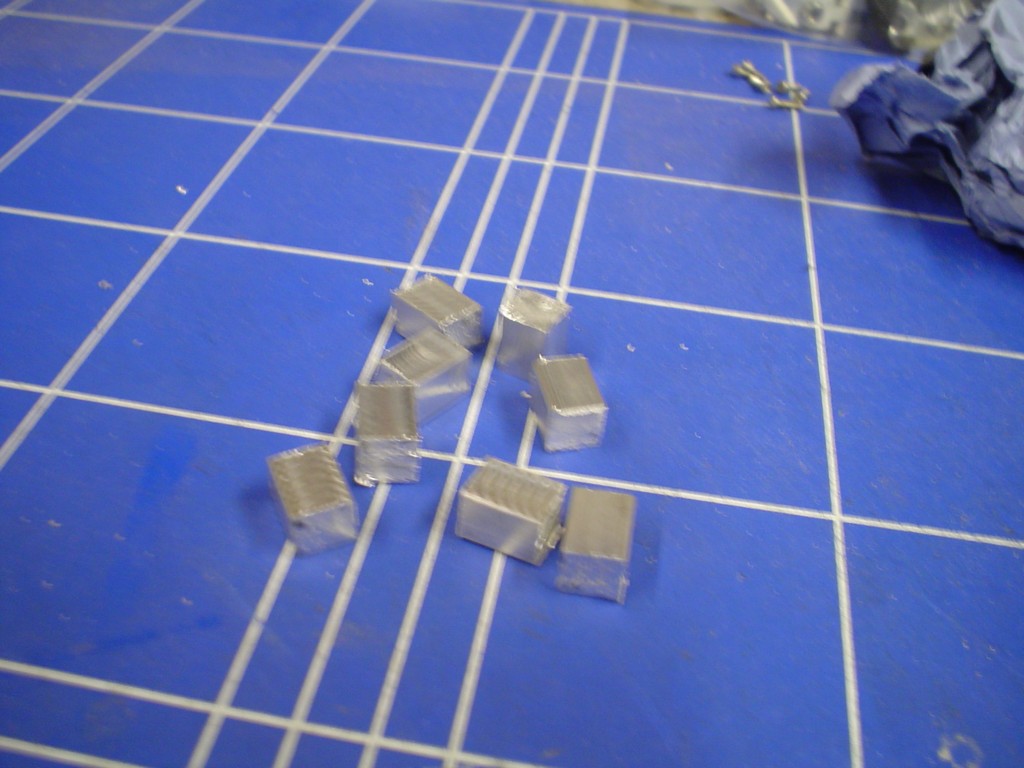 mill each one to the same size, both ends, boooooring 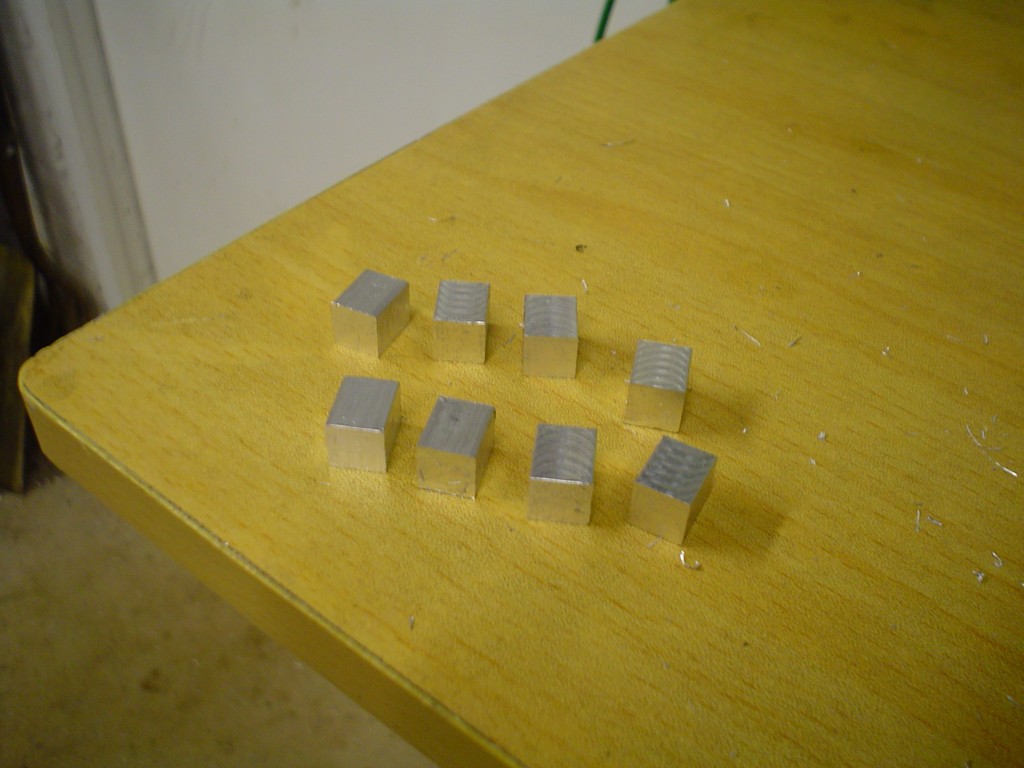 then file the curve on each one exactly the same.... booooooooooooring 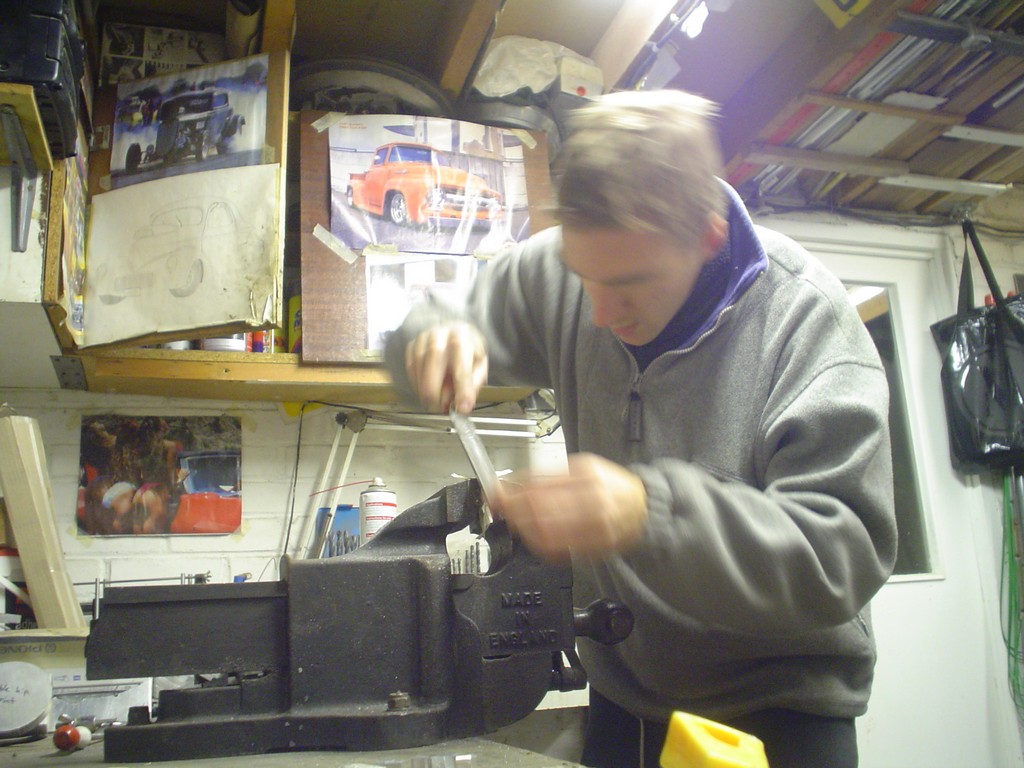 then mill the gap out......... STILL boring  |
|
|
|
Post by candyman on Apr 11, 2010 3:13:00 GMT -5
well and hour later. The gap is only 3mm so I have to cut 10mm (i think) down using a 3mm cuttter, the 3mm mill is quite delicate so I have to take light cuts so as not to clog the cutter. So something like .3mm per cut, so thats 30 passes per U bracket, times 8 brackets is.... tum tee tum 240 passes. 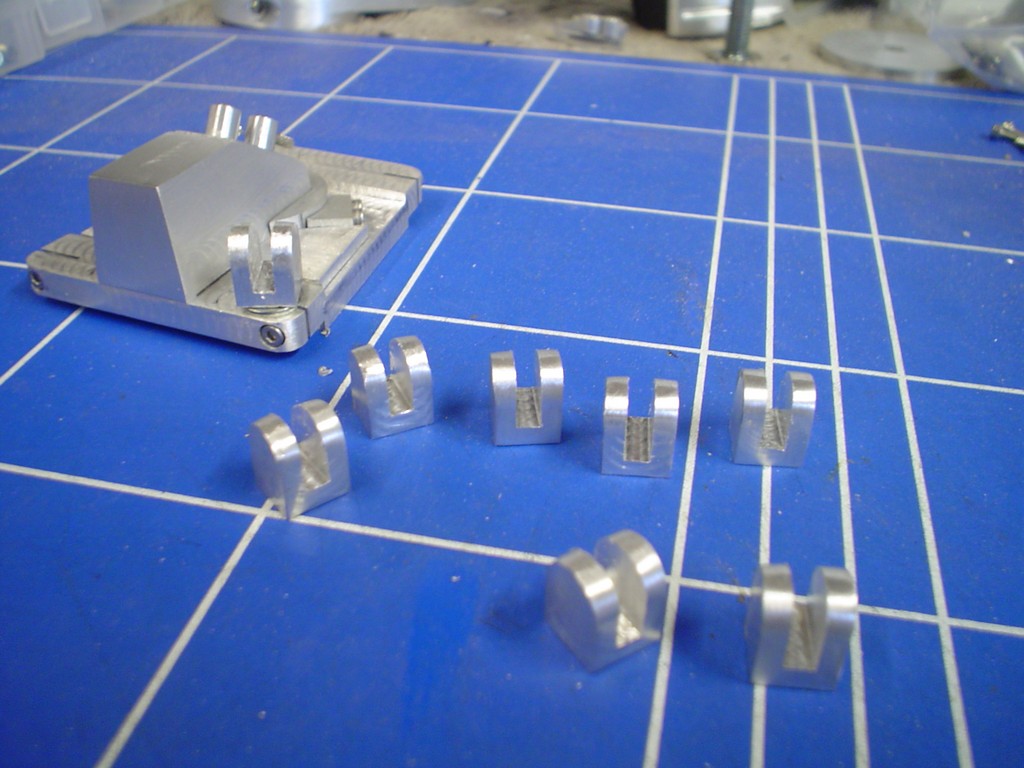 now drilled them all sides and bottom 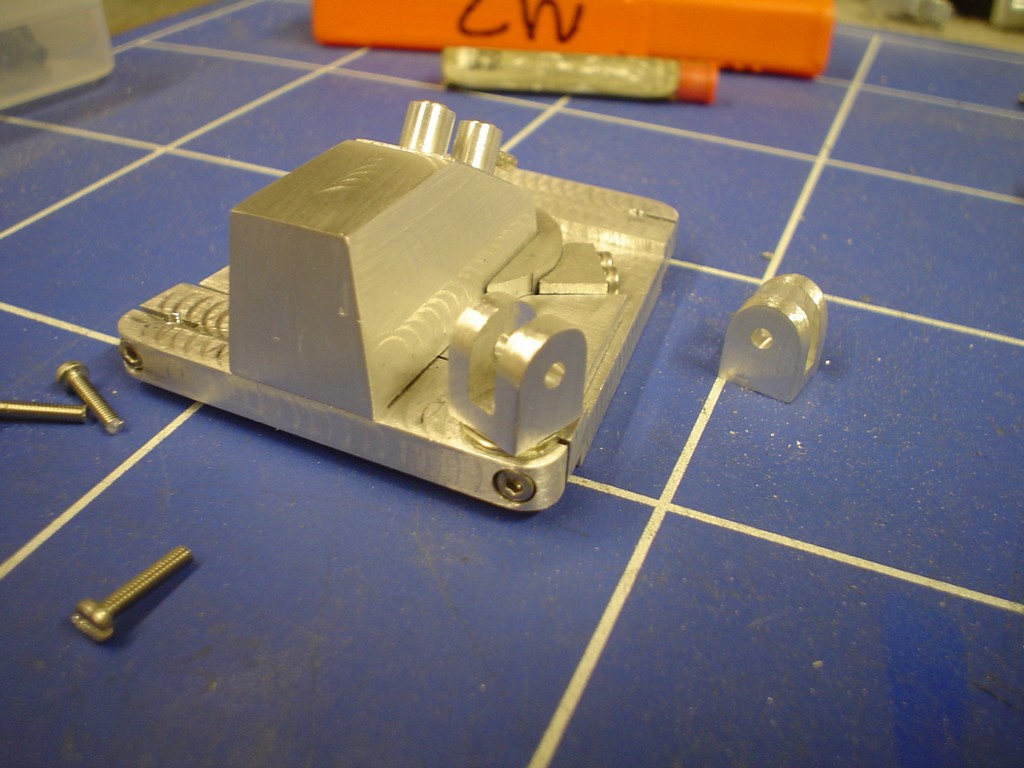 got some material for the cylinders.... im not 100% on this, it looks a bit thin, the detail on the cylinders is crazy, im not sure there is enough room 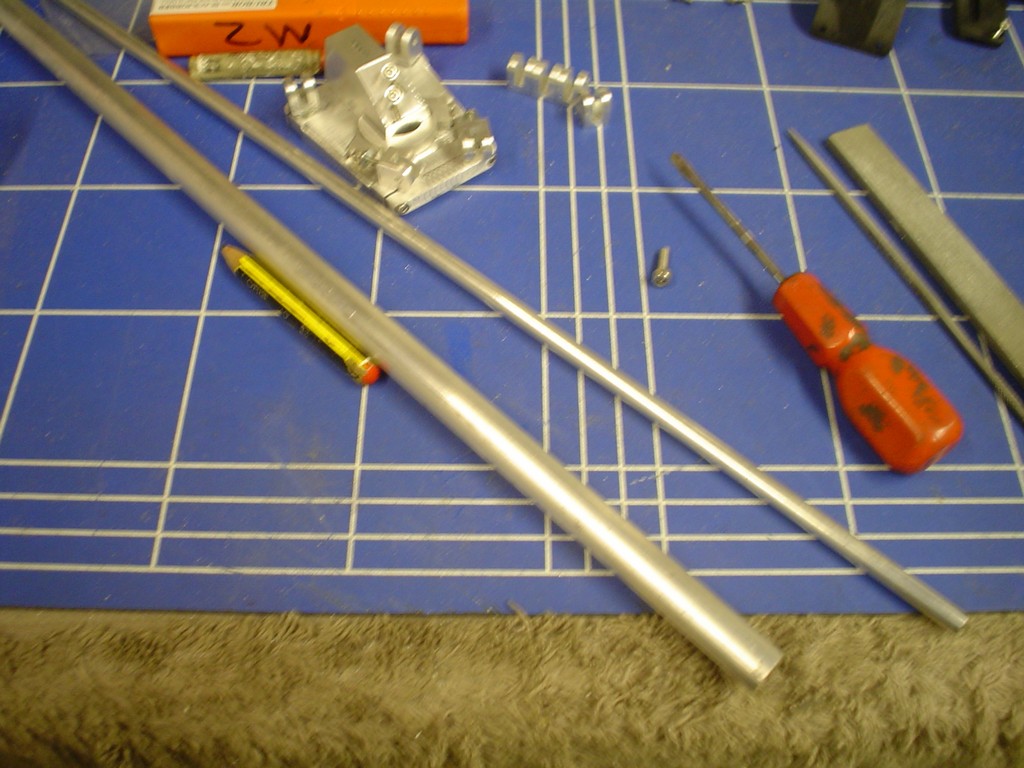 turing away 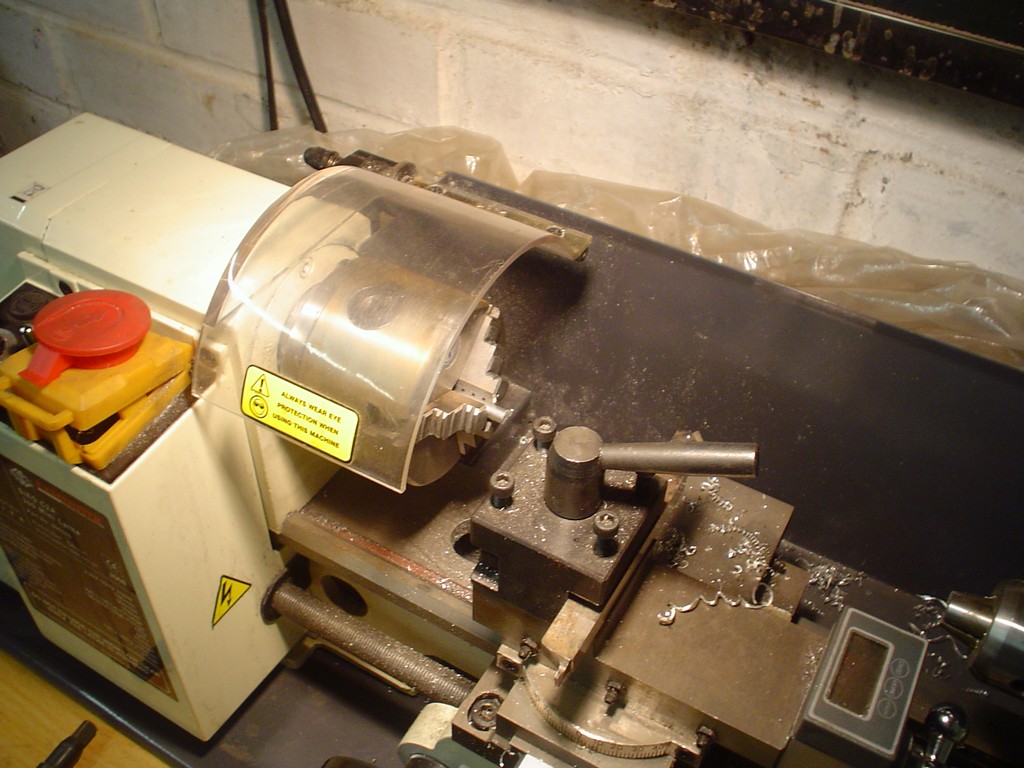 cutting the rod first for a trial fit 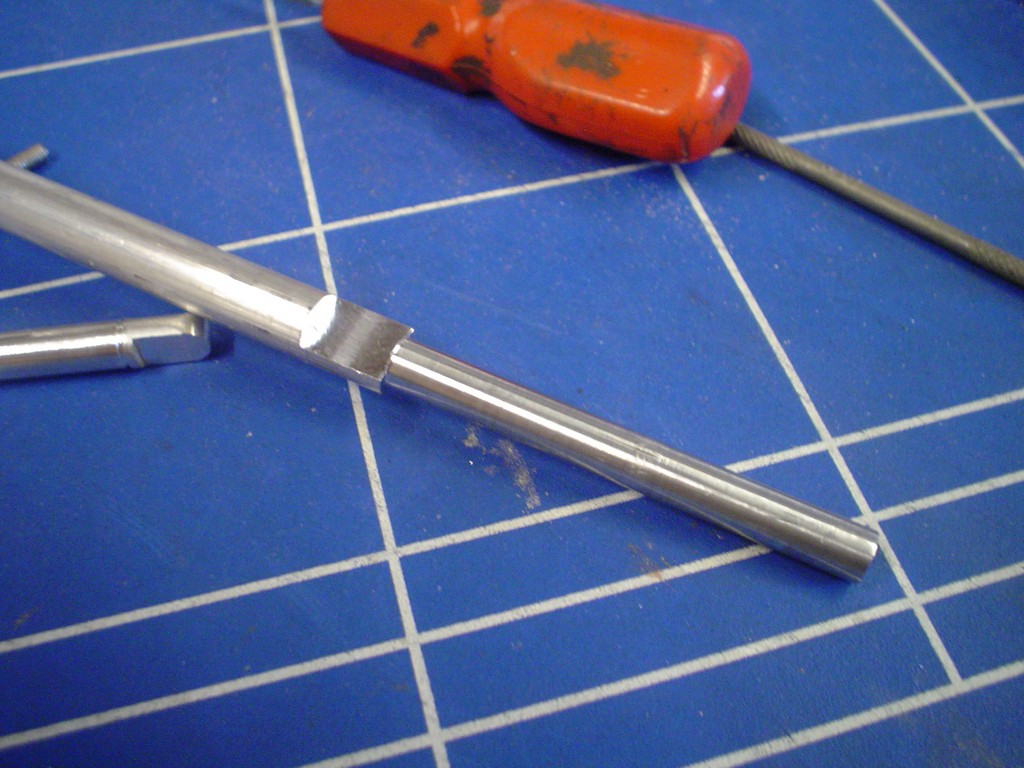 cylinder 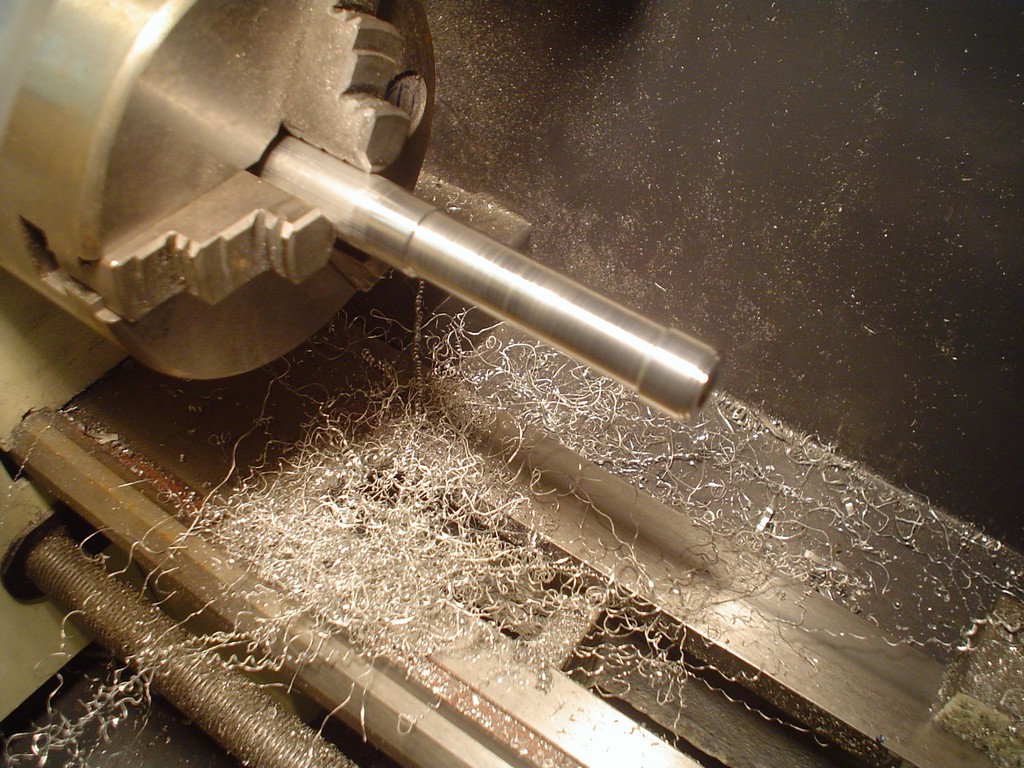 oh dear  my initial suspisions are realised , after adding the 4 screws there is no material for the 2 verticle screws and it does look too small, which I suppose is a good thing.  pic of the real thing for reference: 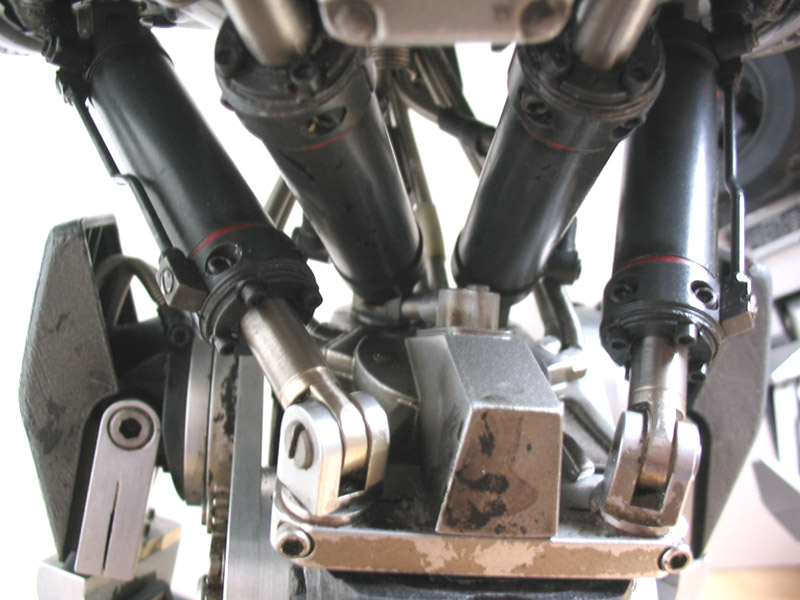 while I wait for thicker rod to be delivered i'll get on with a left leg bit. 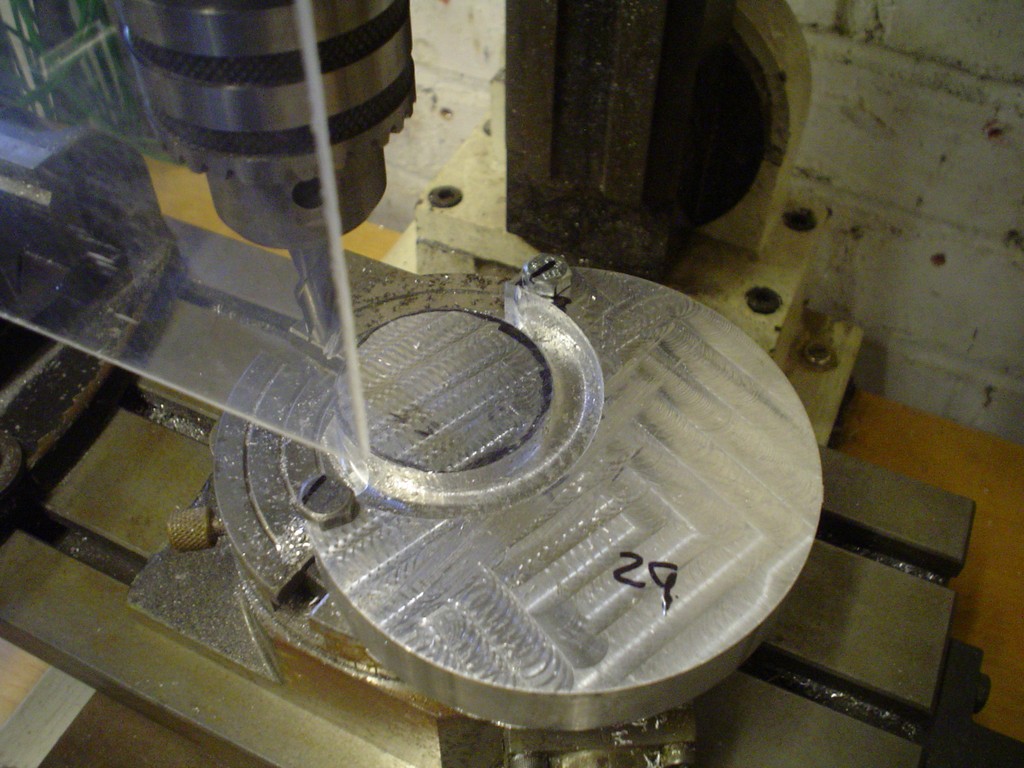 a lot easier with one to copy 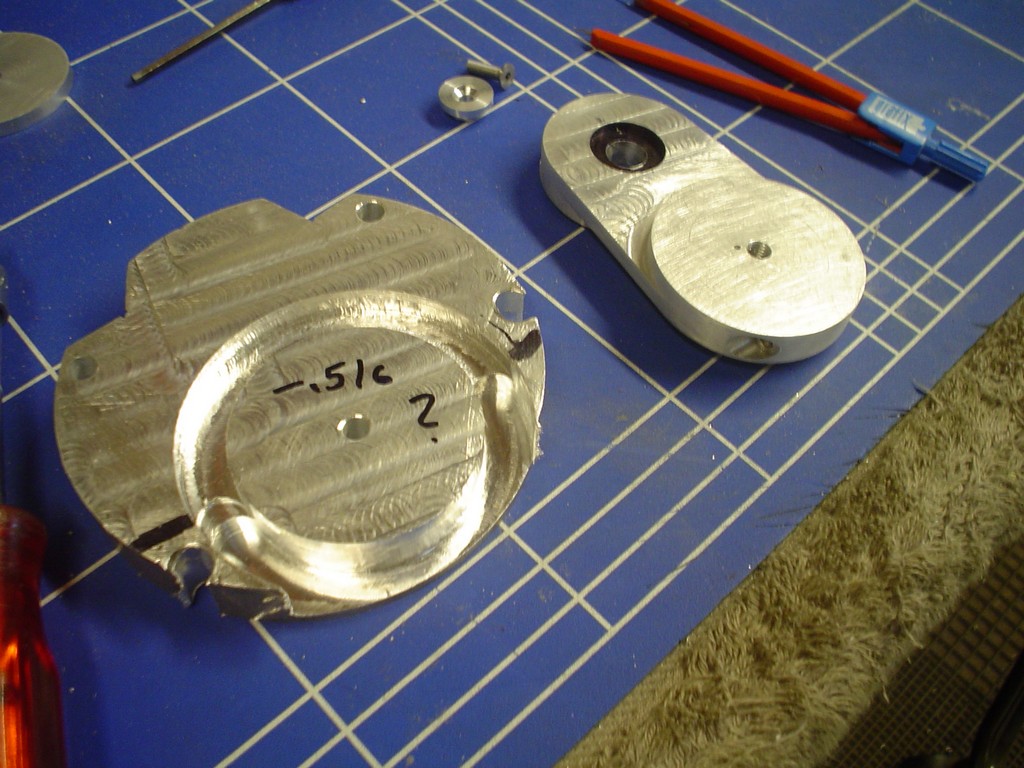 |
|
|
|
Post by candyman on Apr 15, 2010 12:44:44 GMT -5
Bit of a delay on this update i've been rather busy. finishing off the other thigh 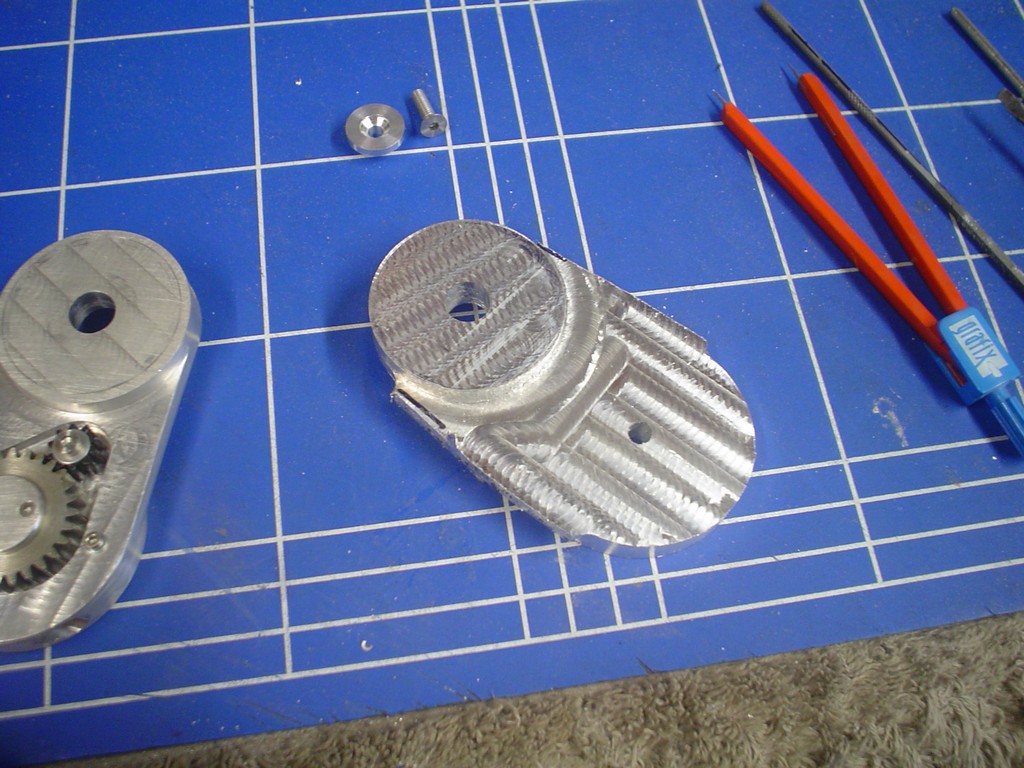 cold up the garage the other night, didnt help the gas in my heater ran out  brrrrrrrrrr  easy when there is a part to copy 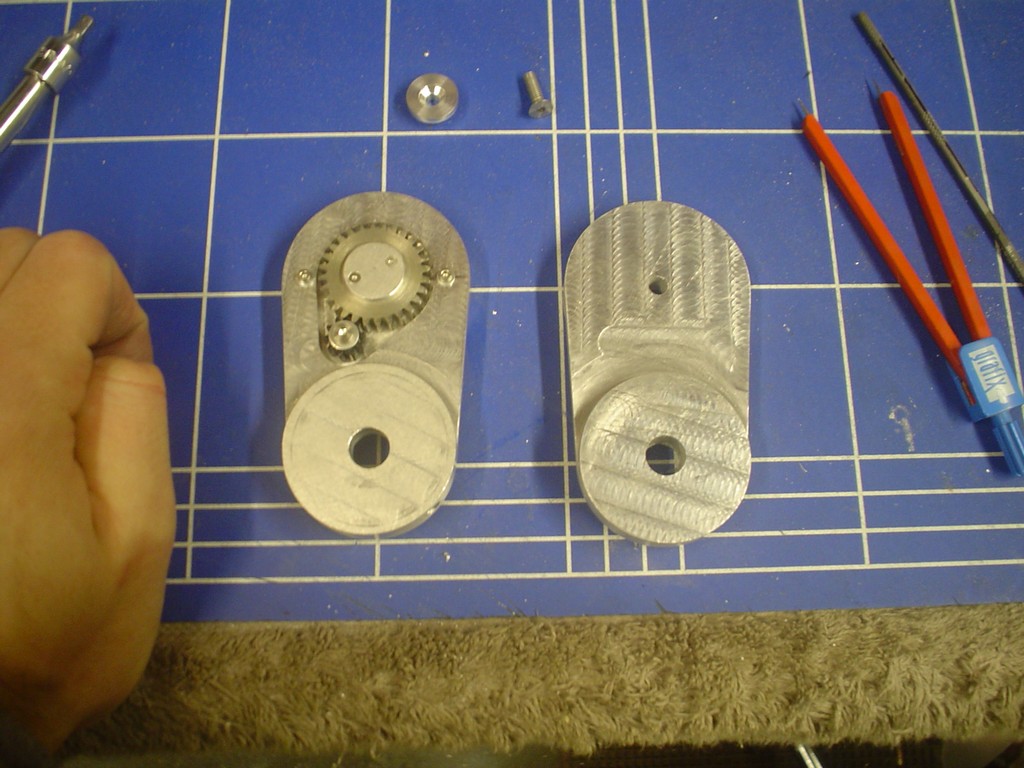 center it up with a little pointer i made. 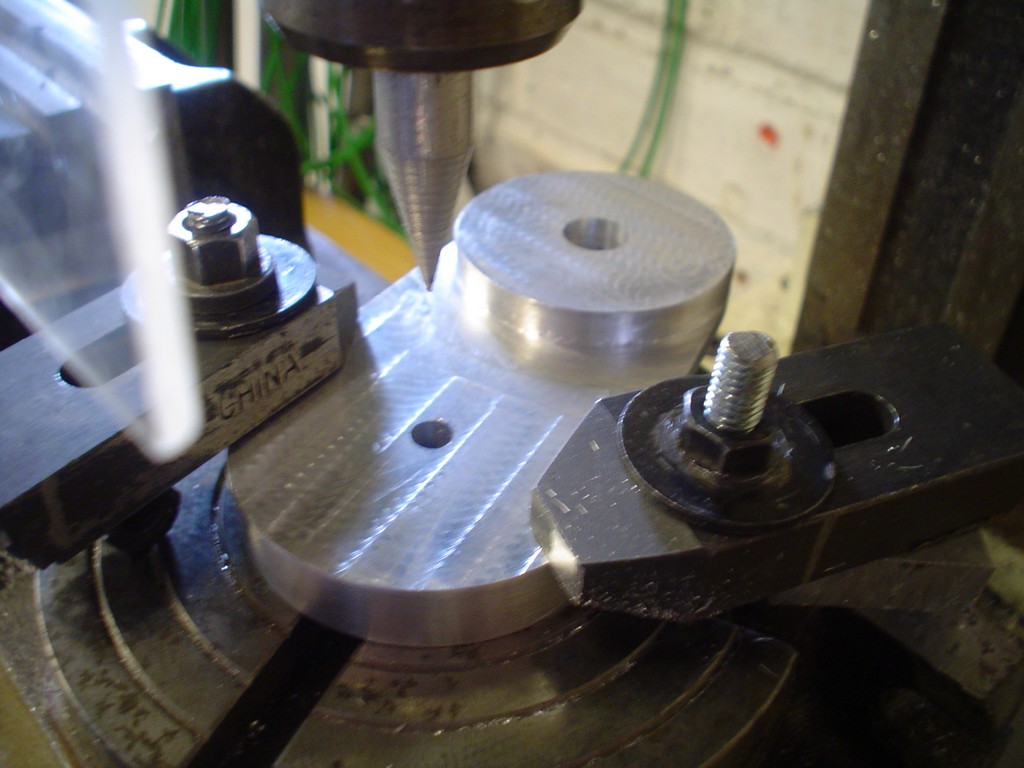 then take it round 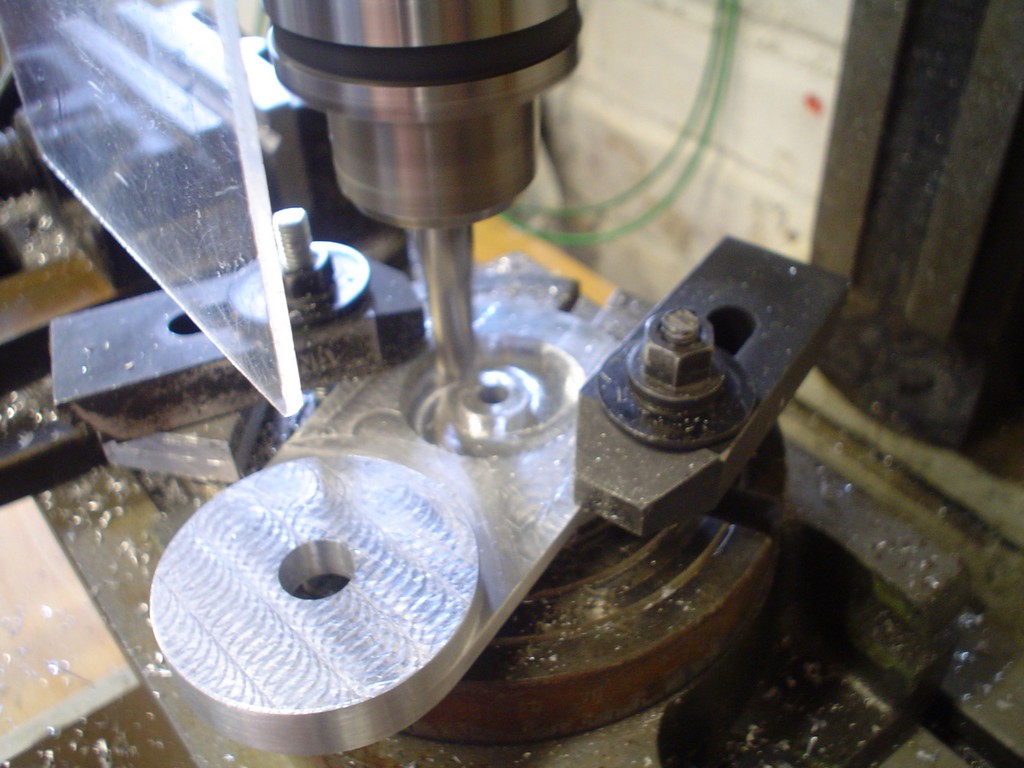 nearly there, just the easy bits to do. 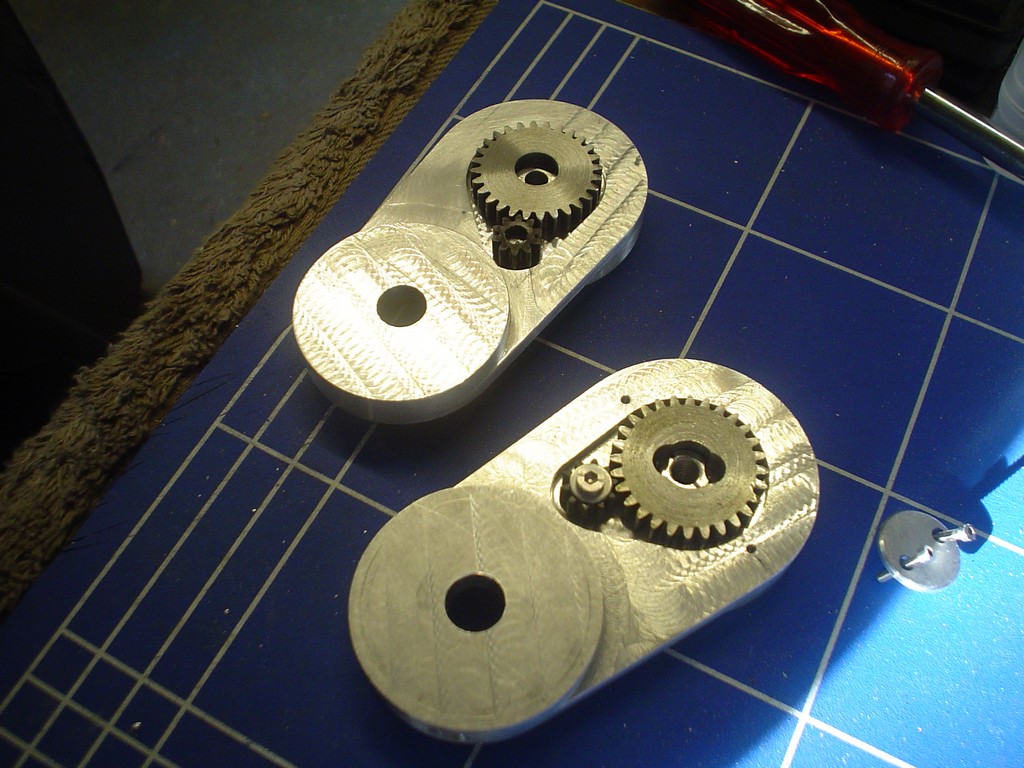 boring the holes in the sides and drilling and tapping everything 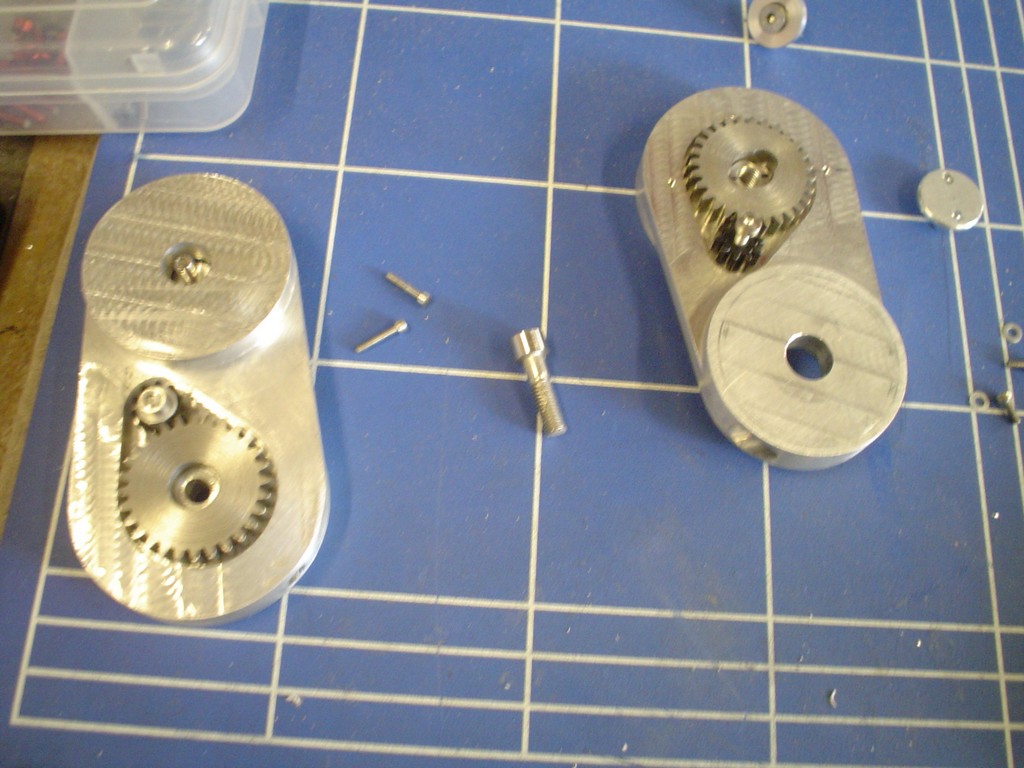 turned the other spacer and there we are  gave myself a big pat on the back for getting this hard bit out the way for good. 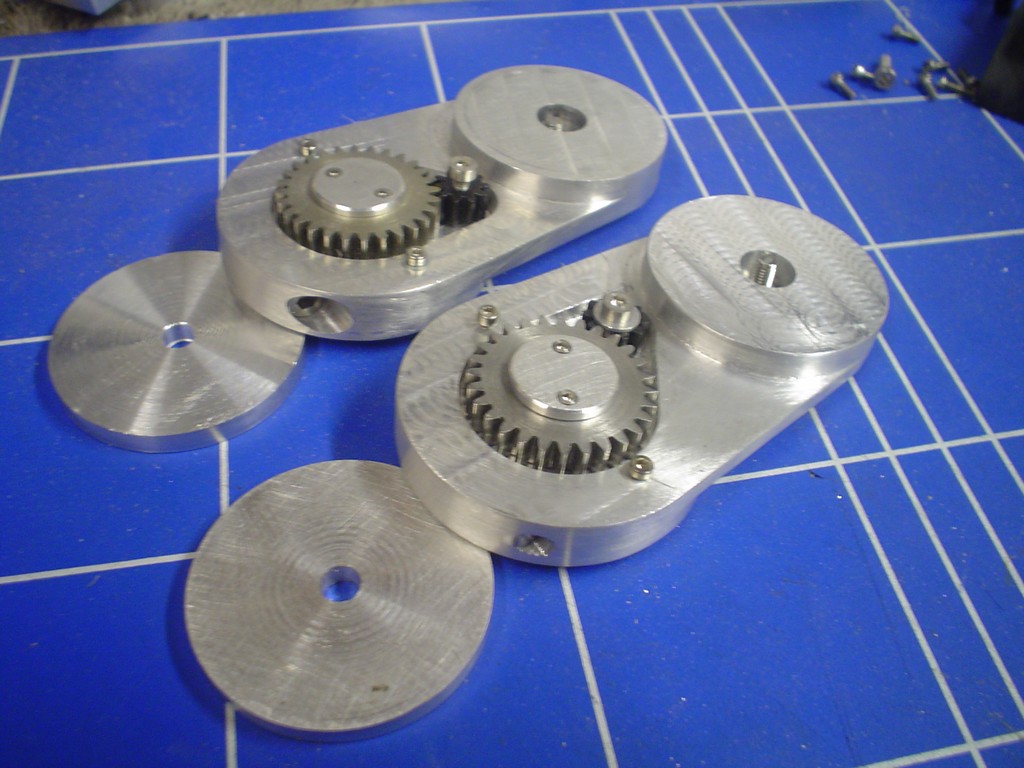 |
|
|
|
Post by magengar on Apr 15, 2010 15:13:34 GMT -5
I just Gotta bookmark this thread for safe-keeping. This is the most industrious thread I've ever seen since I joined RJ; and if this keeps up, we could soon see this mecha walking through town! ;D Rock On!  zozo-Magengar |
|
|
|
Post by snowdog on Apr 18, 2010 2:10:27 GMT -5
Great job Candyman!
|
|