|
|
Post by candyman on Apr 19, 2010 16:12:39 GMT -5
thanks for the support chaps  Ok got the material for the cylinders, this "feels" right, progress will apear slow on these for 2 reasons. 1, I have to do 4 of these the same, so each operation has to be replicated 4 times and 2 I have to make a note of every measurement so I can get each one exactly the same. drilled a deep hole for the rod to move in. 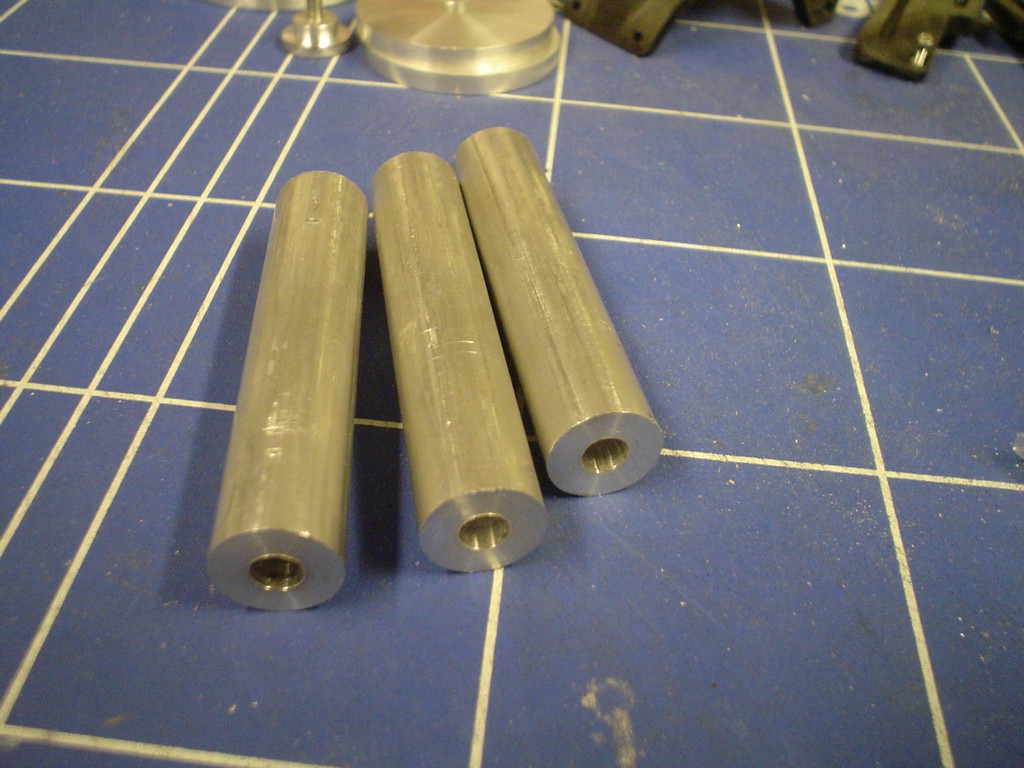 put the 2 steps in. 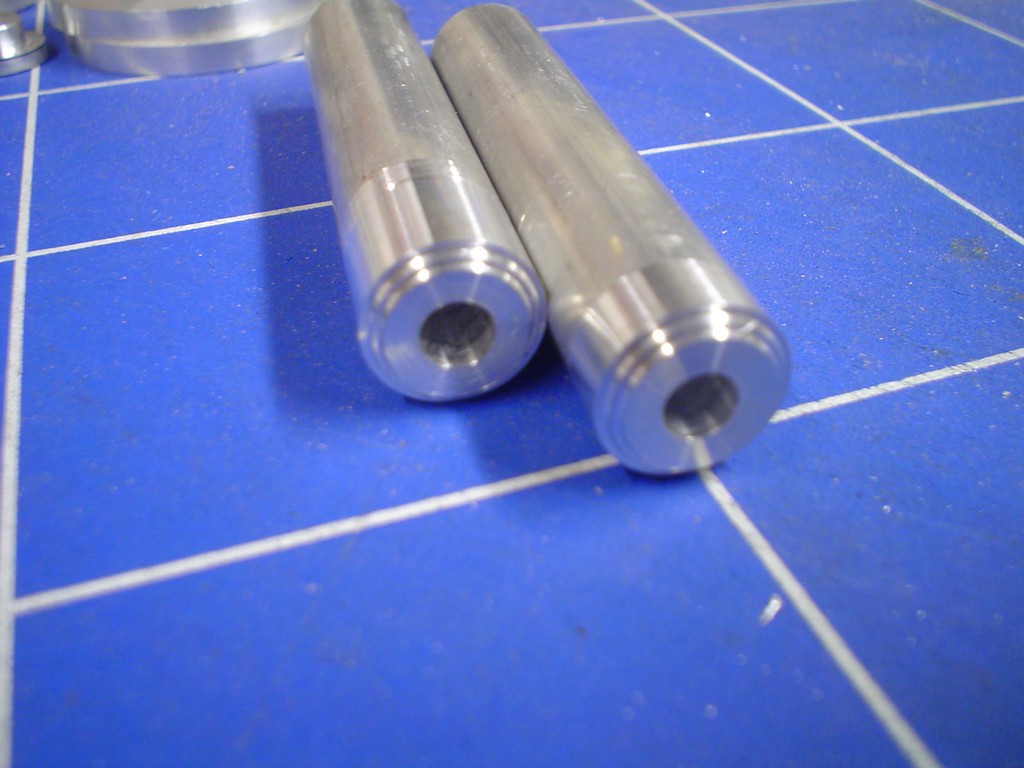 one thing I learnt from the 1st one I did wrong is that no matter how carefully you clamp it your gonna get marks, so I am purposfully using a piece of rod that is 1mm too fat, then ignoring the extra 1mm (0.5 each side) in my measurements, so at the end I will have a finished cylinder that I can then turn down for a perfect finish. for scale the milling cutter here is 3mm 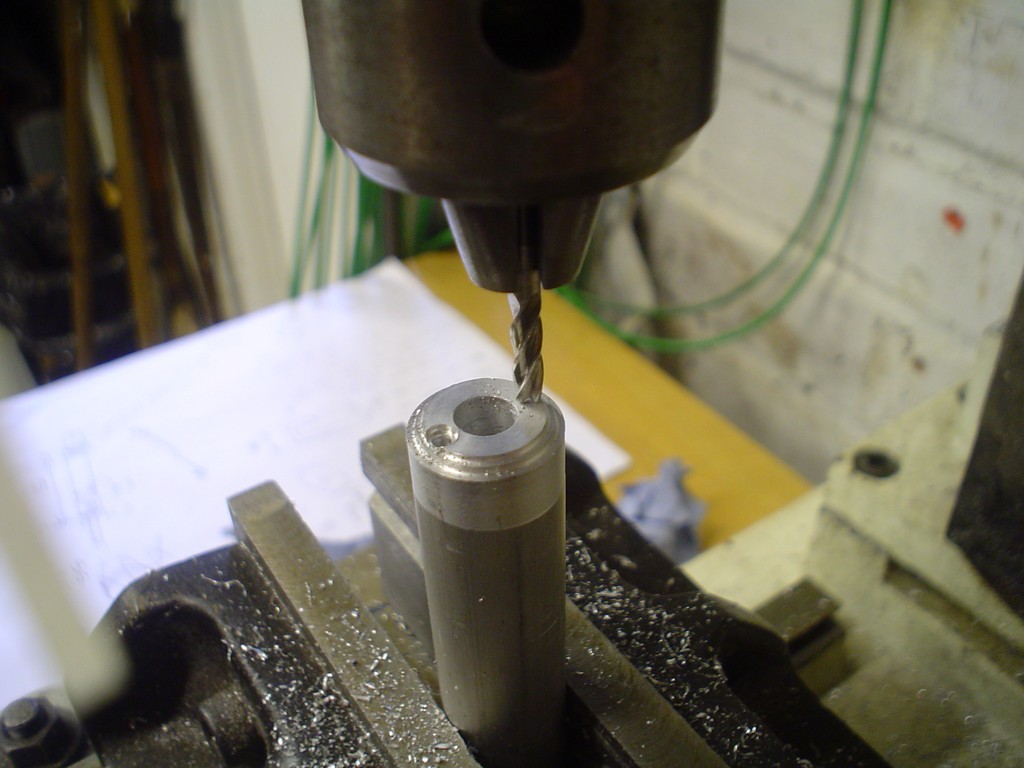 all done here, 4 x 3mm countersinks with 1.7mm holes per cylinder AND the 2 verticle holes that I couldnt fit before. 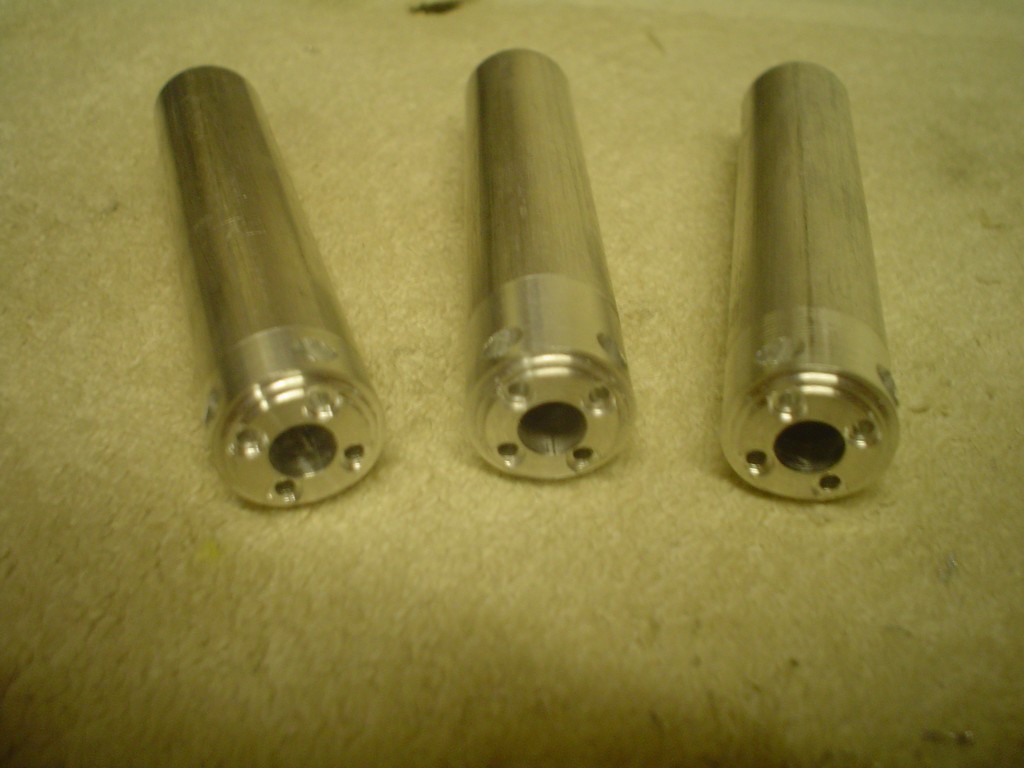 cutting the flat on the other end 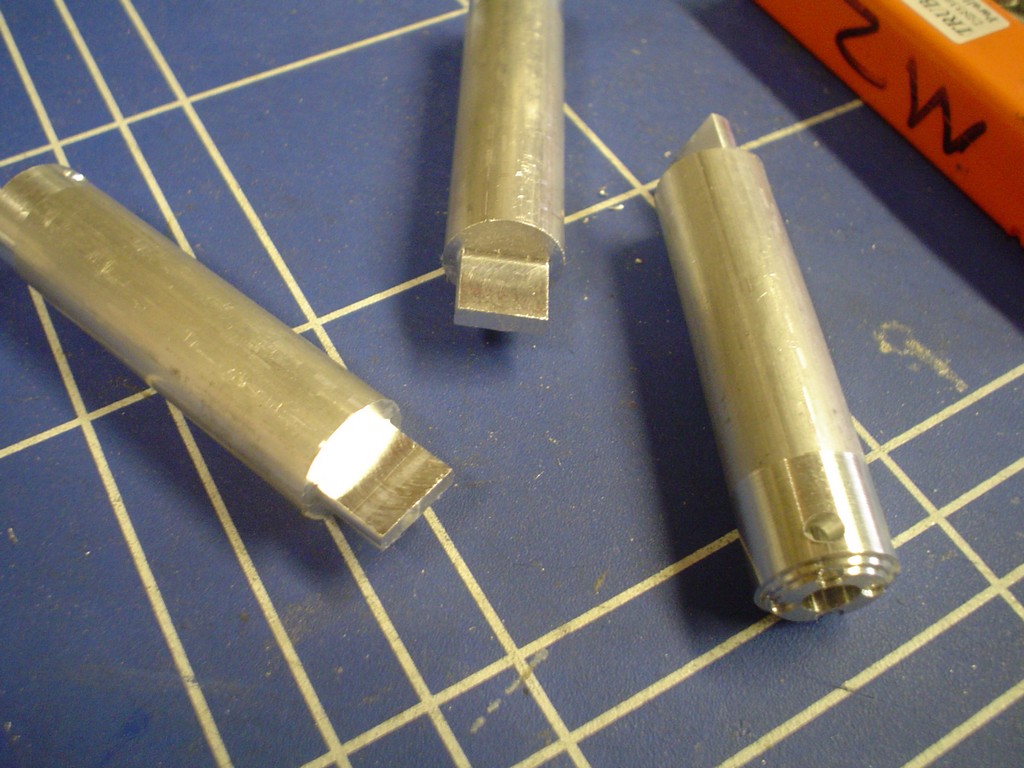 taking off the additional 0.5 form the ends and 1 or 1.5 I cant remeber form the middle of the cylinder to leave the flawless (hopefully) finish. 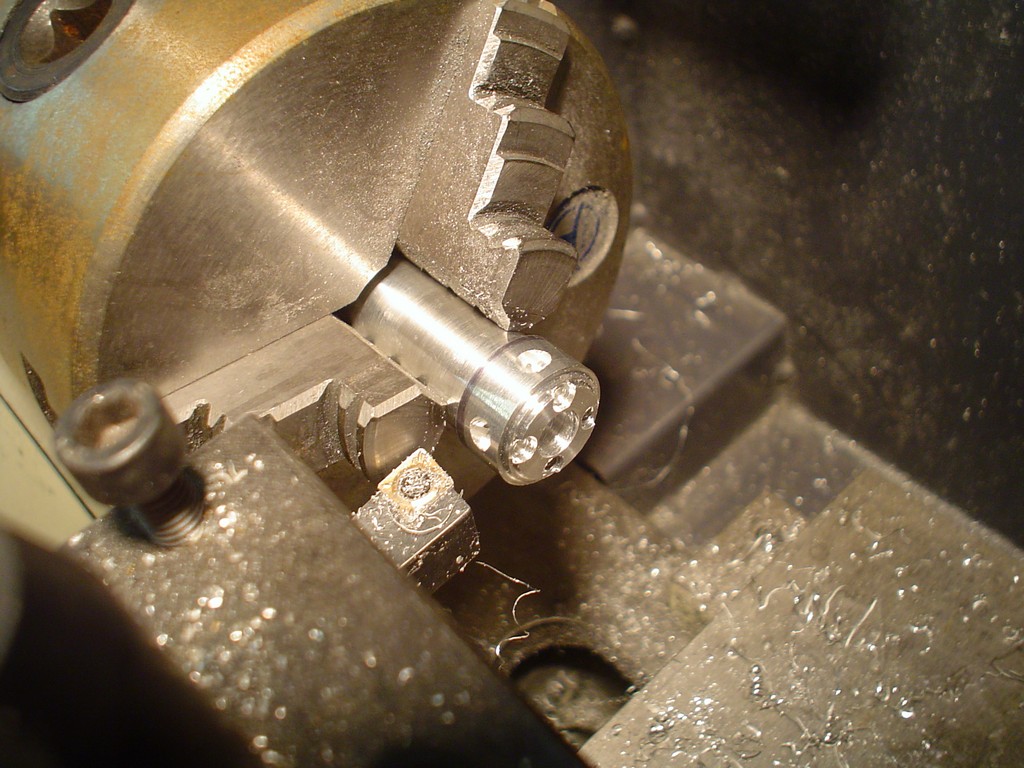 |
|
|
|
Post by magengar on Apr 19, 2010 16:51:35 GMT -5
A custom, with Hydrolic PISTONS!
Now That a First here at RJ! ;D
zozo-Magengar
|
|
|
|
Post by admin1 aka Ed on Apr 19, 2010 17:50:21 GMT -5
Now are you planning on polishing the final work or bead blasting, etc?
|
|
|
|
Post by xiombarg on Apr 19, 2010 19:11:07 GMT -5
Now if we could just get somebody to donate a brain..
|
|
|
|
Post by candyman on Apr 22, 2010 11:16:32 GMT -5
the finish of the ally in the end will be as close as I can get to the real thing, not sure yet to be honest. Thanks for your support again. main bits done and all the same, 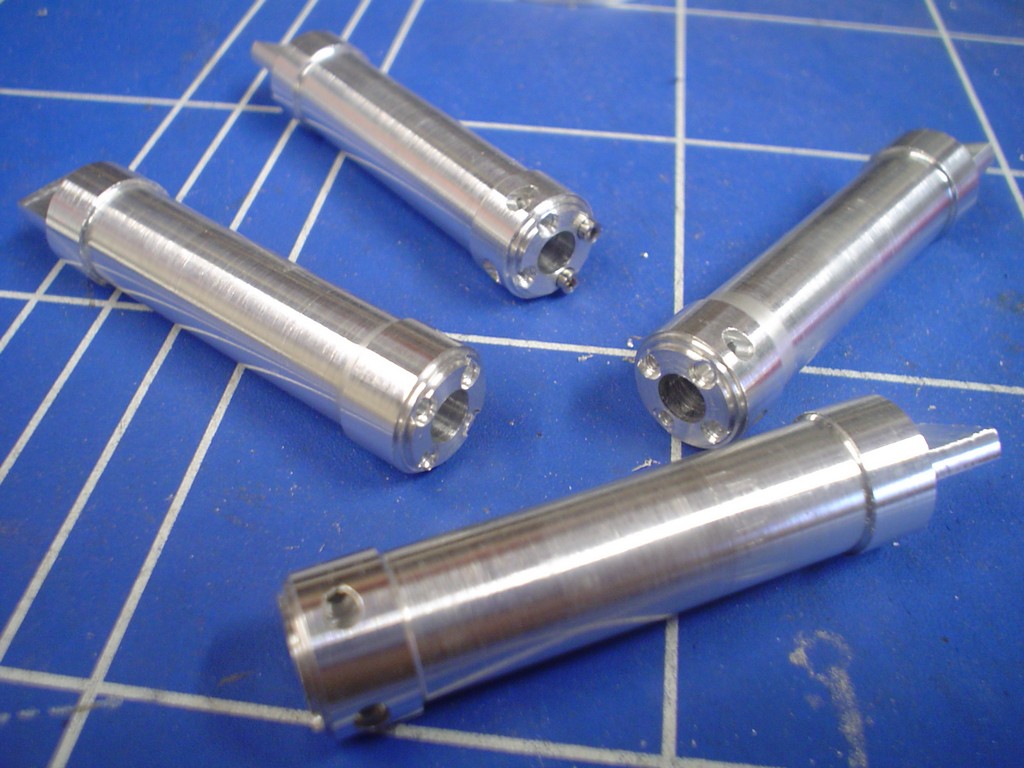 one of the 4 rods, had to start with 8mm rod then turn the whole length down to 6mm and test fit in the cylinders until it was perfect, then trim the 8mm end and round it off  the m2 screws are still a bit too big to fit so I had to turn the heads down from 3.7mm to 3mm so they sit in the recess. 6 per cylinder, 24 screws to turn down. 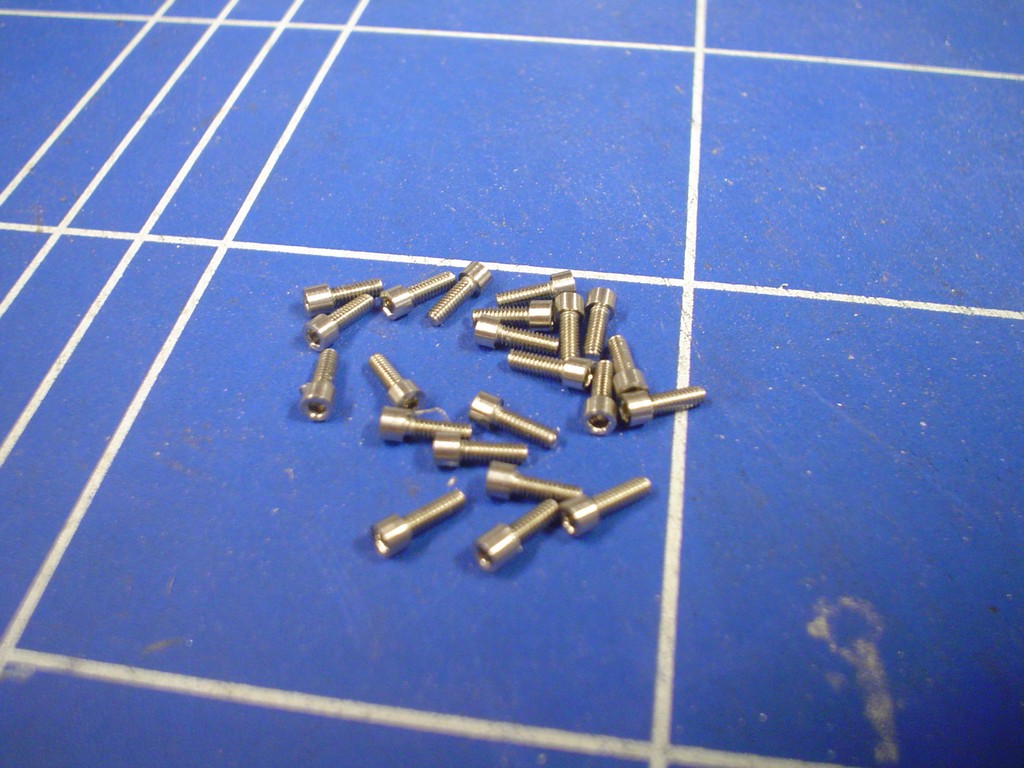 then tap all 24 holes with M2 thread and were starting to look like it 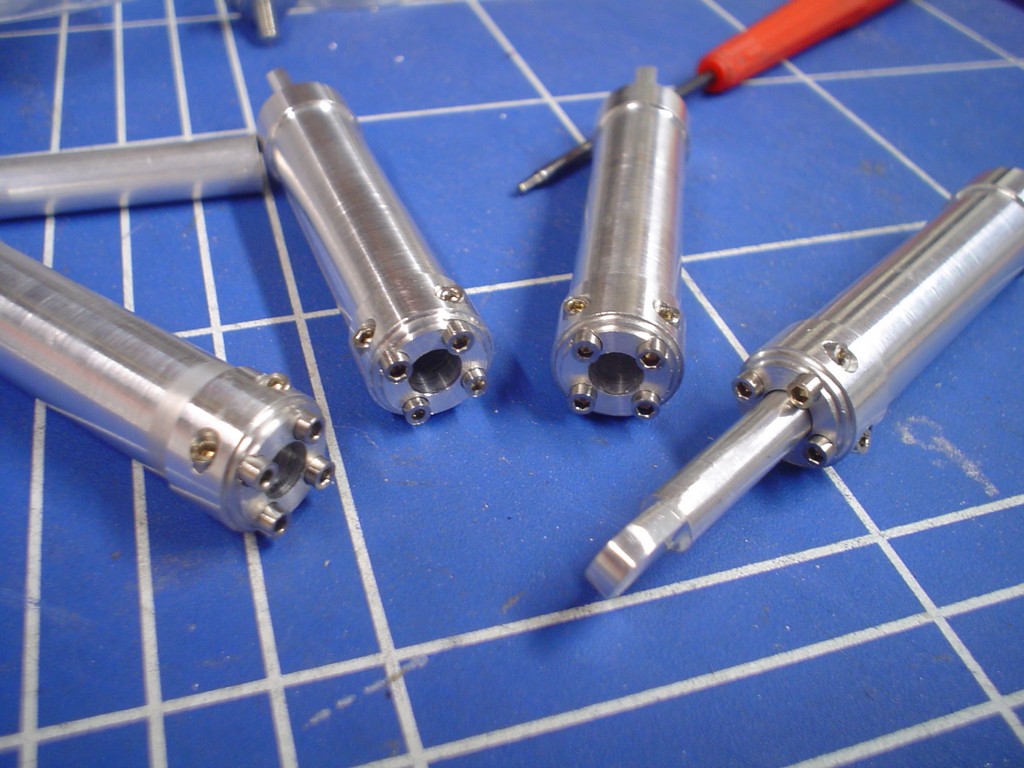 then whilst drilling one of the U brackets I did somthing silly and took another whack on my previously damaged thumb, good grief, thats enough for today i think  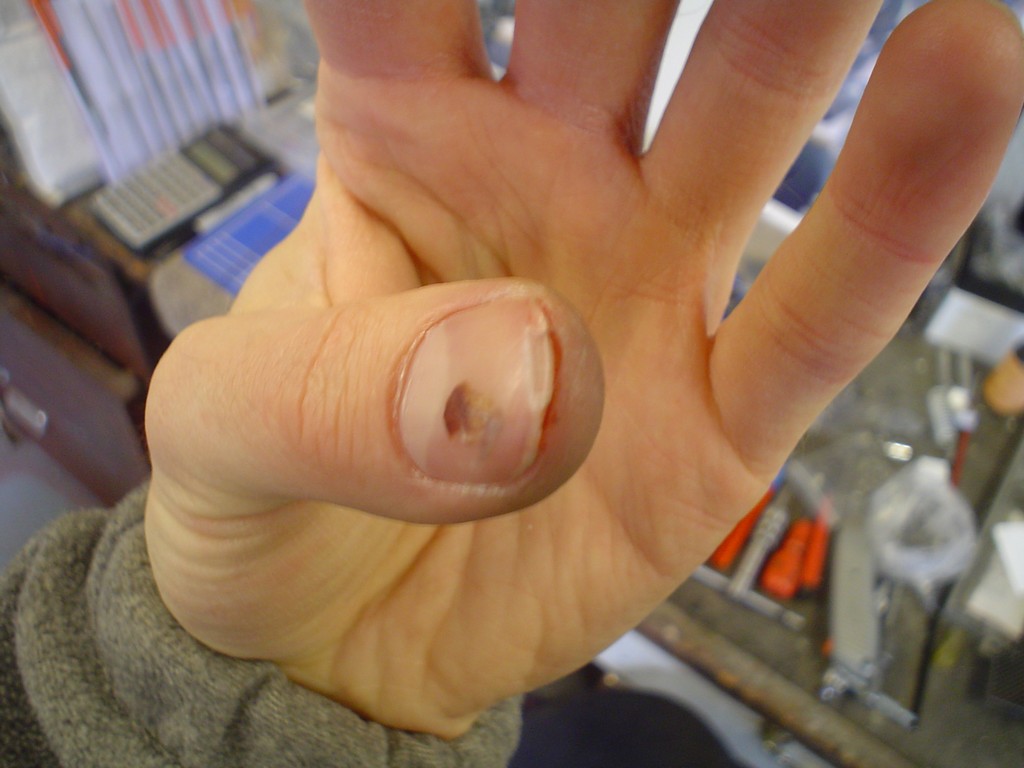 |
|
|
|
Post by gt3ian on Apr 22, 2010 11:45:05 GMT -5
This is an excellent custom build!!
Ouch ....... that's hurt, take care!!
|
|
|
|
Post by candyman on Apr 24, 2010 10:58:56 GMT -5
I managed to get the right screws for the U brackets  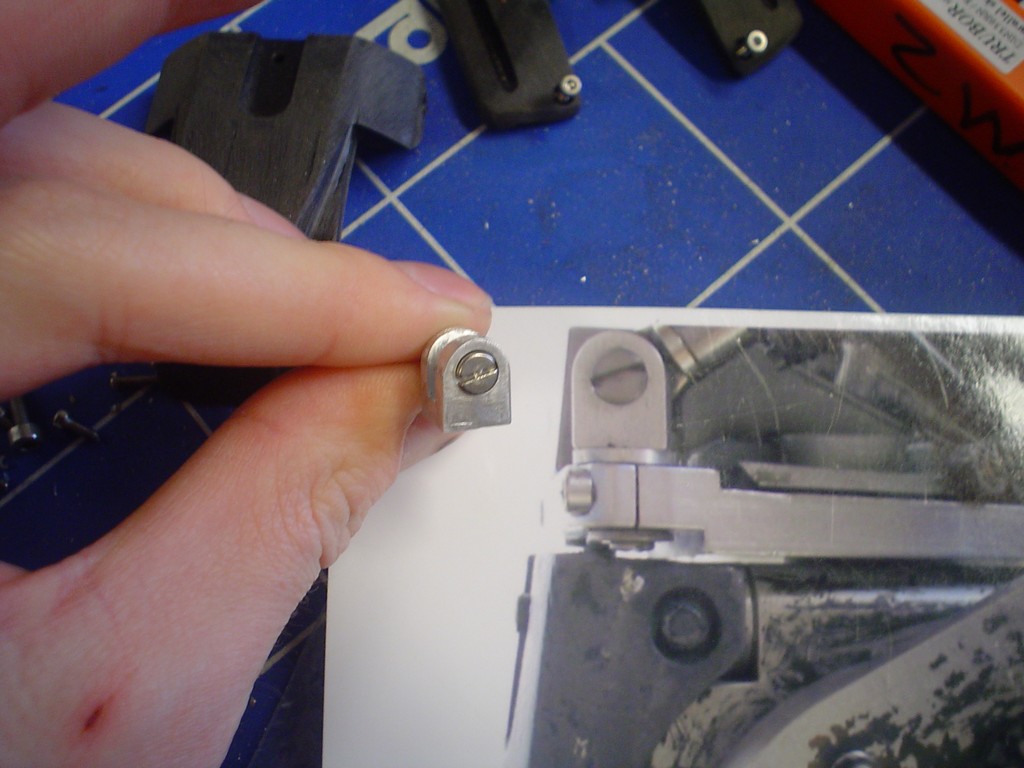 had to drill, tap and recess each one 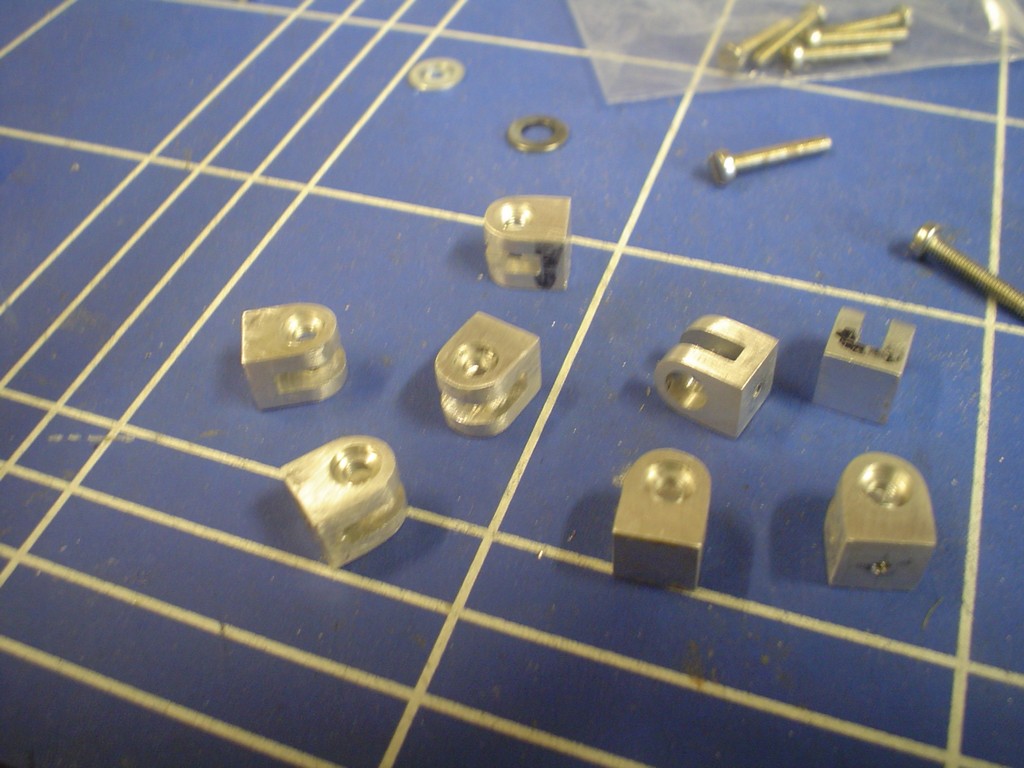 ...and finish the other rods off, I have also put a tiny line where the rod meets the flat bit, too shallow to see here really. 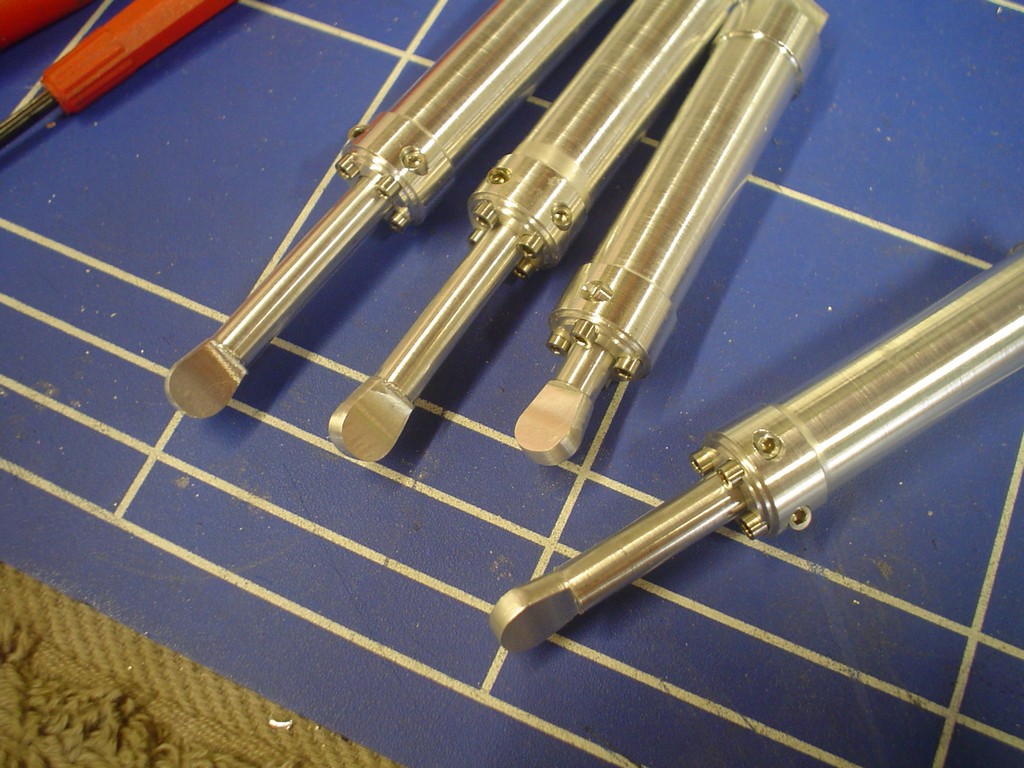 first one drilled and in, still a bit of work to do on the cylinders yet, I need to make the high pressure pipe work. 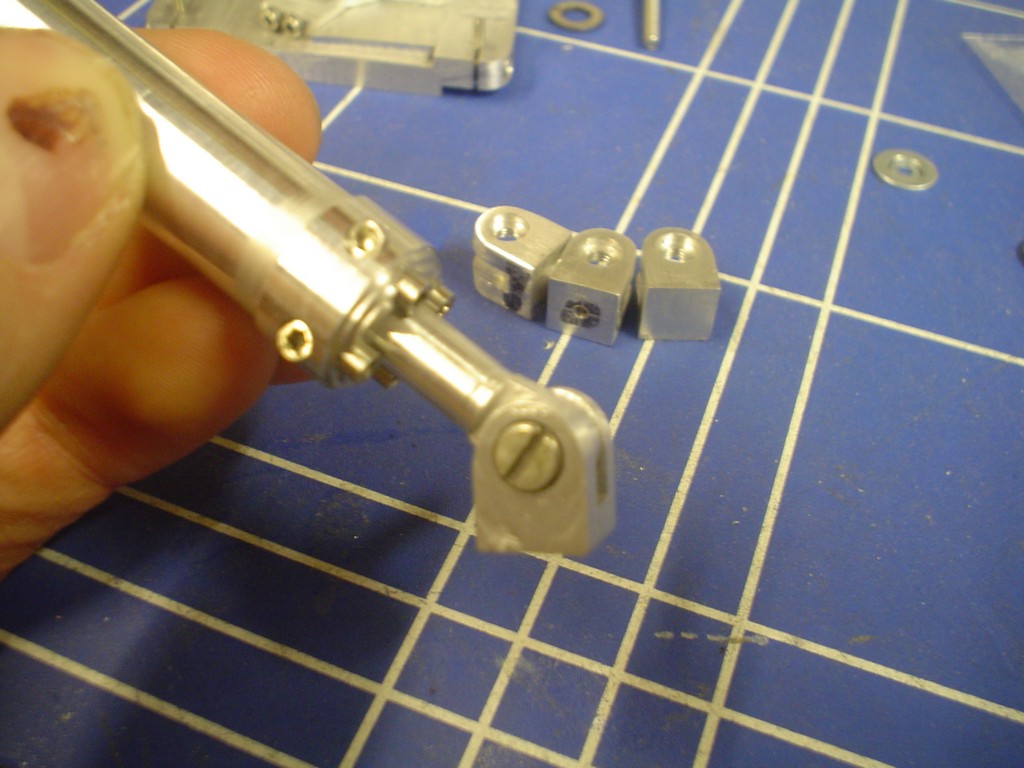 |
|
|
|
Post by candyman on Apr 26, 2010 3:31:09 GMT -5
Cut a very thin strip of metal, only 3.5mm across, then had to cut a bevel in the top, did this by wrapping a rod in sandpaper and carefully rubbing away at it. 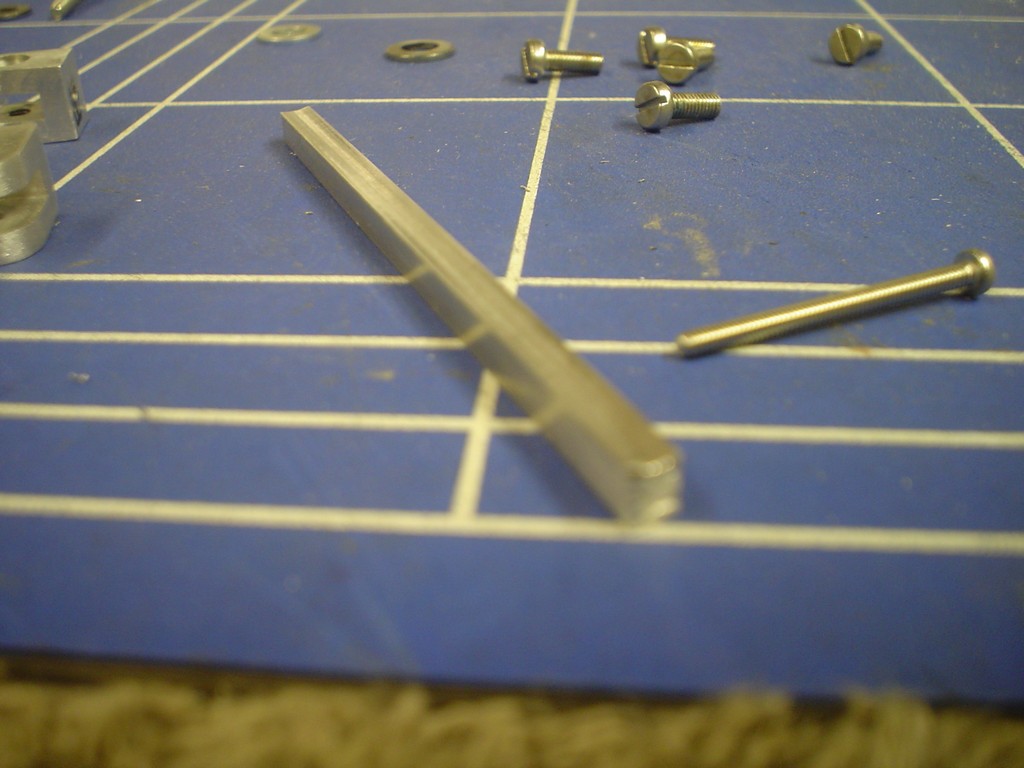 next had to trim 8 of these into this shape then drill them and countersink, no mean feat, I can hardly hold them! 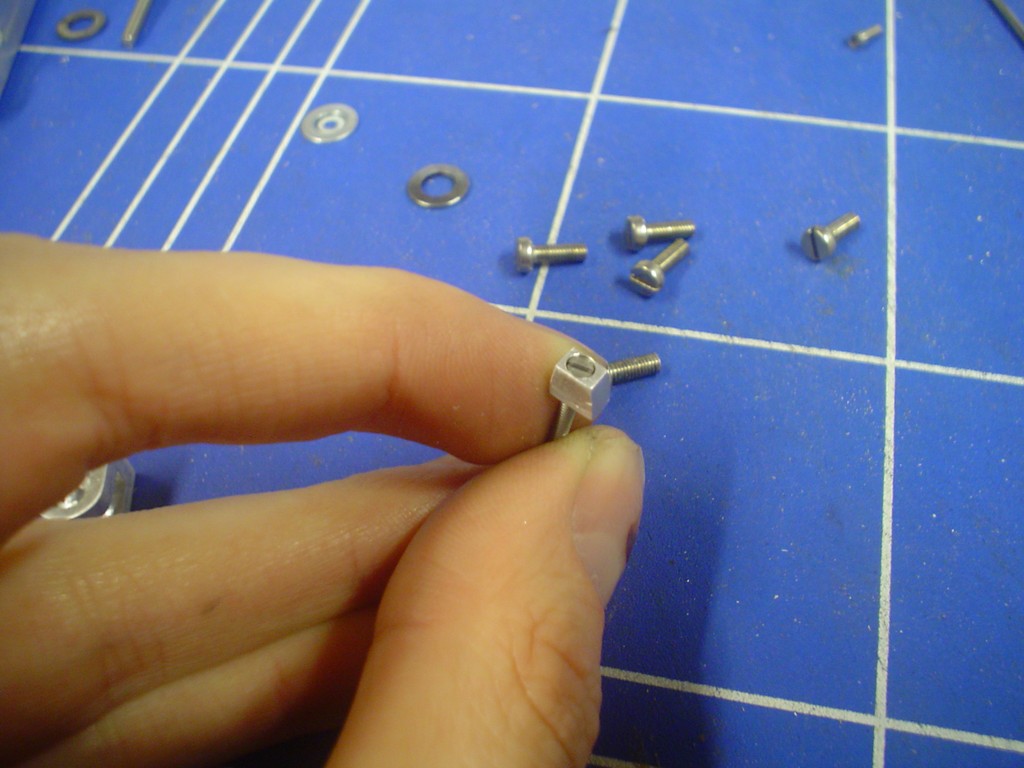 needless to say the M2 flathead screws where a bit too big, so I had to carefully turn all thoses down too. 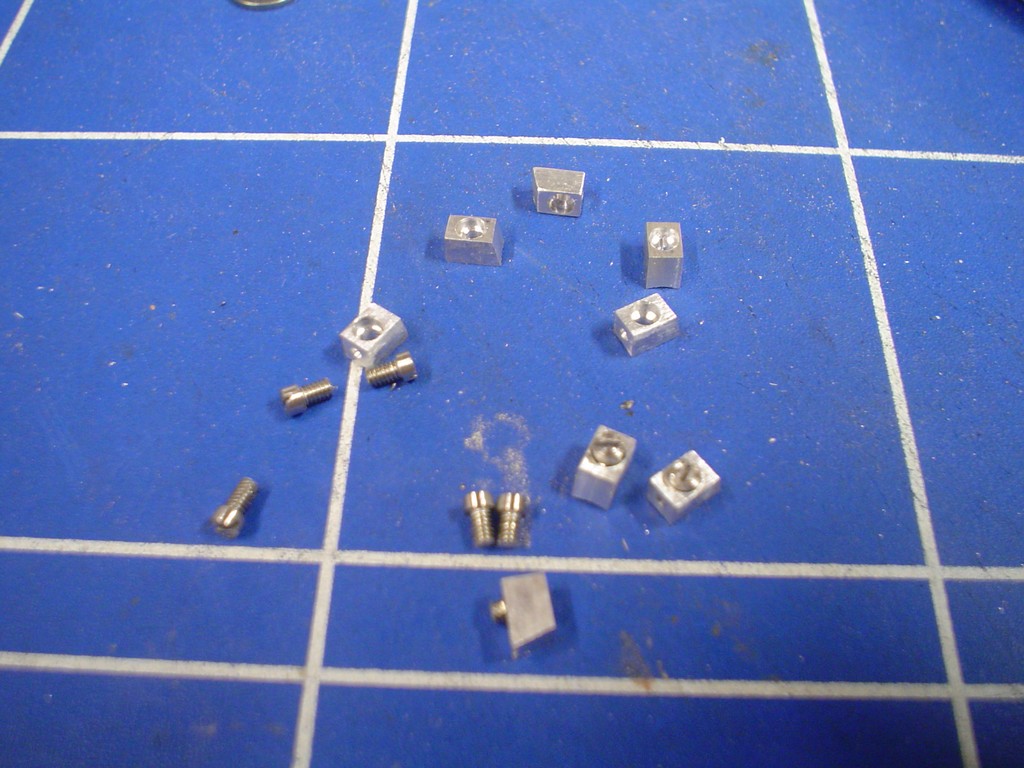 One installed, used a piece of 1.5mm wire for the pipe 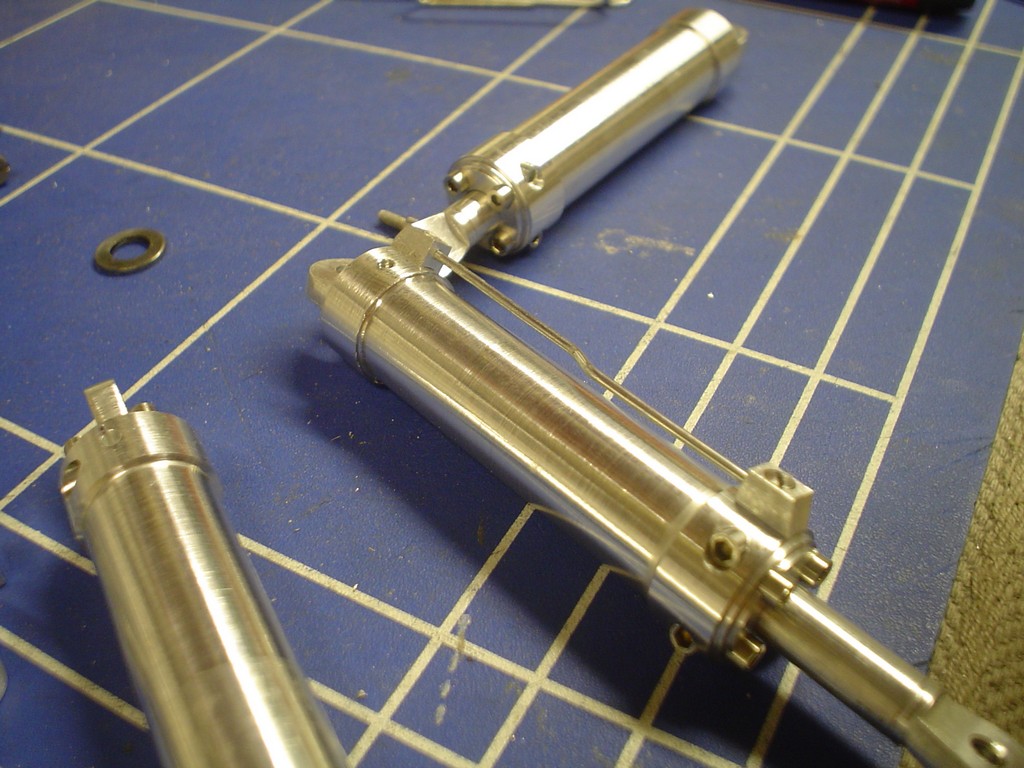  and another set of fittings for the pipework 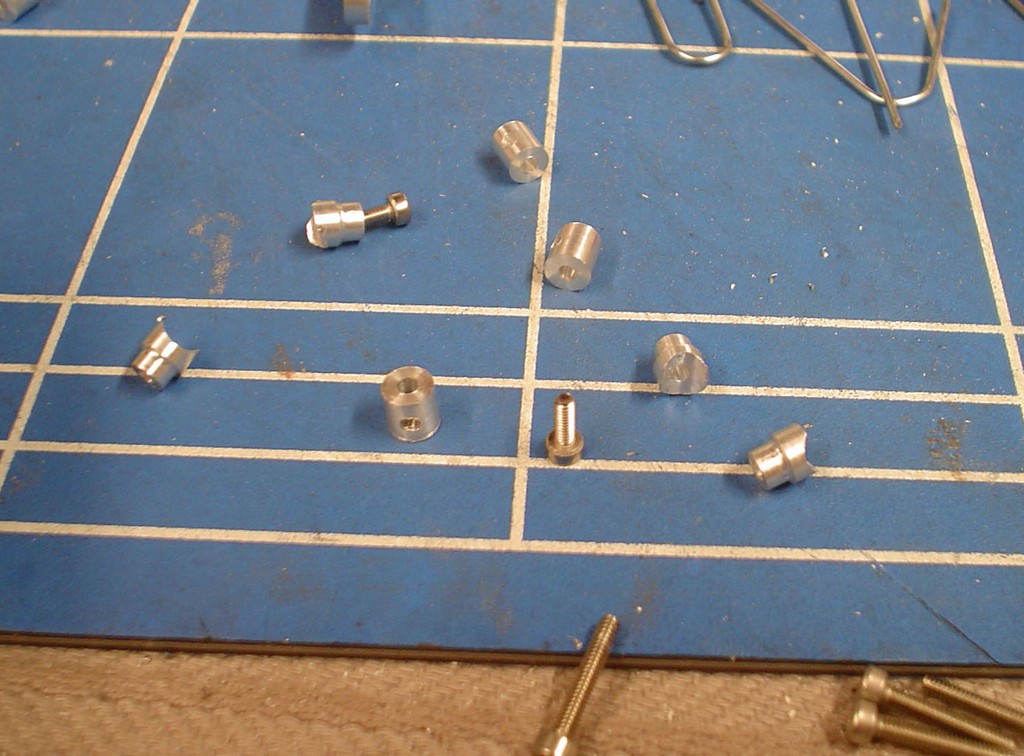 and attached. 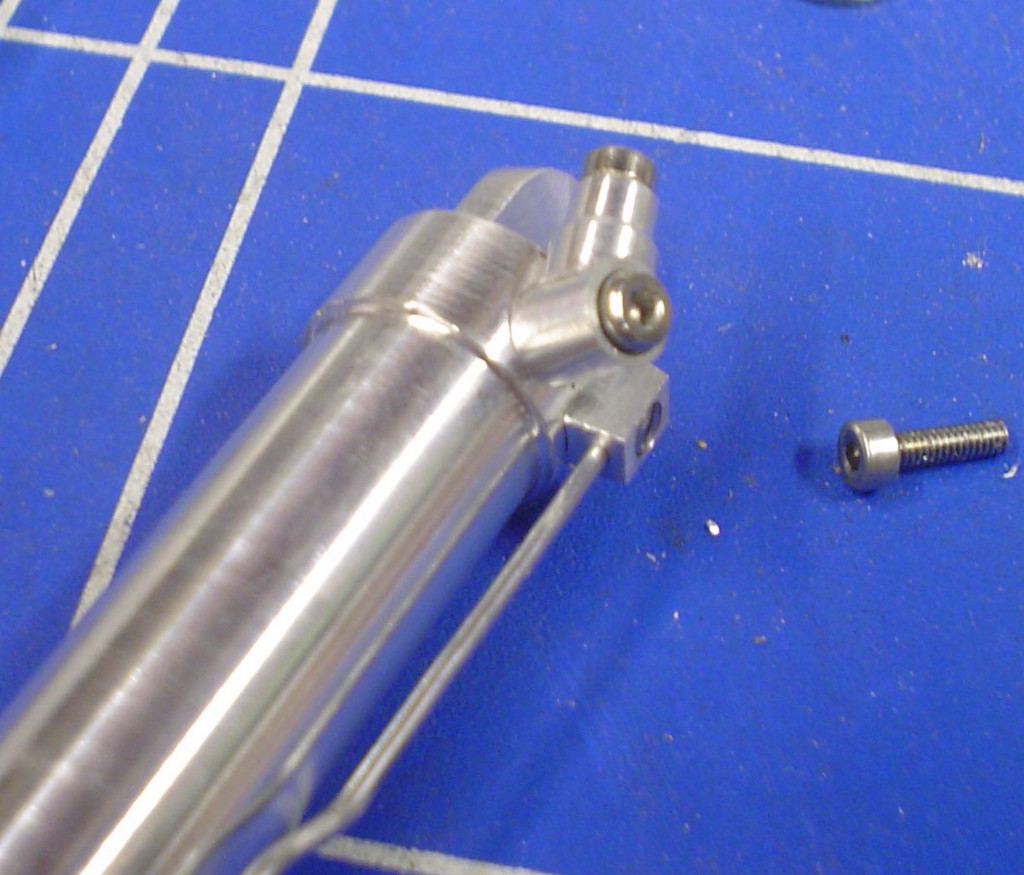 Thats pretty much job done on these, im glad I didnt screw anything up   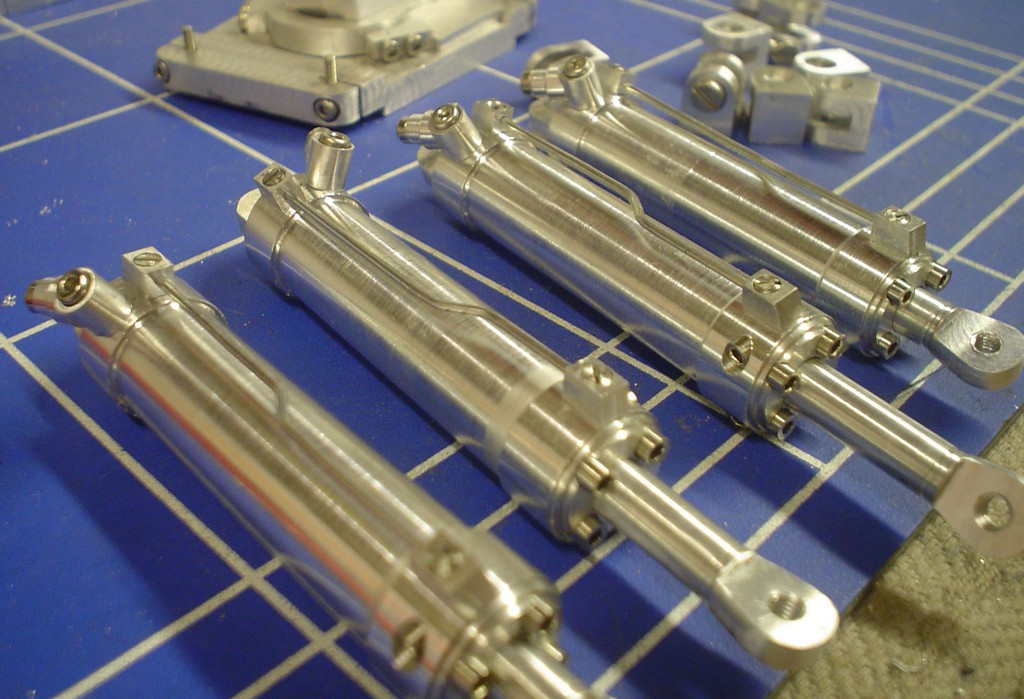 |
|
|
|
Post by candyman on May 1, 2010 3:41:08 GMT -5
This is going to be hard for a bit..... im even breaking out the cardboard, just about reached the limit of what I can do in my head. first up the plate to conect all the rams in the body, this is all guess work as you cant really tell from the pics whats going on 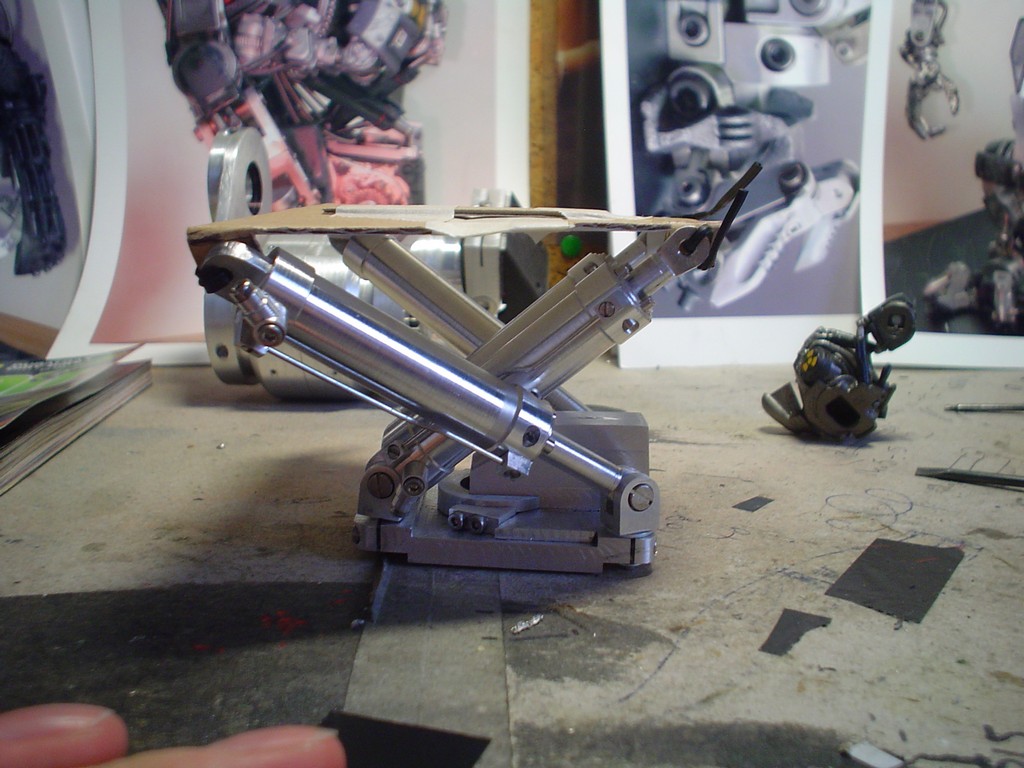 decided to knock that out of metal but i think its a bit short....... 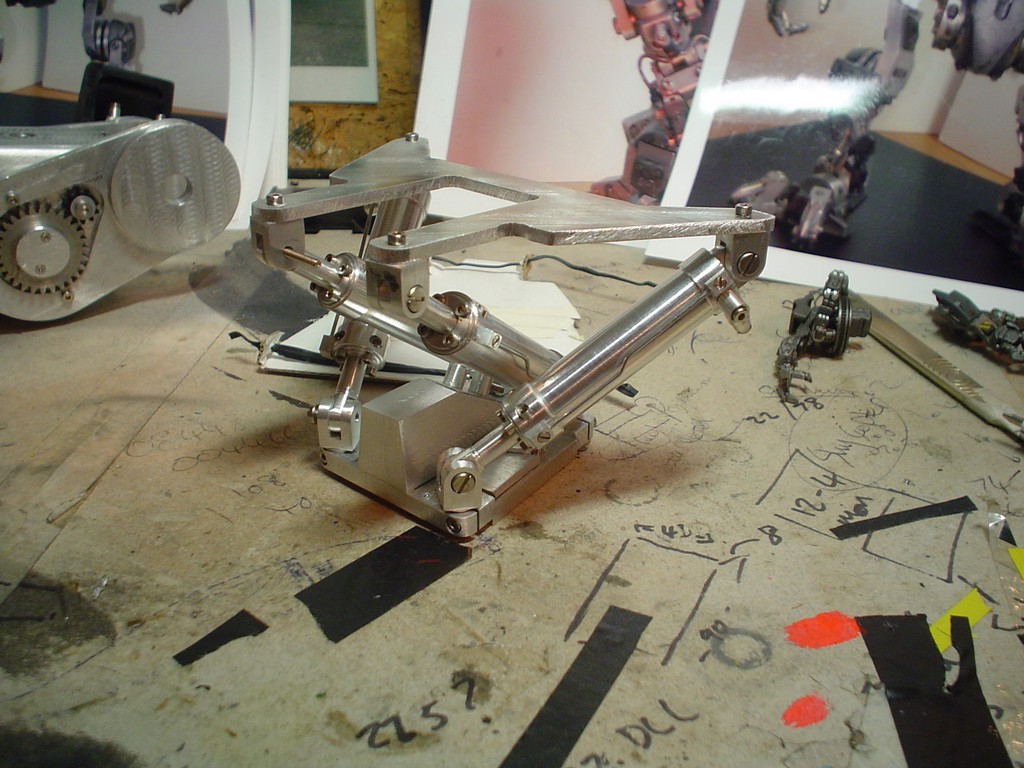 trying to estimate the sizes and angles of the shouler fixing points, its like a rubix cube, you get it looking good from 2 angles then look from the top and its wrong! 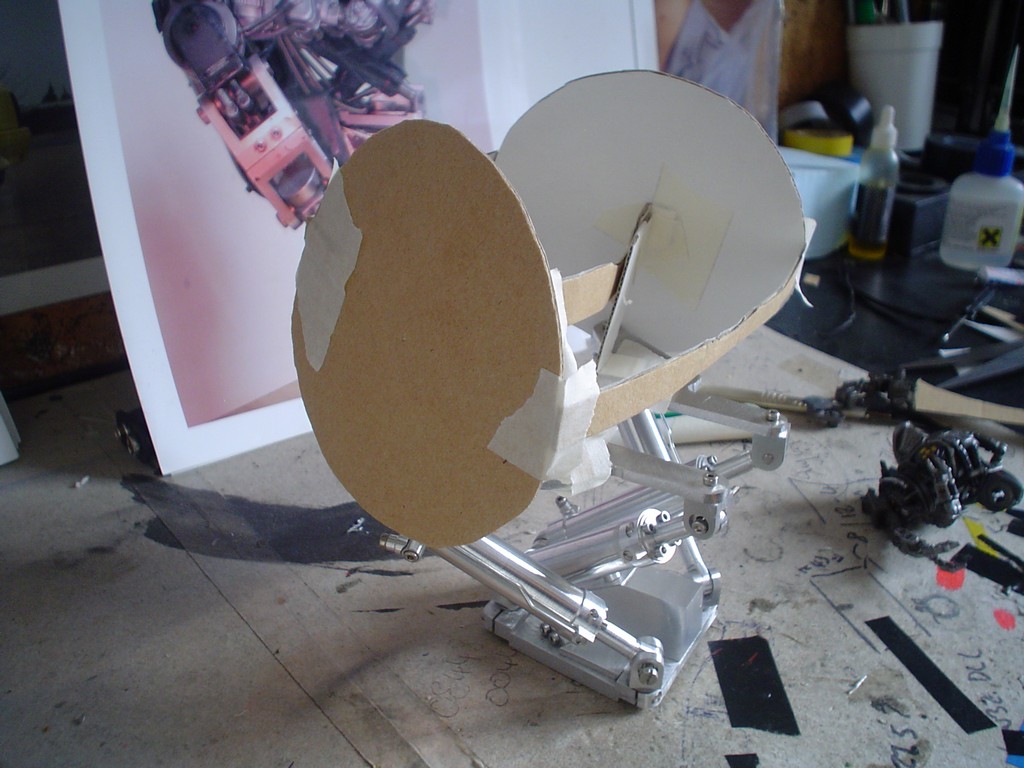 made some heavy duty mounts out of metal 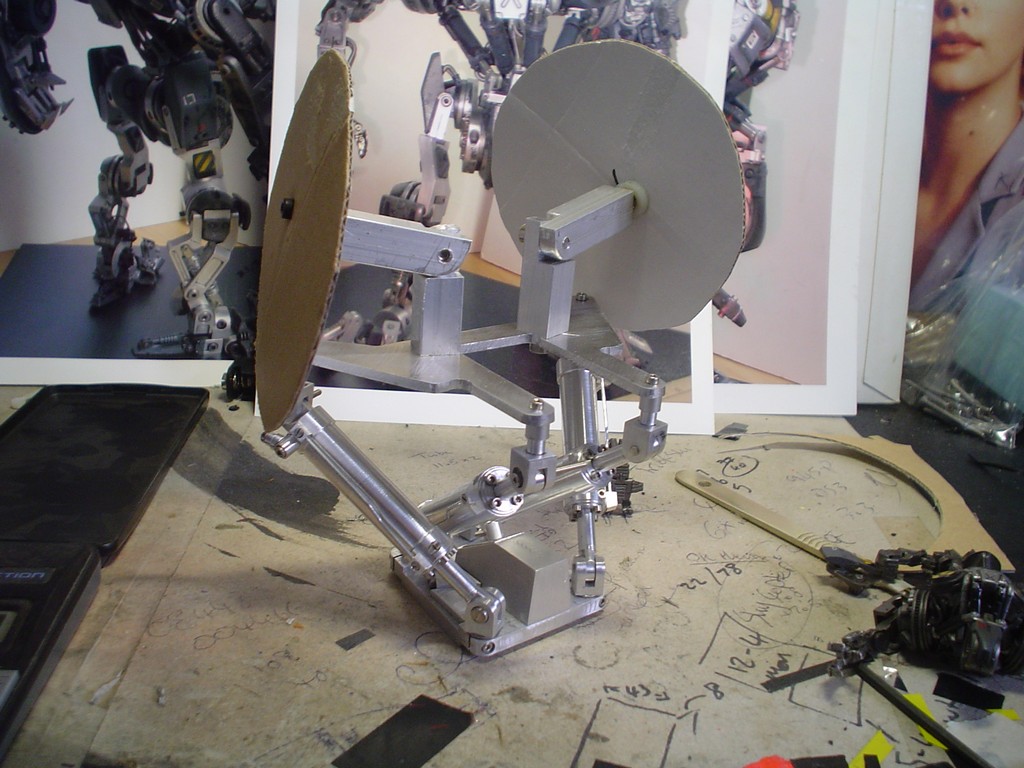 started making the main parts up and fitting them into the "skeleton" very wrong on some places, need to extend the main chassis 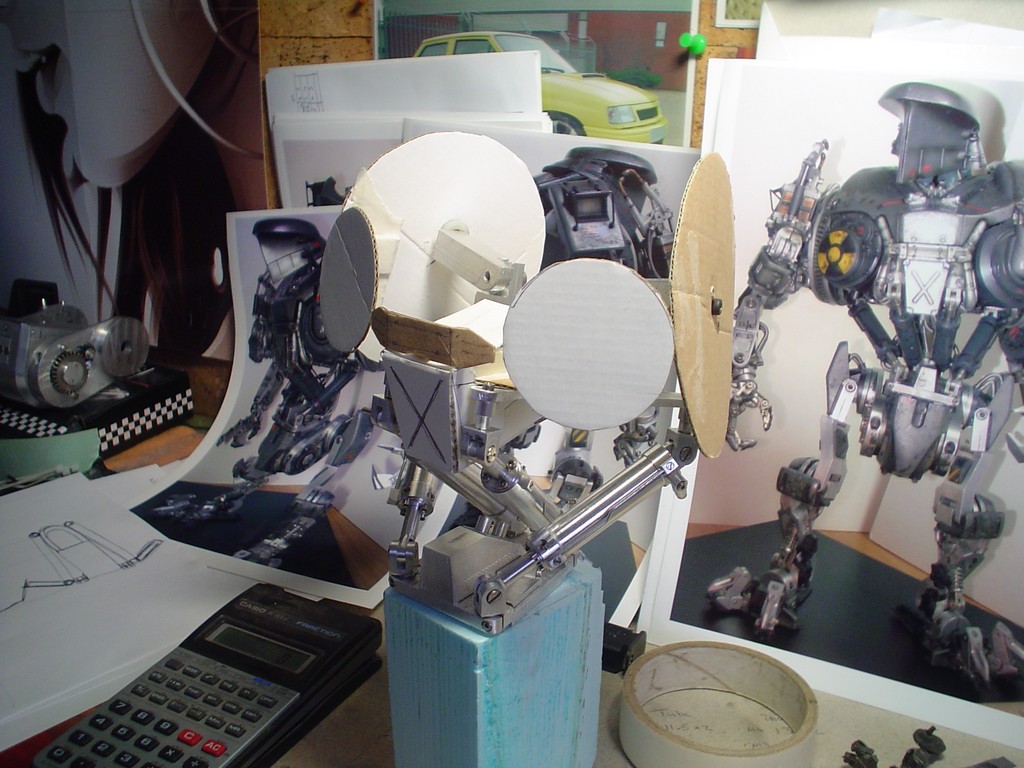 pushed the front pistons further forward and then re calculated the position of everything, it looks beter, but still spent a few hours moving everything around. 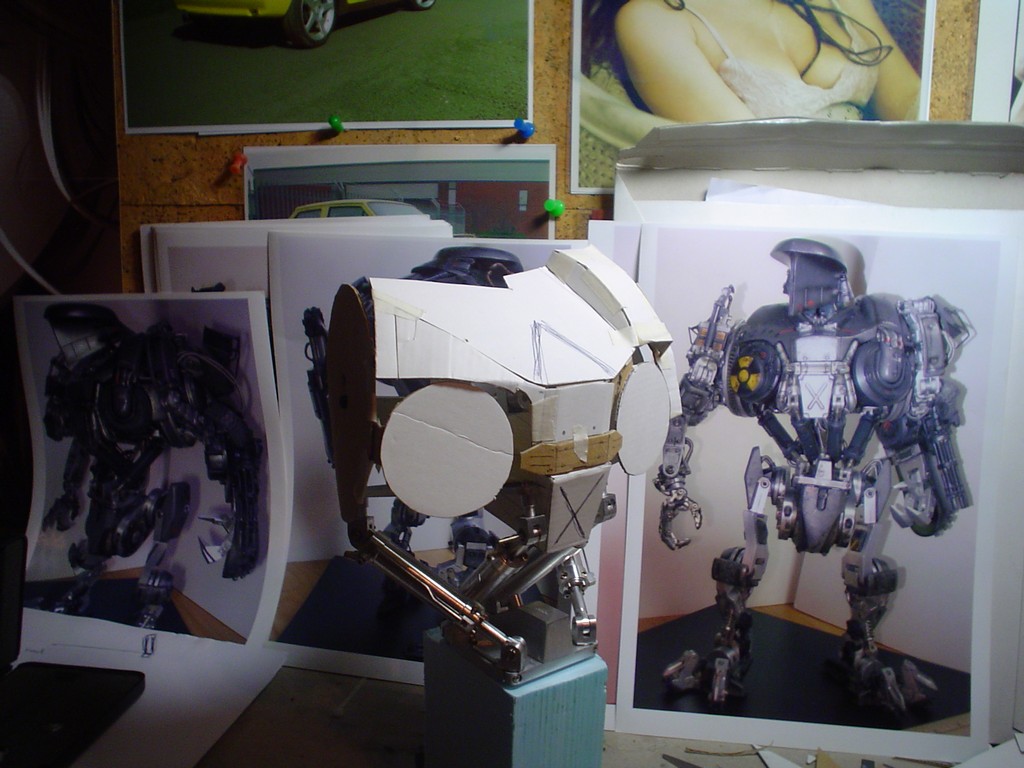 made a start on a simple bit  also realised the plate is not flat but tilted up at the front so mounting it higher up and again recalculating for the position of everything. 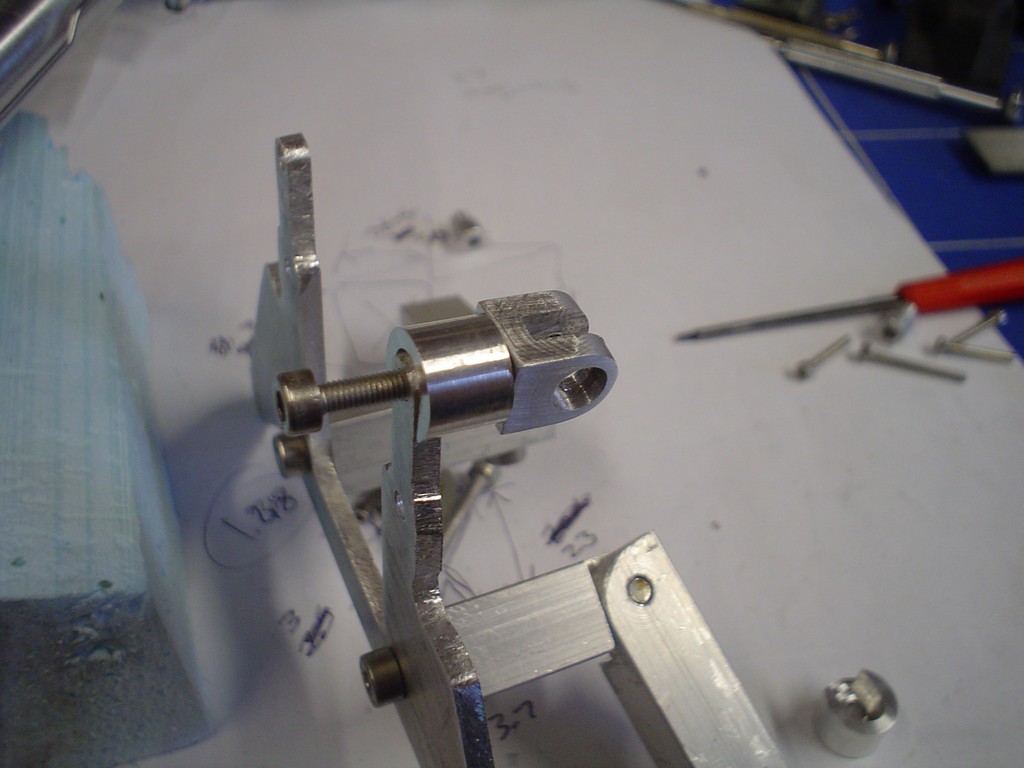 |
|
|
|
Post by snowdog on May 1, 2010 4:34:22 GMT -5
Amazing work! This is coming together nicely! I admire your dedication.
|
|
|
|
Post by Zeorymer on May 1, 2010 9:04:51 GMT -5
yeah, have to agree... patience and dedication.... you got mad skillz mate!
|
|
|
|
Post by candyman on May 3, 2010 9:32:03 GMT -5
thank you again for your support! To be honest this is a real big challenge, im struggling through it. section above the door thing 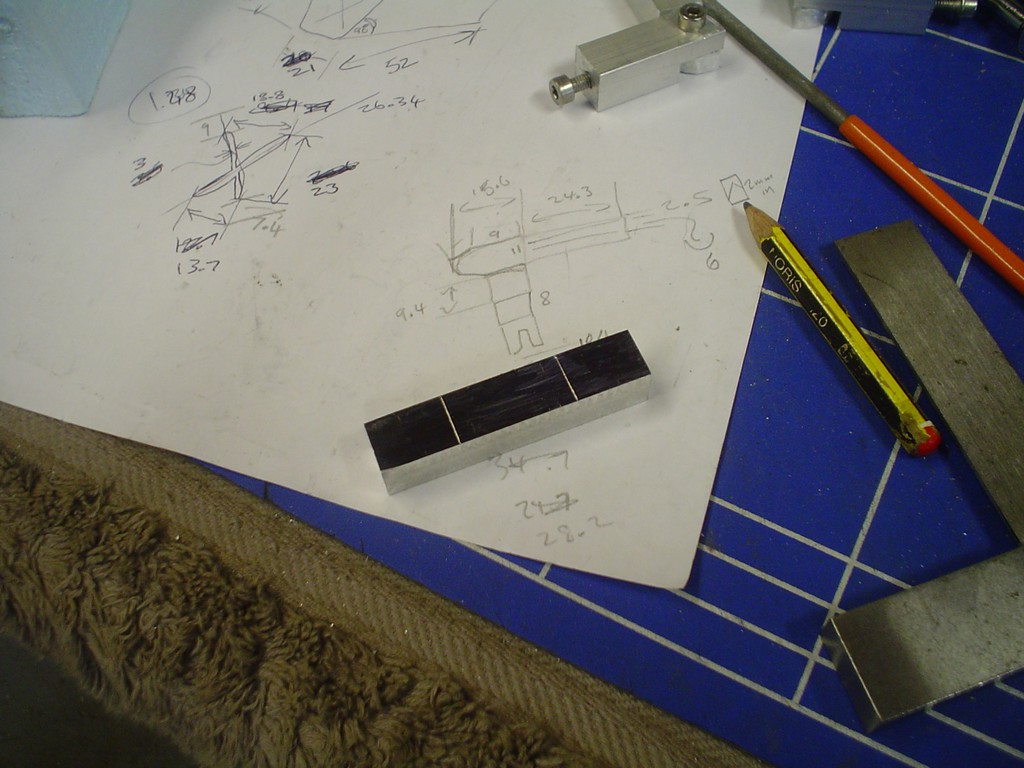 the screws in this are very small, ive ordered some. 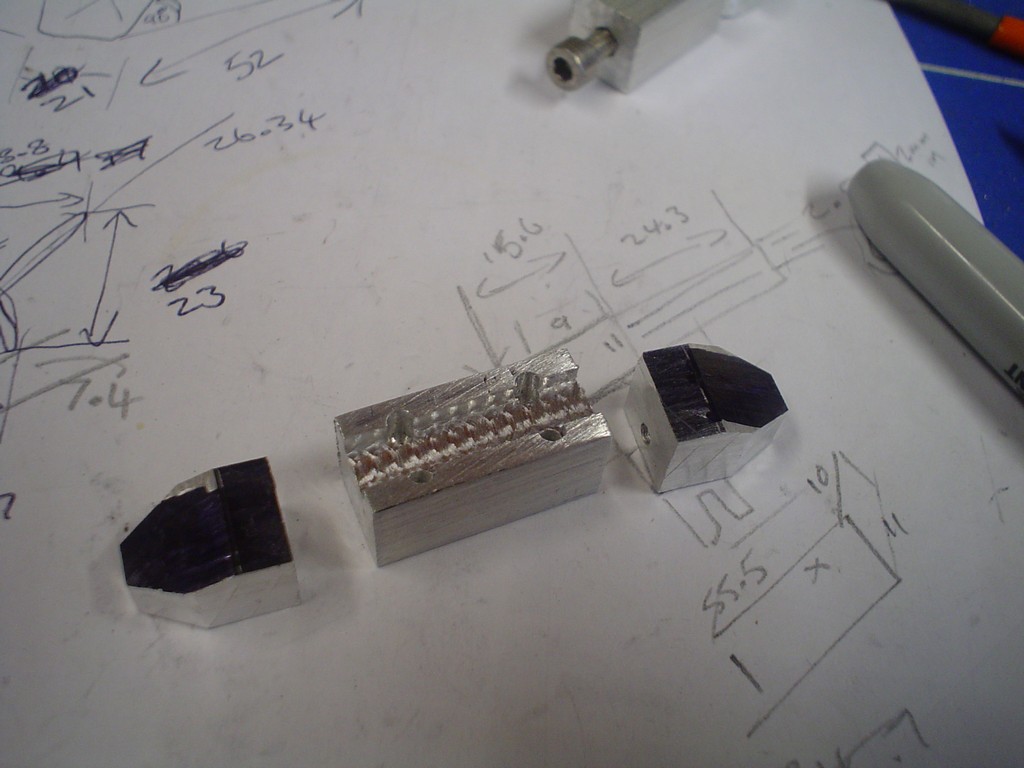 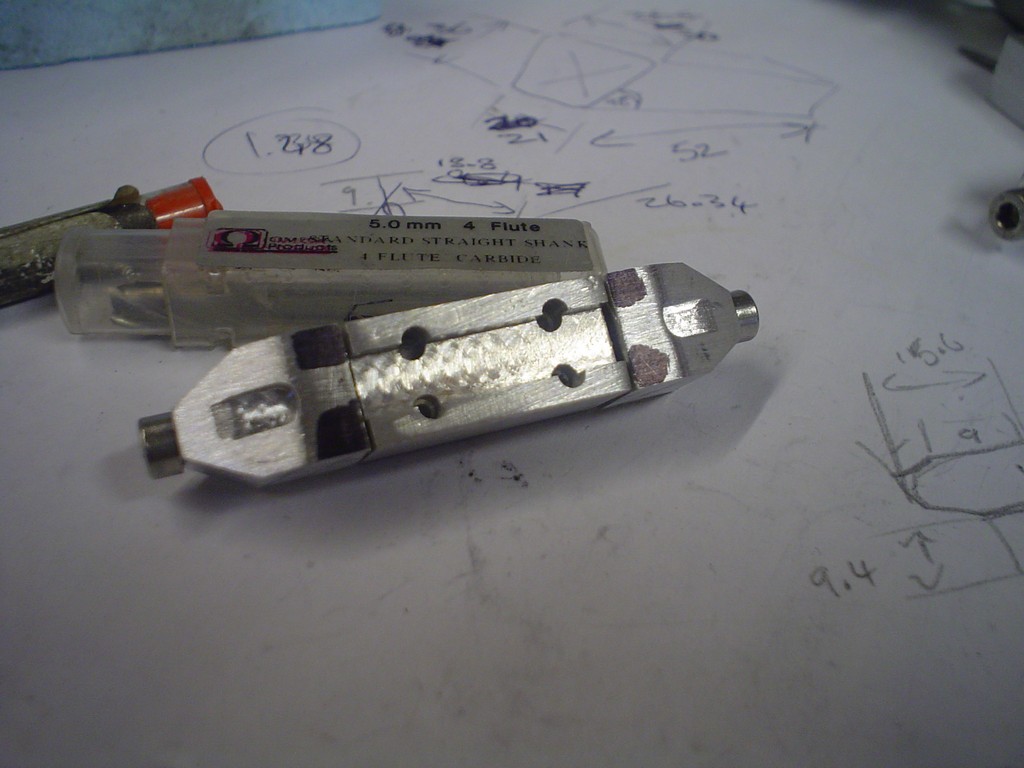 I tried to make the inside of where the trap door goes by bending a thin bit of metal to shape..... but it looked and felt crap, so im doing it the hard way. 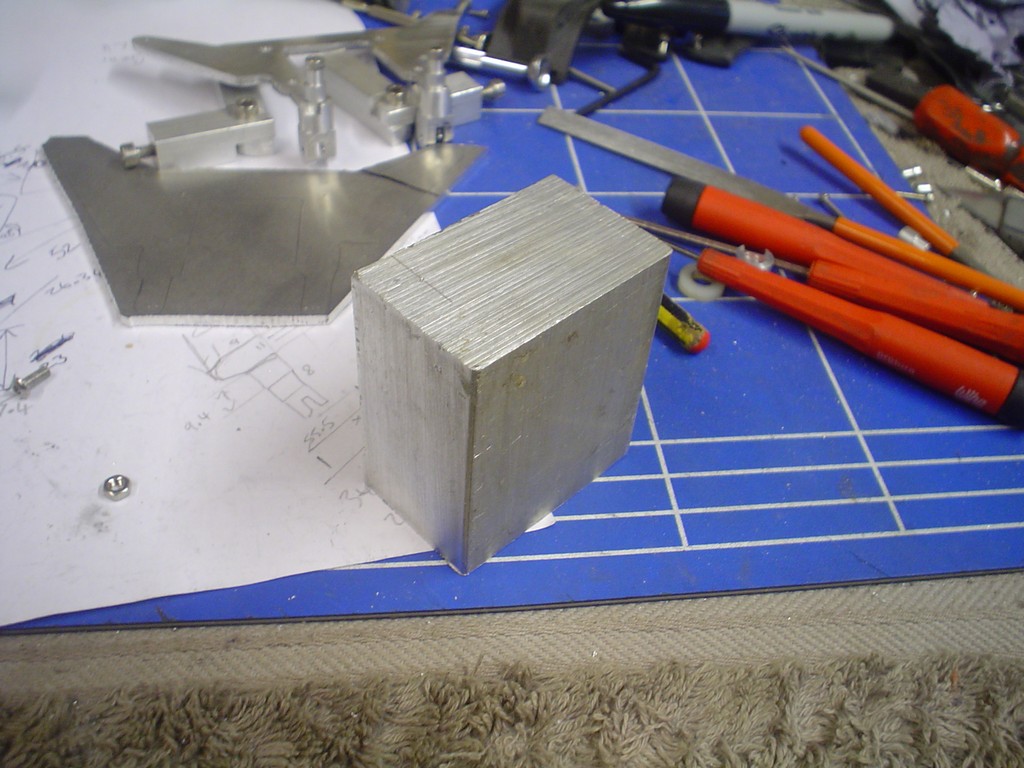 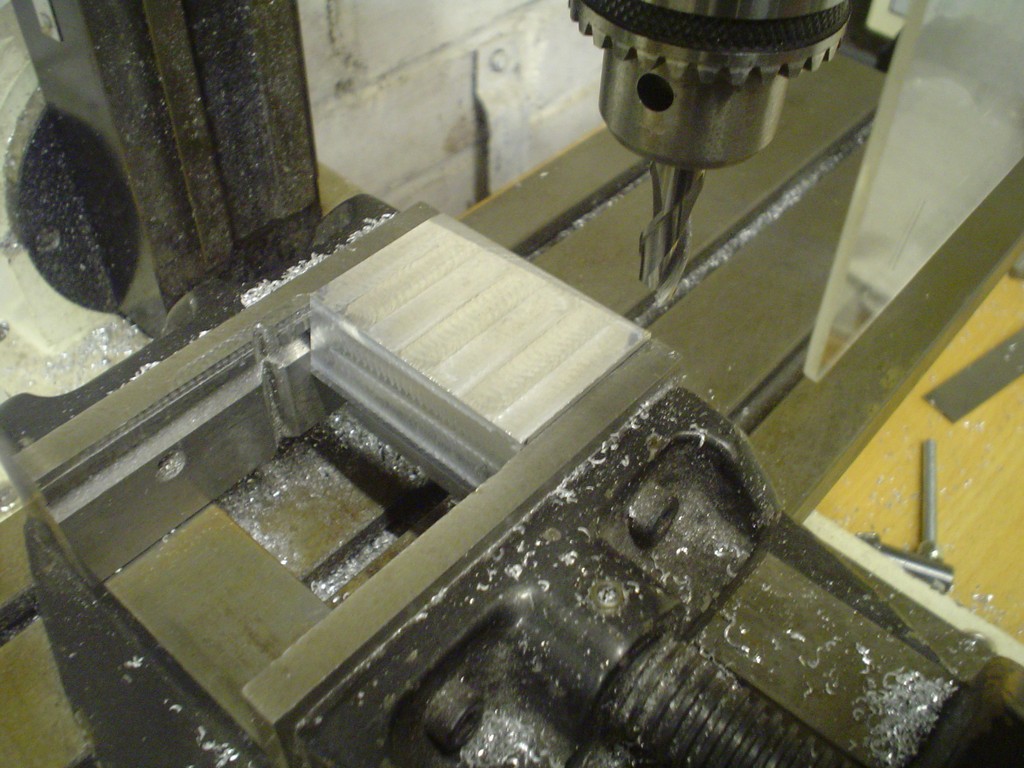 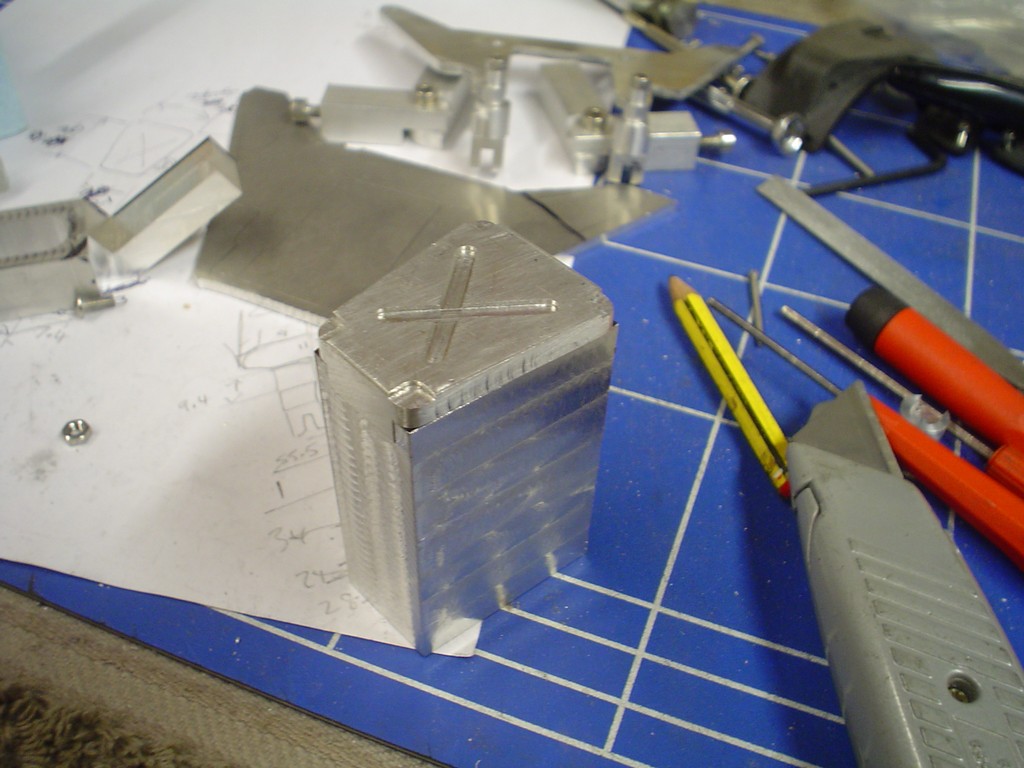 took forever to mill the inside out, put the angles on it and milled a recess for the bit I made earlier to sit on it (this is the back of it) 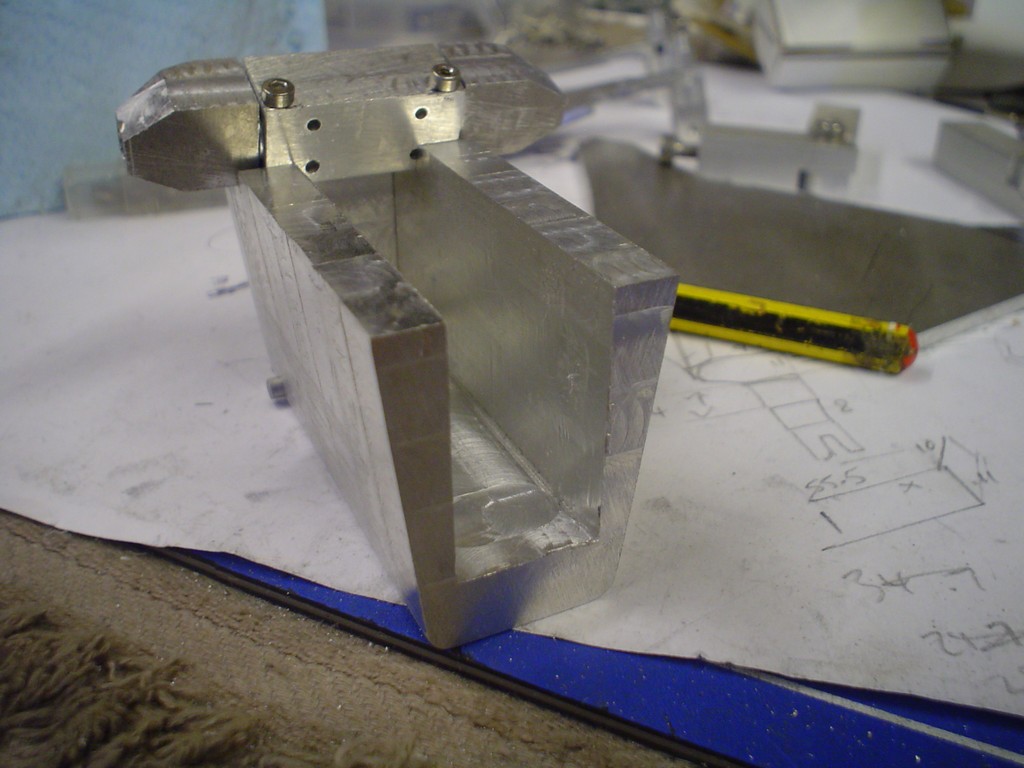 |
|
|
|
Post by candyman on May 4, 2010 16:12:40 GMT -5
drilled through the box thing and made a pin to pivot it on, took ages to get it to close flush 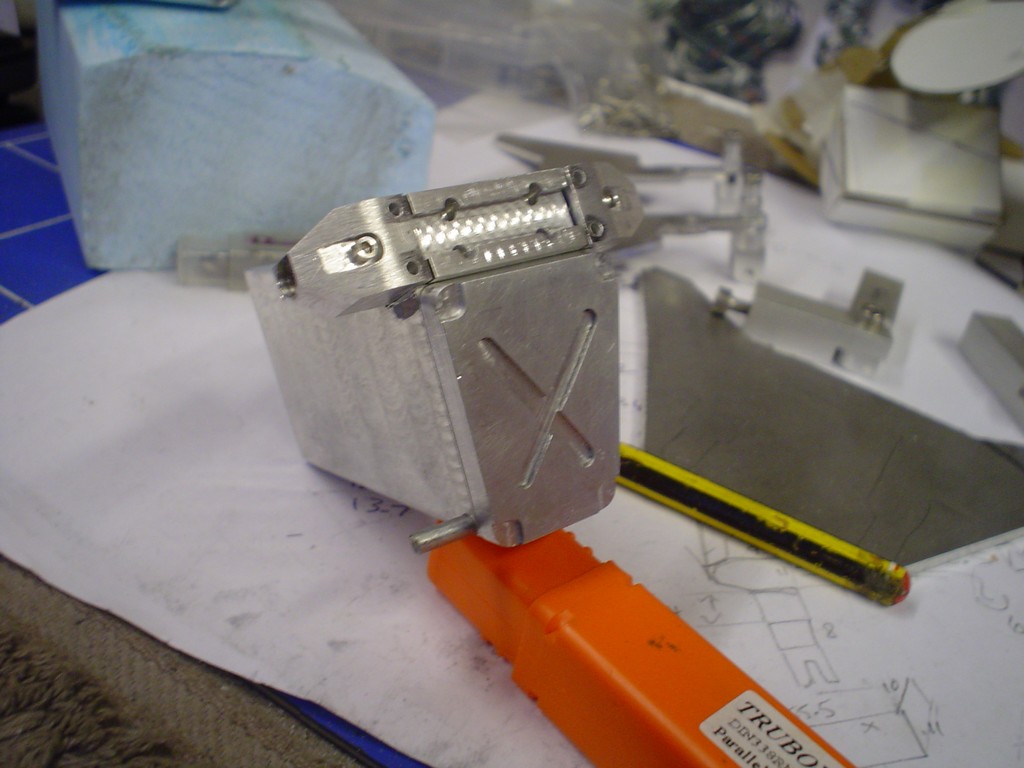 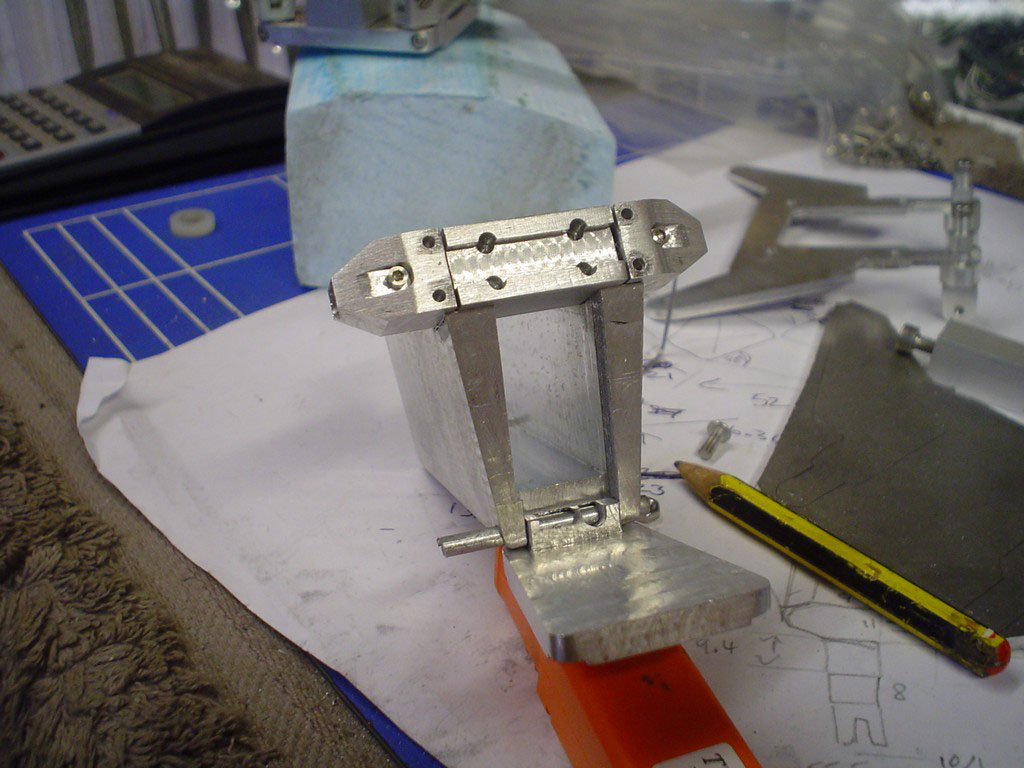 made some mounting points at the back to screw it to the mounting plate 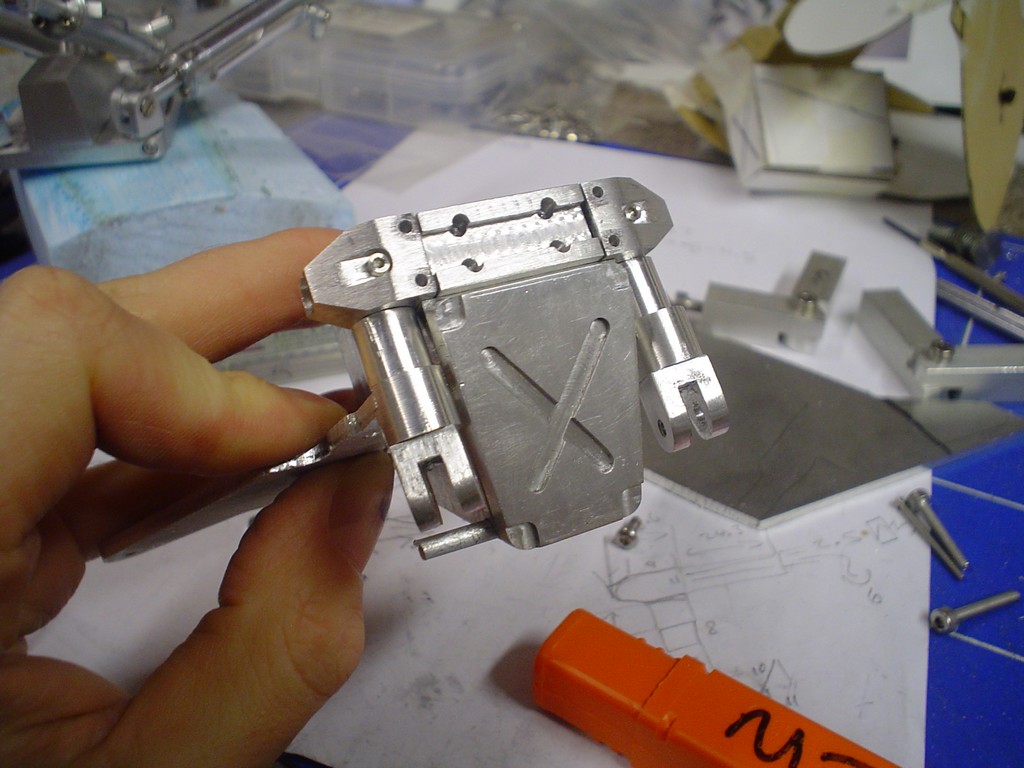 and decided to cut a frest plate out this one has been modified one time too many. 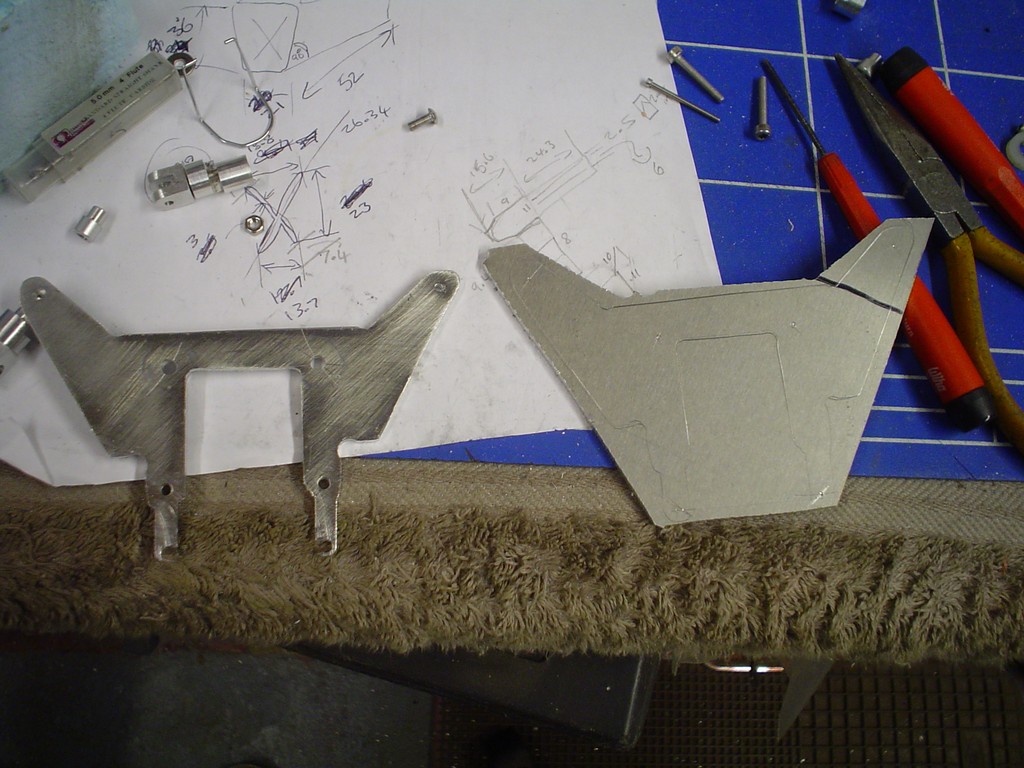 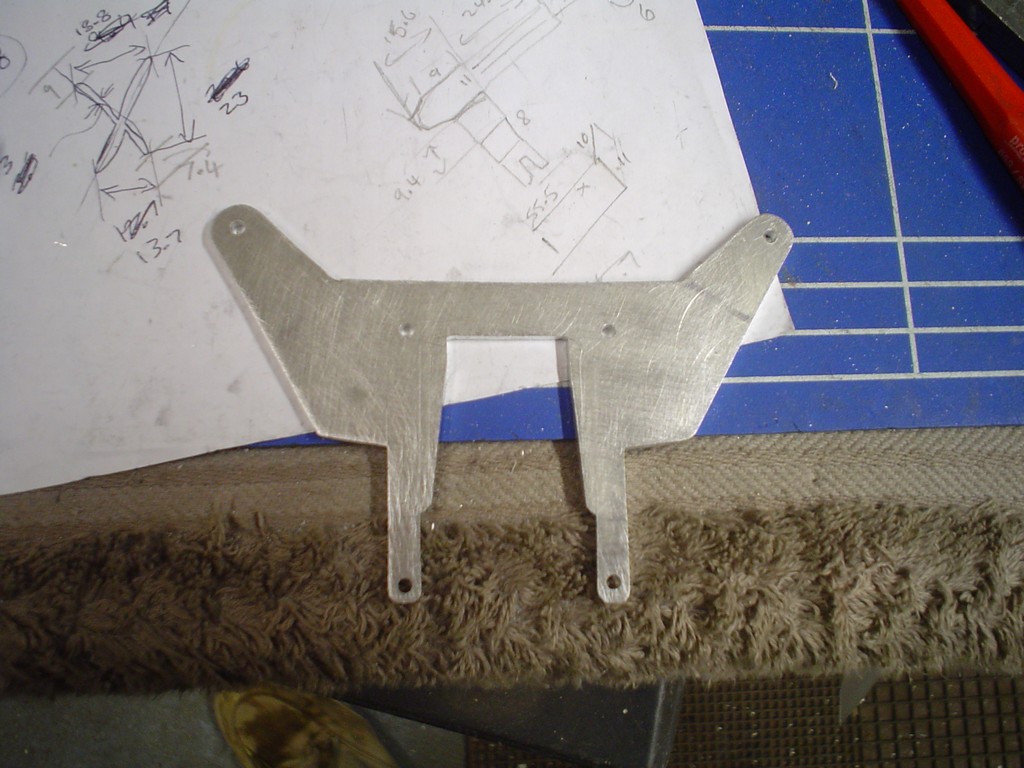 starting on the chest, looking like a big washing machine drum 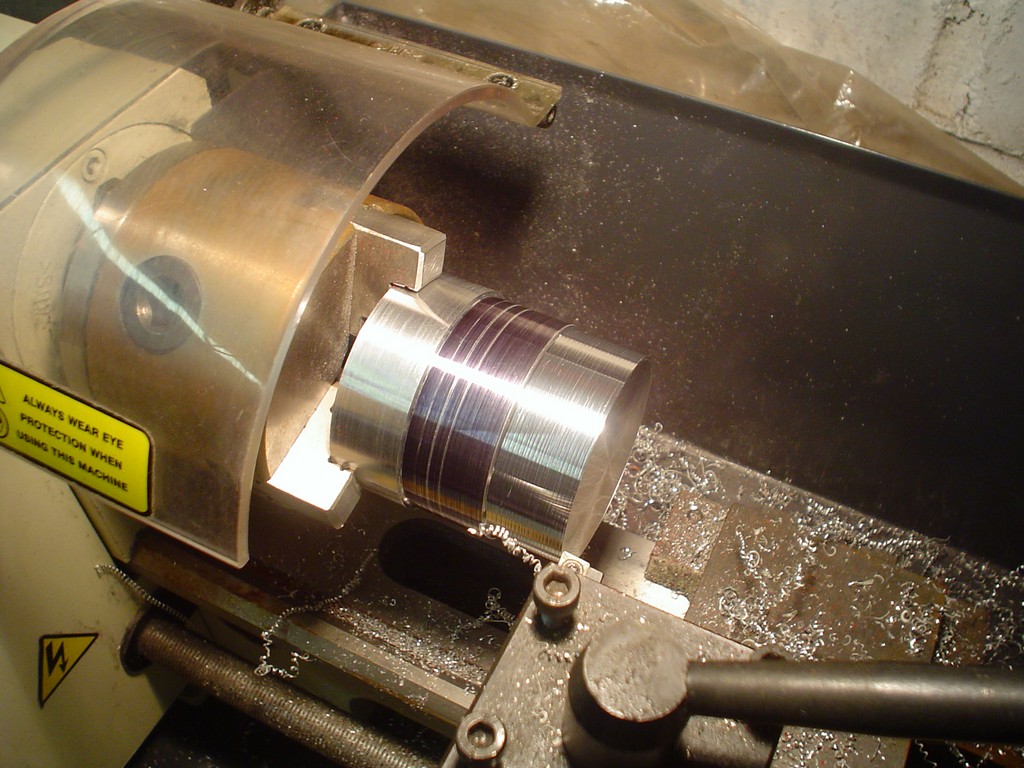 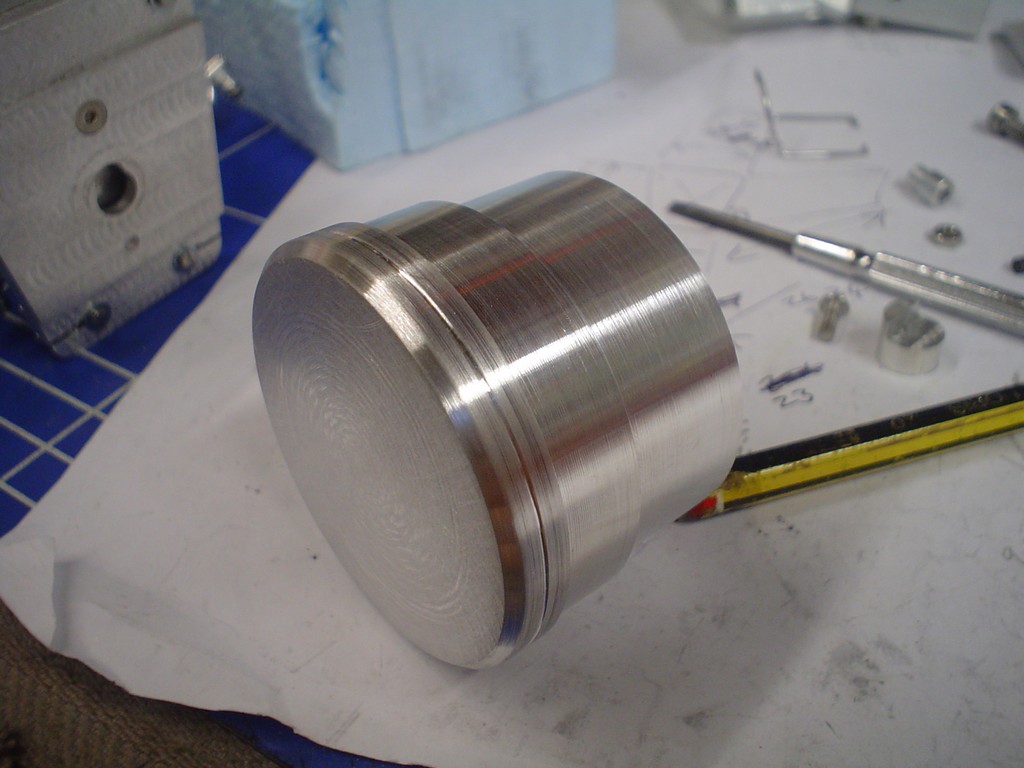 realised after cutting the big disk that it juts wasnt big enough, looks wrong to the pics 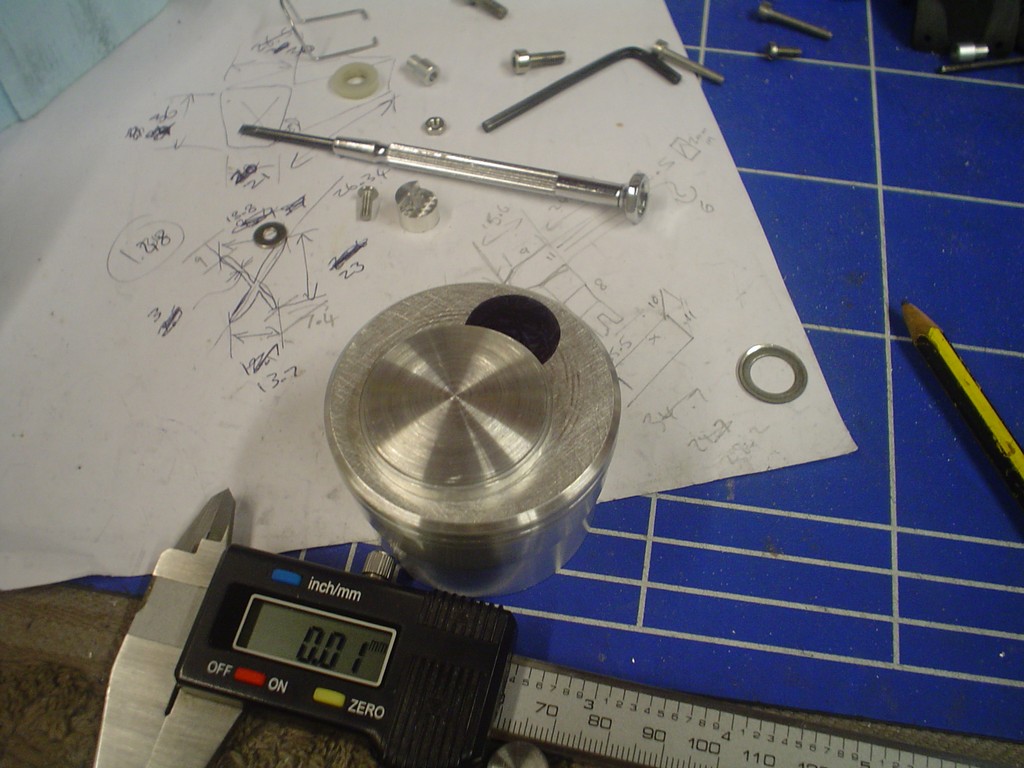 so ended up making a slightly larger one 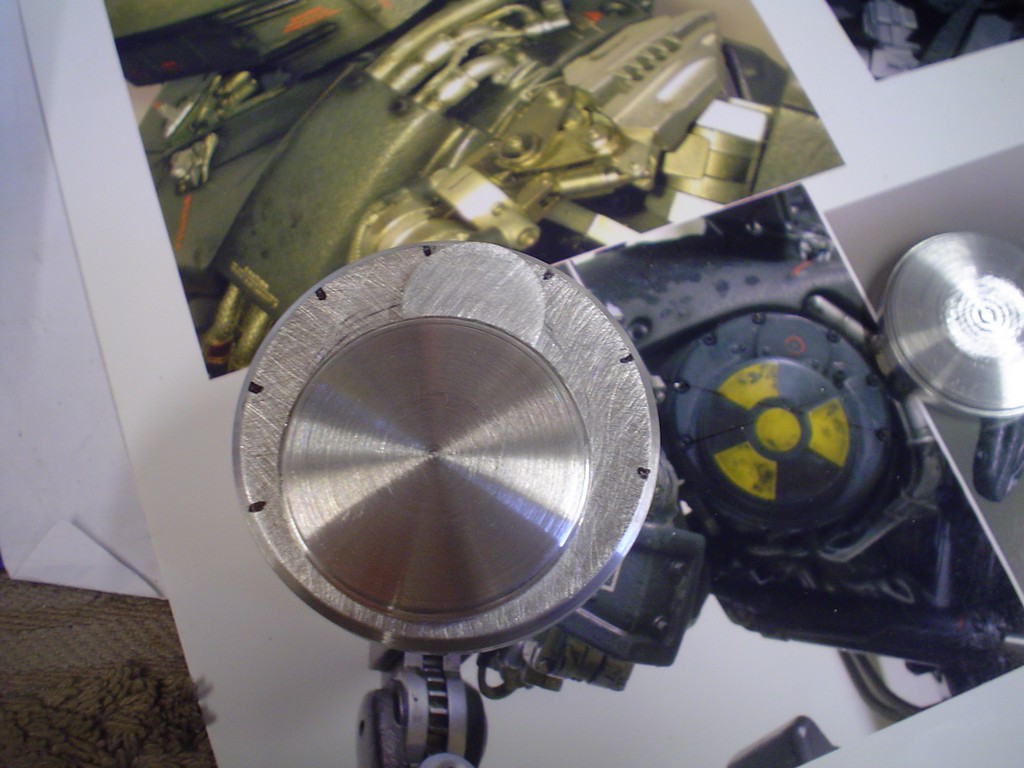 profile.... 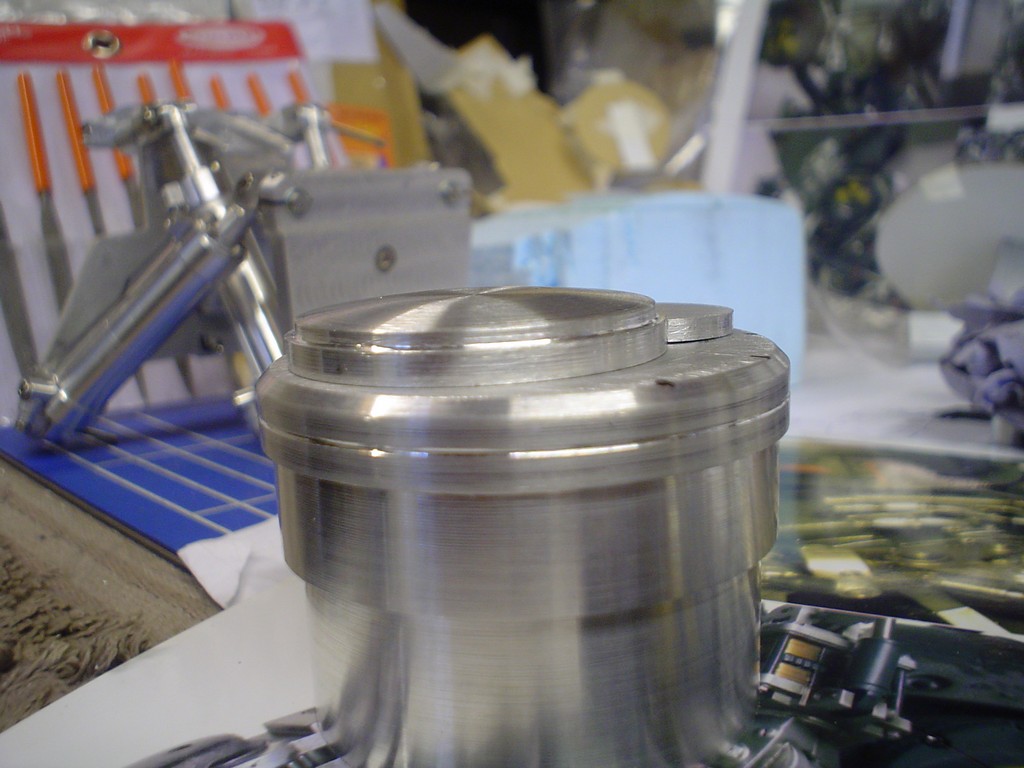 |
|
|
|
Post by droutmaster on May 4, 2010 21:18:44 GMT -5
oh dear god, that is crazy. you my friend got mad skills, how much this figure is costing you to make?
|
|
|
|
Post by admin1 aka Ed on May 9, 2010 21:18:40 GMT -5
As always.... inspiring work! Thanks for sharing.
E
|
|
|
|
Post by candyman on May 11, 2010 15:00:39 GMT -5
Thank you chaps, not costing a huge amount, im keeping a running total on my site, £150/ $250 or so, so far. Well im in Florida this week but you'll be pleased to know I kept some updates back so you dont get Cain withdrawal! good thinking huh :lol: I recessed where all the screws sit with a 3mm mill then drilled and tapped them, turned the screws down too. 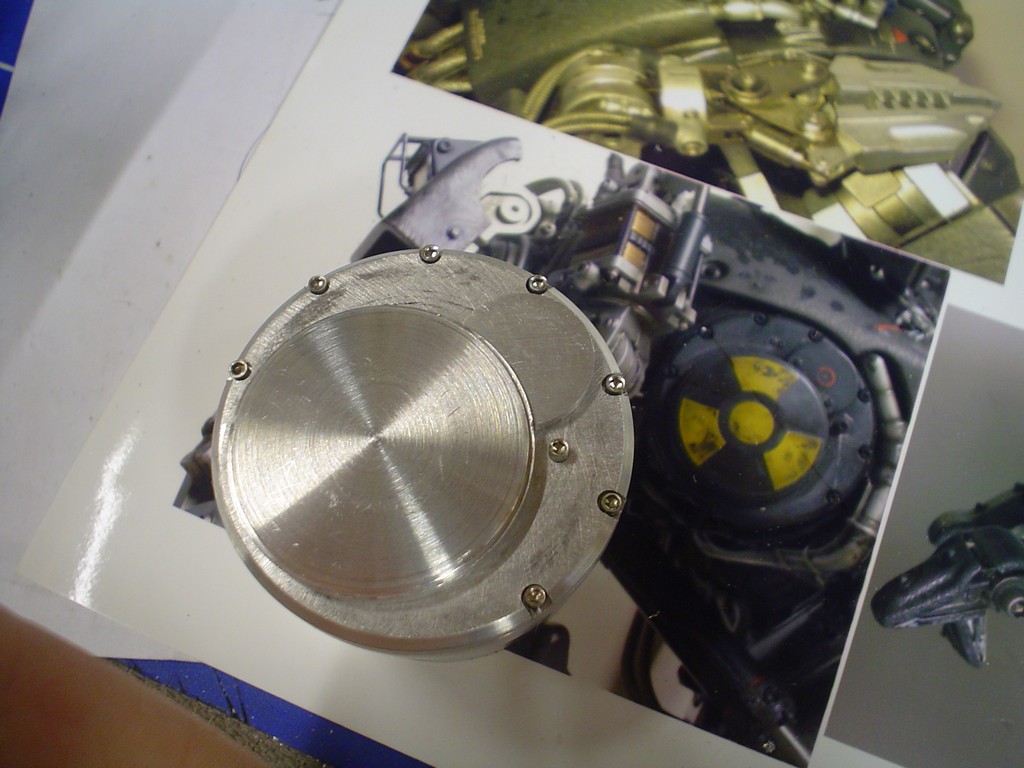 Next I made a pair of these blocks on a slight angle that will go into the back of the drum and allow them to be adjusted a bit and then held in place 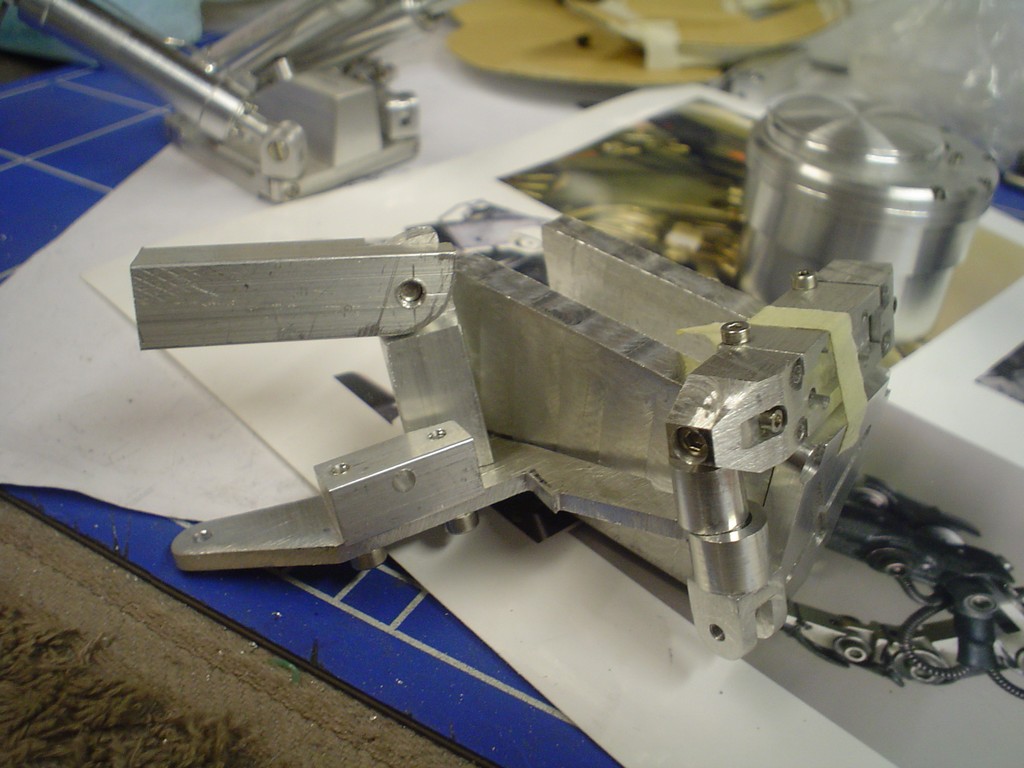 something like that 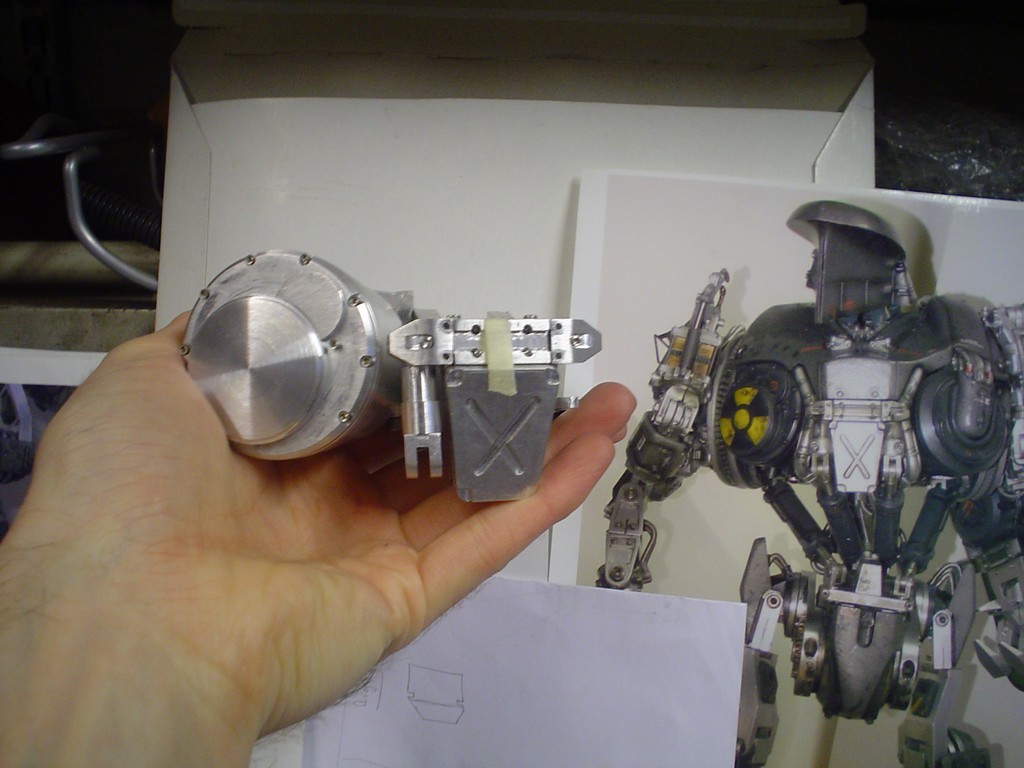 on to the other side, turned more or less the same size with some beveling and recesses 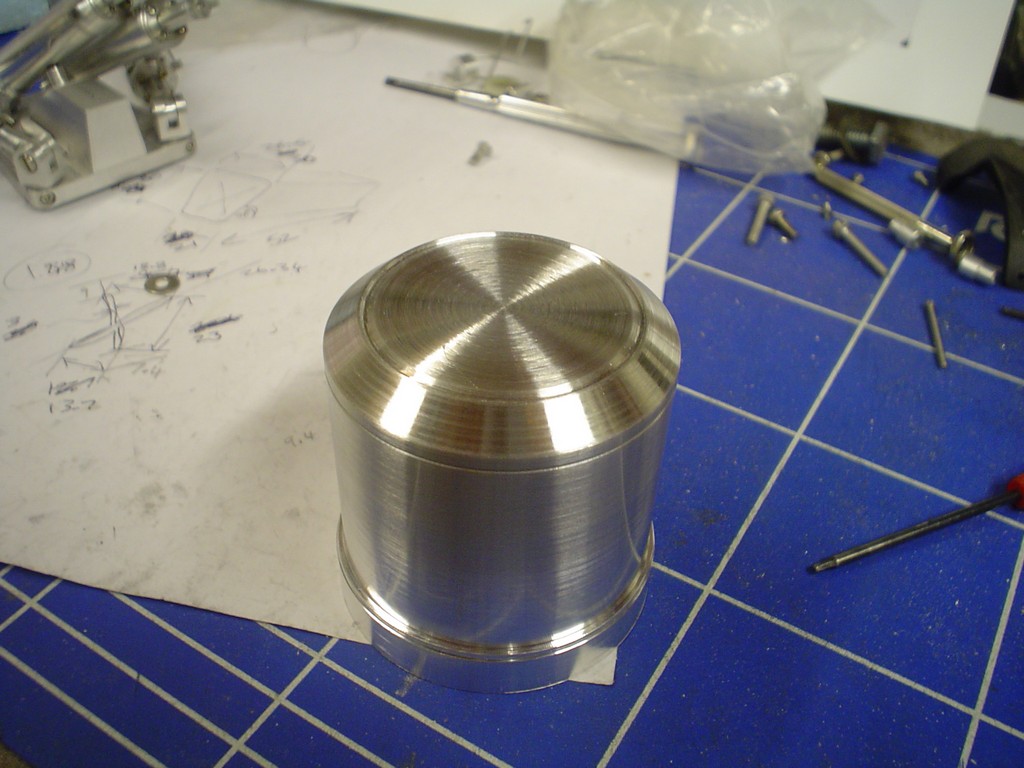 it needs a U shaped piece on the front of it, after a bit of thought I decided just to do it by hand. Its only a 1 off and by the time I'd setup the rotary table and clamped such a small piece down I could have made it. 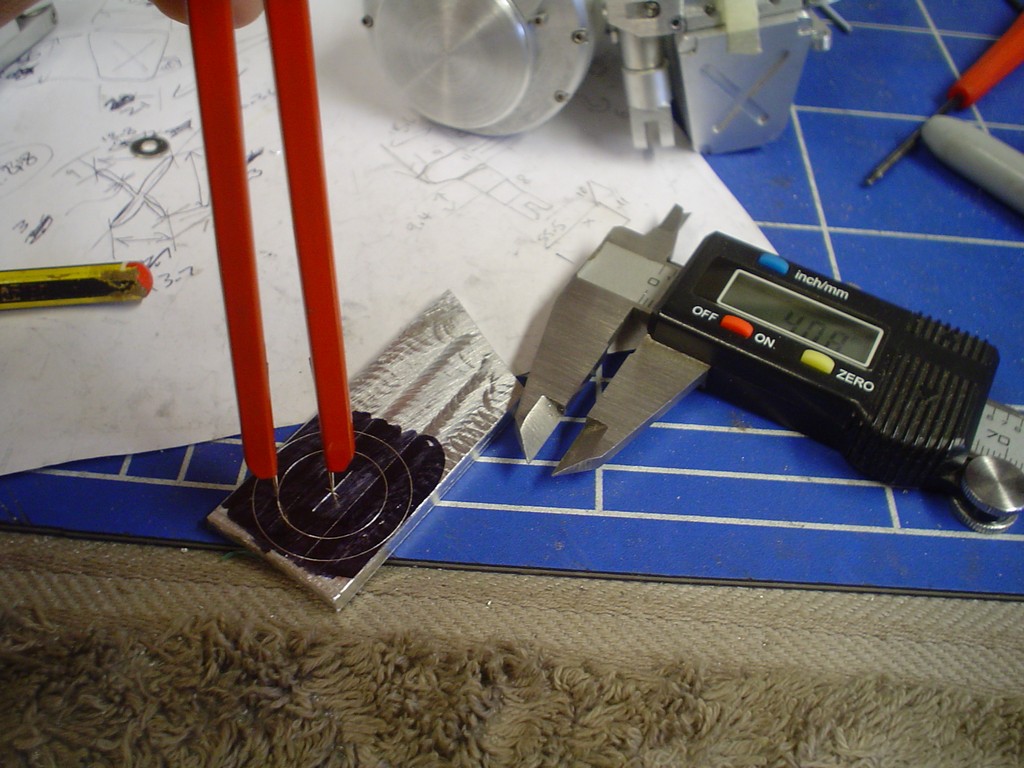 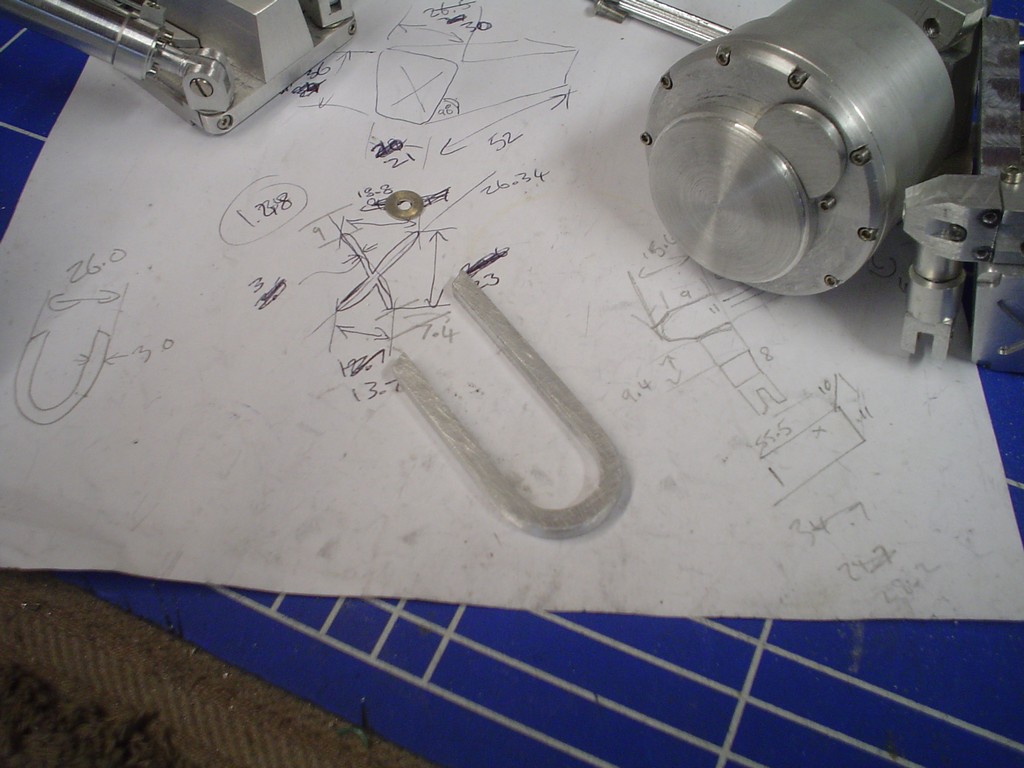 something like that 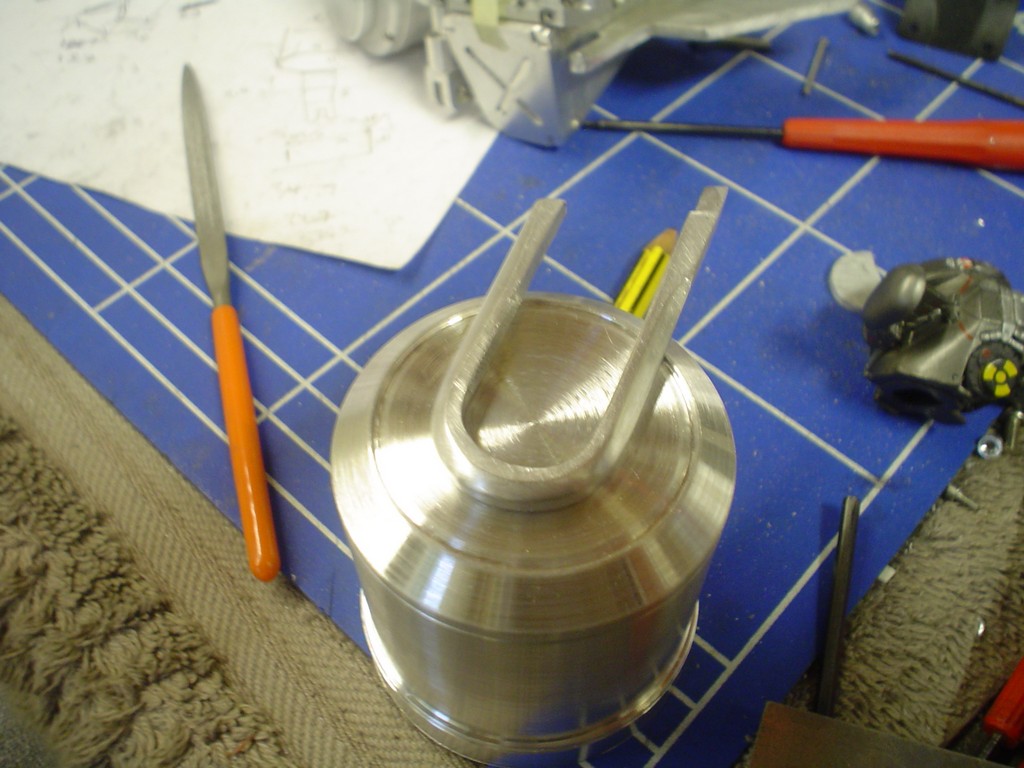 bolt it on for a trial fit 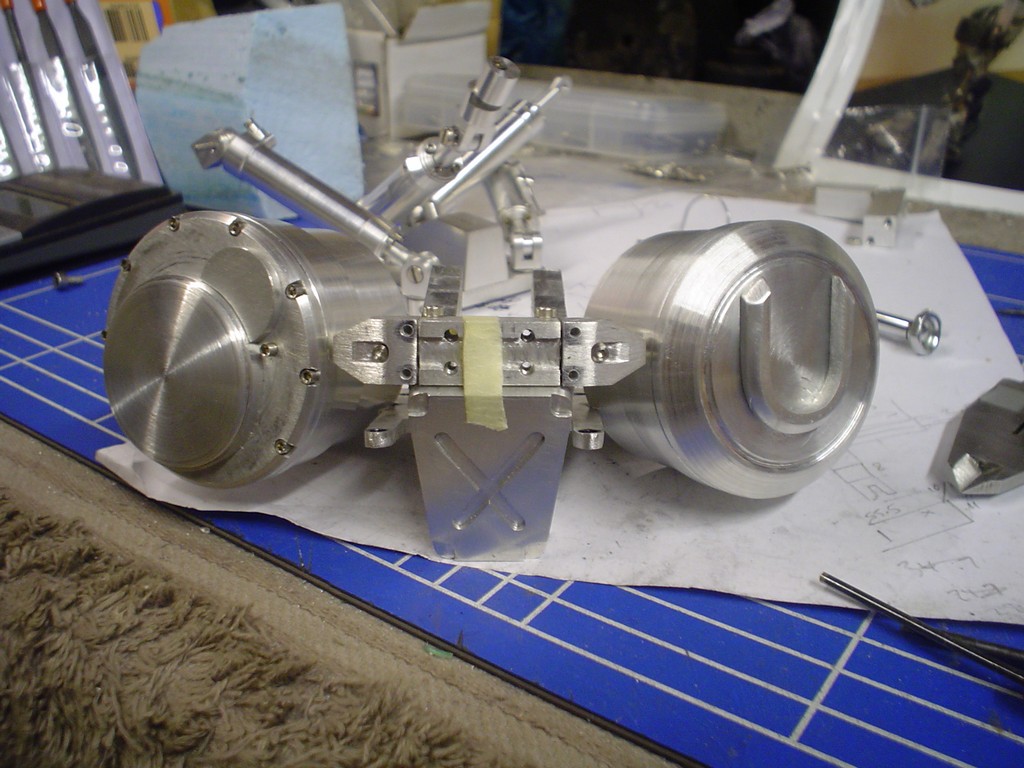 next back to the delrin for the cover that goes on the chest 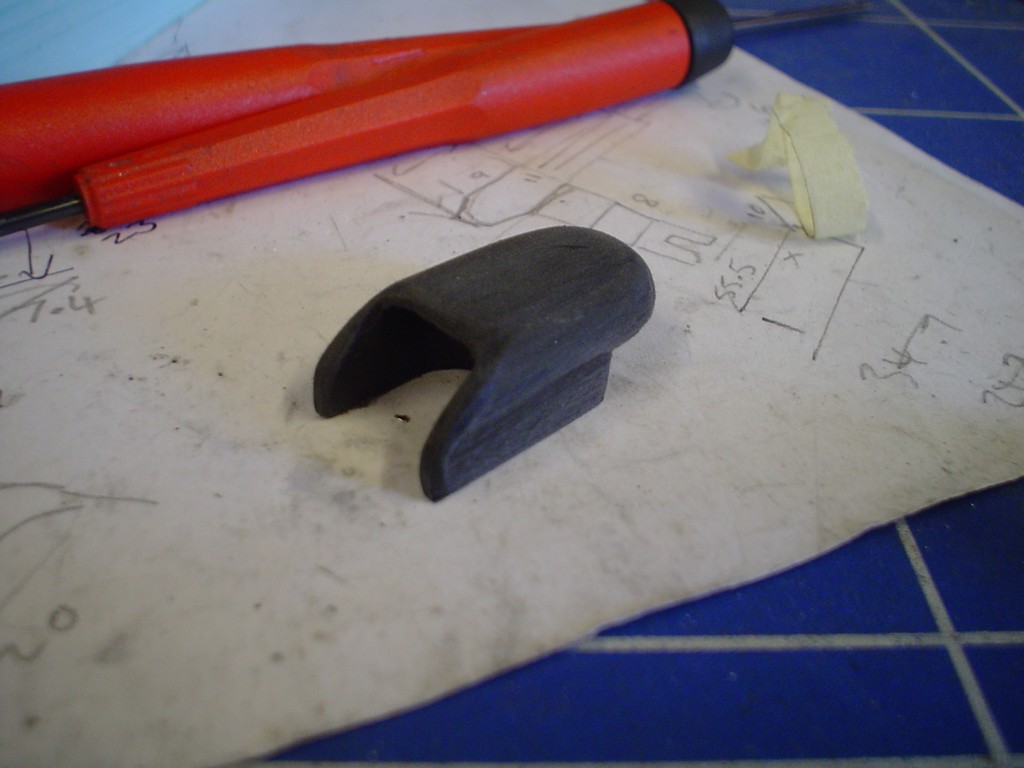 after fixing the "U" on I milled out room for the cover. 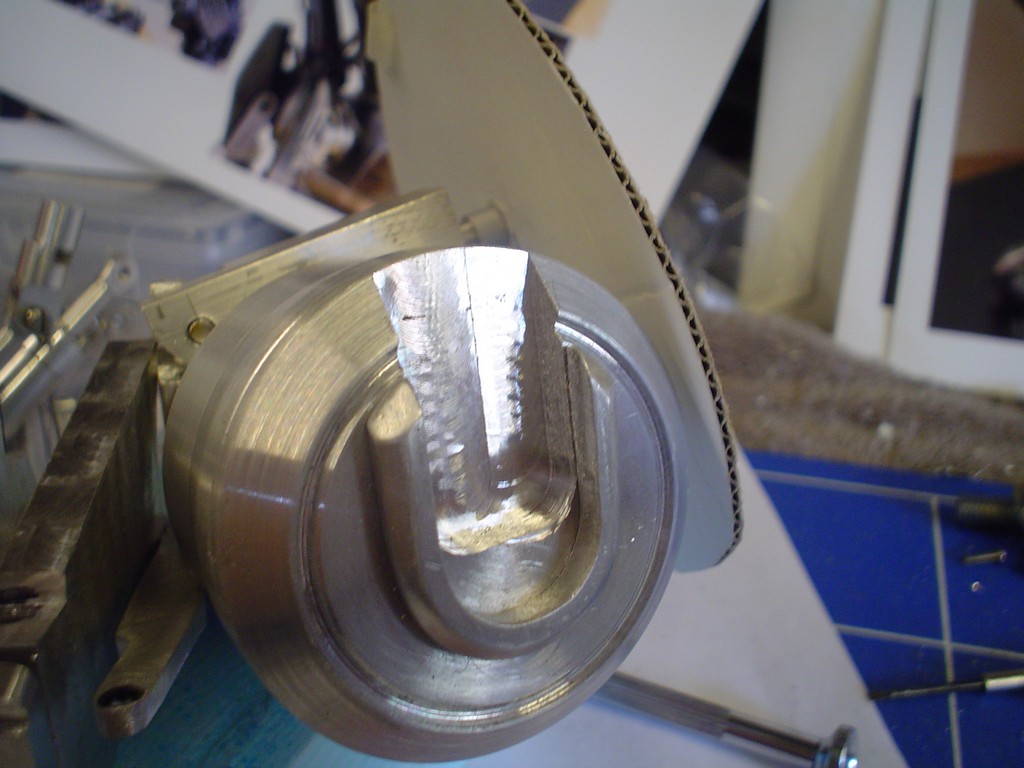 and that sits in there nice  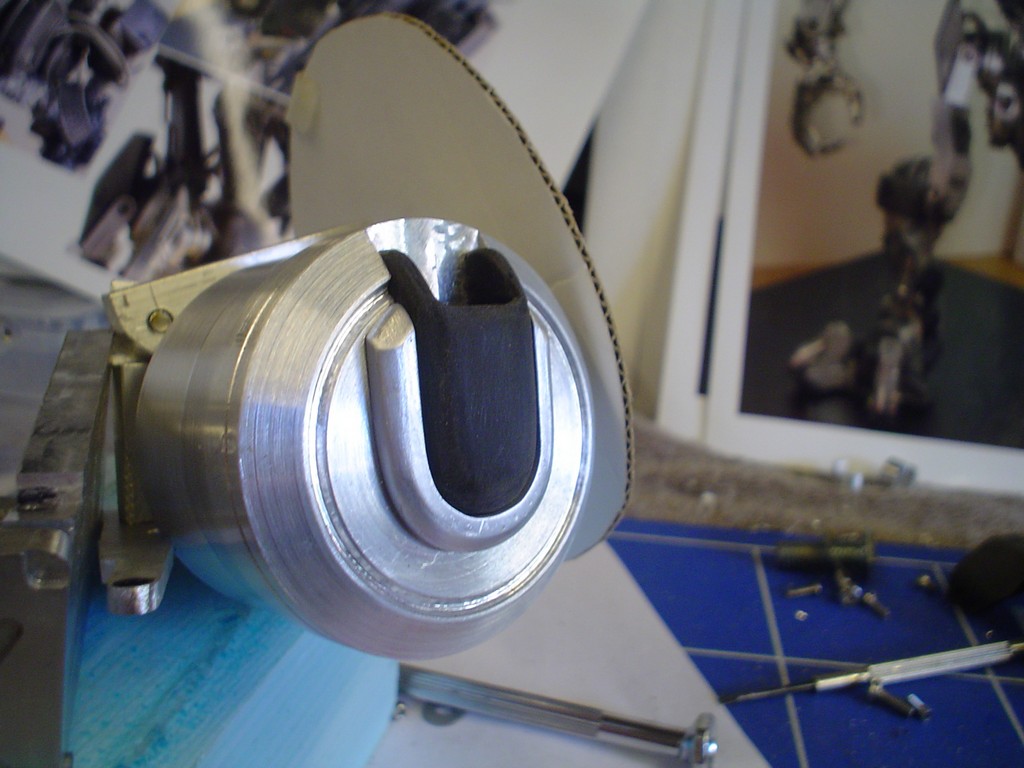 |
|
|
|
Post by bt1 on May 11, 2010 15:22:48 GMT -5
My God, that is amazing! Thanks for sharing this project - it really is something, and love watching the progress. Great job.
|
|
|
|
Post by KingboyD on May 11, 2010 16:11:49 GMT -5
Whereabouts in Florida?
And what type of metal are you using? Is this aluminum to keep it lightweight, or is this thing going to be a steel brick?
|
|
|
|
Post by Nyonk on May 11, 2010 20:39:23 GMT -5
WOW!!!!! great skill bro!!! love to see work in progress behind the scene pictures...
cant wait till finish figure. keep up!!
|
|
|
|
Post by droutmaster on May 12, 2010 22:11:12 GMT -5
the more i see this the more i want it to see it complete an at same time ill be freak out. do you Imagen if that thing suddenly takes life and starts killing everyone  |
|