|
|
Post by magengar on May 13, 2010 14:22:31 GMT -5
I'm going in for Hernia surgery next week.
Looks like my jaw is starting to have a
hernia of its own, dropping so much, from
watching this work in progress (LOL!)...
...This is truly amazing!
Add to that, I've also seen some amazing
custom works by other RJers, which have
also added to my jaw-hernia... Amazing! ;D
zozo-Magengar
|
|
|
|
Post by OJA on May 13, 2010 21:47:28 GMT -5
Take your time finishing this, don't rush anything. We all here want you to achieve the result you want. We know, this will definitely be better than the original. I wonder what price tag will you place on this priceless item...  |
|
|
|
Post by droutmaster on May 13, 2010 22:07:01 GMT -5
you know, when he finish this figure he could make mold out of the parts and selling the figure so you can build it up XD
|
|
|
|
Post by angelo on May 14, 2010 2:37:42 GMT -5
Candyman!!!! you've made an amazing job!!!! WOW!!!!
It's just FANTASTIC!!!!!
E' BELLISSIMO!!!!! ^___^
|
|
|
|
Post by magengar on May 14, 2010 10:01:12 GMT -5
That would be so cool. But I can't handle that kind of machinery, so I'd use the molds to cast the parts with resin like a model kit. And this indeed would be one badazz model kit template, especially with all that intricate detail.  zozo-Magengar you know, when he finish this figure he could make mold out of the parts and selling the figure so you can build it up XD |
|
|
|
Post by candyman on May 16, 2010 17:24:22 GMT -5
thanks guys  appreciate it. Ok starting on the pipework, turned some pieces up and then milled a flat on them to get them to sit right, bit of trial and error here. 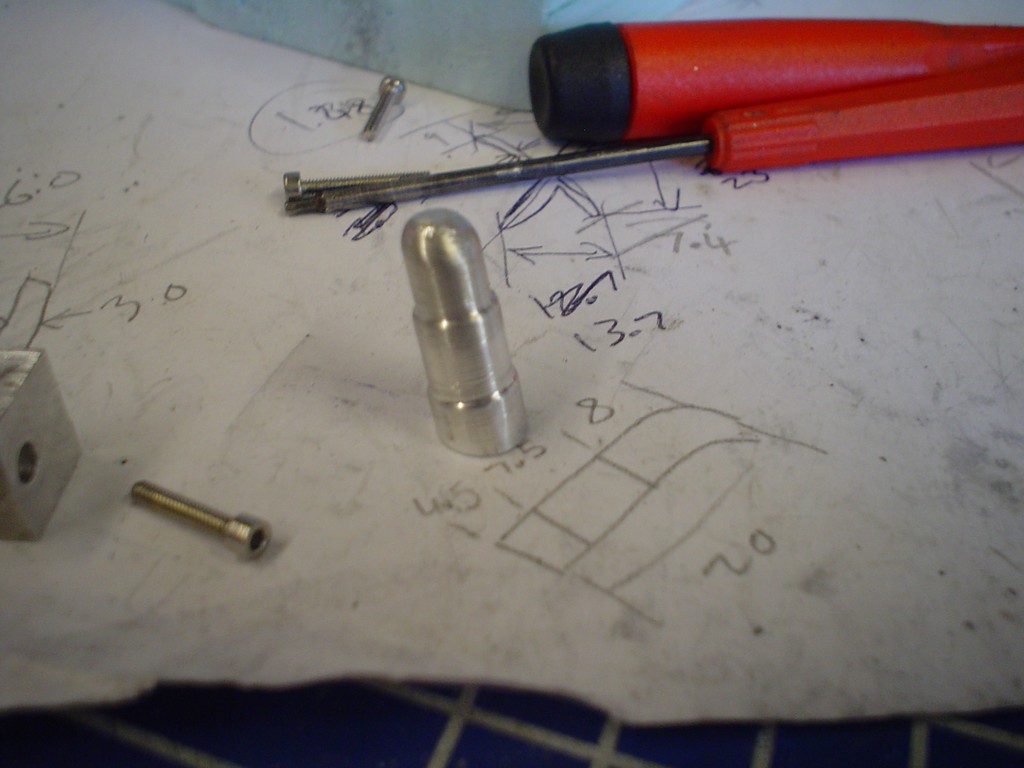 as for fixing it all together im drilling and then screwing in from the middle of the dude .. in the middle. 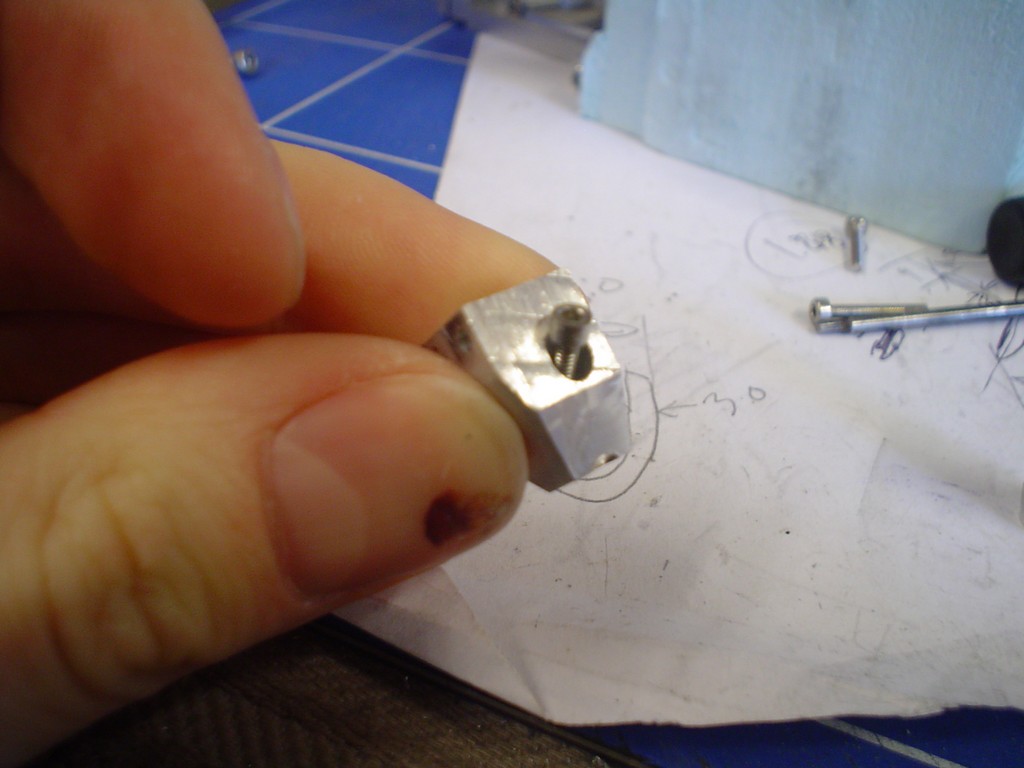  trial fit , something like that 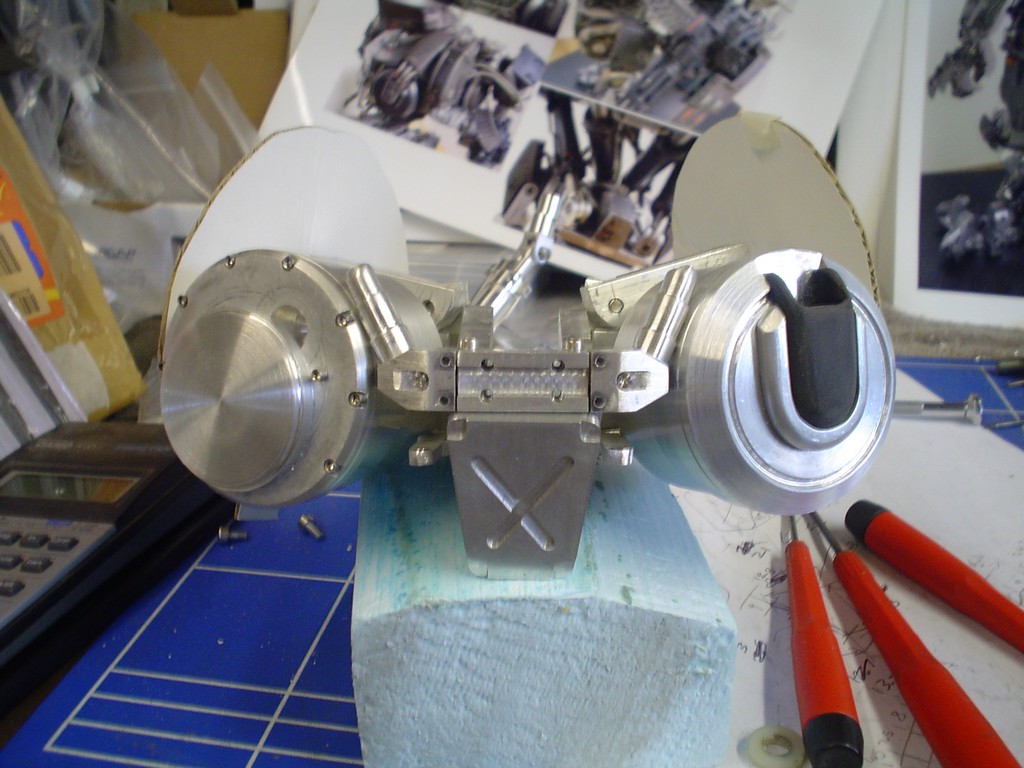 not a bad likeness 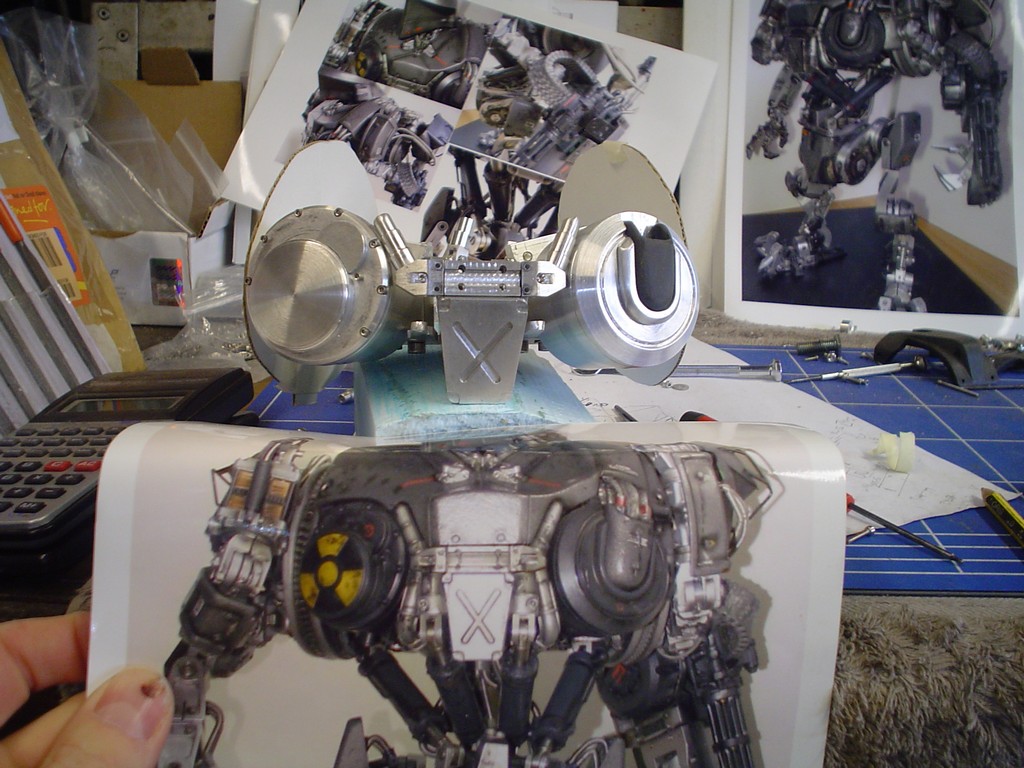 more turned rod then I had to to swing on it to bend it. 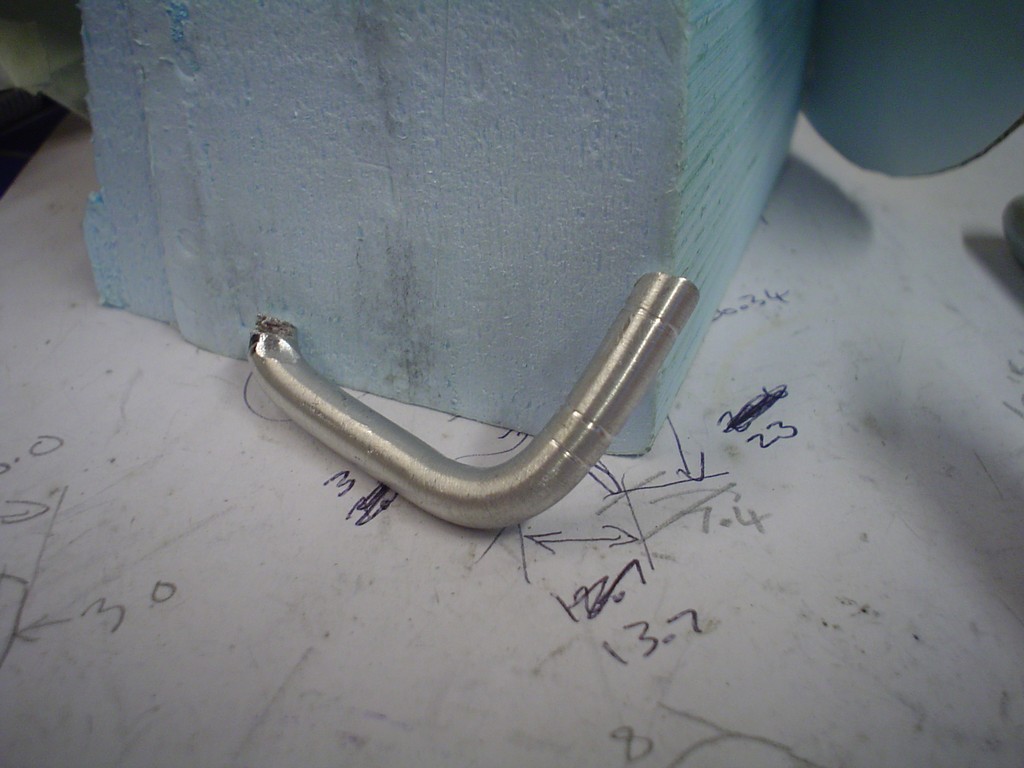 one each side slots between everything, this took ages to get right so it slotted into place with no gaps. 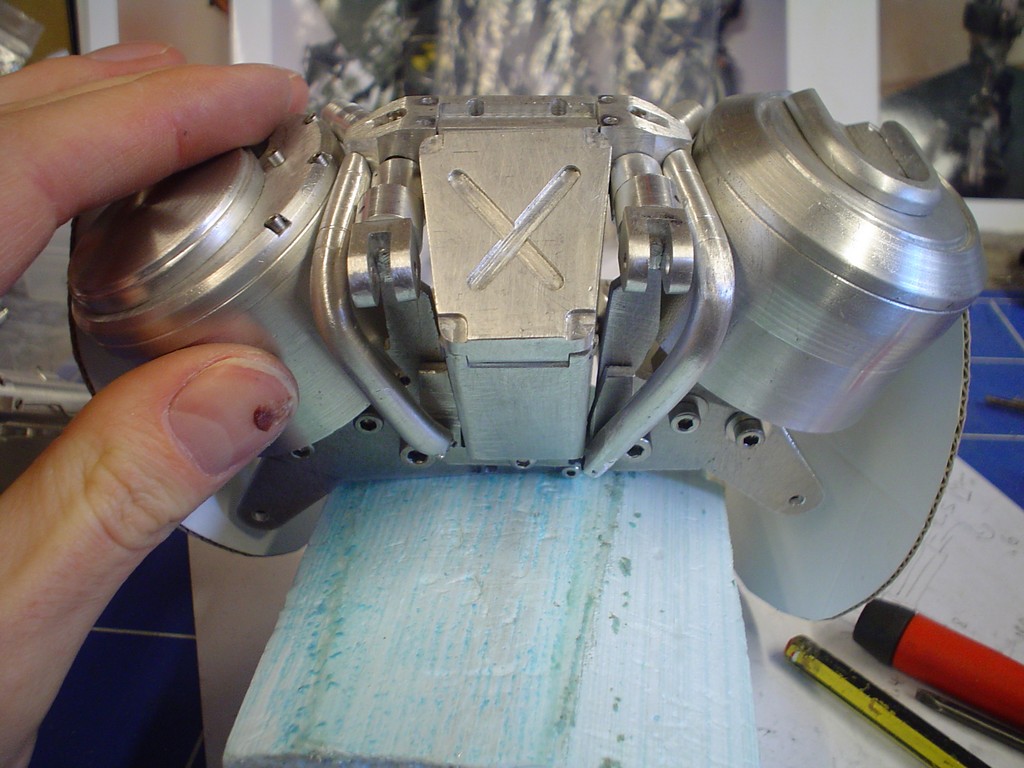 looks ok I think 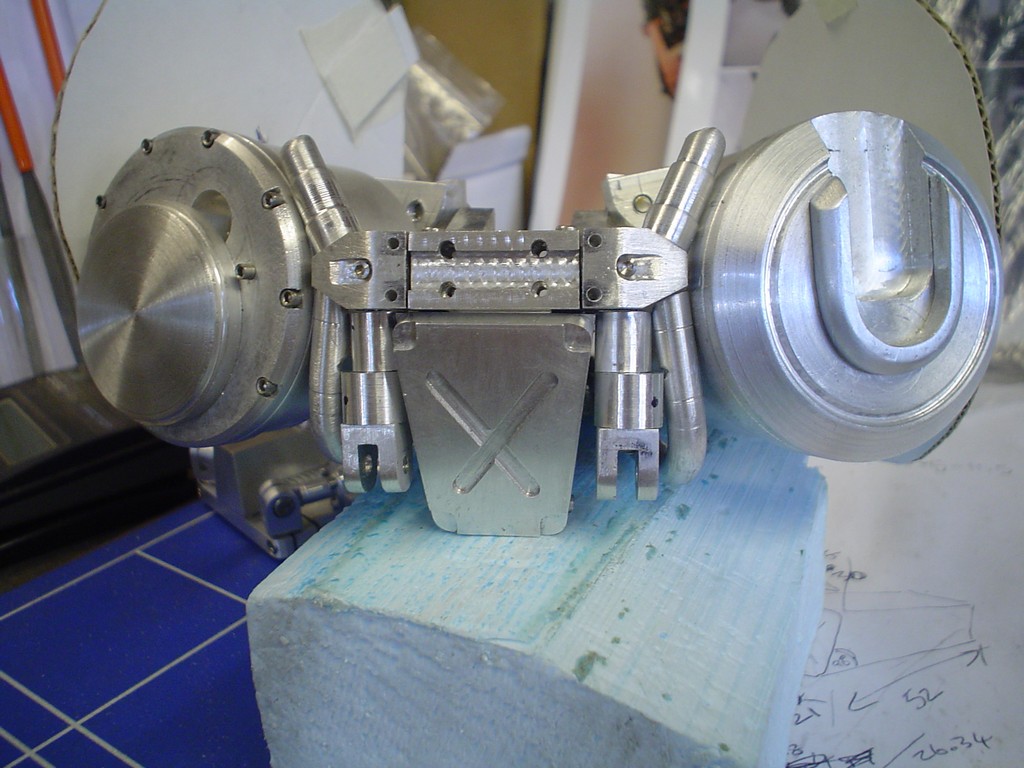 |
|
|
|
Post by Nyonk on May 17, 2010 12:46:55 GMT -5
LOVE it!!!!!! faster faster!!!! i checked your thread everyday just to see those progress pictures, love it so much!!!
|
|
|
|
Post by droutmaster on May 17, 2010 15:41:17 GMT -5
impressive as always, i cant way to see you tackle his arms. for the looks of the pics its gonna be a challenge.
|
|
|
|
Post by candyman on May 23, 2010 3:50:20 GMT -5
had to turn these screw heads down a lot to fit. 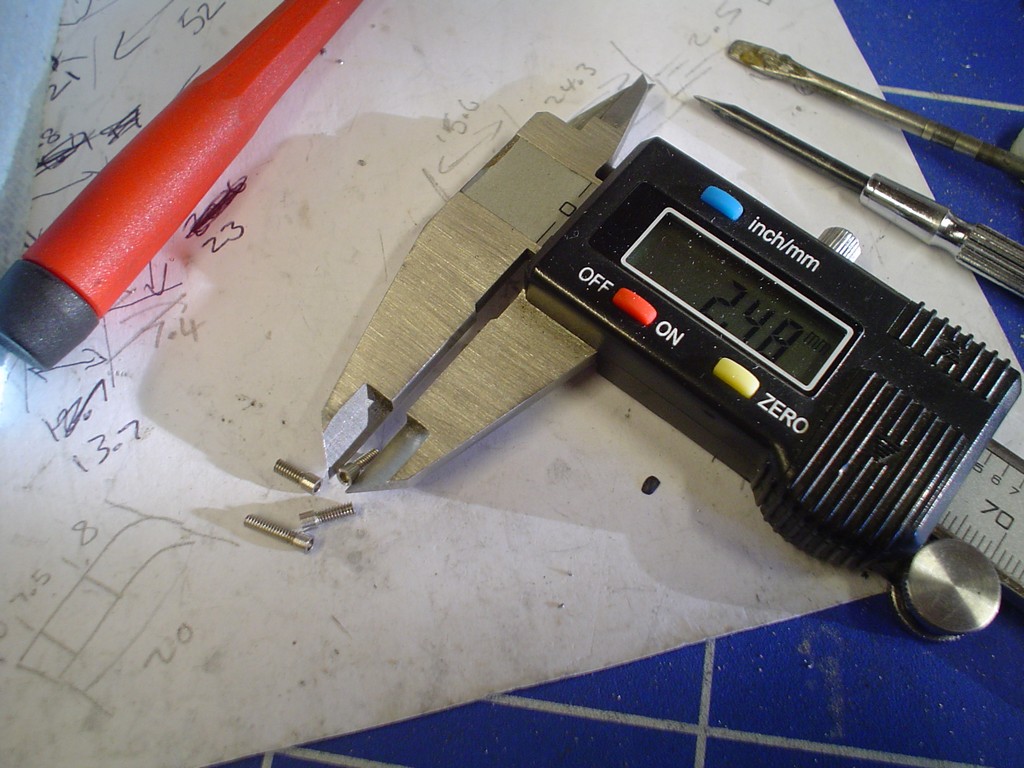 they fit in there, I have ordered some even smaller screws for the other 4 holes. 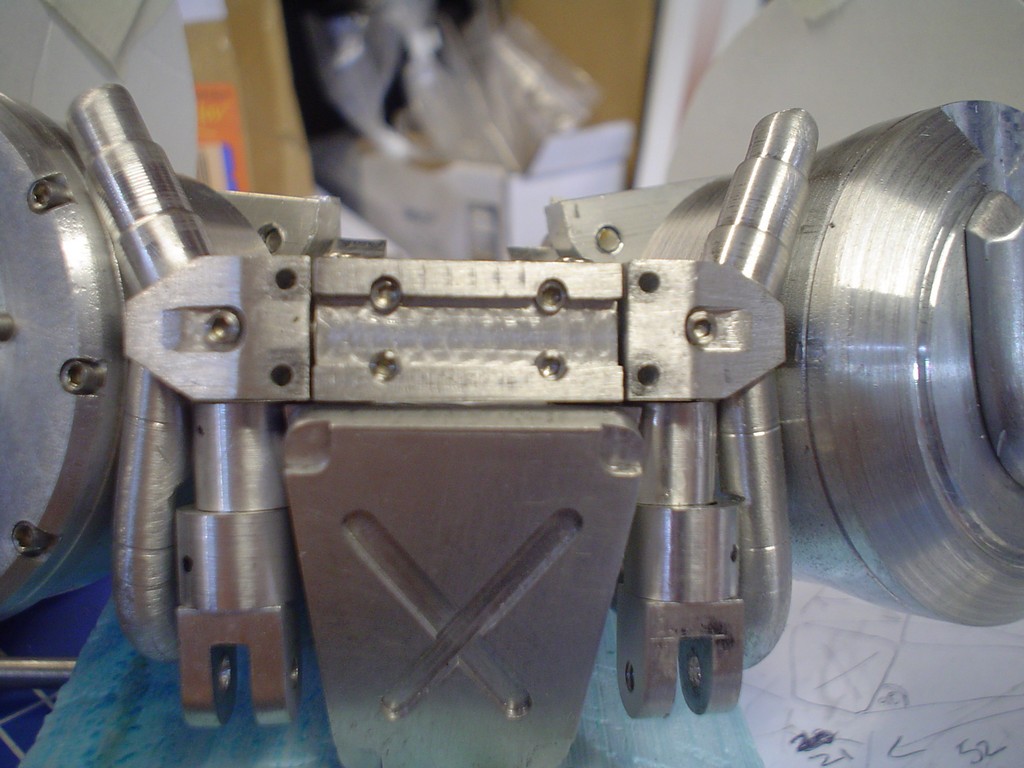 drilled , tapped and put screws in these "collars"  trial fit with pistons attached, the angle of this photo was taken head on quite close and makes it look narrower than I think it really is, after looking at all the pictures im quite happy with the position of everything. 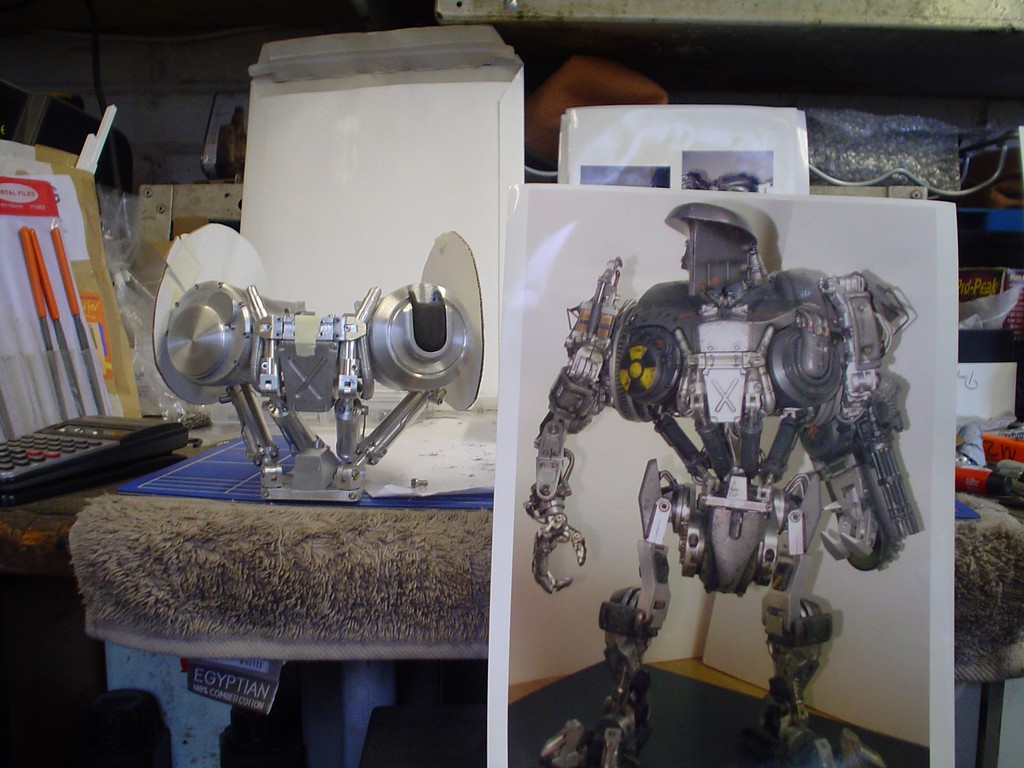 all that to one side for now, I need to work on the positioning and mounting for the shoulders. 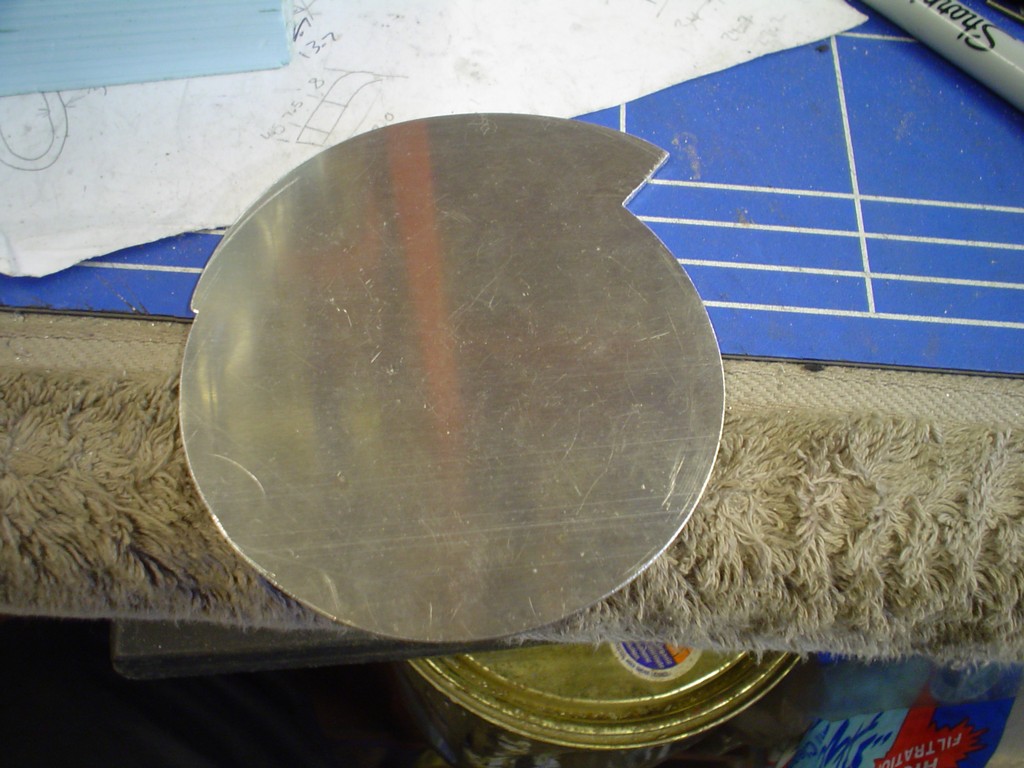 these will form the sides of the chest, the shoulders will butt up to these, I was thinking about only having 1 axis of movement for the shoulders, up and down, but in the film when they reveal cain at the press conference he drops his shoulders down and back. So I am working in 2 axis, also with it needing t sit flush at rest it also needs to move in and out, so the full 3 axis of movement is required. Oh yeh and they rotate as well, depending on what set of arms he wants to use. after a lot of trial fitting I decided the plate didnt go far enough back so I have added an aditional plate on the back and moved everything back a bit. 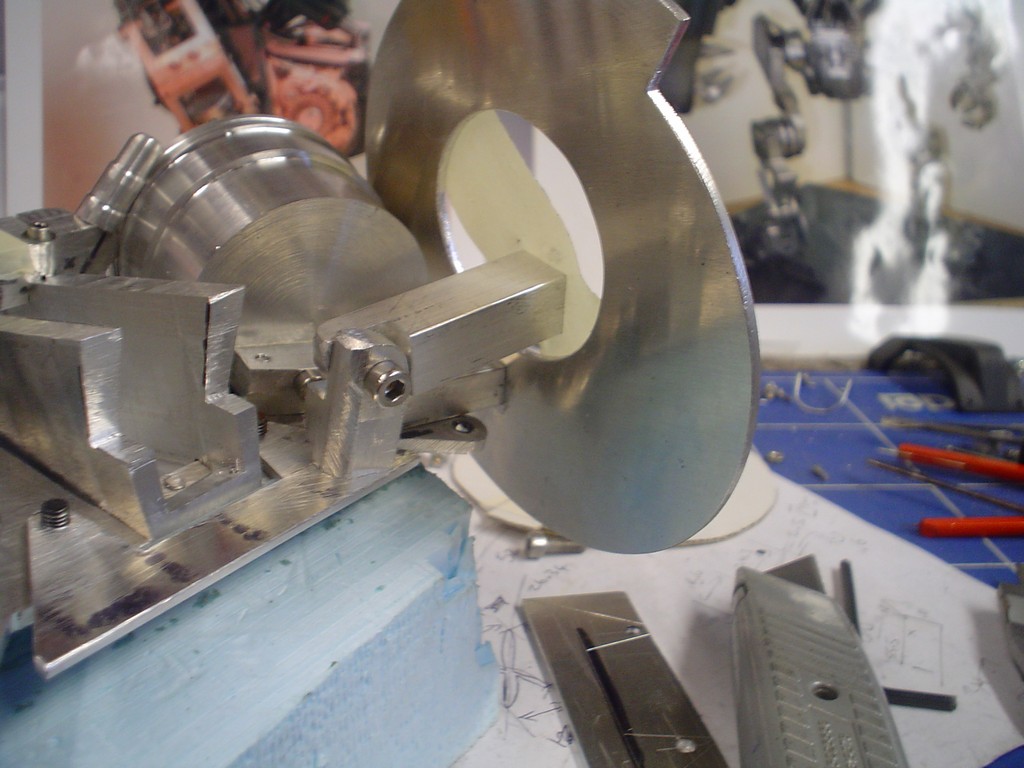 back to the cardboard, the placement of everything looks right now from all 3 angles. 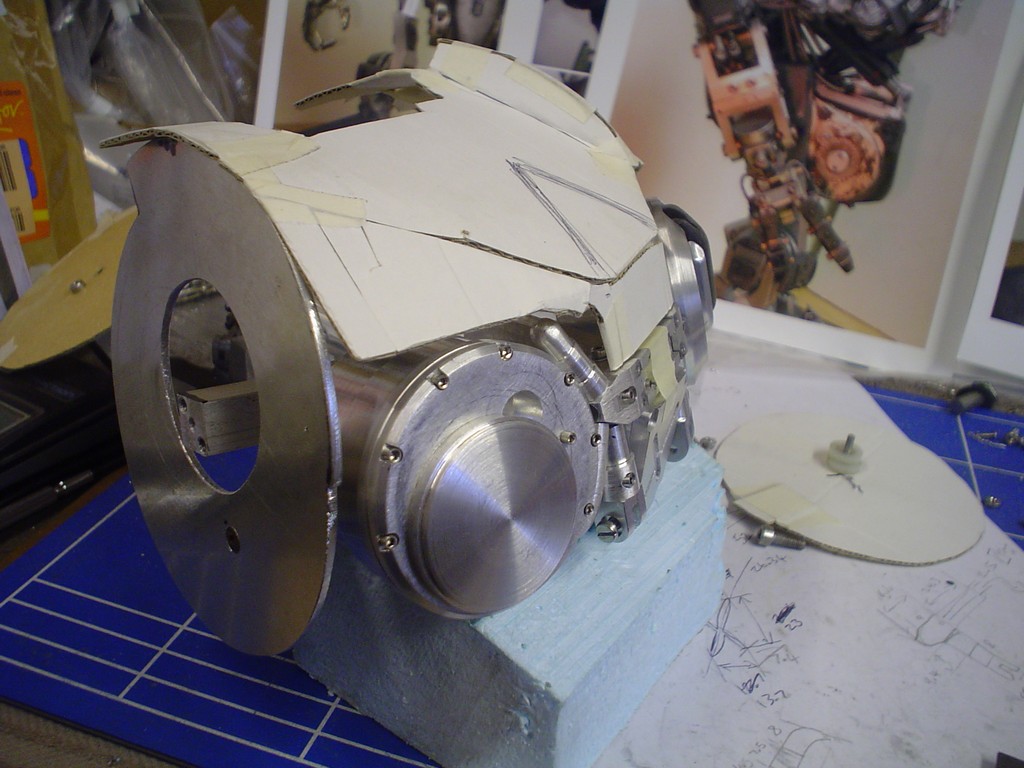 |
|
|
|
Post by droutmaster on May 23, 2010 13:55:26 GMT -5
ohh the body making begins lol, right now the last pic reminds me of a gundam.
|
|
|
|
Post by candyman on May 25, 2010 16:17:32 GMT -5
one lump of 6mm plate, tough stuff this, anyone want to hacksaw 4 circles out for me? 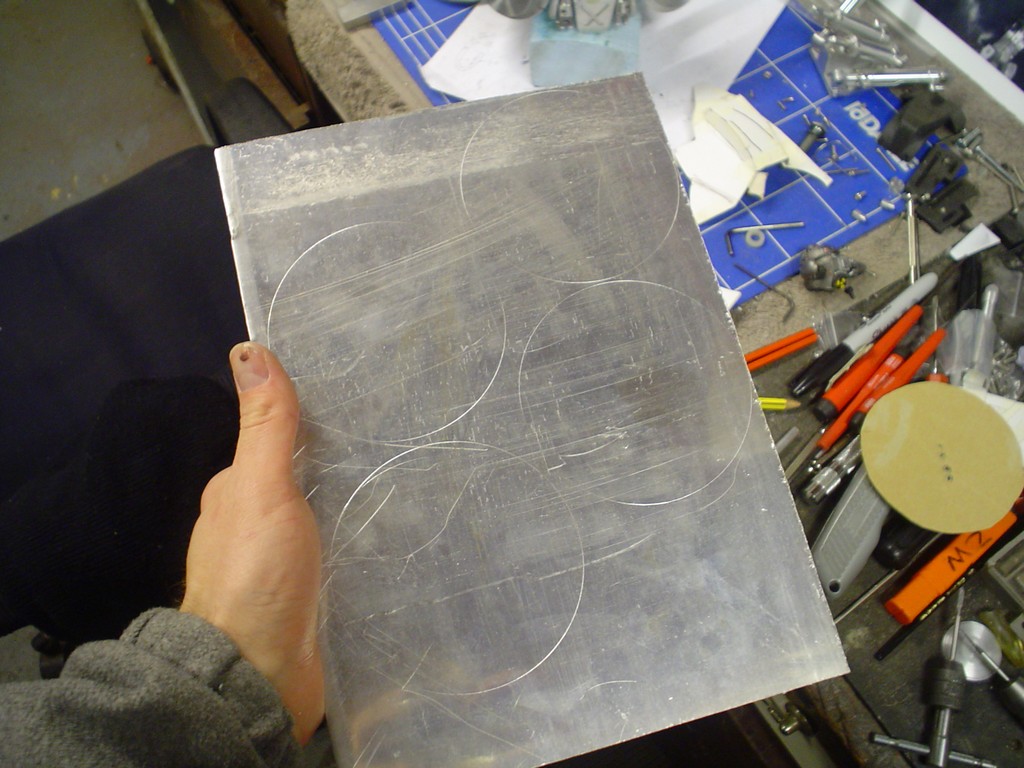 ok i'll do it then, this is with the distraction of my dad nearly setting fire to the "curtain" partition I put up in the garage to keep his dust out of my build area! 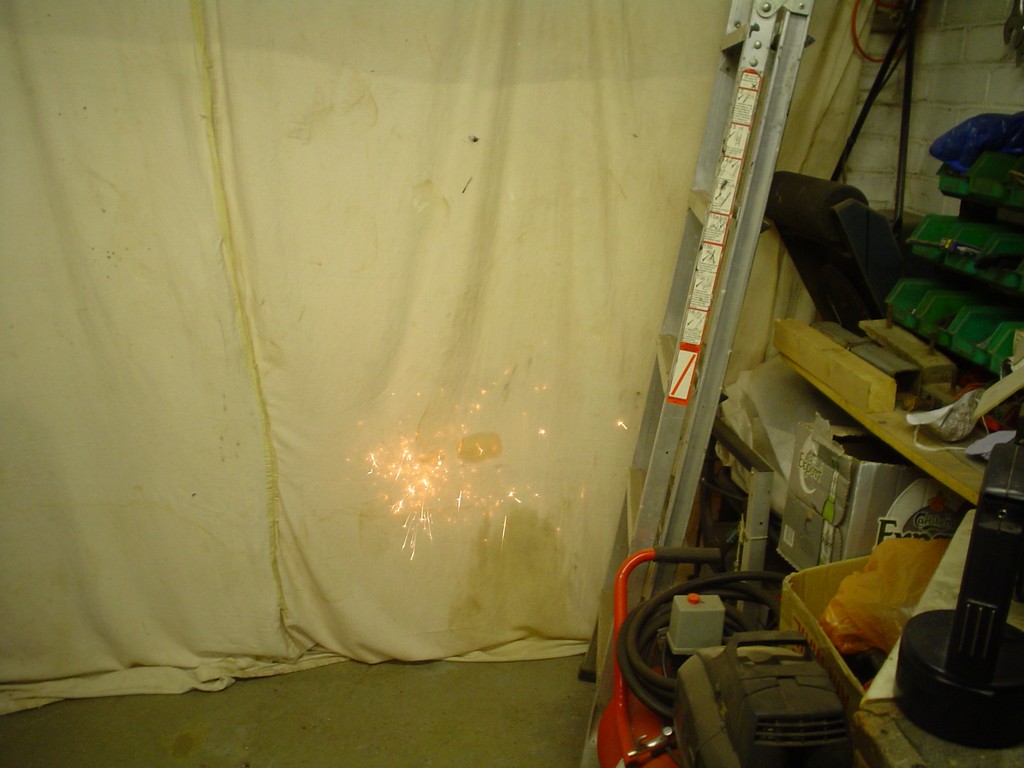 hacked out rough then spun on the lathe, my lathe isnt really big enough to turn pieces this big so I had to improvise.  Now we will have a leason in making little pipe fittings, if in doubt make some fittings, i'll be needing a lot of them! 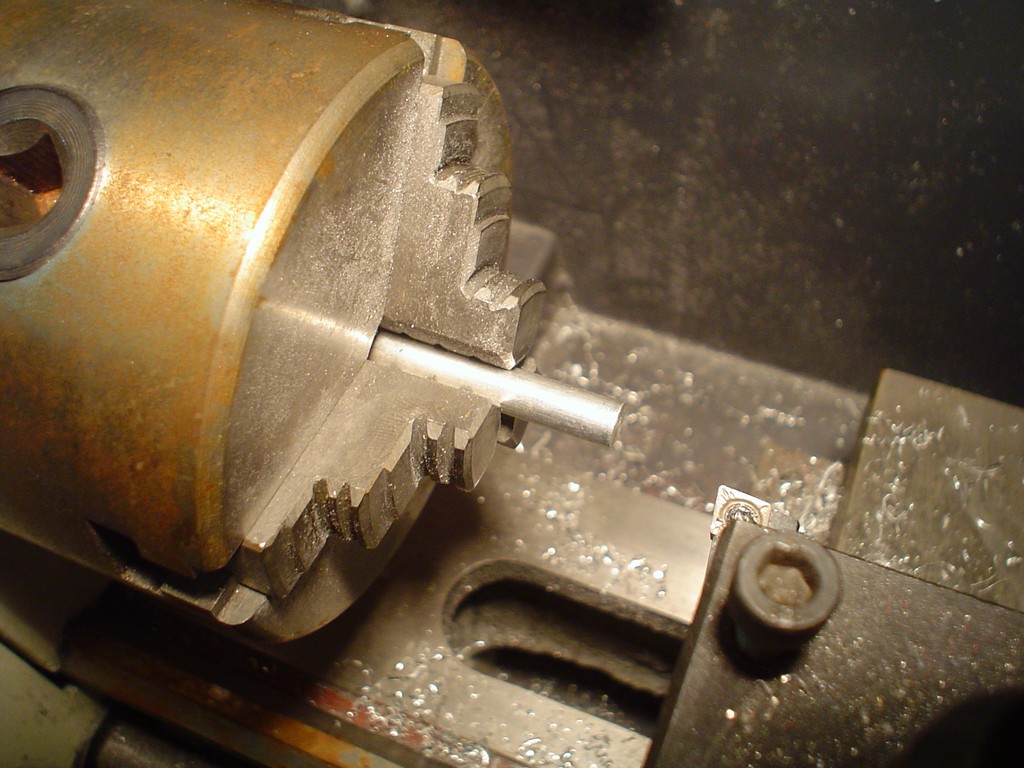 turn 6mm down to 5mm and step the end to 4mm 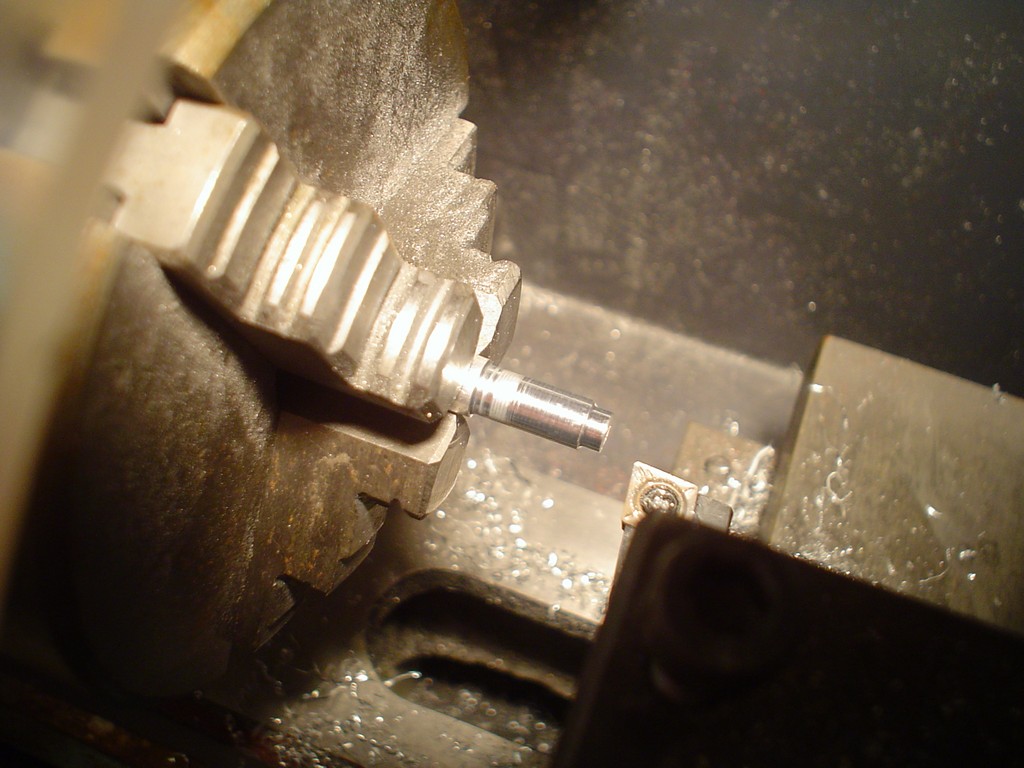 centre drill, then drill the rod with a 2mm hole 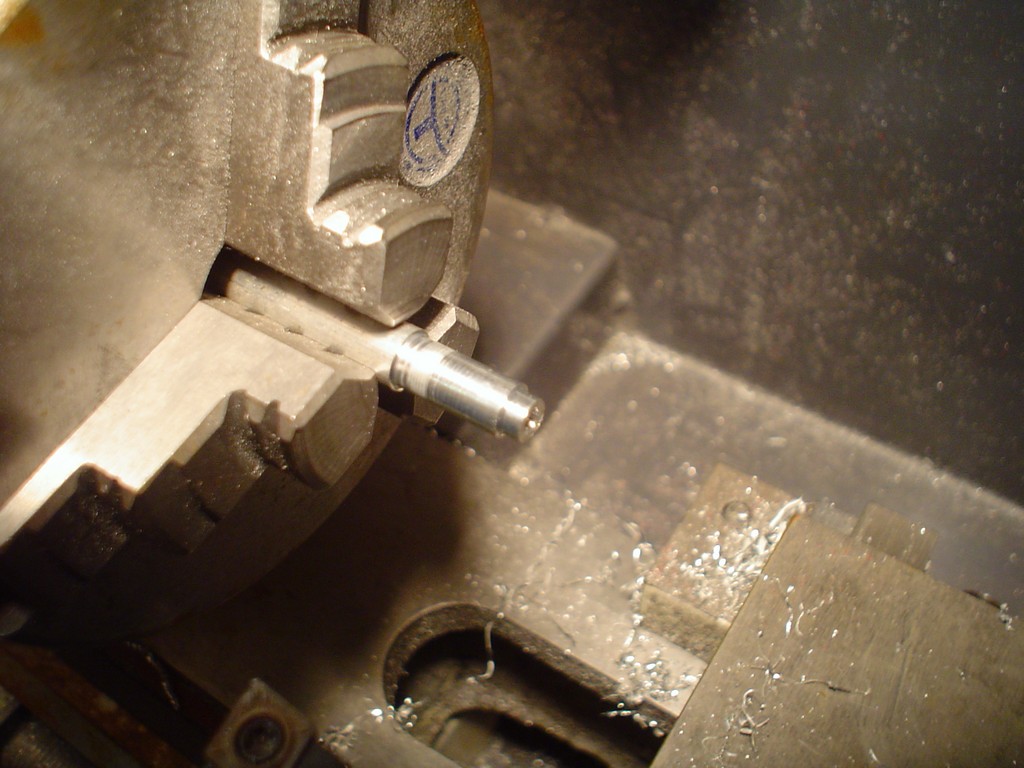 cut the piece off and face the rough end, fit in vice and mill with a 4mm cutter a half moon. 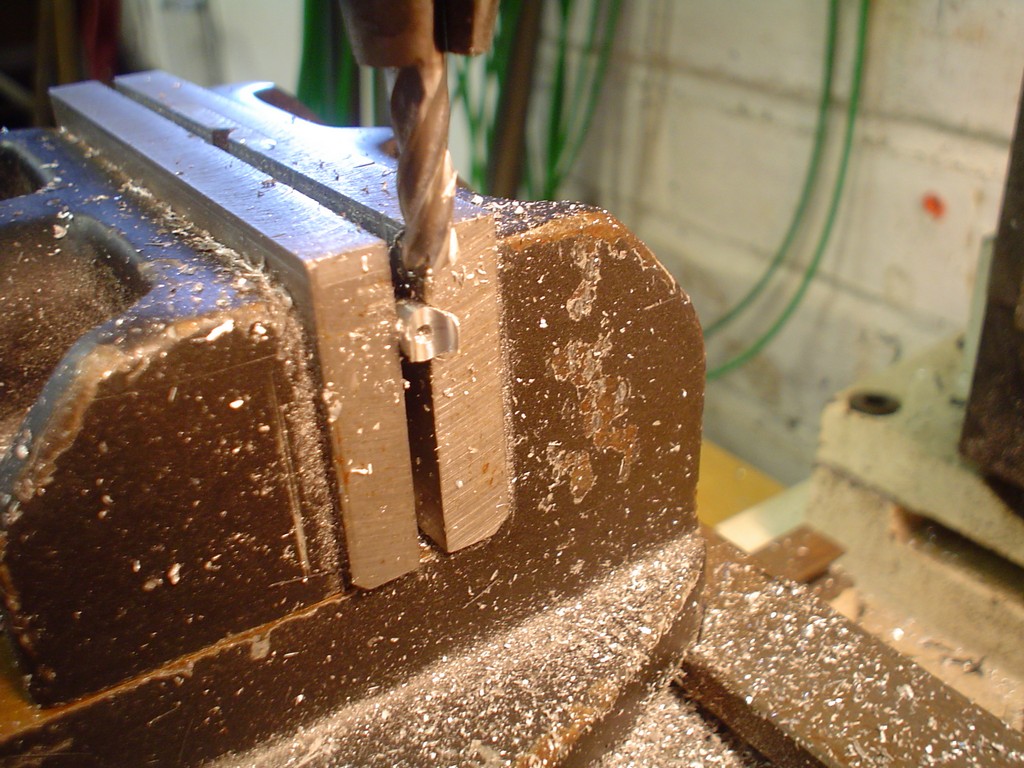 turn and face another piece of 4mm with a 2mm hole in it, making it 5mm tall 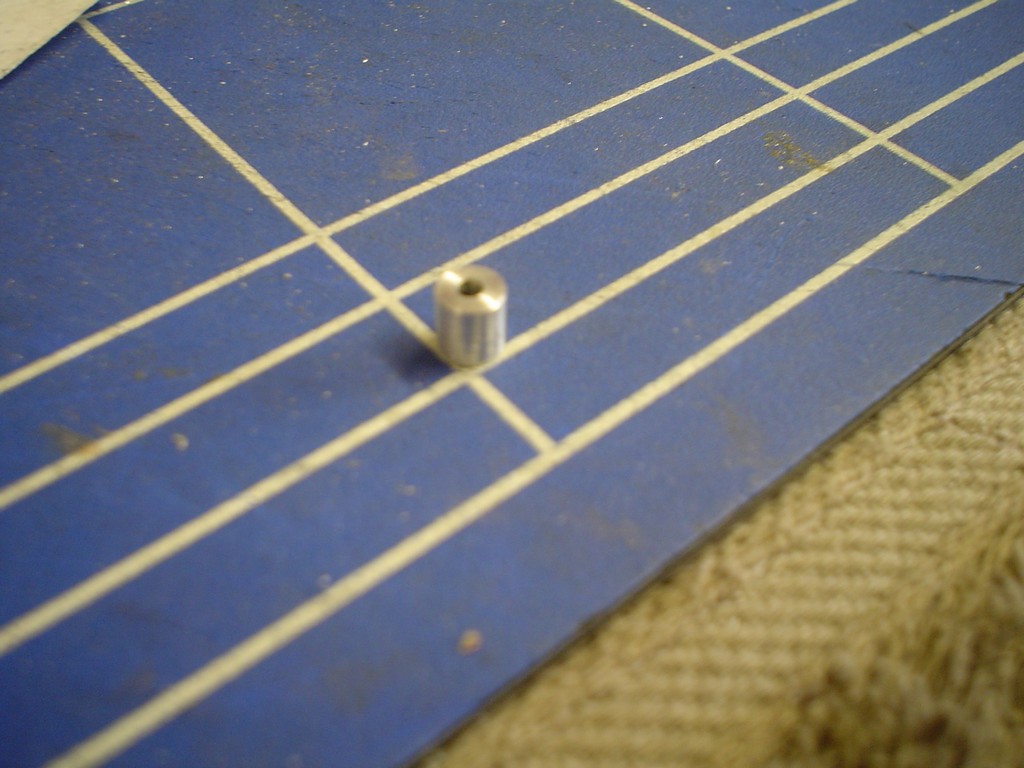 make LOTS of these, drill a 1.7mm hole in the side of the last piece and tap M2 thread, then countersink the top of it with a 3.5 drill/mill so the screw will sit inside it a bit. 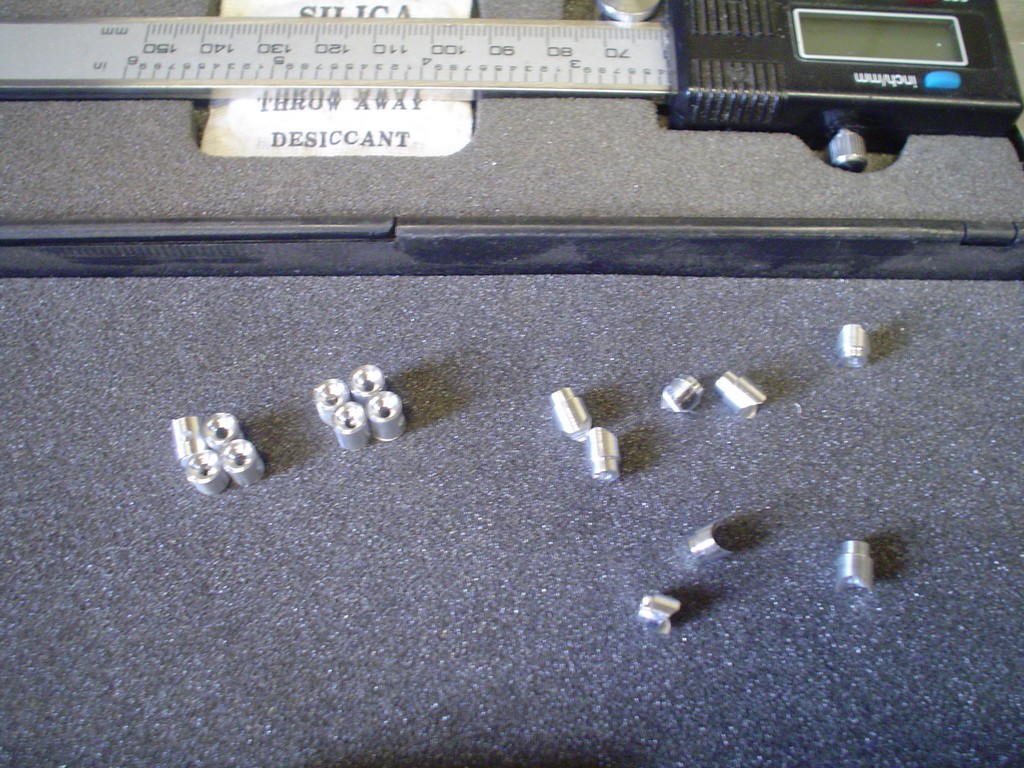 then assemble it  ... the rest too 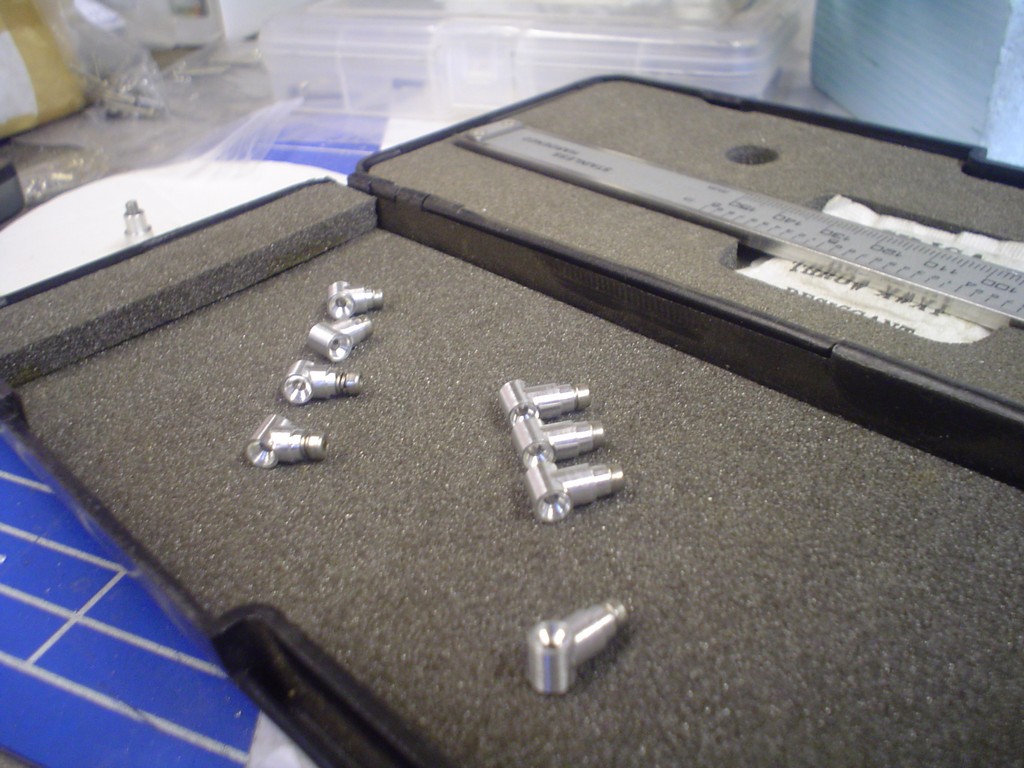 and after a few hours careful work you have another eight 4mm fittings. |
|
|
|
Post by magengar on May 25, 2010 18:16:40 GMT -5
Those fittings look really authentic, Genius even! Can't wait to see the finished figure!  zozo-Magengar |
|
|
|
Post by candyman on May 28, 2010 14:10:56 GMT -5
Difficult to estimate the thickness of the shoulder bits so quite a bit of guess work here. started with some little triangles, dont know what I was on really... 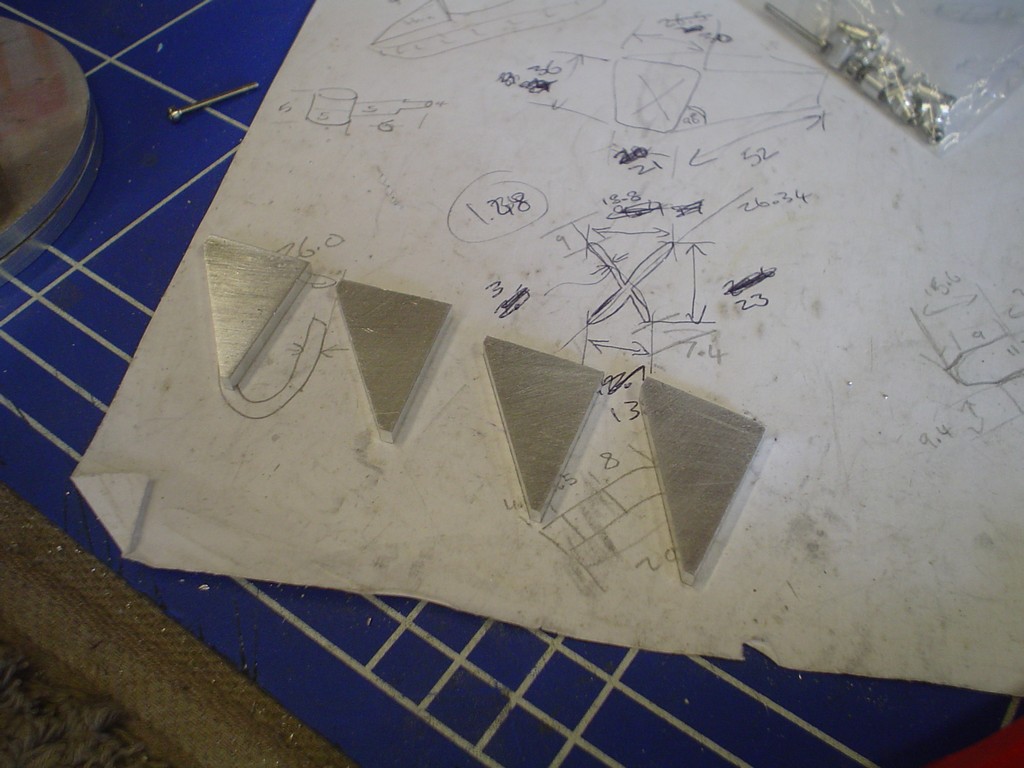 I was searching for a while to find what I could use for the big gear teeth in the shoulders. After counting teeth and measuring how big mine will be I settled on the teeth being Mod 1 pitch which makes it easier. Technobots.co.uk have a lot of parts for making your own battle robots and projects and things, they had (bizarrely) some Mod 1 track. I bought a load of this..... 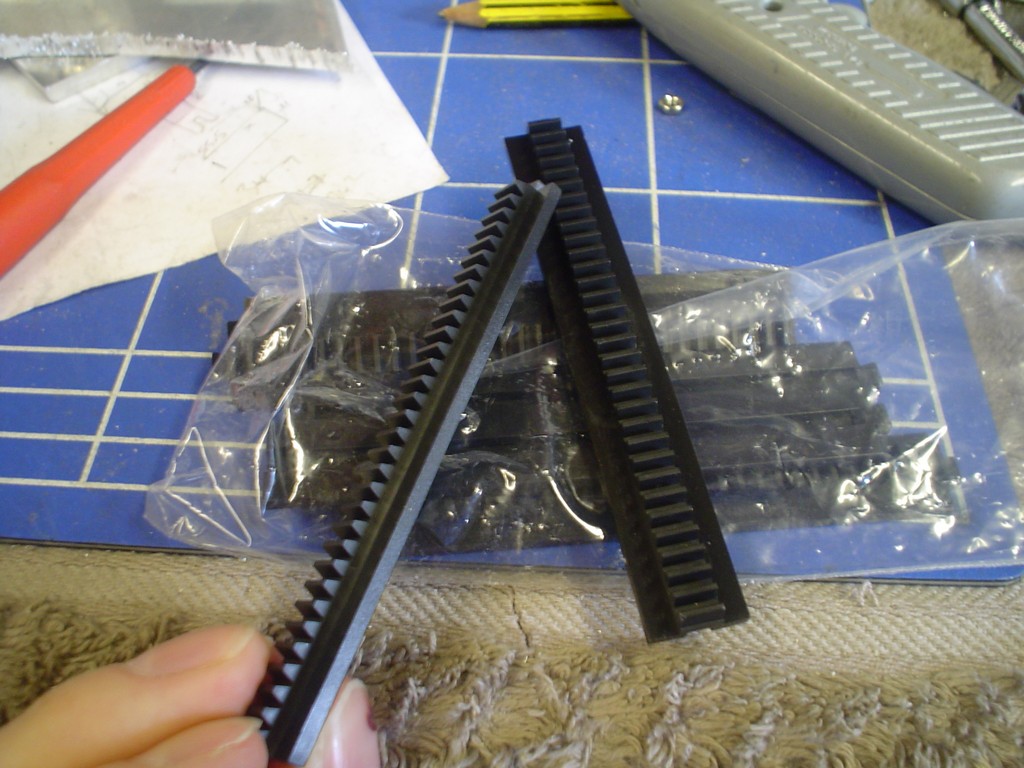 .... and set to work, milling the edges and back off it then heating it up and bending it to shape. Then make some little T pieces to bolt to the circles and hold it in place 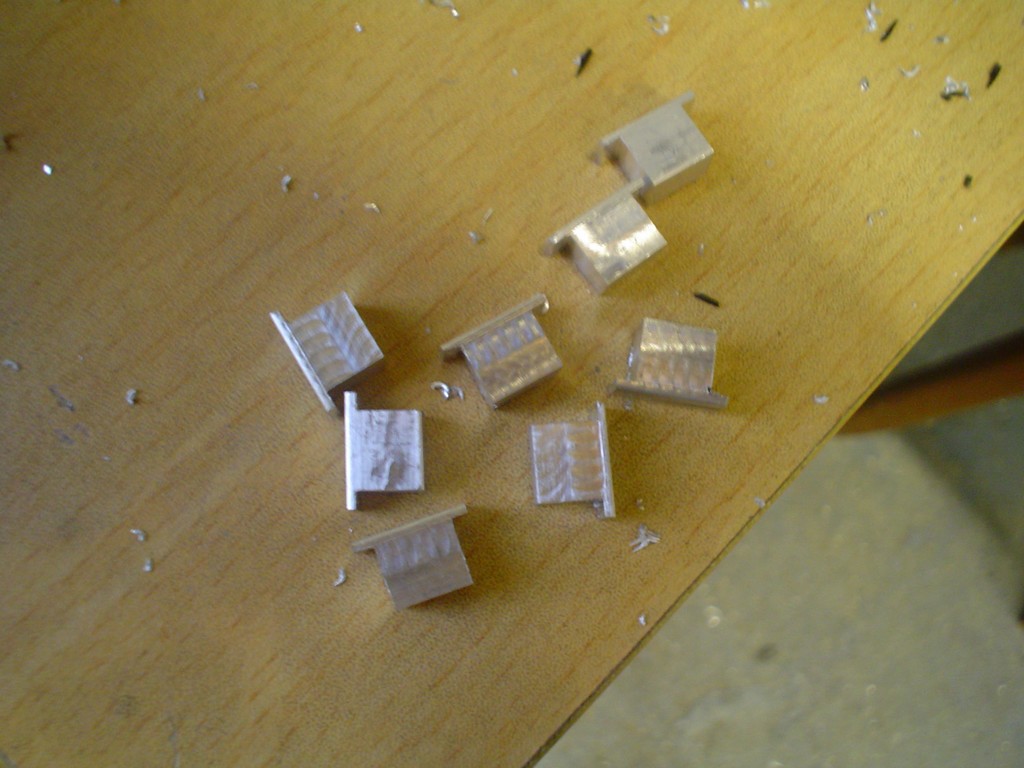 heat and bend 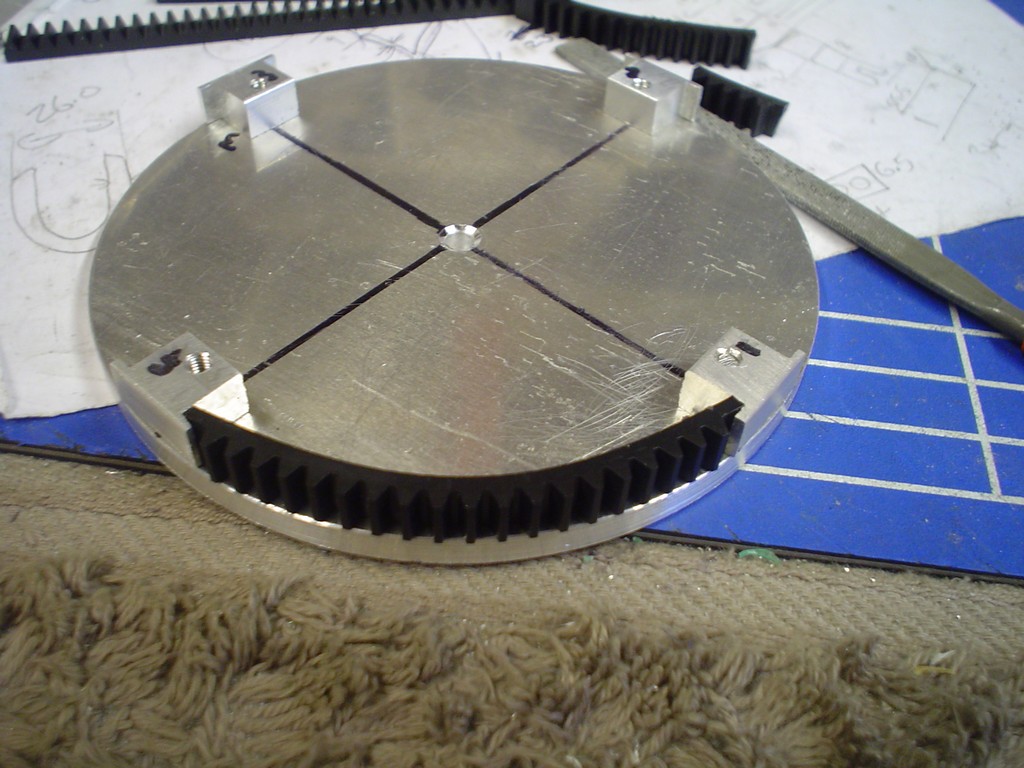 not a bad likeness really 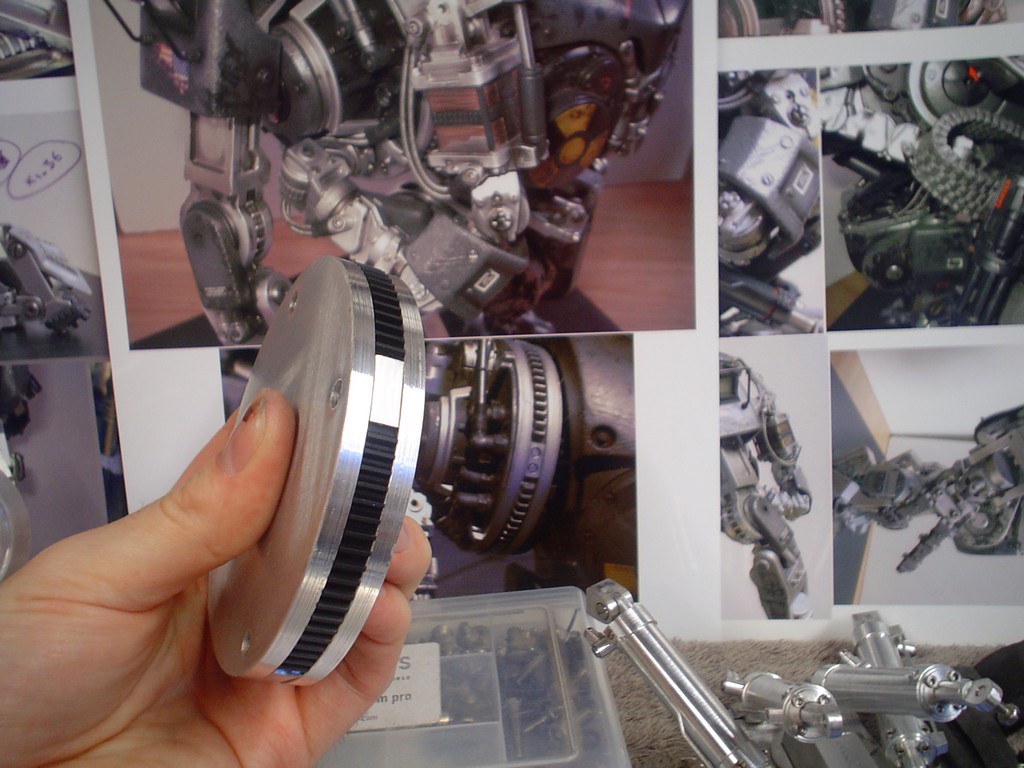 ..into the photocopier 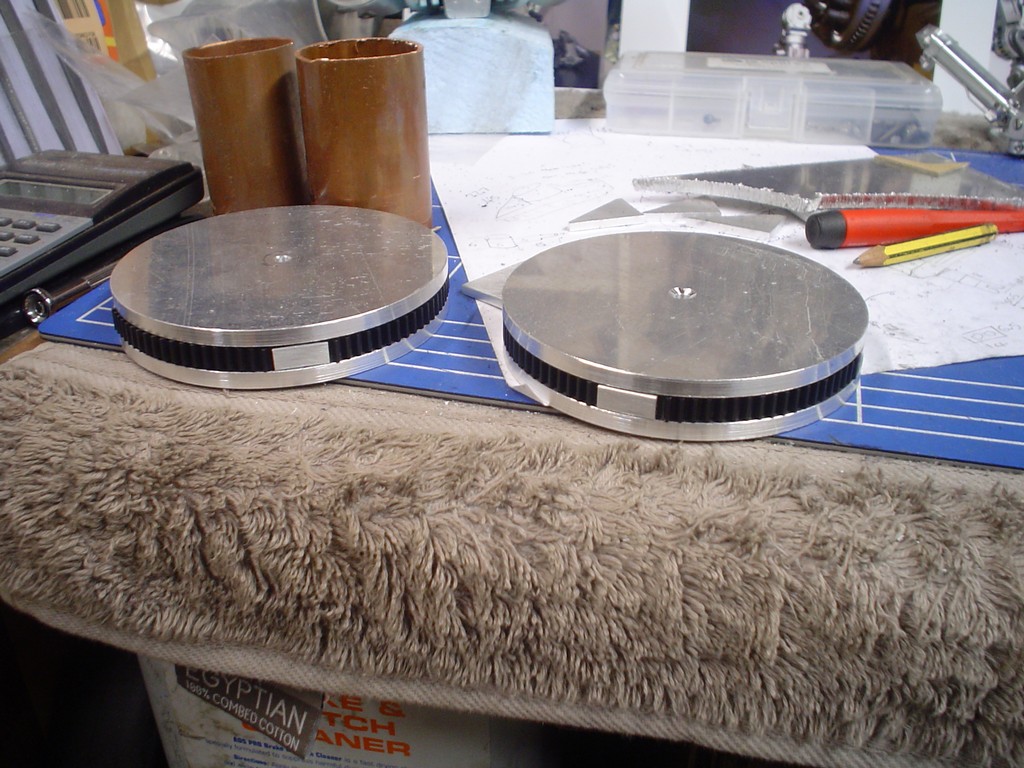 |
|
|
|
Post by zopilotez on May 28, 2010 17:49:02 GMT -5
This thread is awesome. educational and awe inspiring! Keep up the good work
|
|
|
|
Post by chogokinsnake on May 29, 2010 18:10:10 GMT -5
Amazing. Looking forward to see it finish.  |
|
|
|
Post by candyman on May 30, 2010 4:13:02 GMT -5
center parts of the disks 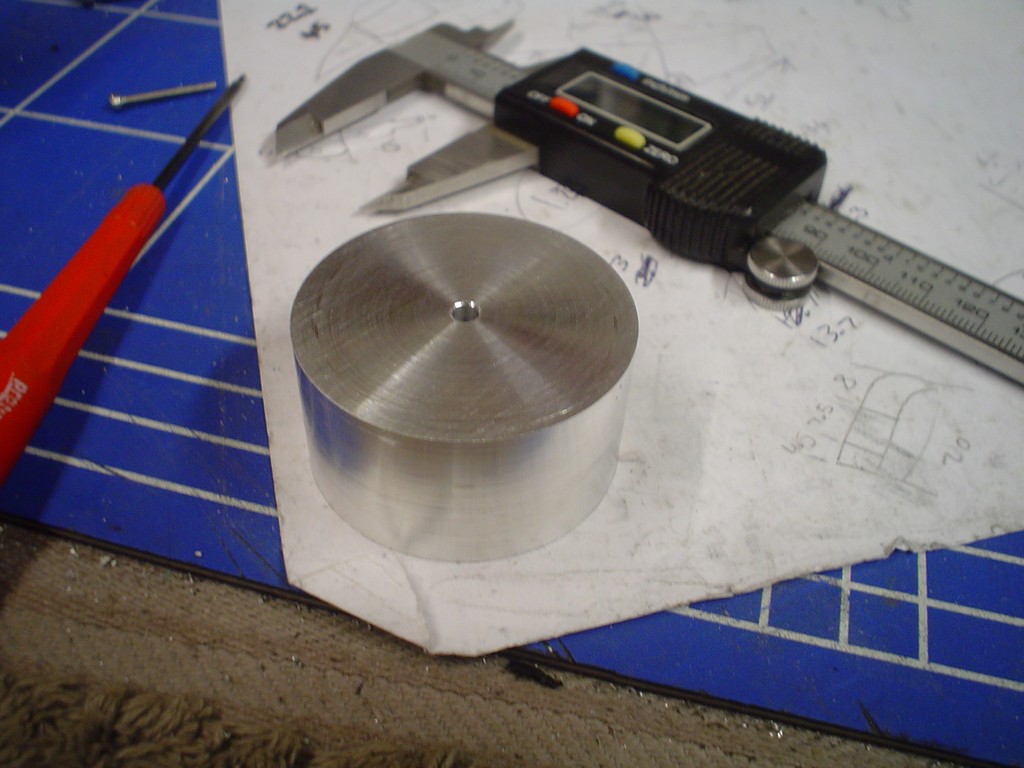 drilled a hole, then made another piece that slots in the top, this will be the cap. 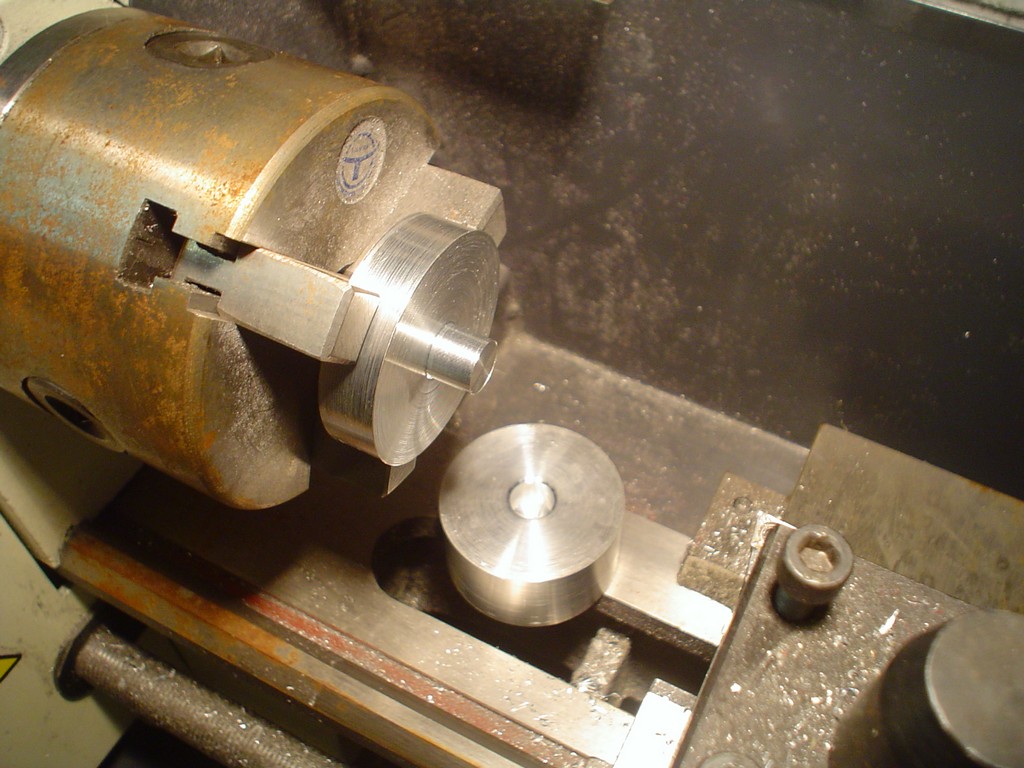 milled some 3mm slots at 90 degrees to allow the triangles to fit in. 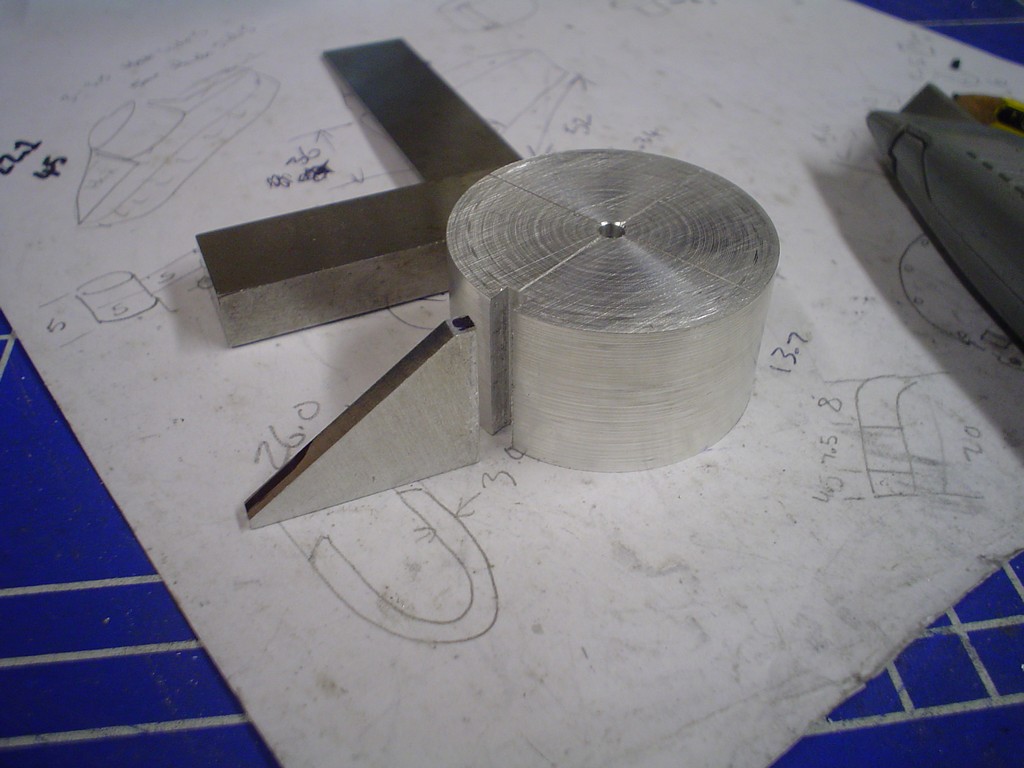 turned the cap down and recessed it so the dome can sit in the groove 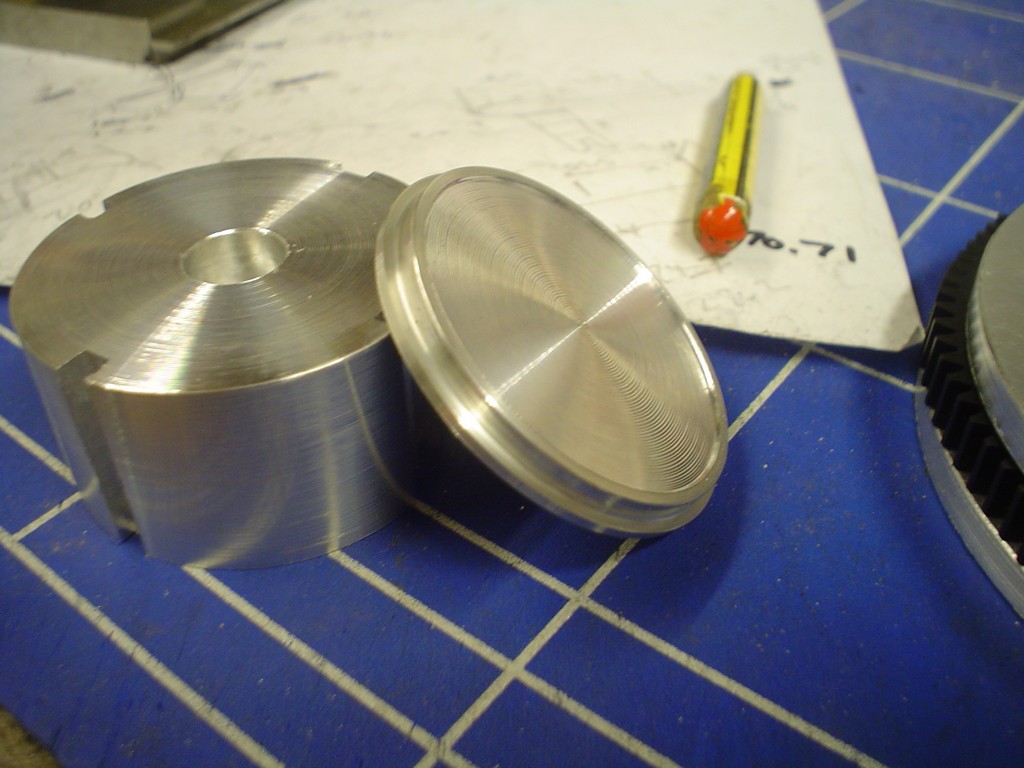 cut the triangles to size and mounted it all up only to hold it against the picture and see its way too tall! 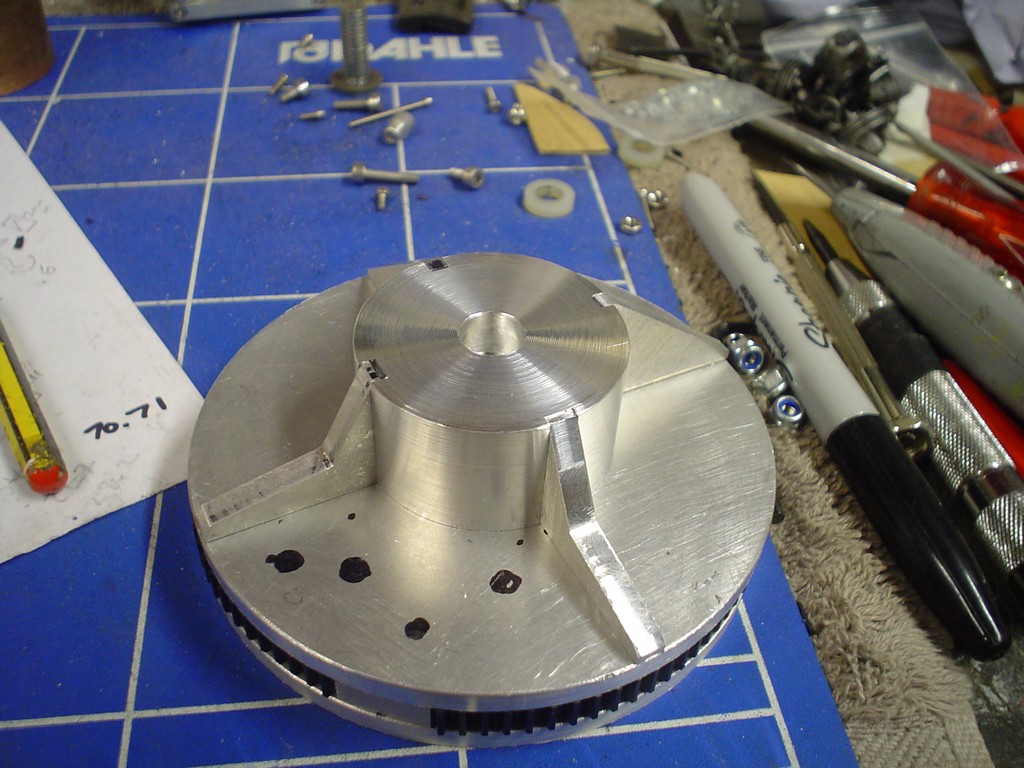 So cut it down, and the triangles too, this is much better.  ...make 2 of them obviously 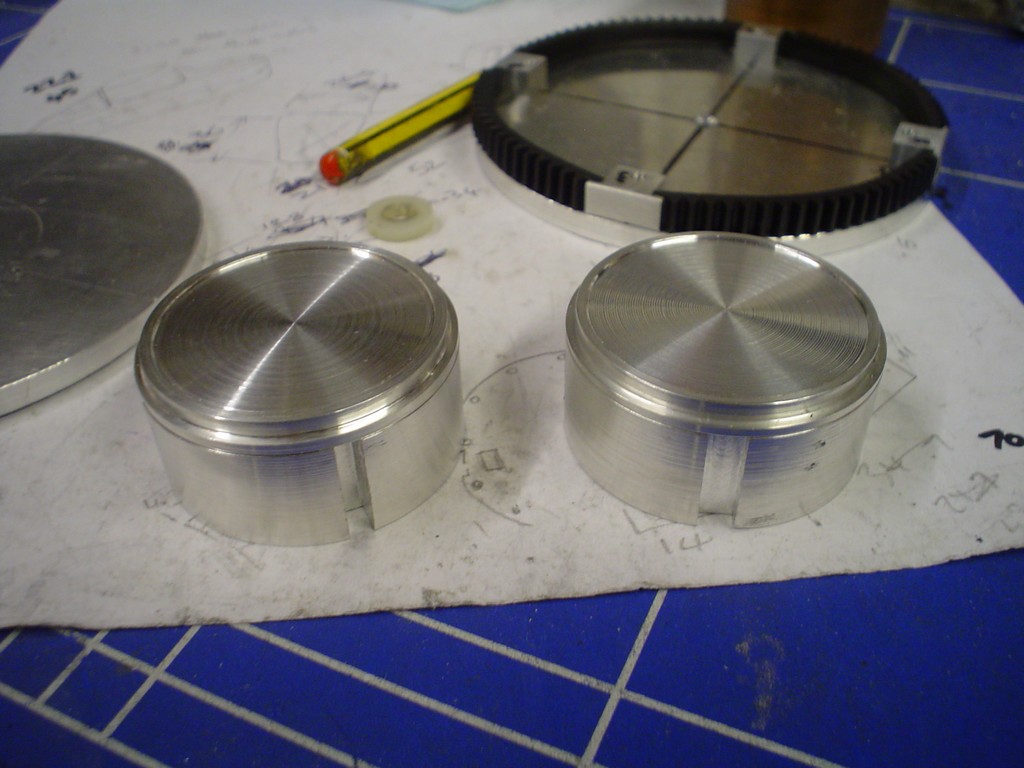 they aren't a tight fit in the slots so I have drilled a tiny hole in the circle under the edge of the triangles and then drilled into the trianges and tapped them M2 and screwed them down from the underneath, this was a bit fiddly. 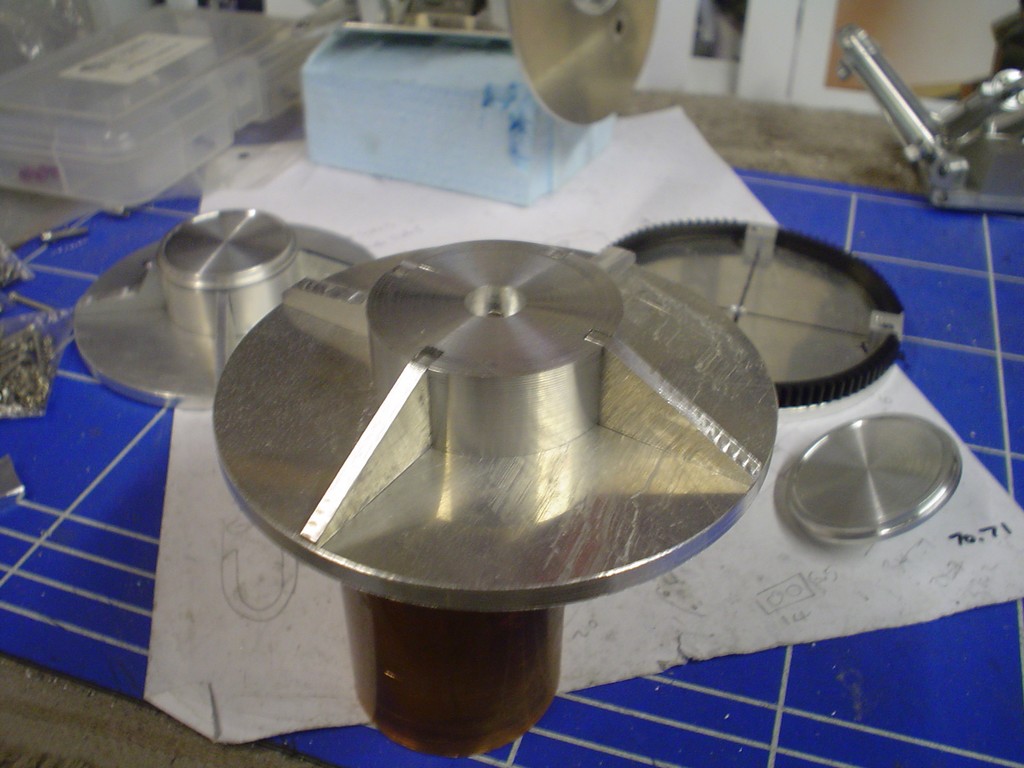 and the other one too, the top caps screw into place. 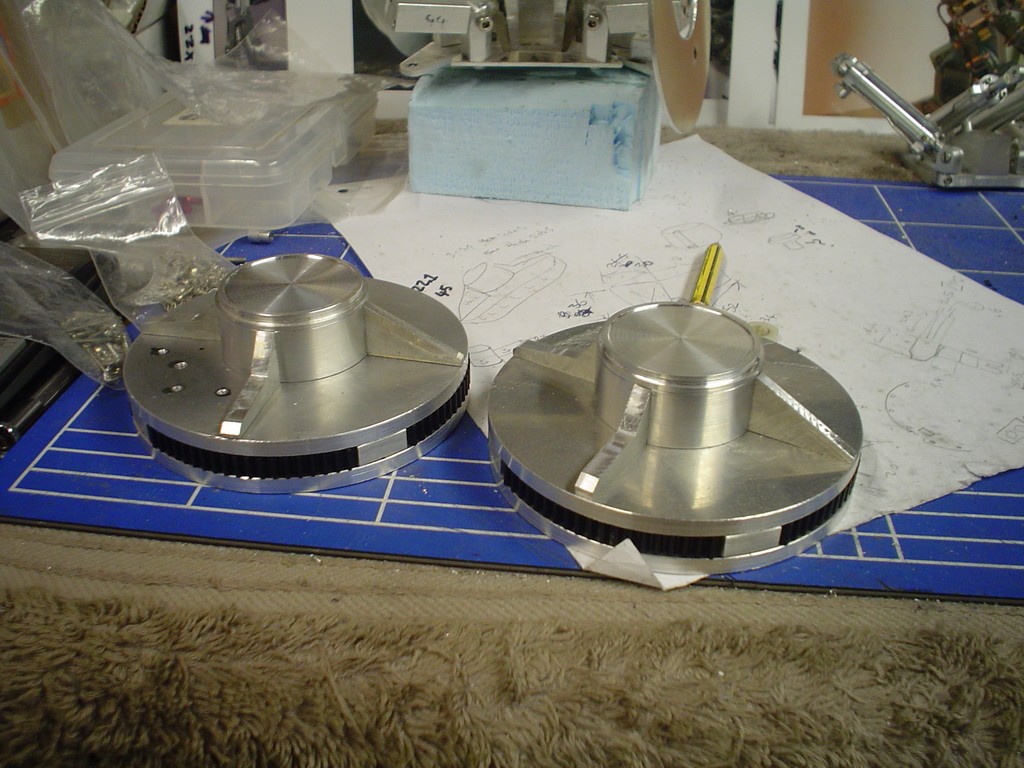 |
|
|
|
Post by rodimus1138 on May 31, 2010 4:58:46 GMT -5
every time I see this thread I'm amazed...
Can't wait to see it finished!
|
|
|
|
Post by candyman on Jun 1, 2010 17:25:08 GMT -5
thank you for your continued support, 5 months in now  I thought for a while about the upper chest and decided the cardboard prototype I made was a pretty good starting point, so I fibreglassed that. Actually its more of a bridging filler, it has strands of fibreglass in it to make it really strong, its good stuff. 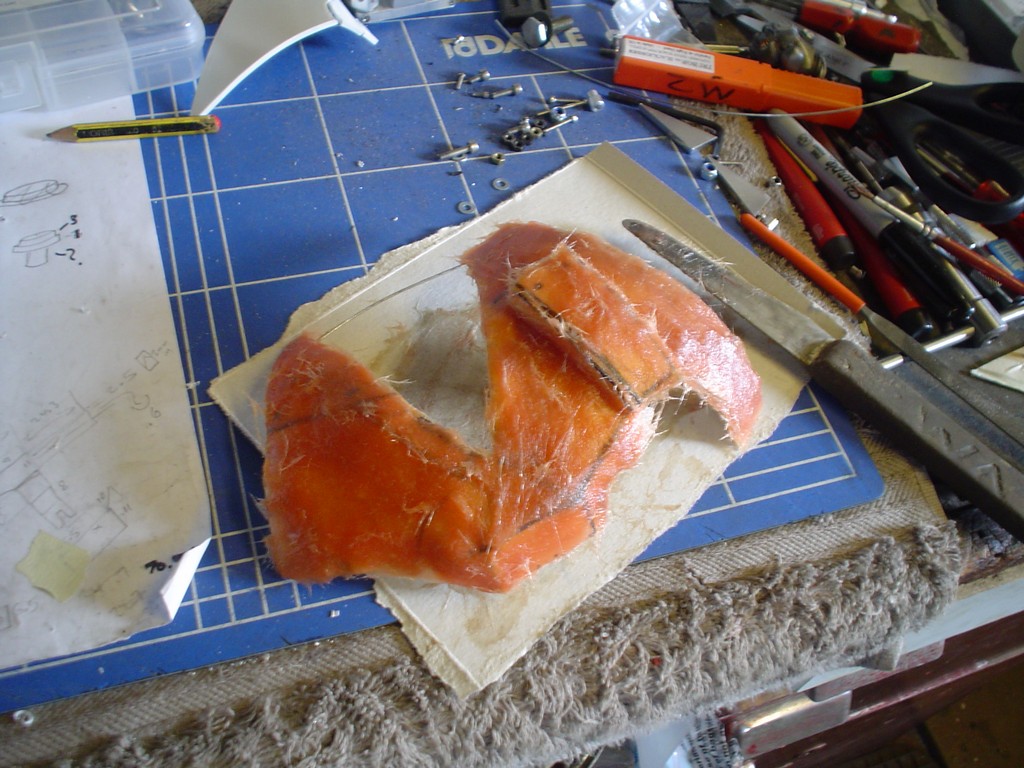 I know it looks like a monkeys breakfast at the moment but it'll all be ok in the end. 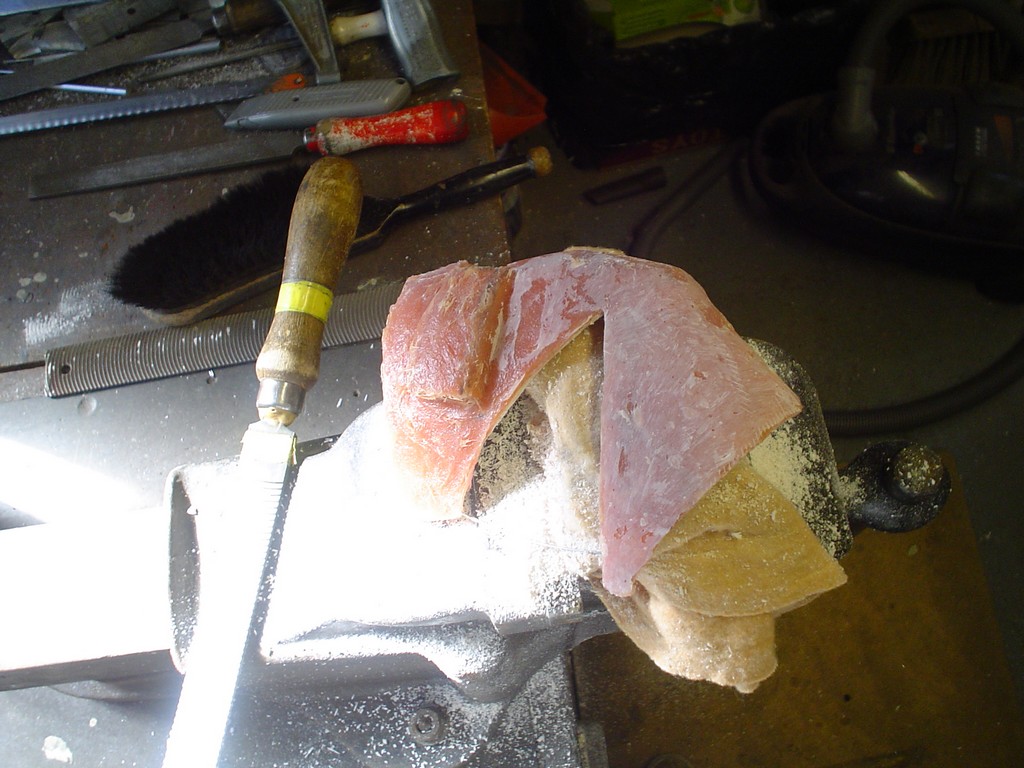 rough but its a start 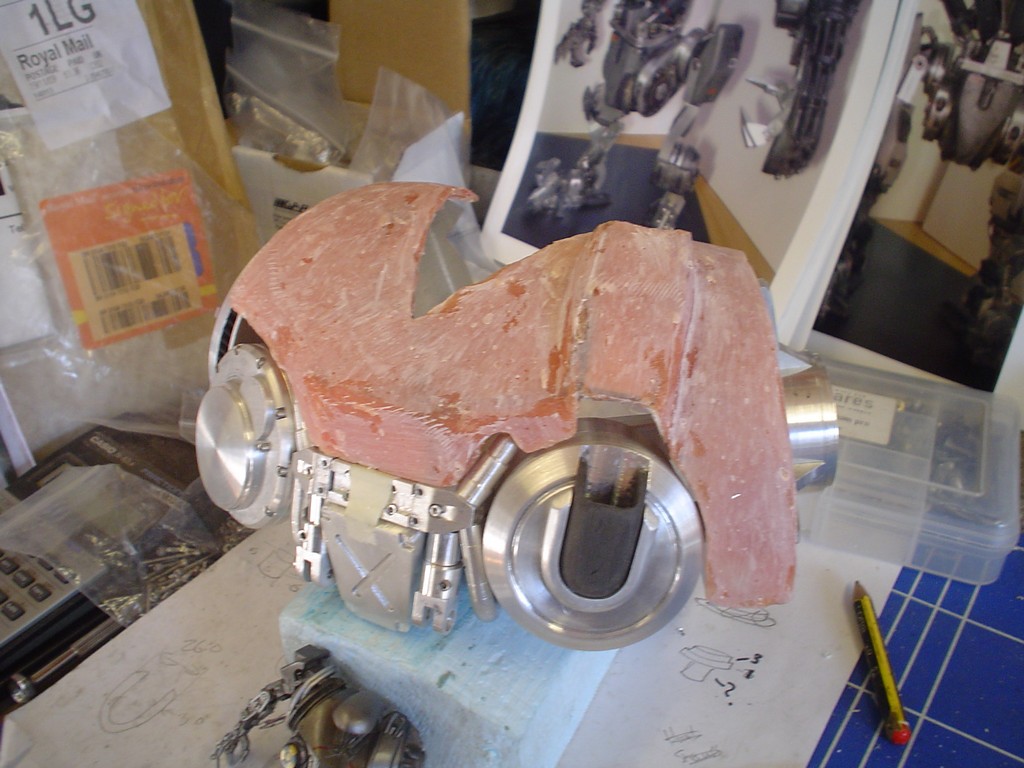 2nd layer on 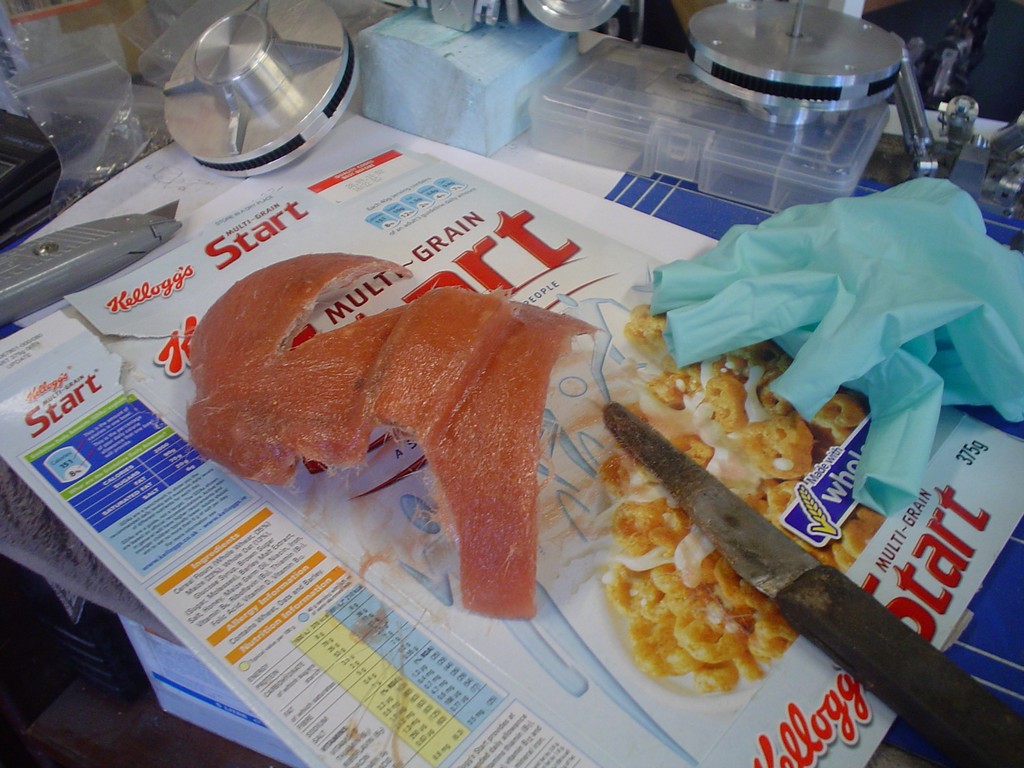 front bit needs to be bigger and flatter 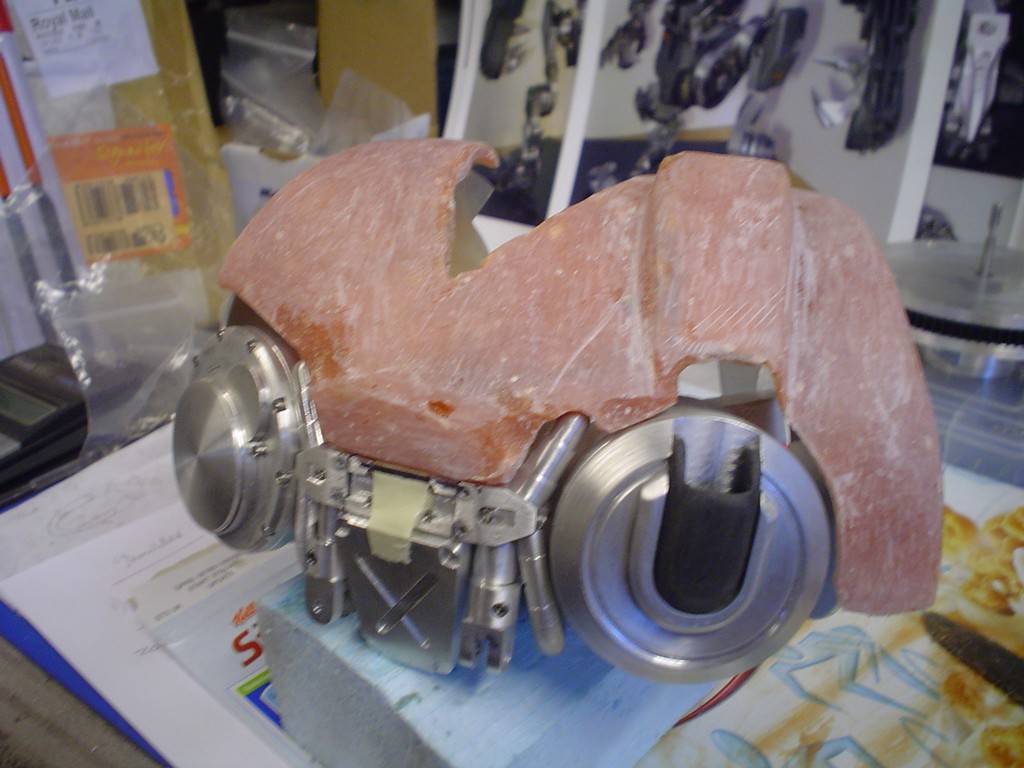 3rd layer, like that 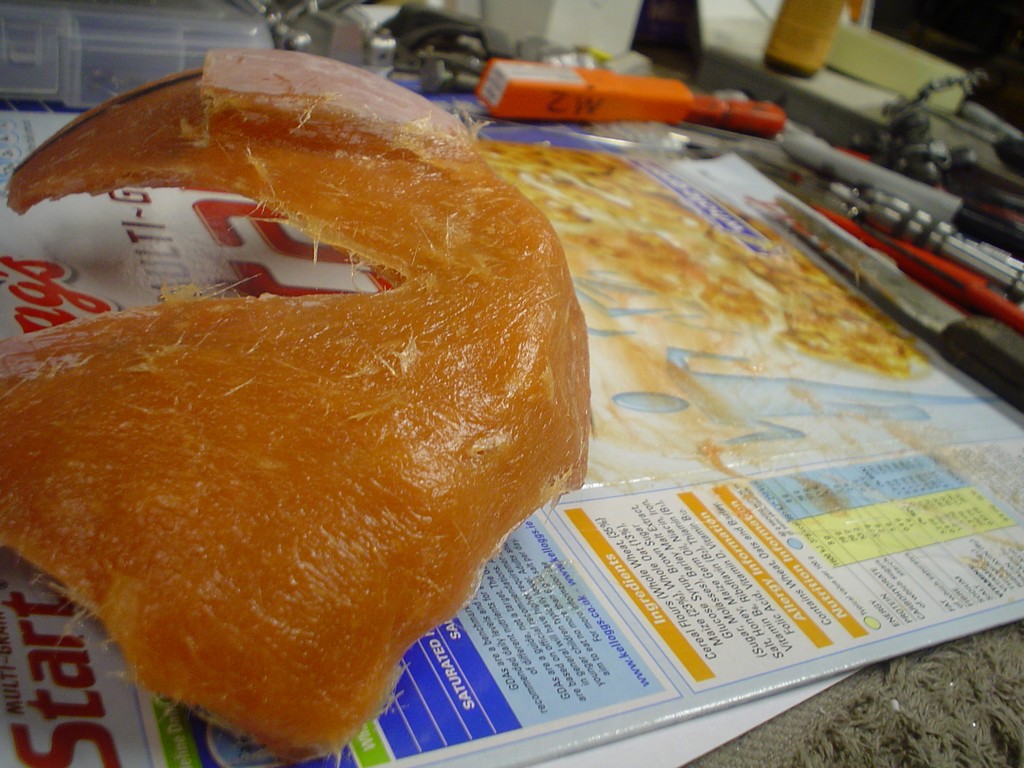 slightly better shape. I got into a right mess with this stuff! not so bad now the first bit is out the way, its starting to take shape. 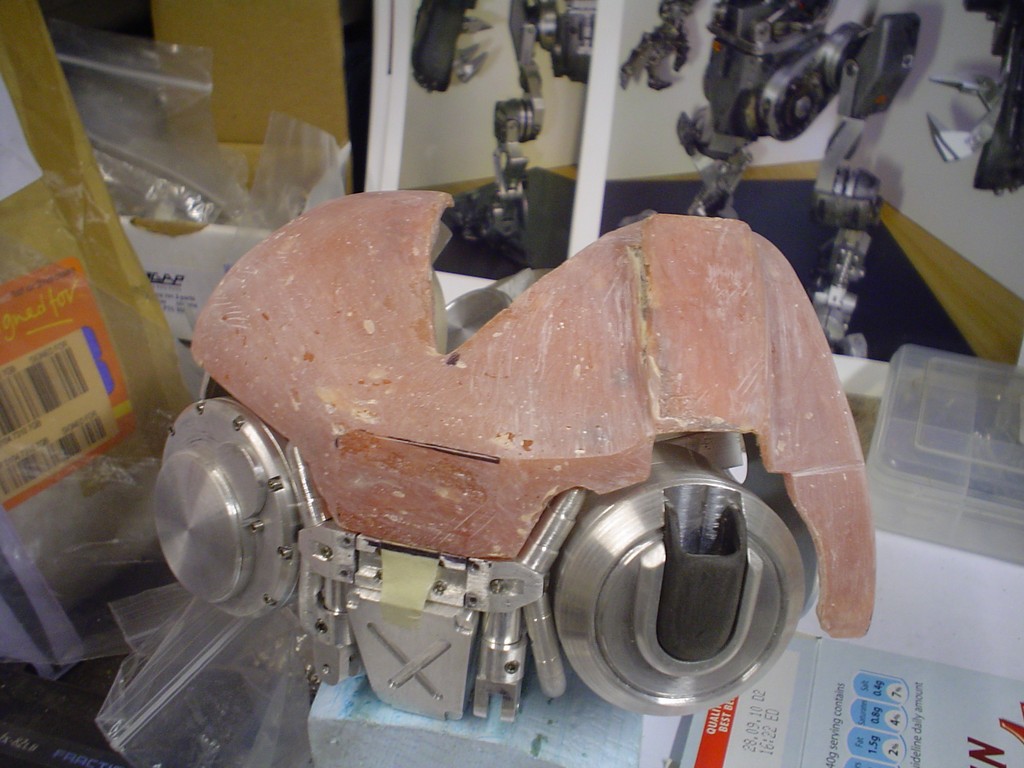 |
|
|
|
Post by candyman on Jun 3, 2010 16:38:42 GMT -5
A bit more shaving and filing, then filling the holes in and so on, 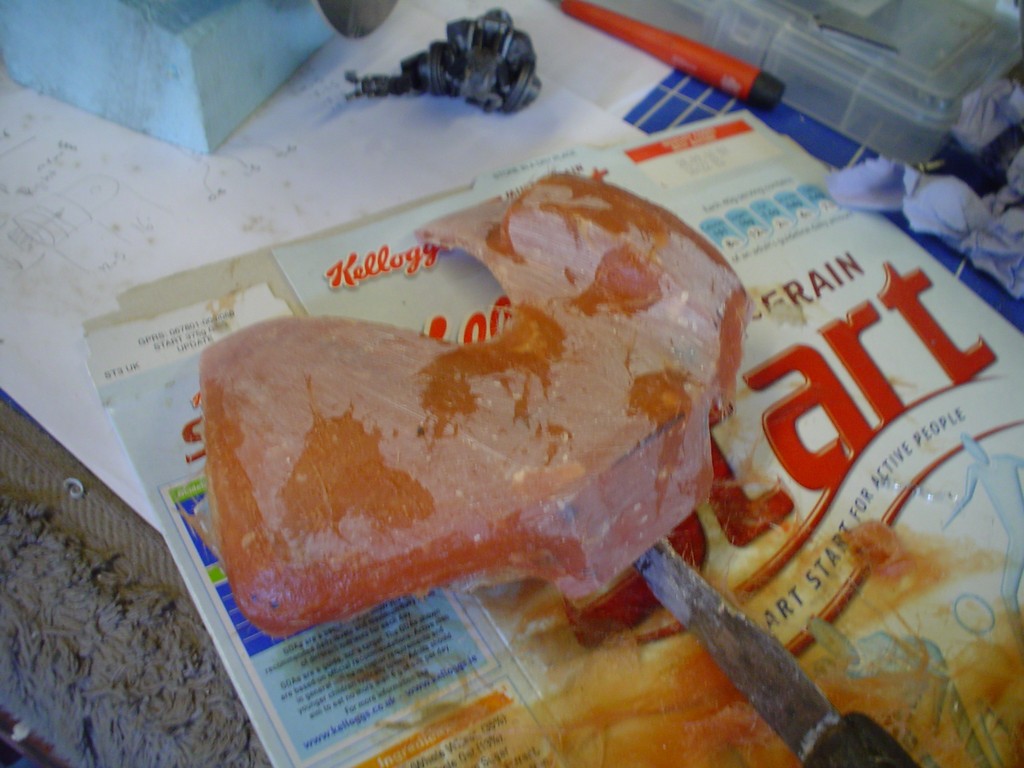 after getting to a decent fit I started going for the sqaure edges, there were many more layers going on here and there to get it fat in the right places. 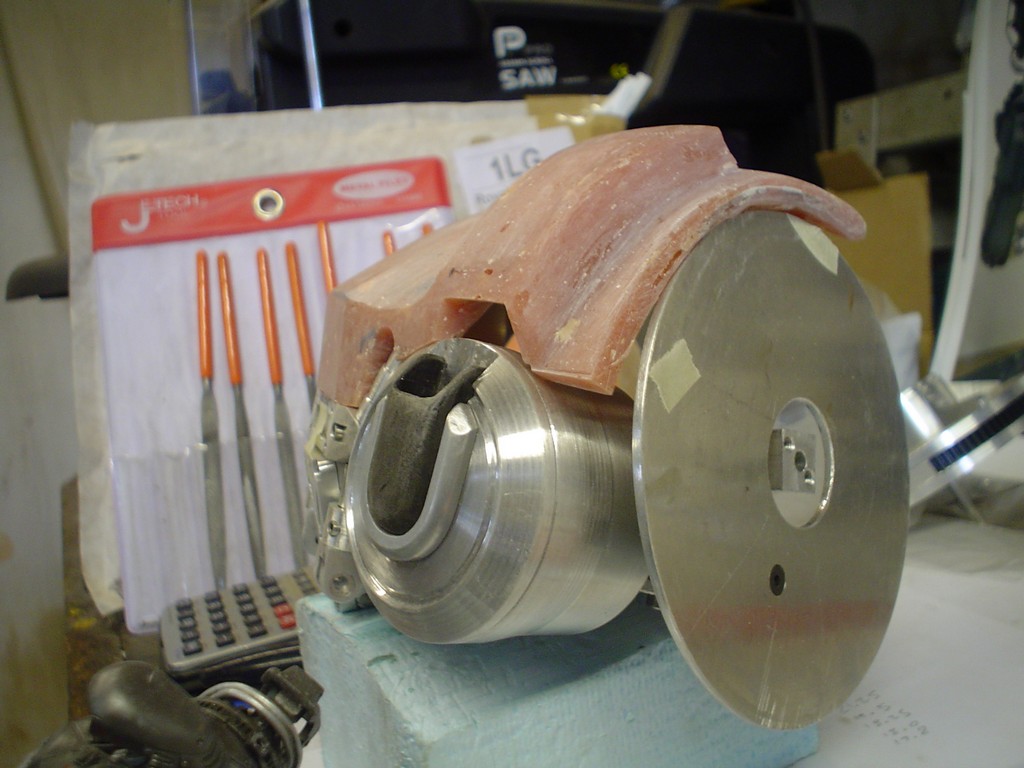 starting to get happy with the overall shape now 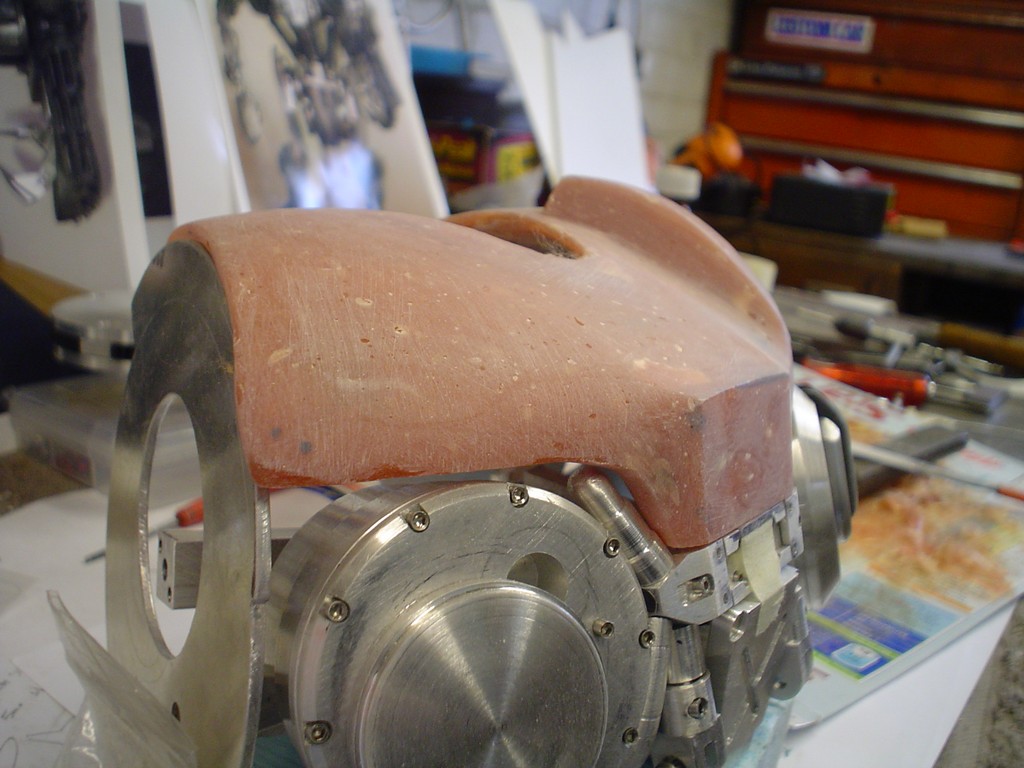 after 10 hours of so I was getting sick of the pinky colour so shot some primer over it, makes it easier to see the curves and shape. 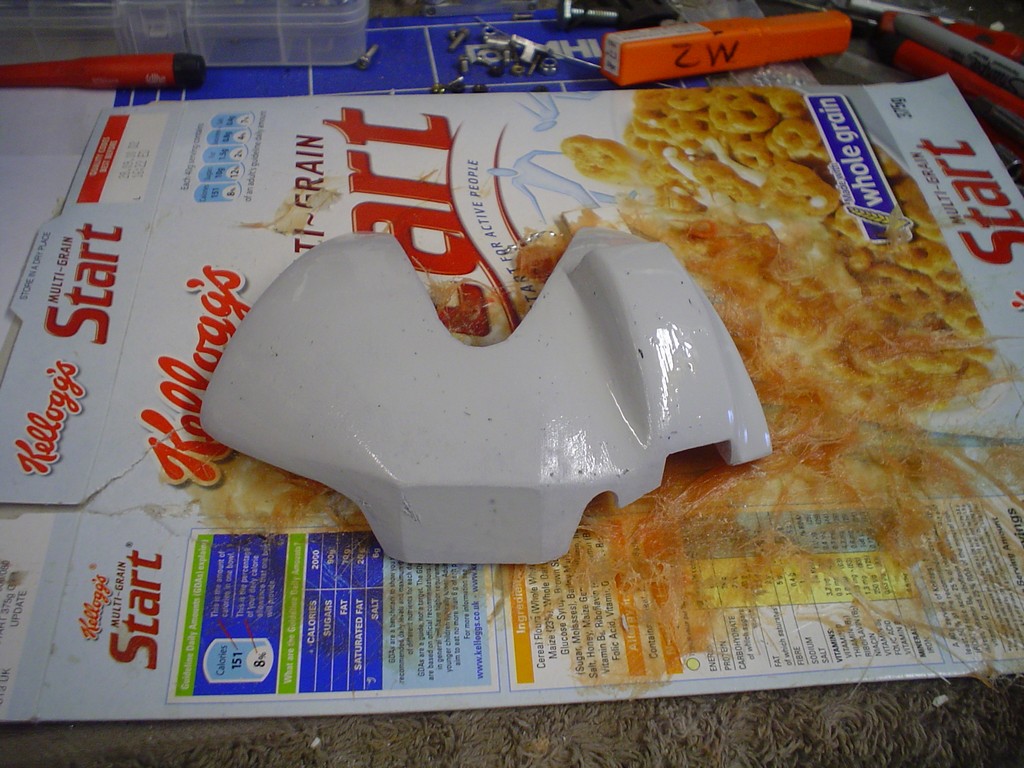 might leave this for a bit and come back to it. |
|
|
|
Post by snowdog on Jun 4, 2010 5:36:22 GMT -5
Impressive, as always. Nice progress, btw.
|
|