|
|
Post by candyman on Jun 6, 2010 17:37:22 GMT -5
thank you back to metal, starting on upper arm/shoulder. 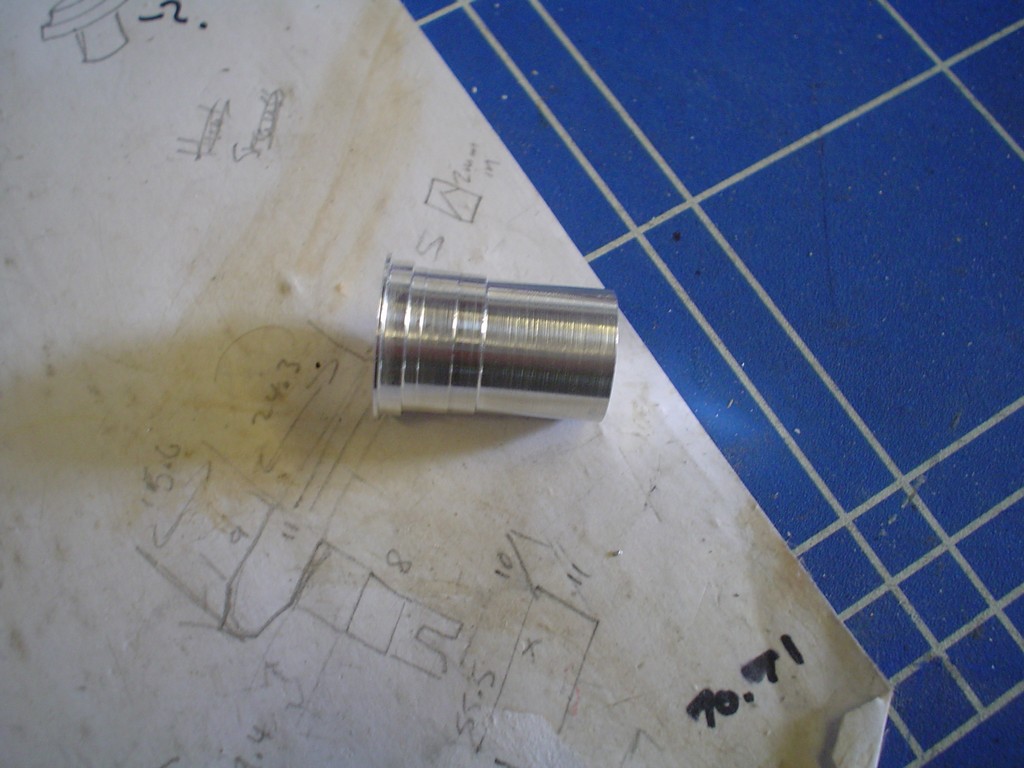 fixes to a steel pin attached to the shoulder disk 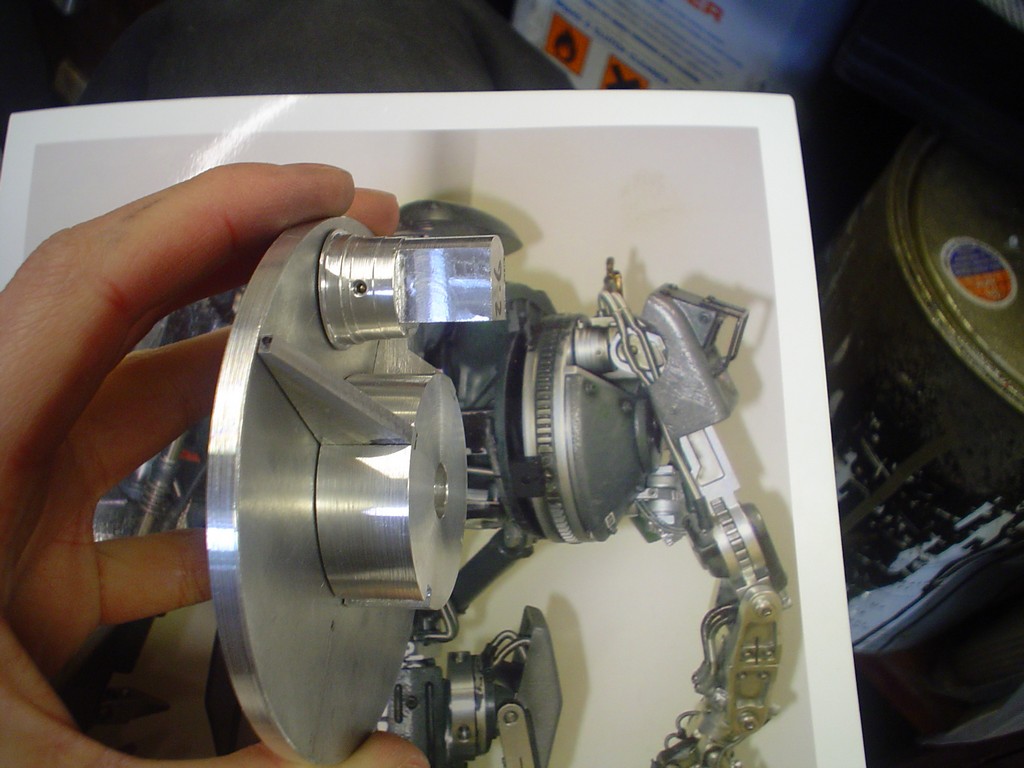 other side is the same so I might as well make two 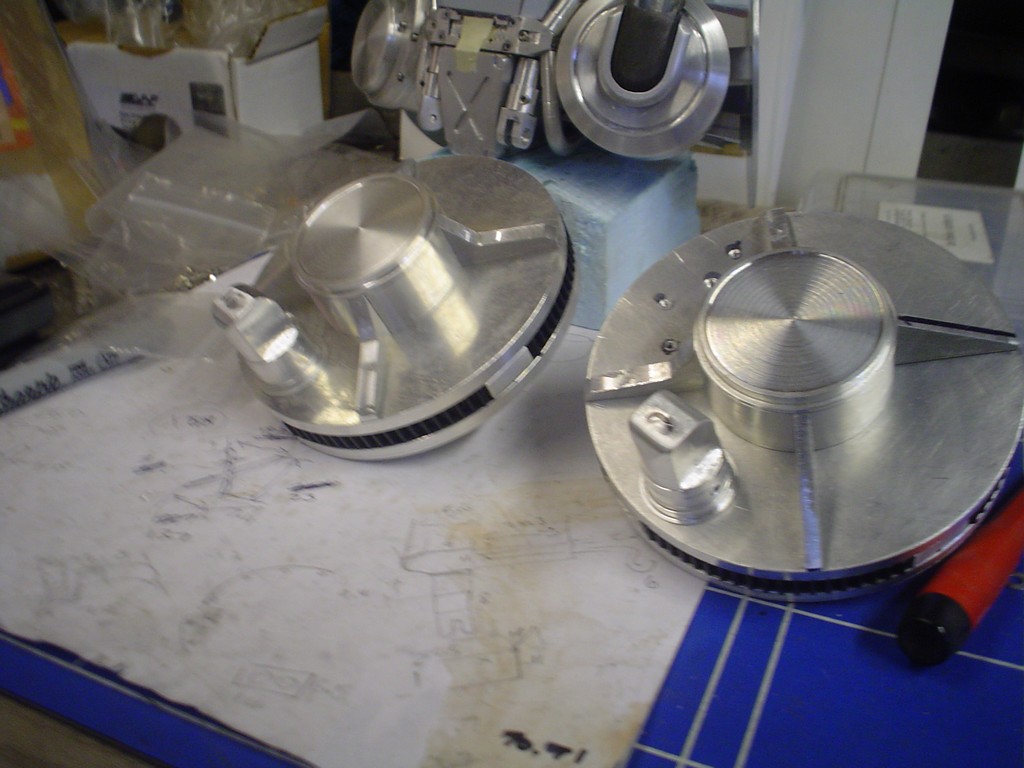 these little things go on the top 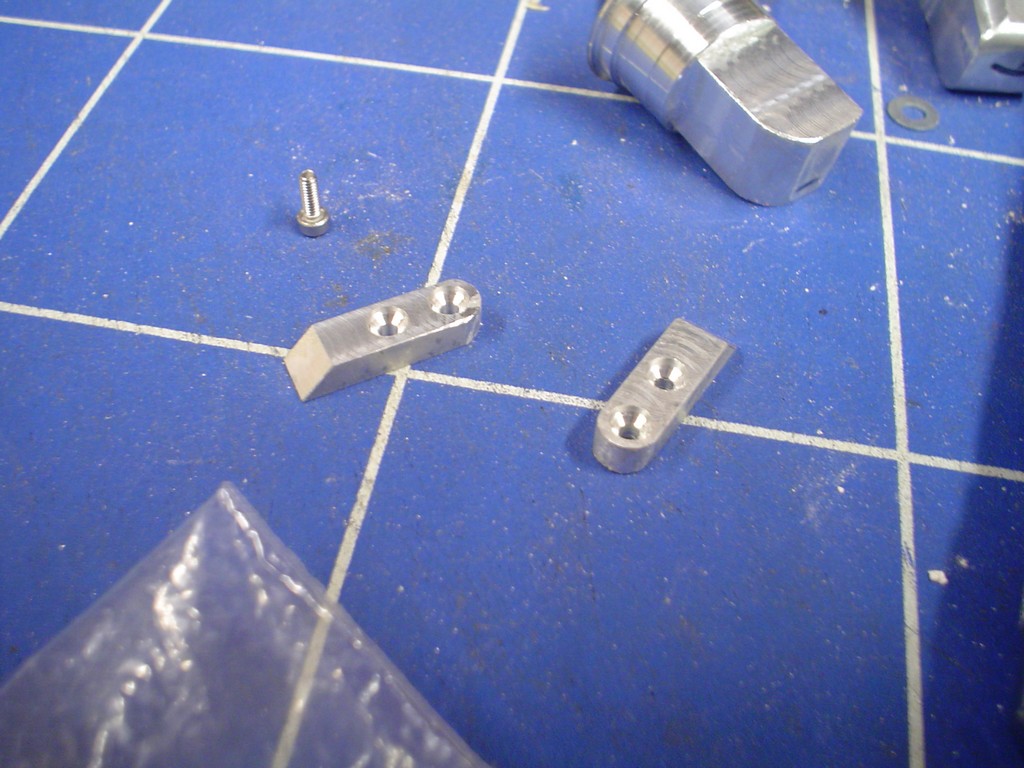 something like that 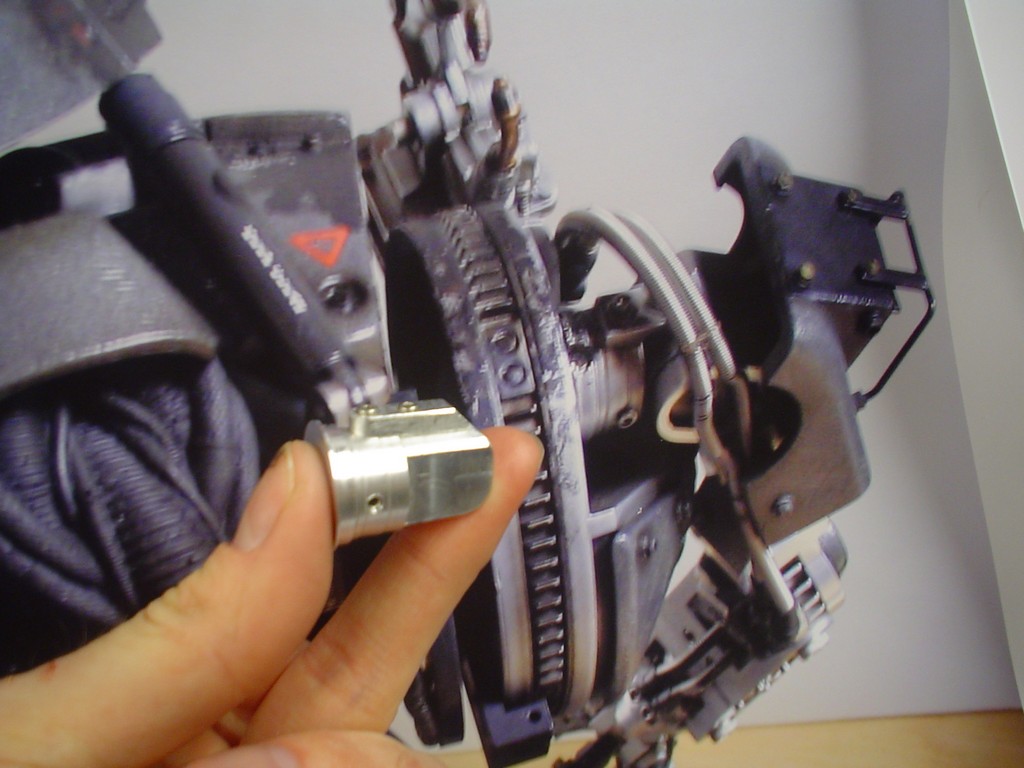 ..... meanwhile, bit more rubbing down and a bit more filler... 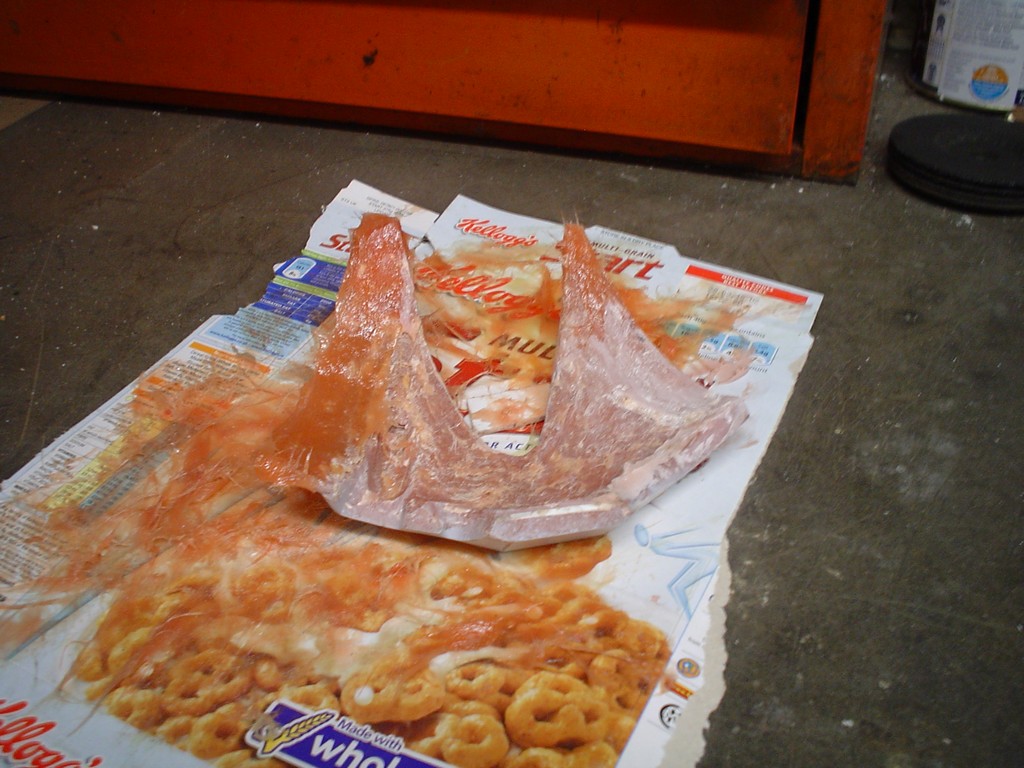 next piece to make, you know its quite complicated when I have to draw a diagram! 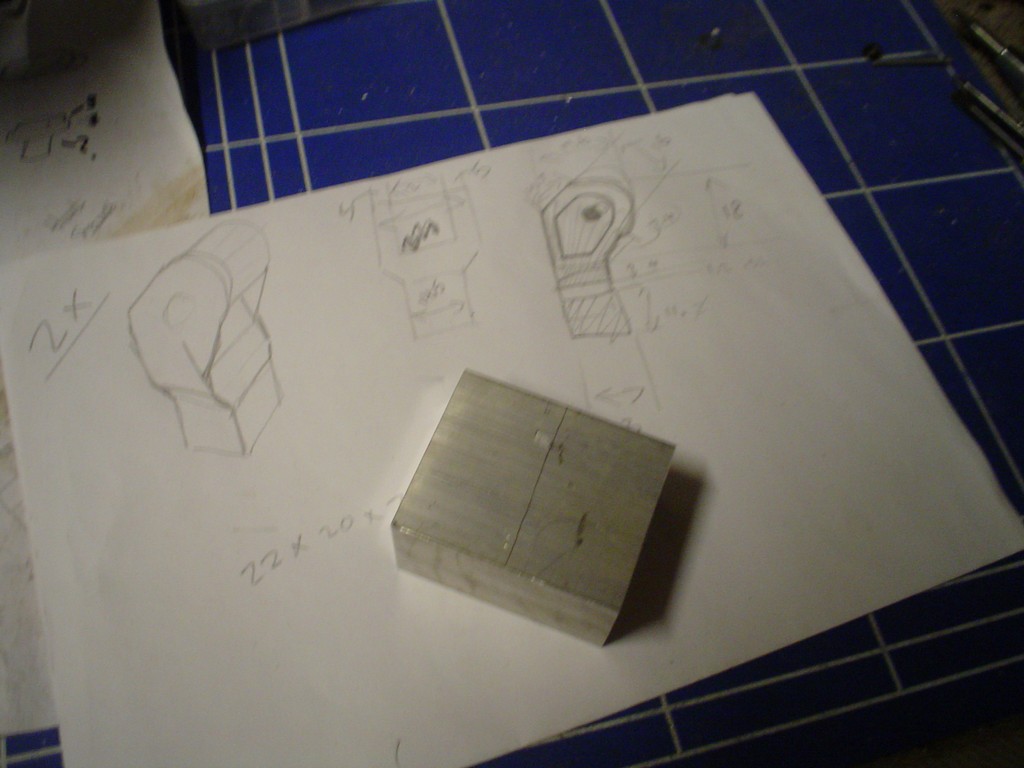 big enough to make 2 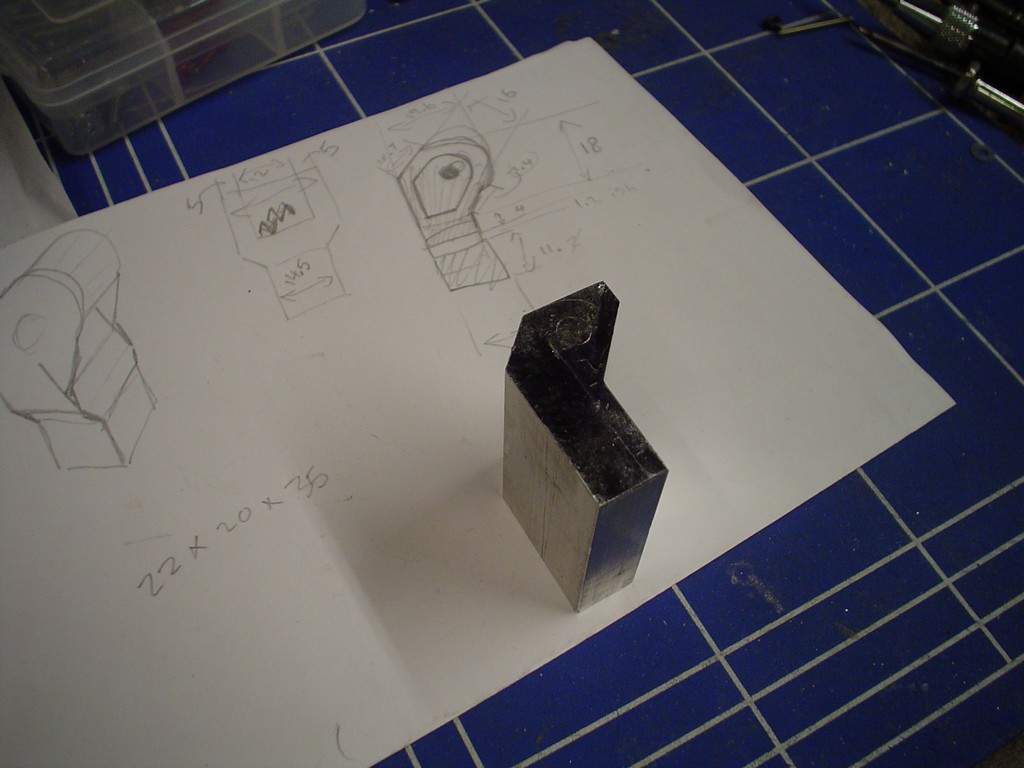 cut the little recess out both sides, on both pieces, used a 3mm end mill and had to rotate it on my little 3 way vice making a note of the length of each side and the degrees turned so I could copy it 4 times. 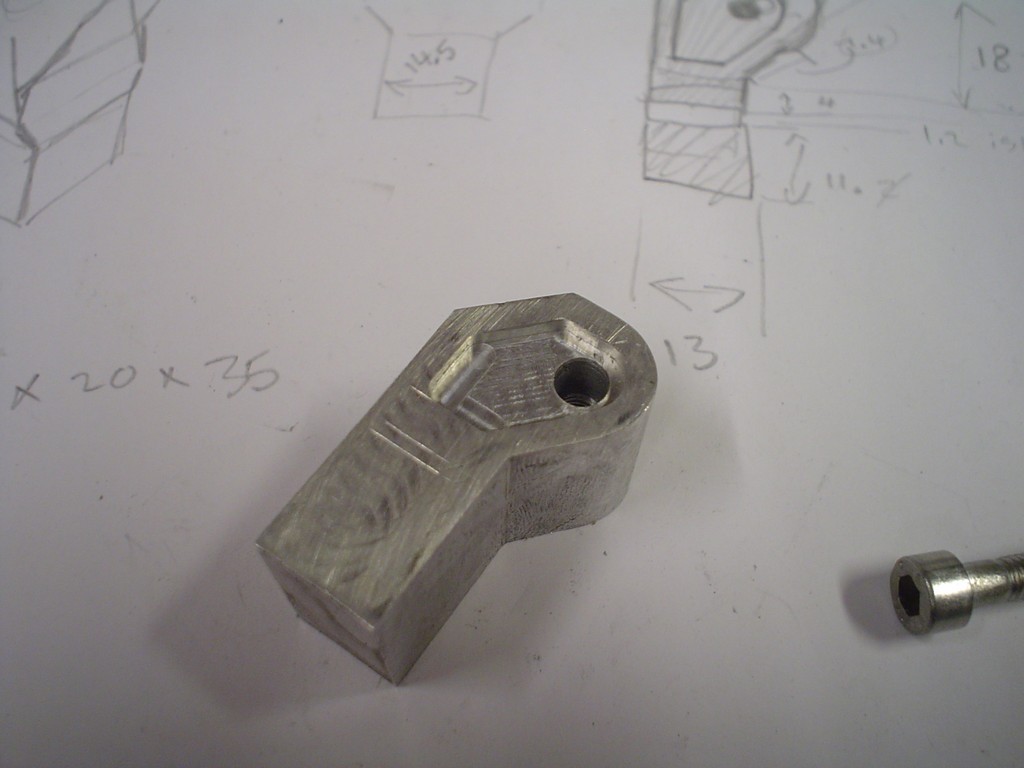 mill the center out, drill 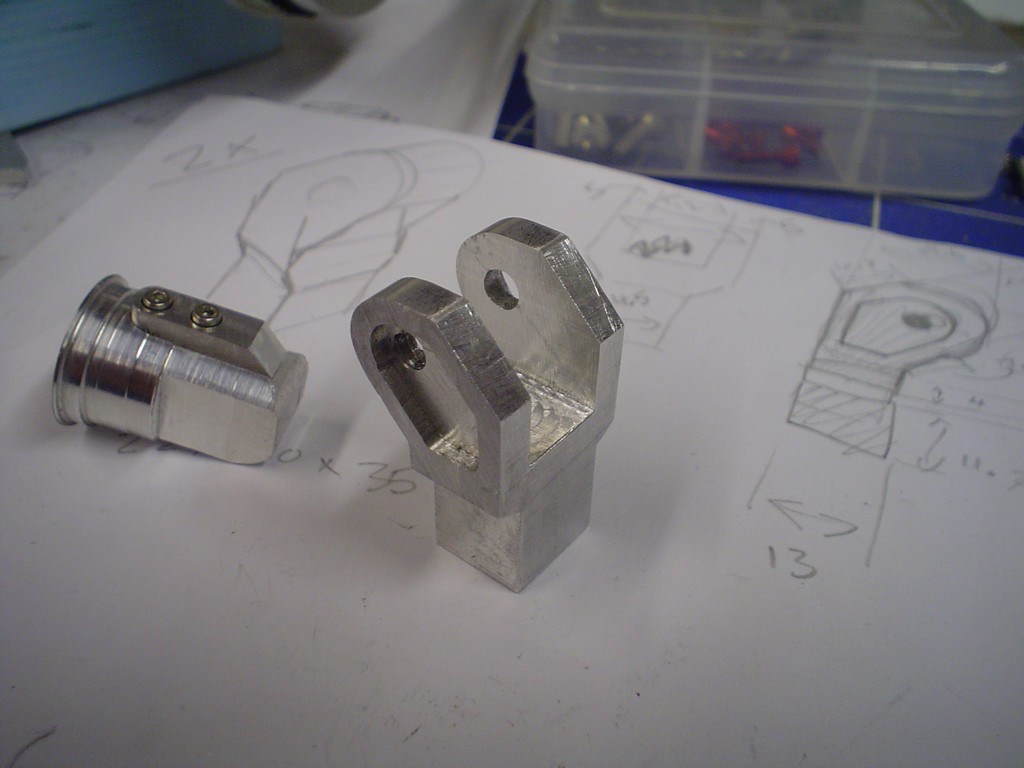 and start on the other one. 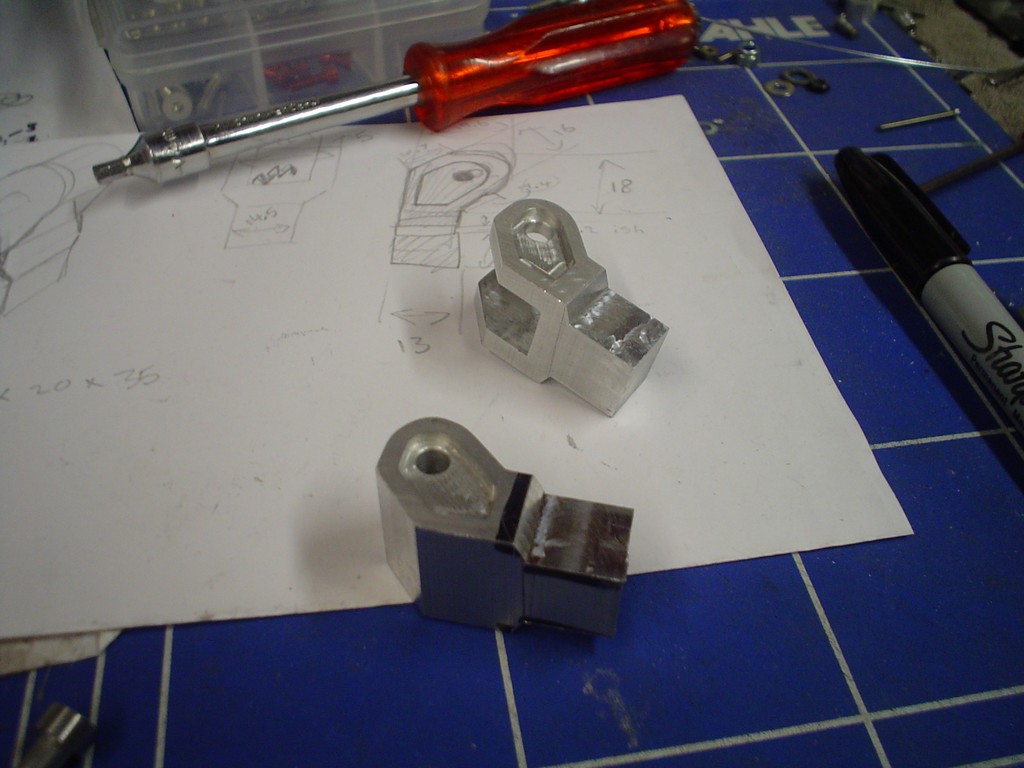 |
|
|
|
Post by candyman on Jun 10, 2010 17:08:38 GMT -5
Got some delrin rod, using it to make the black bits that sit in the middle of the shoulder disks 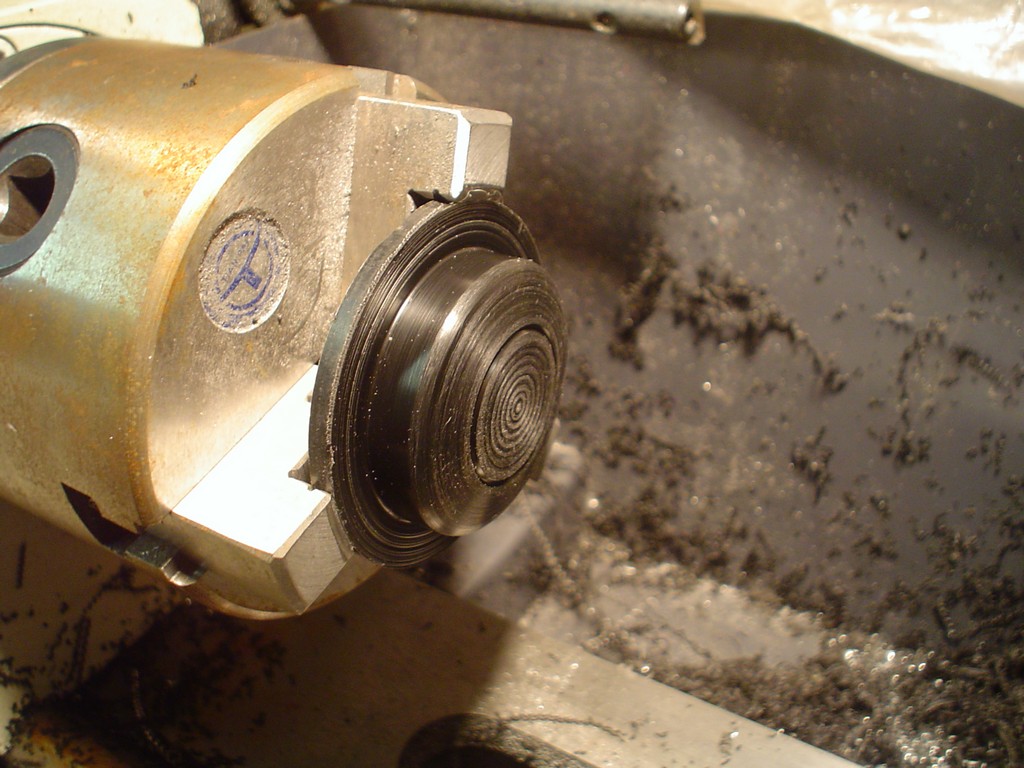 that bit in there 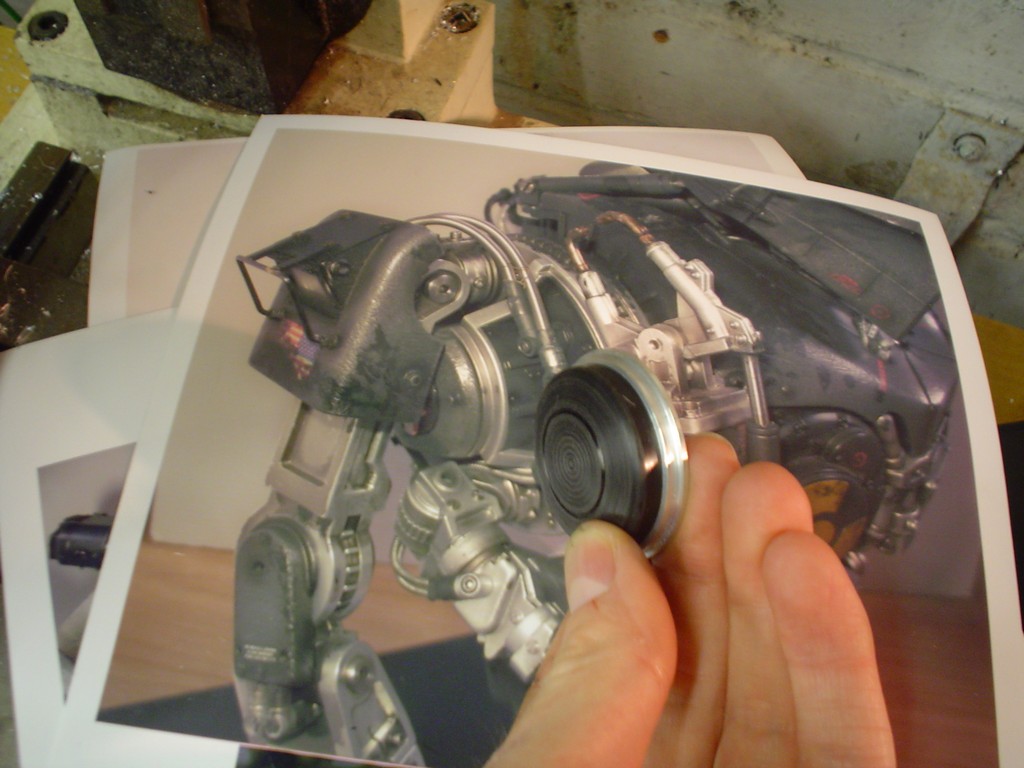 Also through the post a nice selection of hex head bolts from scale hardware. the heads on these brass hexes are 2.4mm across.  I got hungry and ate some more of my pork rind so decided to fill in the gap with yet another blob of filler. 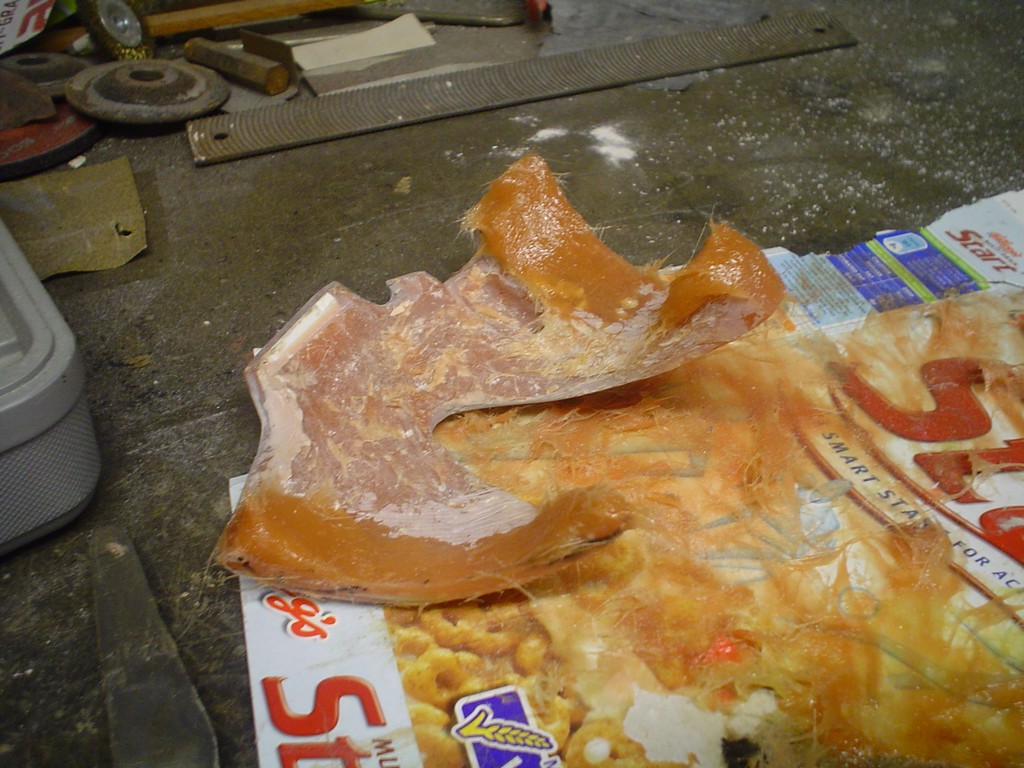 next part to make is somewhat complicated 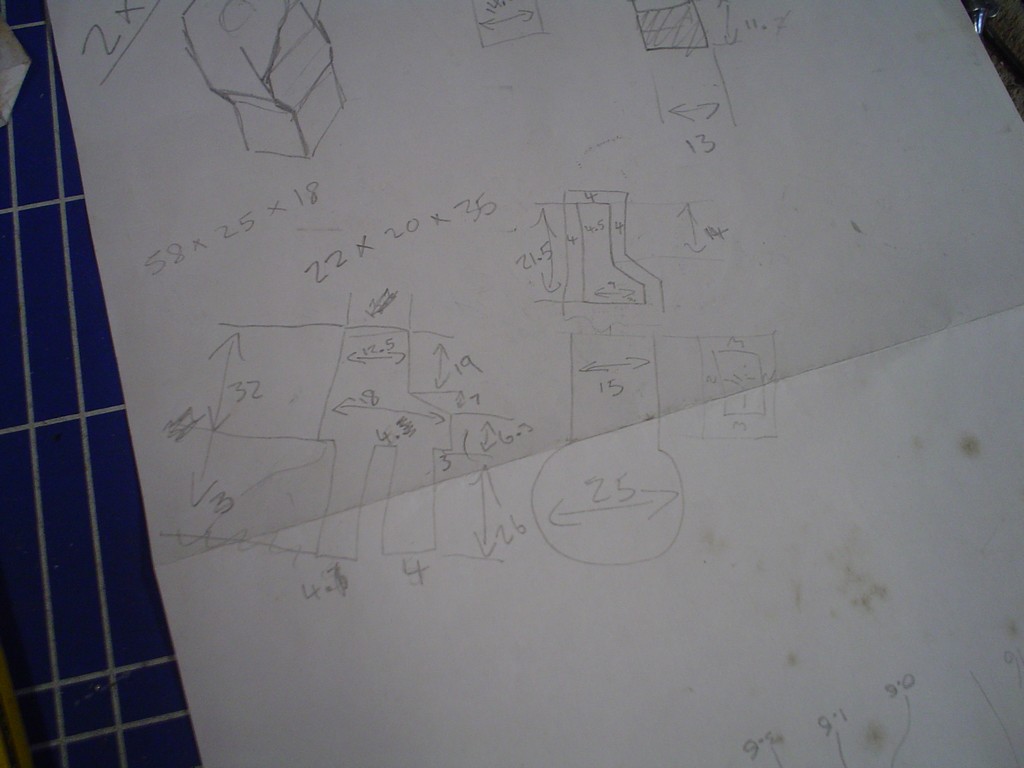 one of my more funny diagrams there. All marked out and staring to cut the rough shape out. 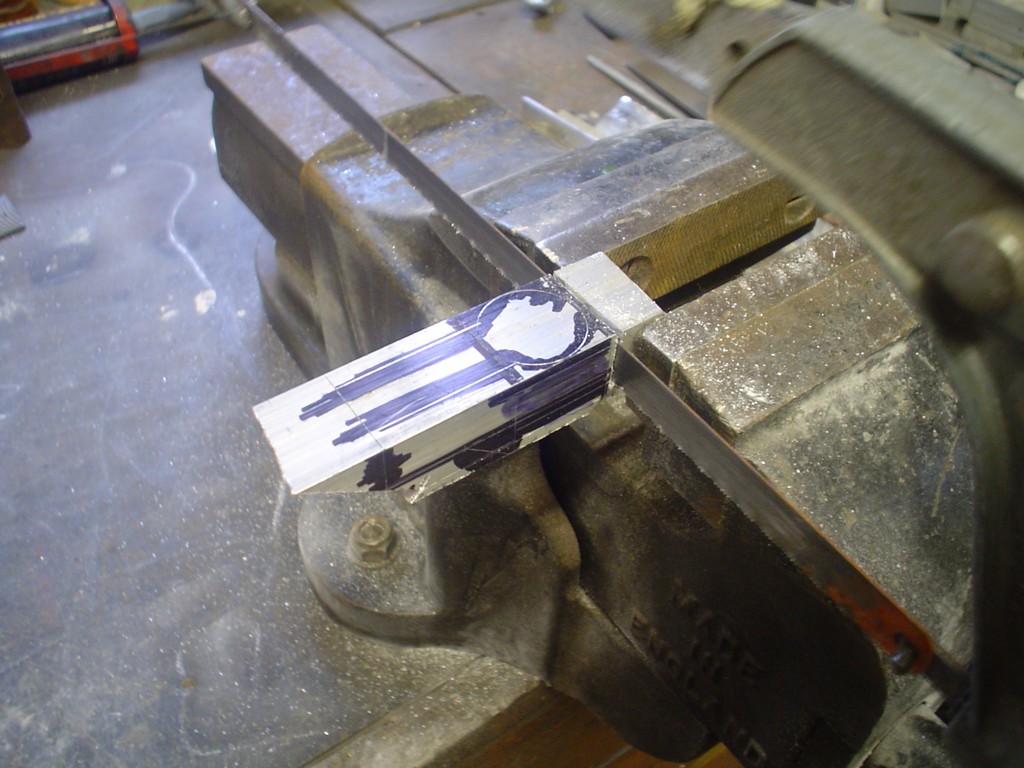 |
|
|
|
Post by magengar on Jun 11, 2010 9:52:26 GMT -5
Man, this is becoming ever more phenominal!
That orange thingy with the fiberglass in it:
Don't leave it sittin near a bowl of sliced oranges! ;D
zozo-Magengar
|
|
|
|
Post by candyman on Jun 13, 2010 17:11:48 GMT -5
lol, thanks milled all the angles straight 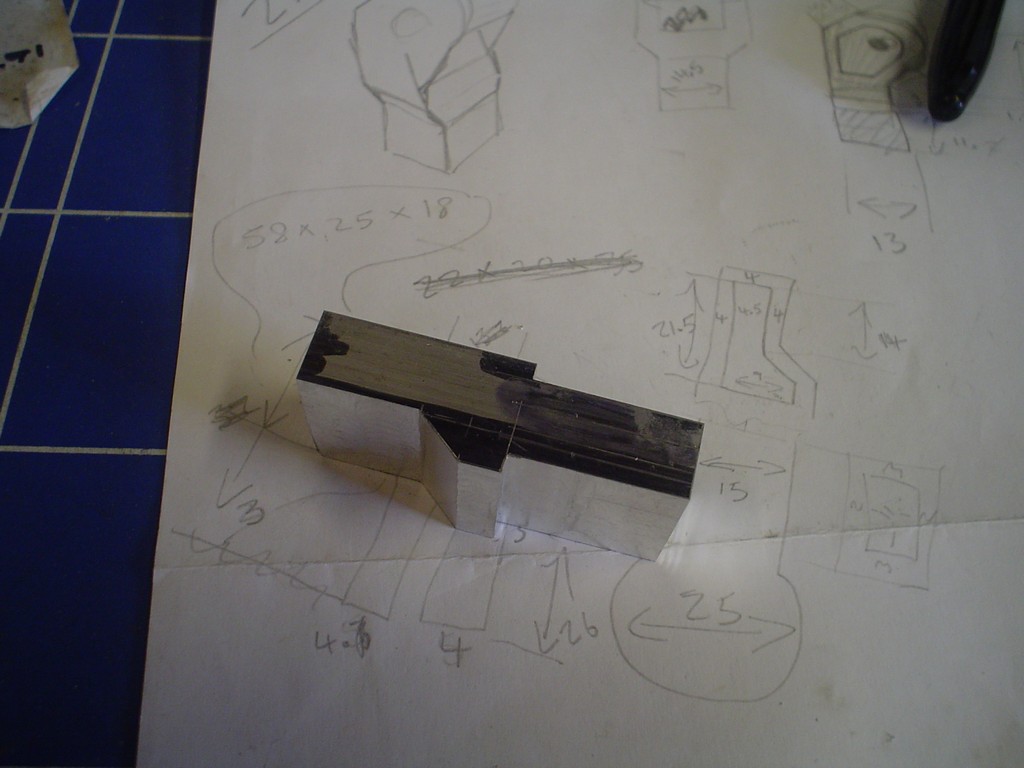 took a long time to mill the 3mm groove out the middle, no easy way to do this, had to take tiny cuts as the 3mm tends to wander a bit especially at this length. 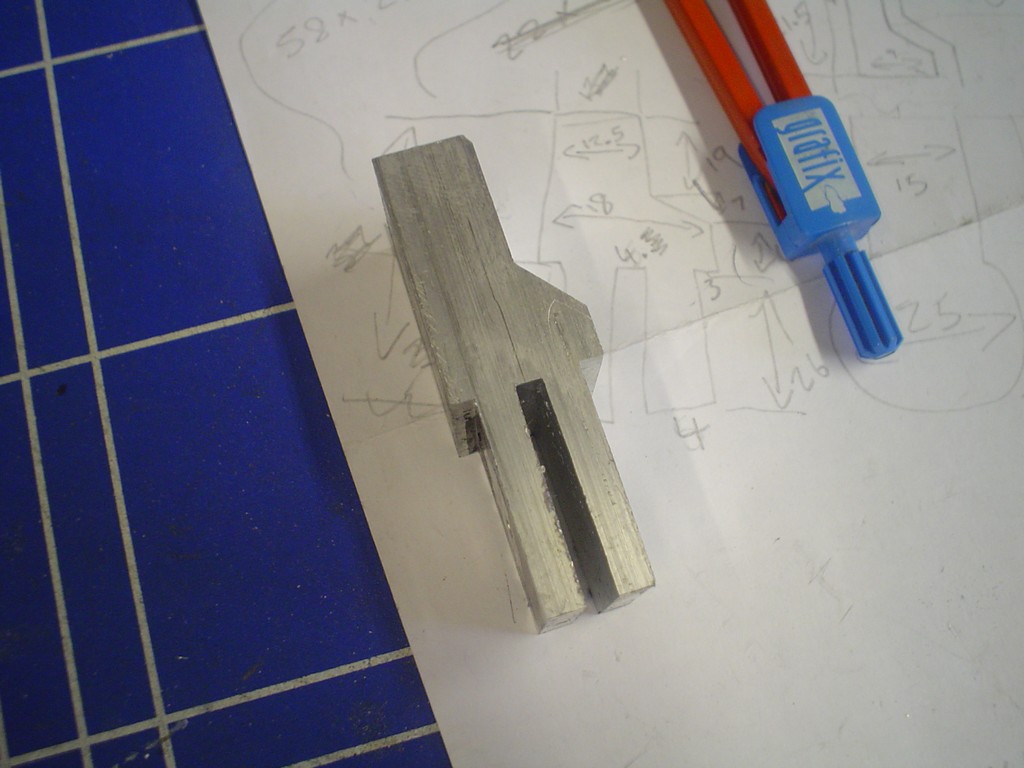 more cuting and hacking and yes I filed the radius by hand  pretty good effort 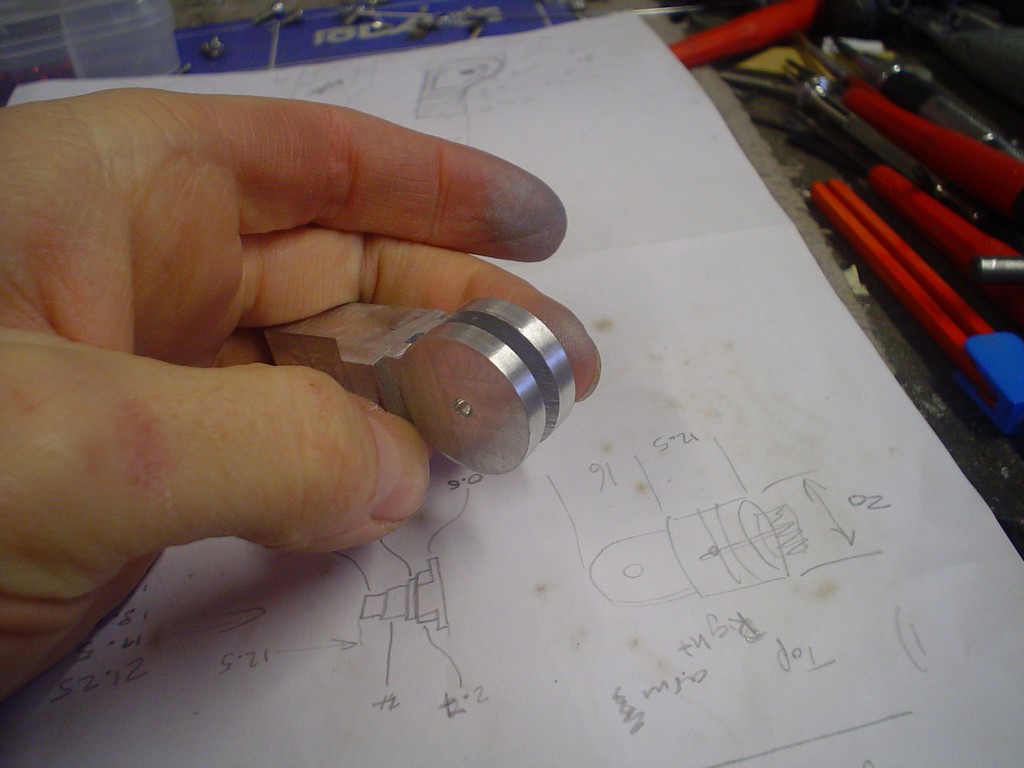 had to set it up in my swively vice so I could cut the recesses to look like the real thing 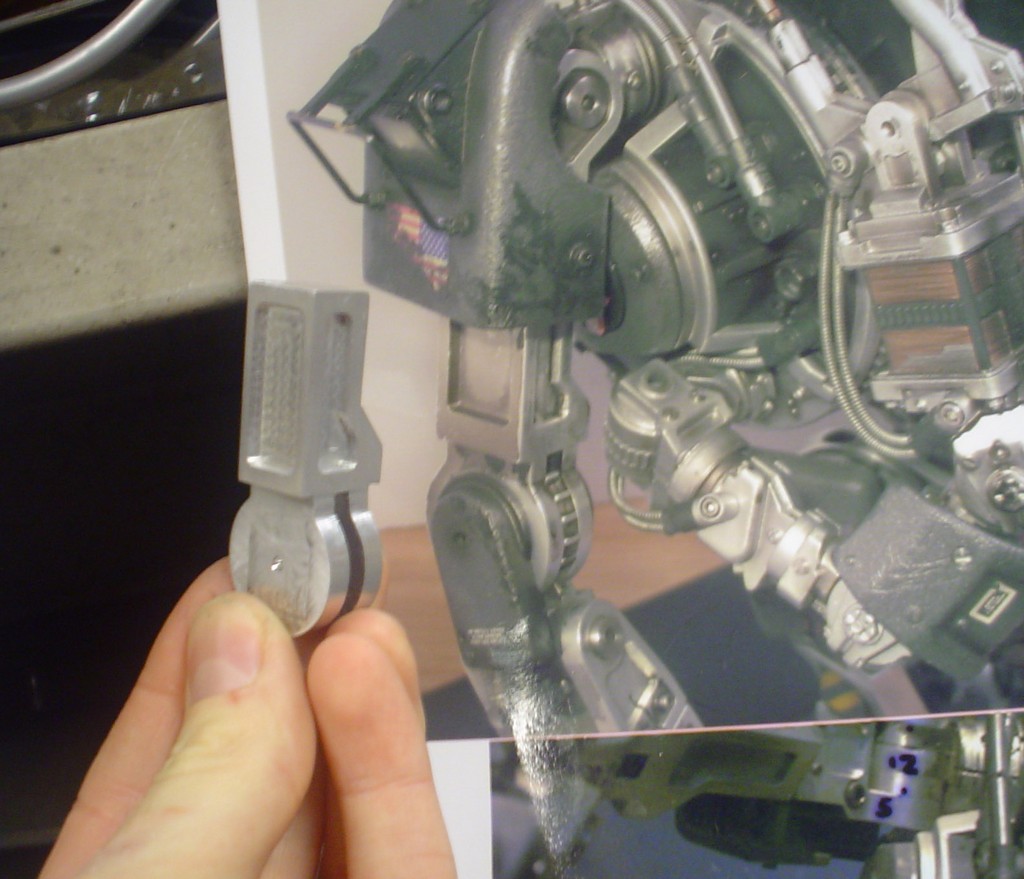 and then attach it to the upper arm, the grub screw tightens to lock it in place. 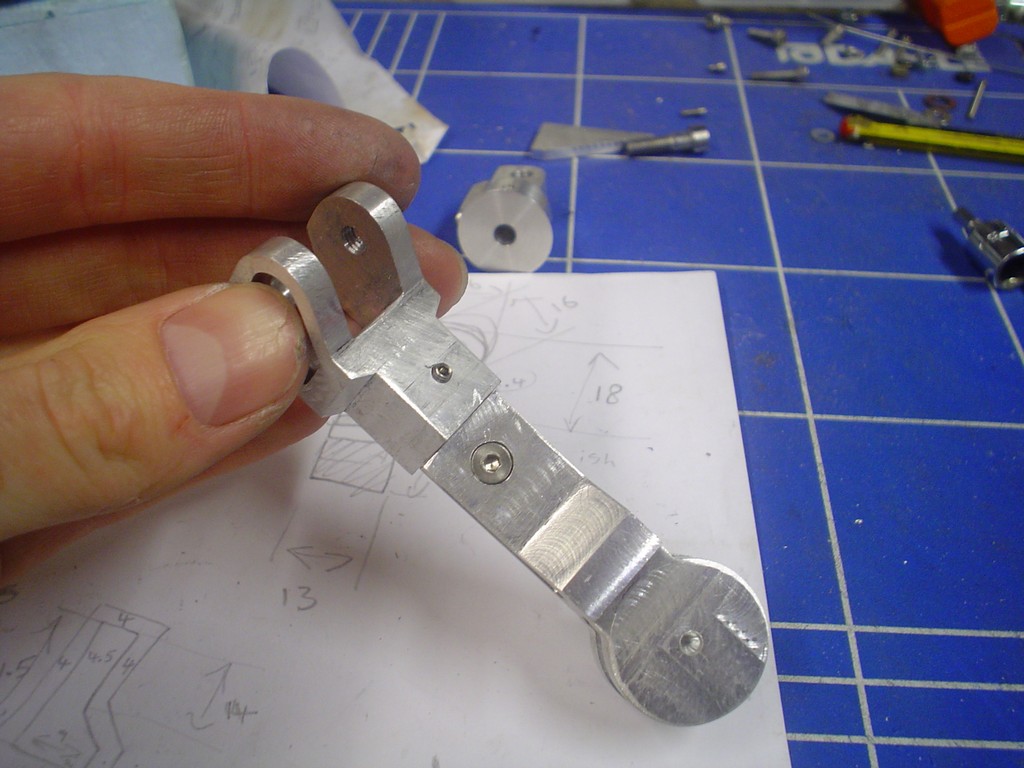 |
|
|
|
Post by admin1 aka Ed on Jun 13, 2010 18:43:45 GMT -5
Good looking work. Now are you a machineist or Engineer by trade?
|
|
|
|
Post by candyman on Jun 16, 2010 17:17:40 GMT -5
Thank you, no i work in computing. I have no engineering training of any kind. I just learnt as I went along. Did some more work on the chest plate, smoothed the edges and got them to a nice fit on the shoulder disks. 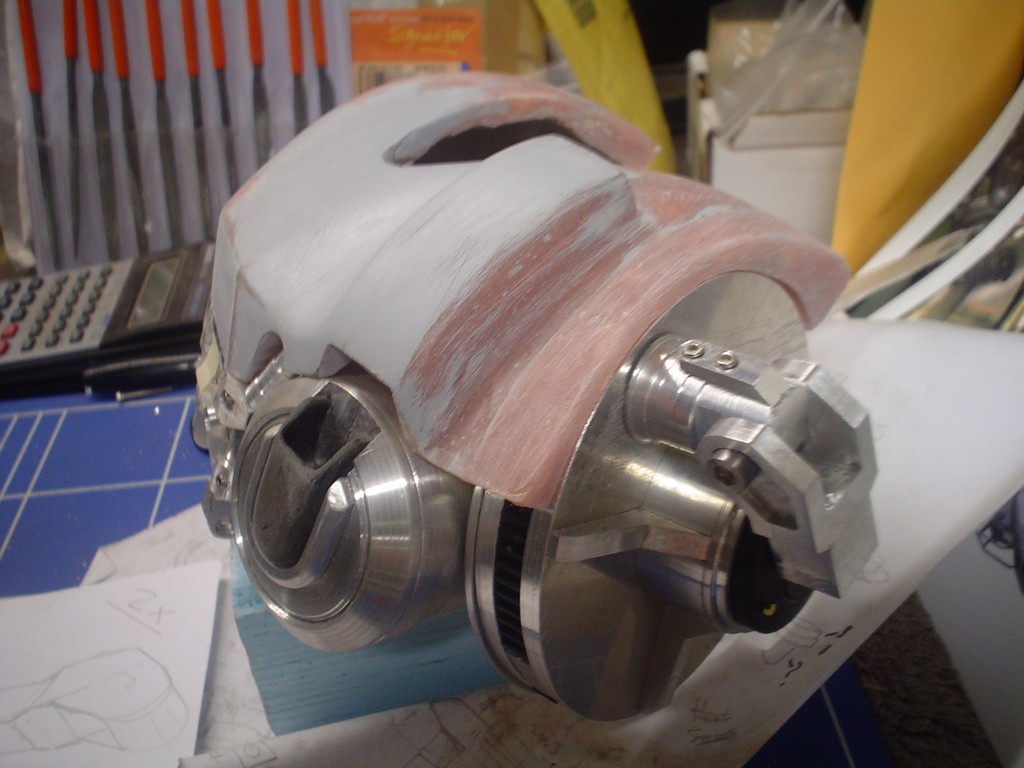 and tuther side 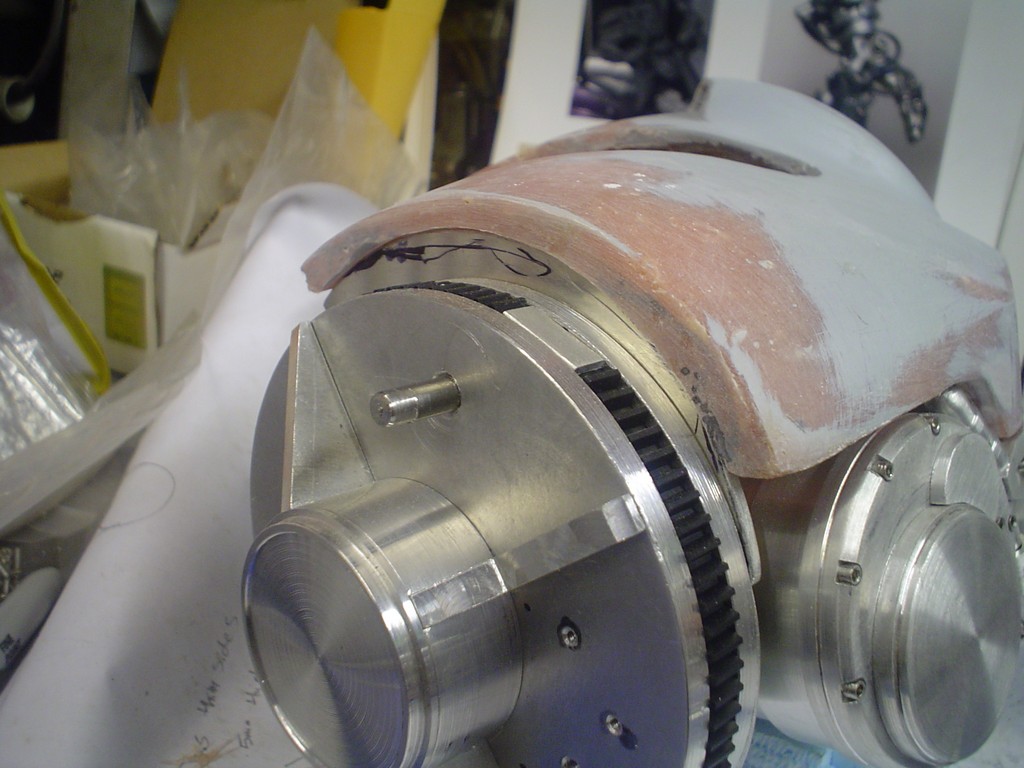 got some M2 hex head screws through, took me a while to find them, so finally able to sink them into the disks, 8 per side. 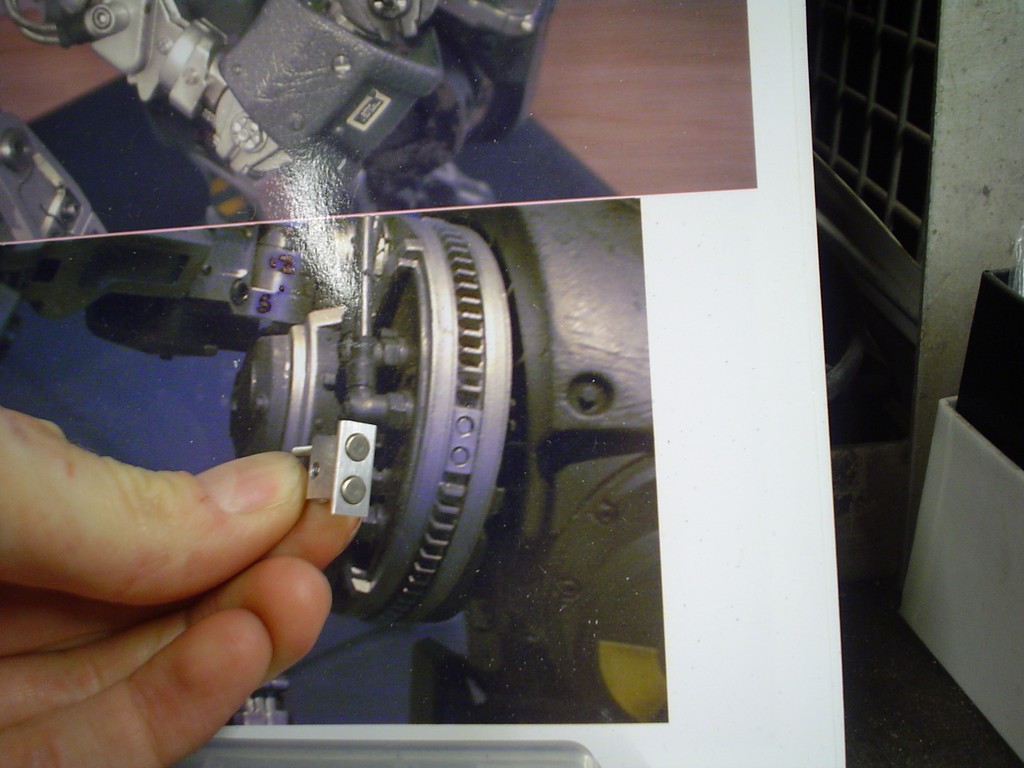 took me some thinking to get my head around this part, I just couldnt think of a way to make it one piece without taking forever about it so I just turned a disk, cut the slots out of it, then made the lower piece and drilled through it (twice) and screwed into the disk to hold it together. you can just see the join. 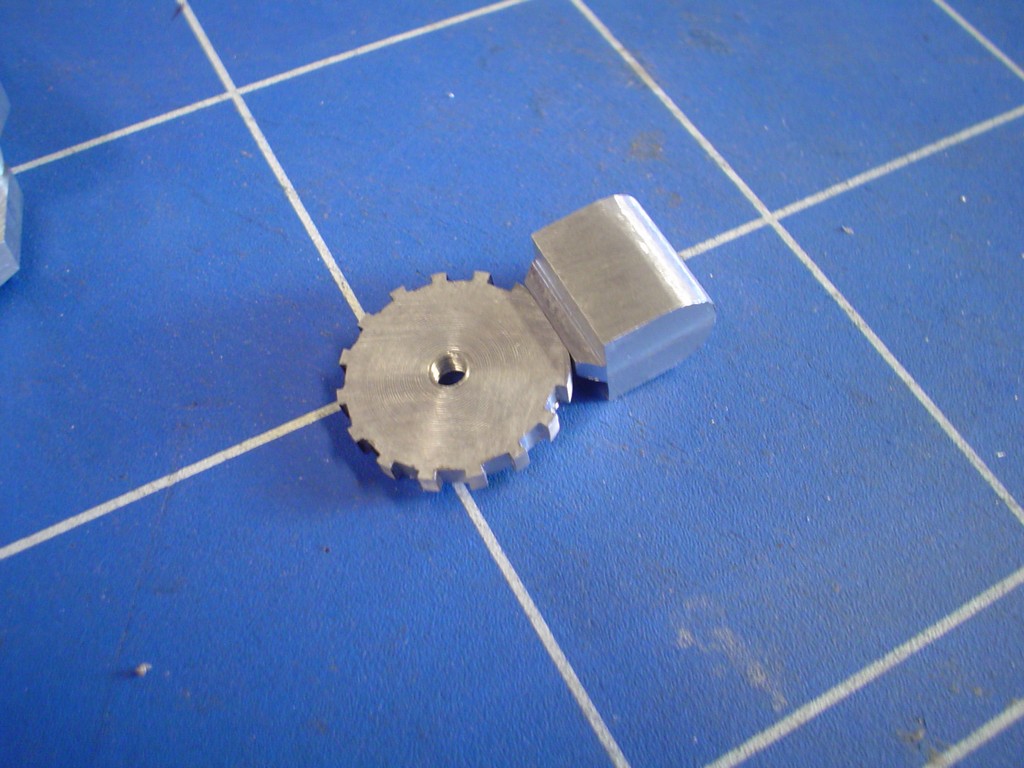 mind you, he doesnt mind, just look at what a happy little elbow he is! who's a happy elbow then......... to be honest I think all this metal work has sent me a bit strange :s 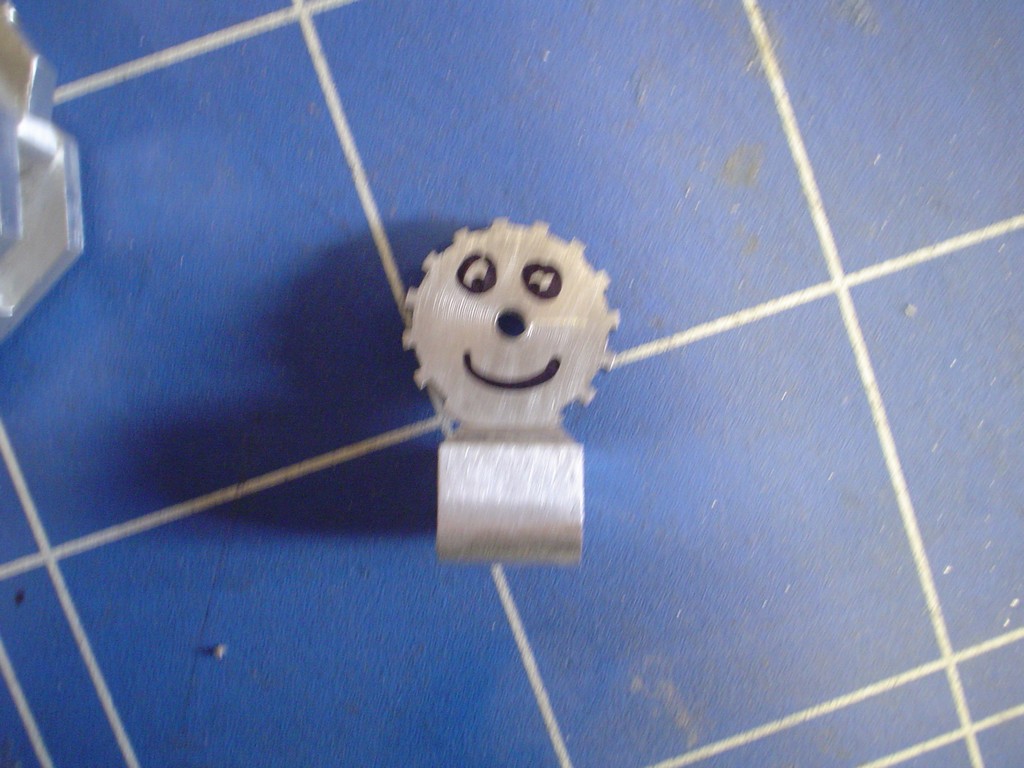 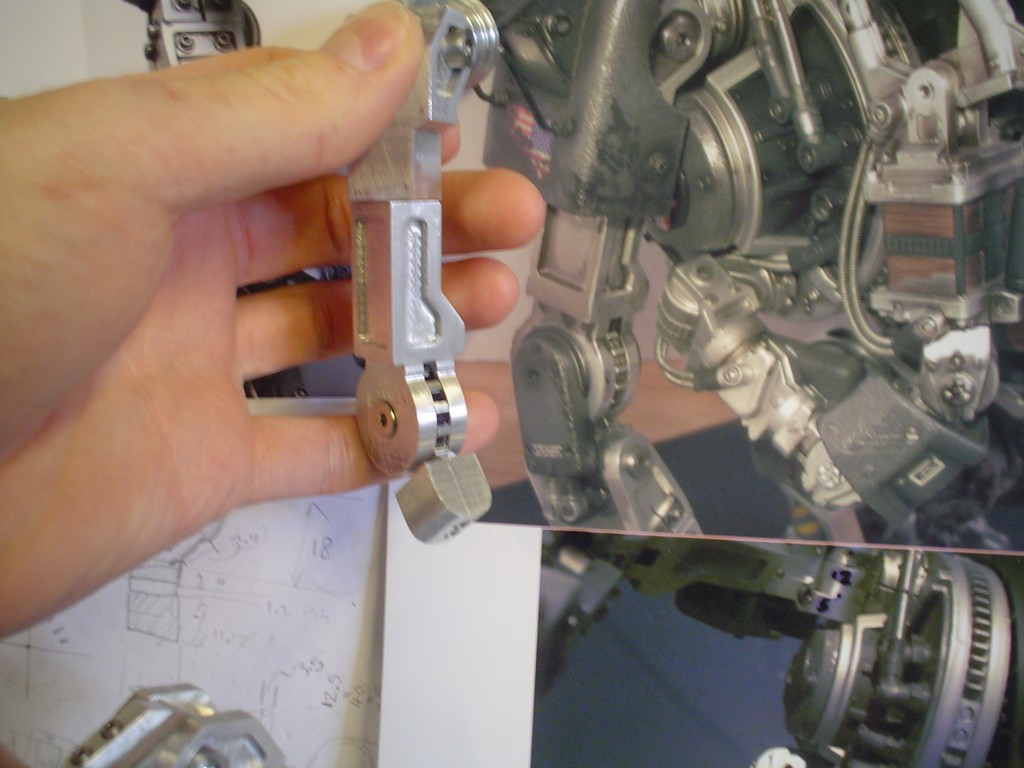 |
|
|
|
Post by magengar on Jun 16, 2010 19:23:46 GMT -5
I can smell all that metal from here. ;D And, I can almost see the whole figure now, judging by its size next to your hand. Gettin close now!  zozo-Magengar |
|
|
|
Post by candyman on Jun 19, 2010 17:02:01 GMT -5
Thanks, well, closer that I was 6 months ago! take a chunk of metal (add some candyman) 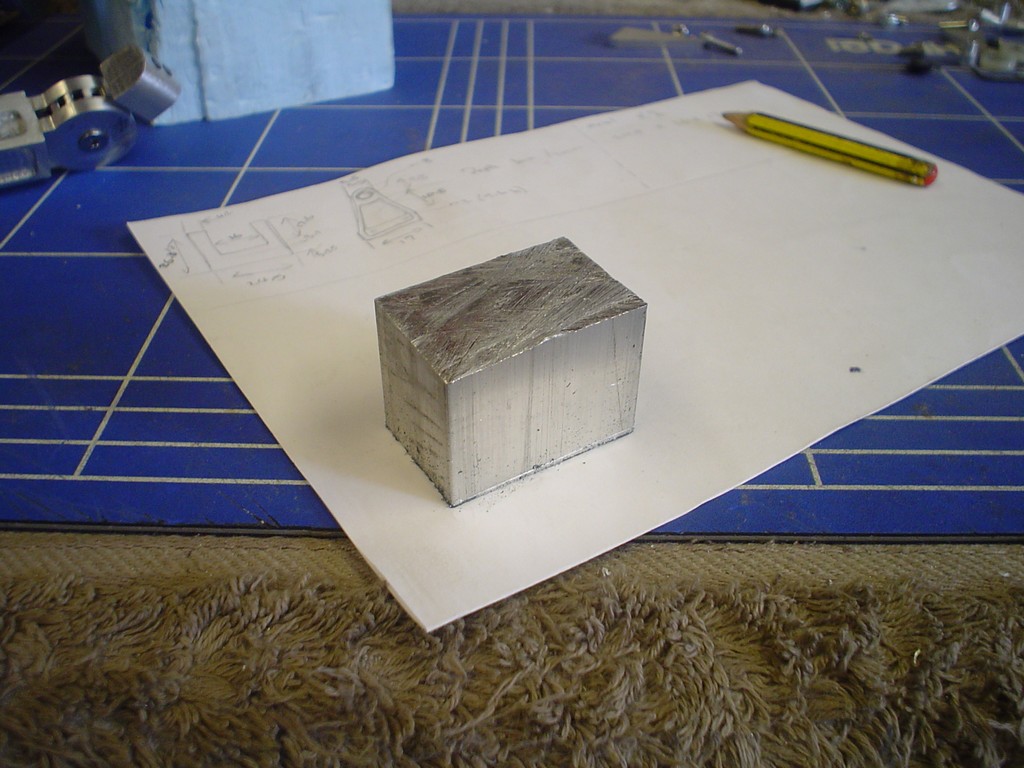 cut in half, drill and hacksaw the majority of the middle out 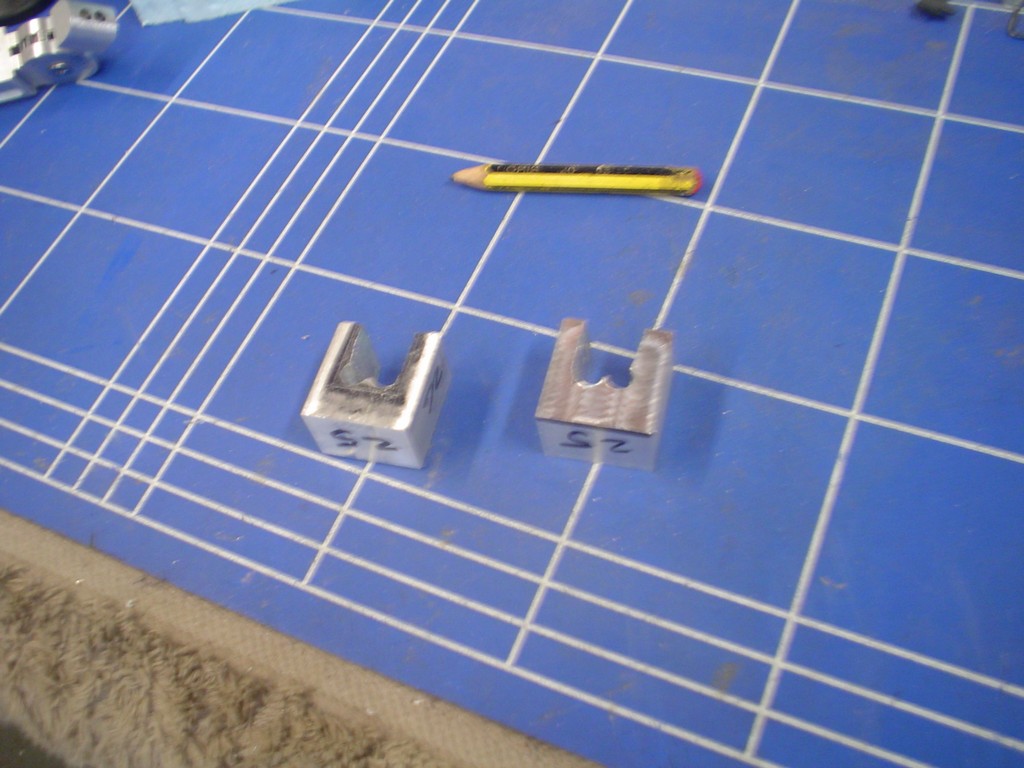 square it all up on the mill 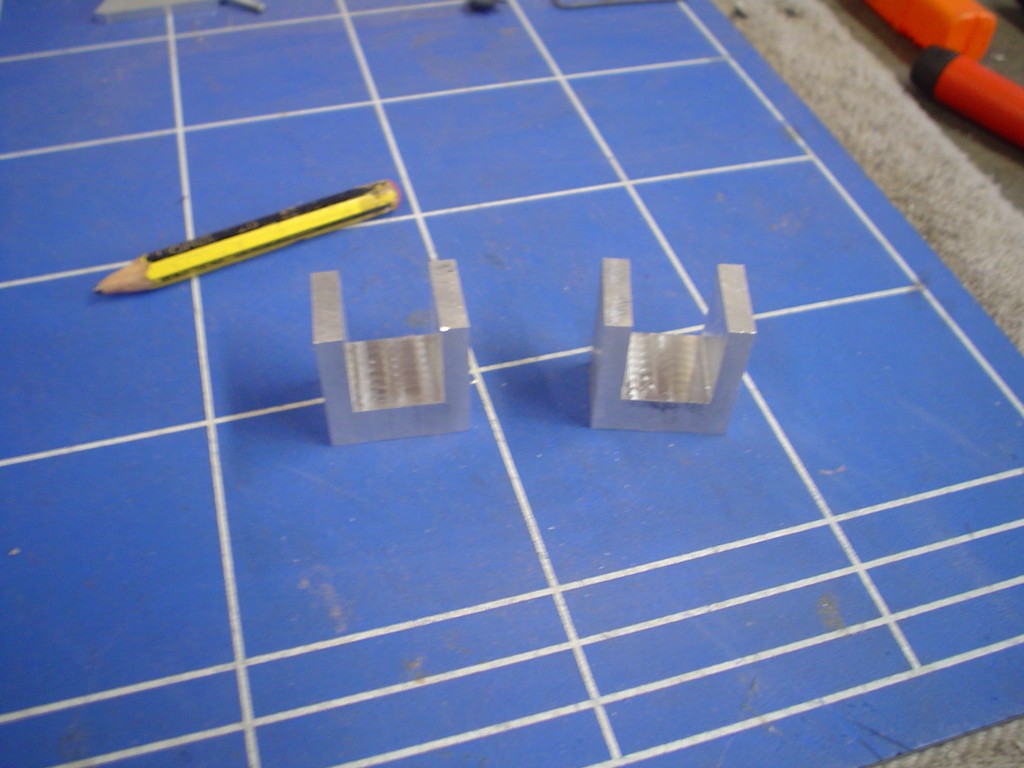 angle the edges a few degrees 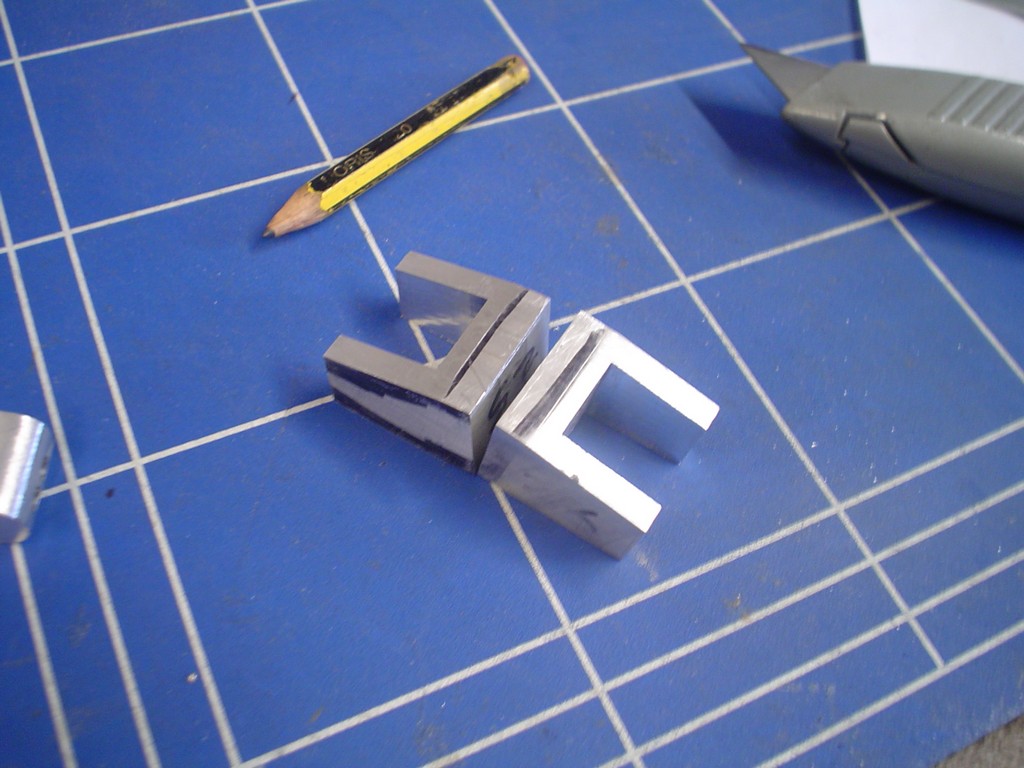 very carefully make stepped recesses both sides, on both pieces, the same. Each recess has 6 sides, they are not square, took ages to do these. 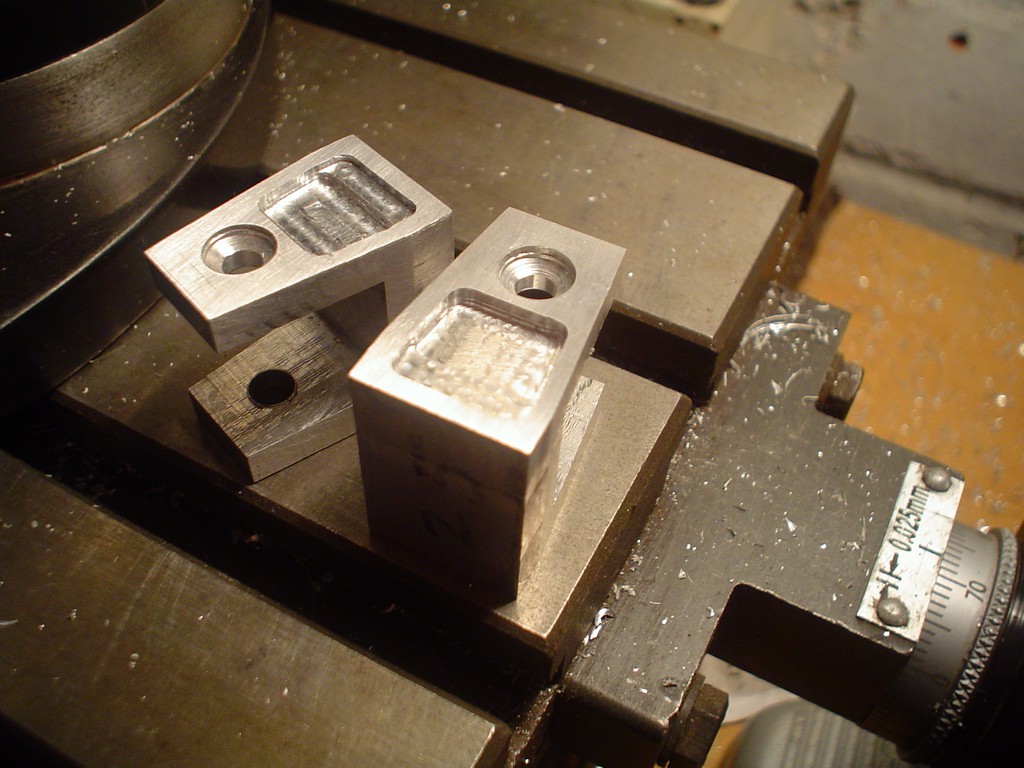 start turning the wrist 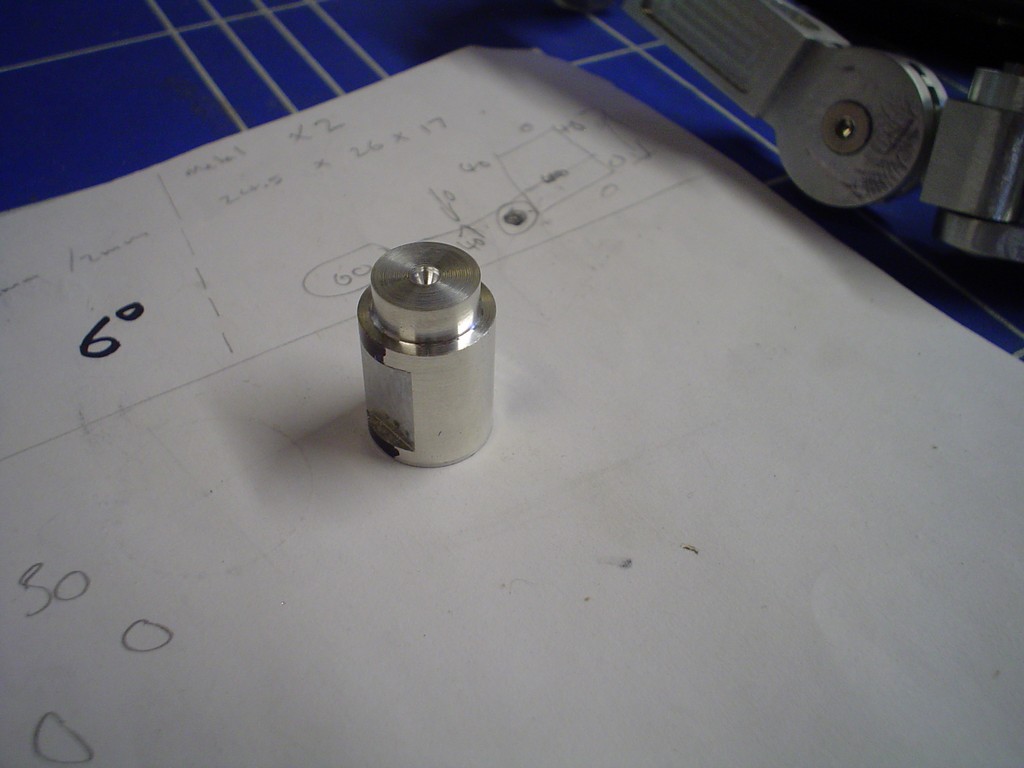 go through the usual drilling, taping, etc. Also used the slitting saw to cut the slot. also had to make a pin that joins the 2 pieces together but allows for it to swivel. 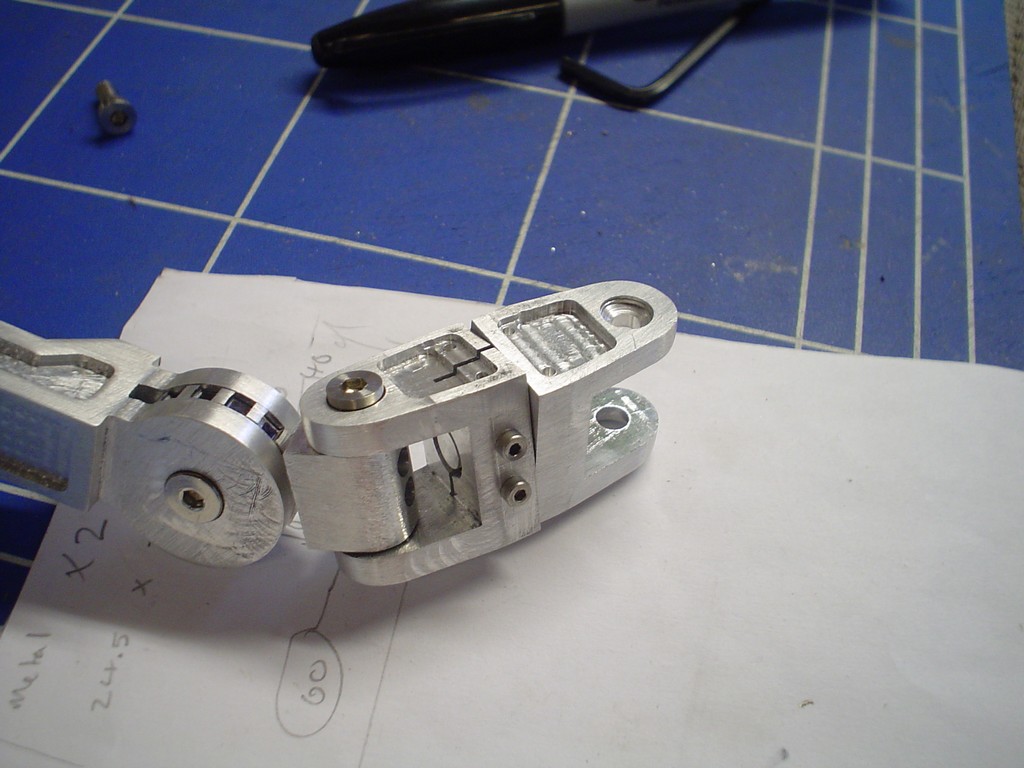 and looks a bit like that 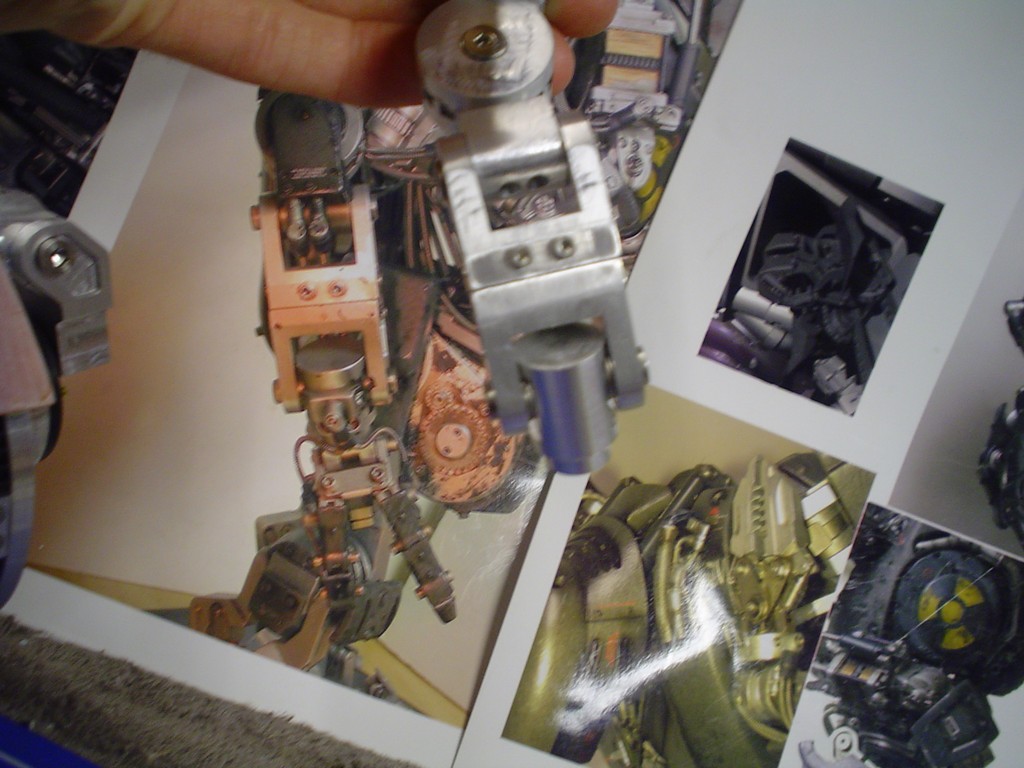 |
|
|
|
Post by candyman on Jun 21, 2010 16:47:20 GMT -5
Made these little tiny bits out of delrin, they fit on the side of the cylinder. 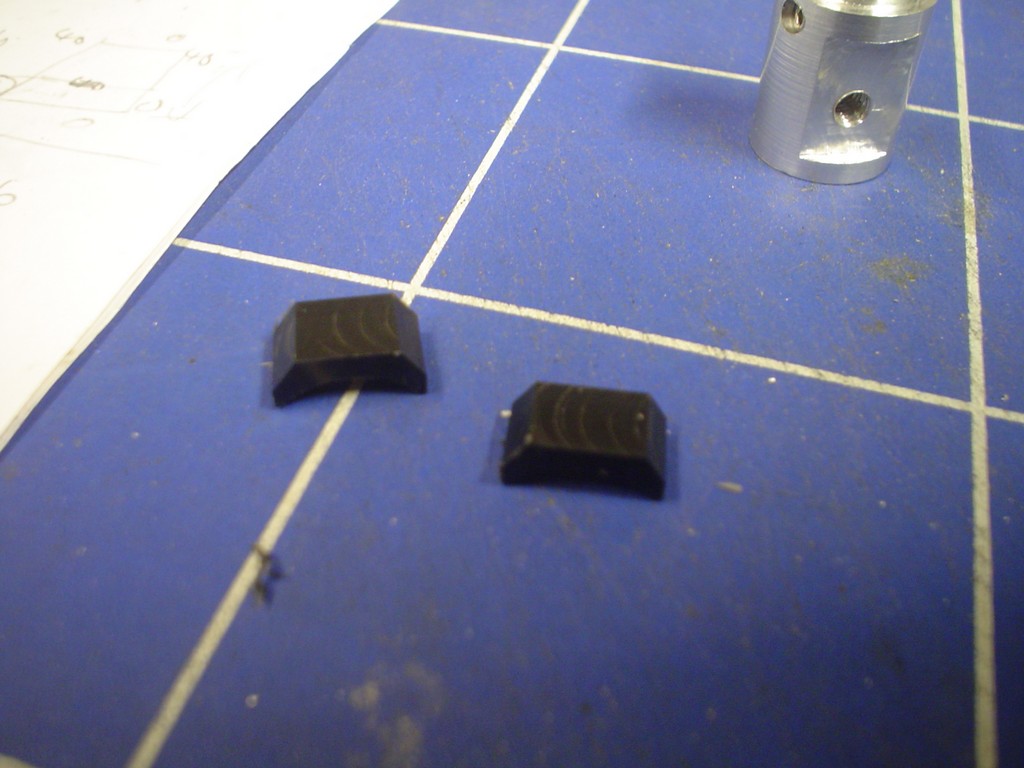 Now on to more little hydraulic fittings, this is the smallest size I will have to make, the last were 5mm wide, these are 4mm. First cut 4mm down to little 4.5mm high sections and drill 2mm through the middle 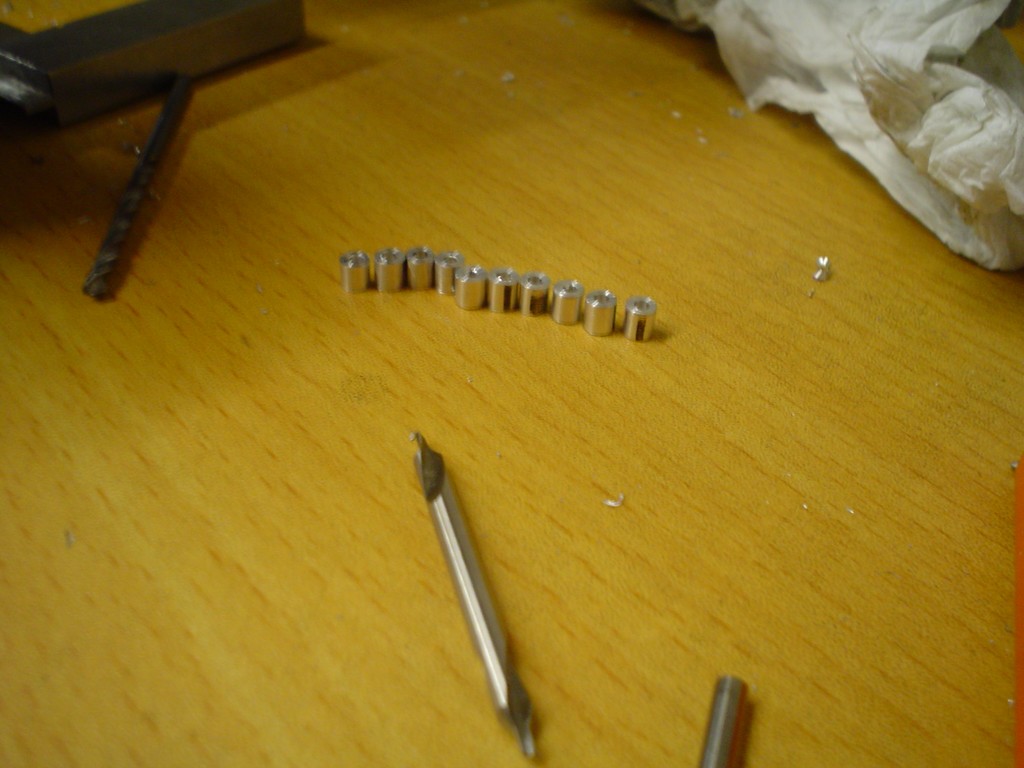 Then cut a 4mm semi circle in half and drill tap the sides of the others M2 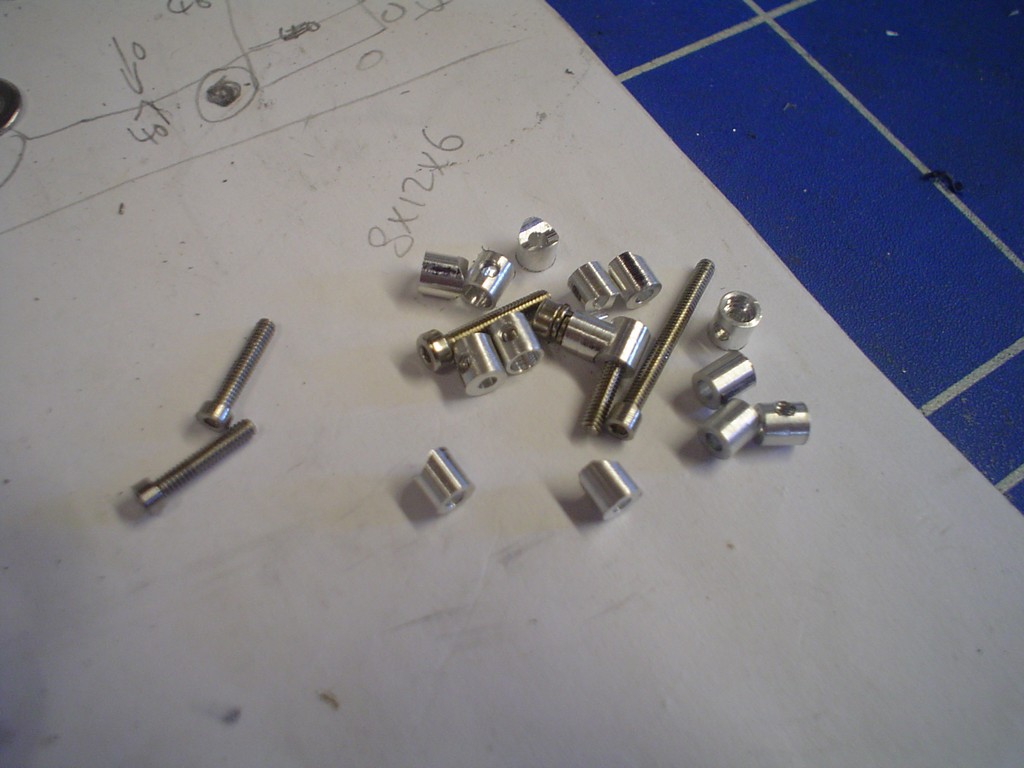 and put it all together, the other 5mm on the left and latest 4mm on the right 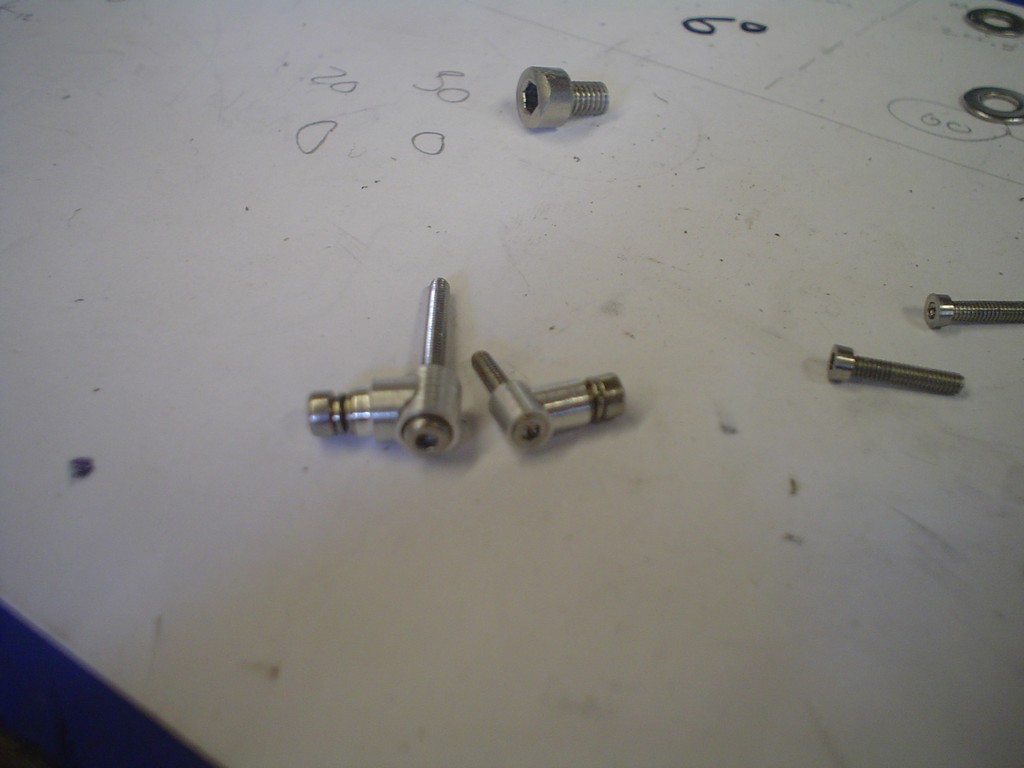 if you hold your finger up to mine you can appreciate that they really are little! 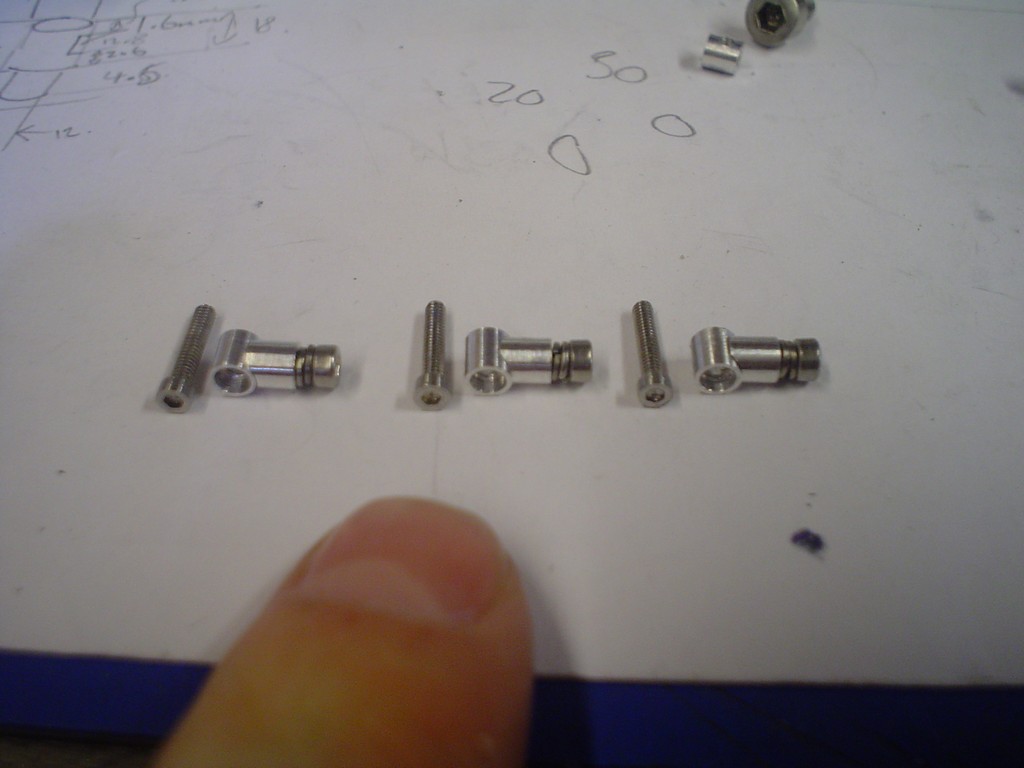 now drill tap and attach to the wrist............ is it just me or does it look like a little bloke having a jive? 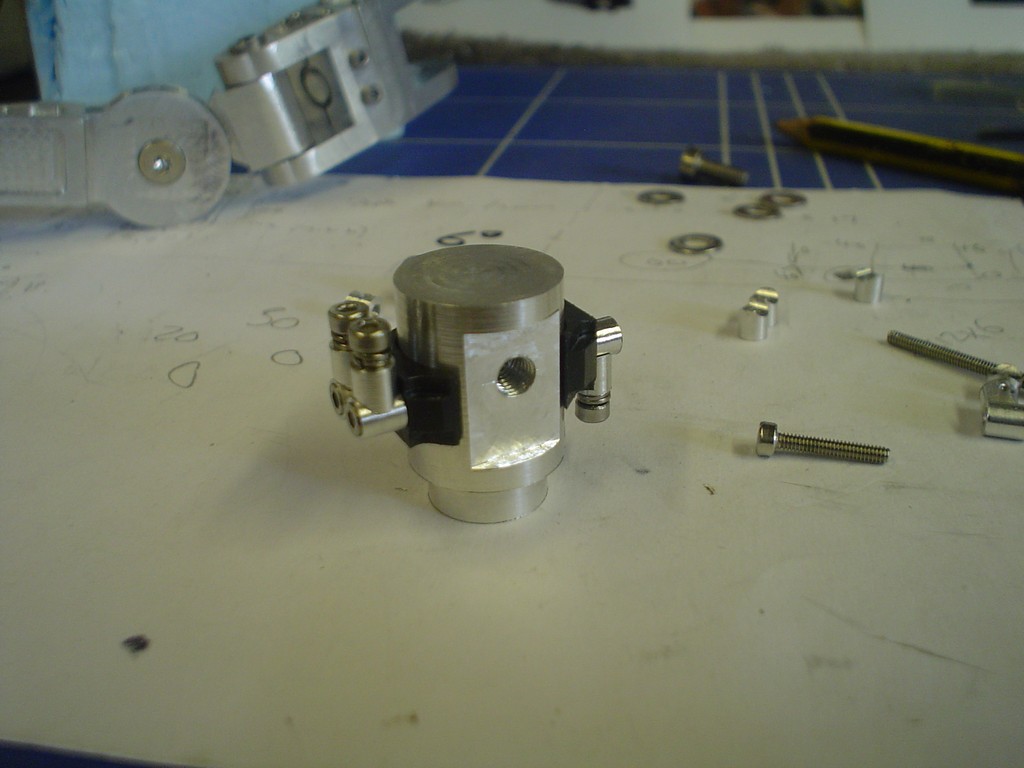 also shaped the delrin bits a bit more 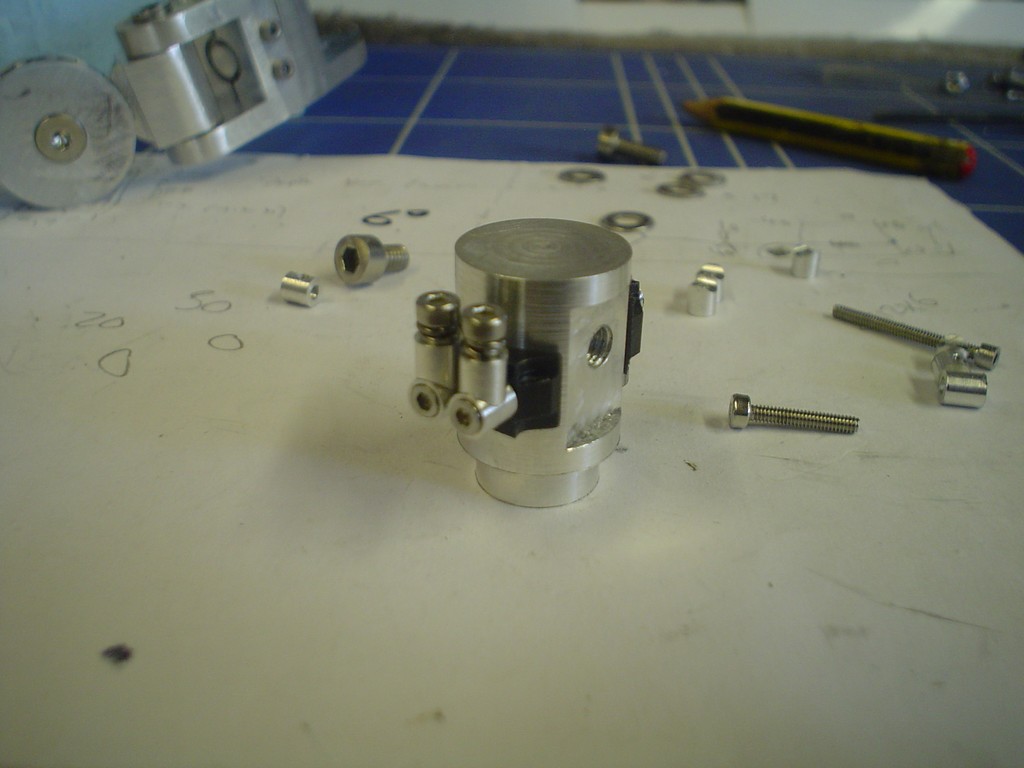 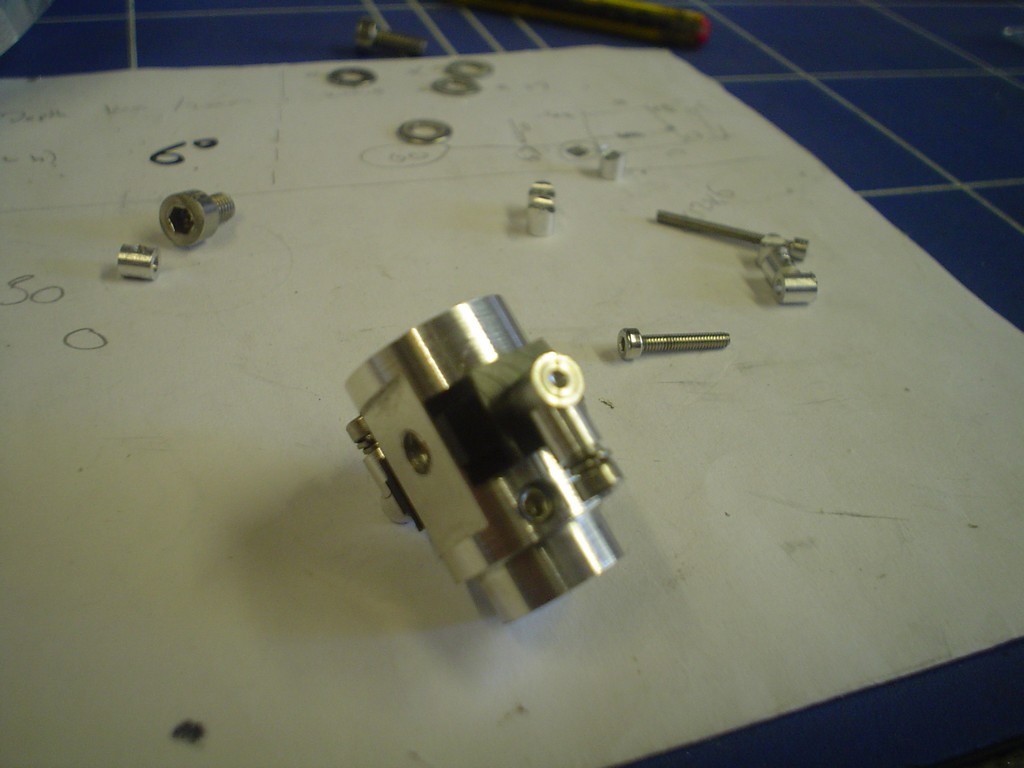 |
|
|
|
Post by magengar on Jun 21, 2010 17:51:02 GMT -5
Hmmm... so the derlin part acts like sorta a "sleeve" to reduce friction between the parts when that wrist turns? This is friggin Intense!  zozo-Magengar |
|
|
|
Post by candyman on Jun 24, 2010 16:26:37 GMT -5
errrrr, no, they are just......... just another "bit" to go with all the other bits. some more hydraulic looking pipe fittings,  all put together and looking ok I think. 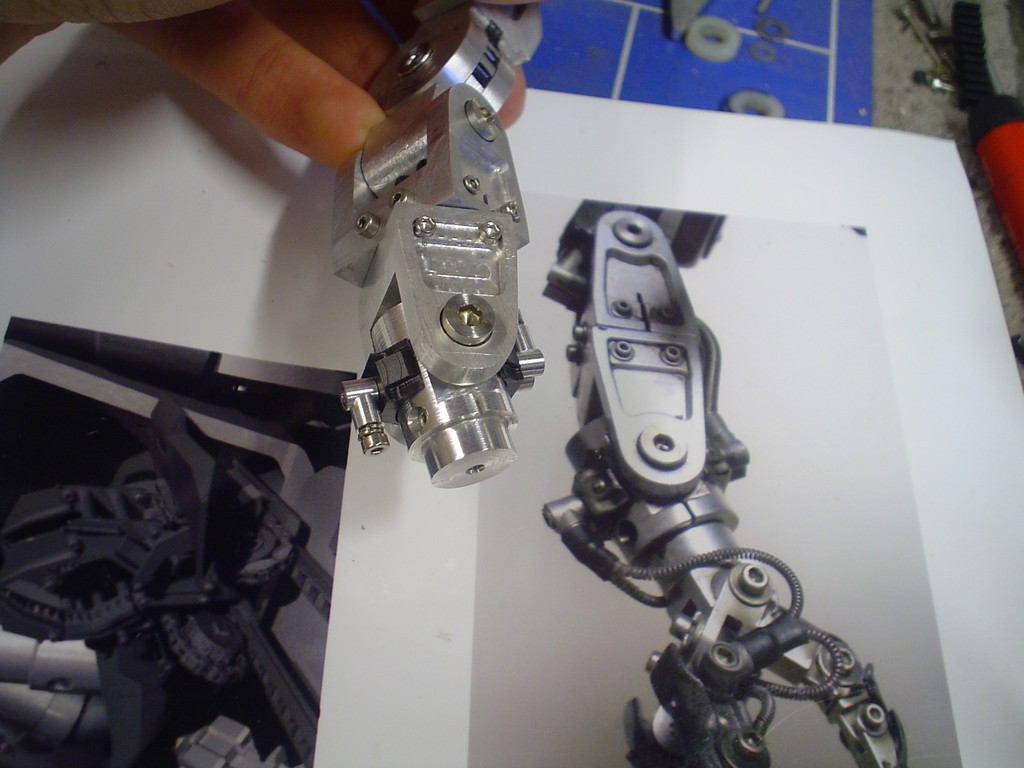 now starting on the thumb 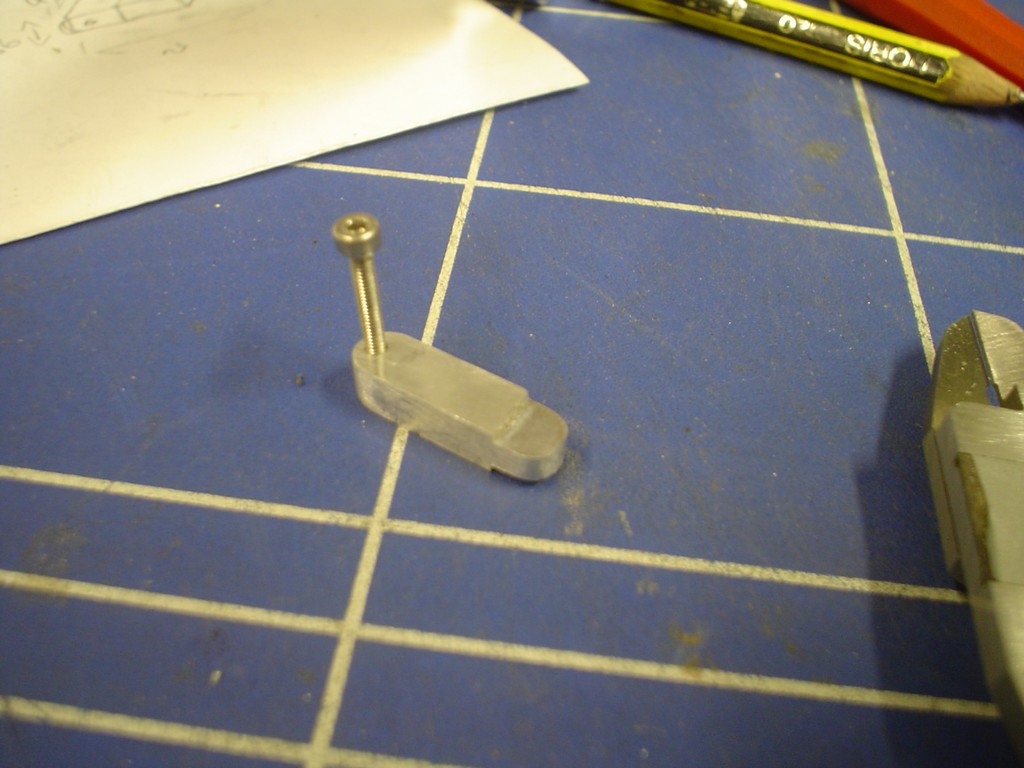 2nd section, needless to say these bits are small lol, making my eyes ache! 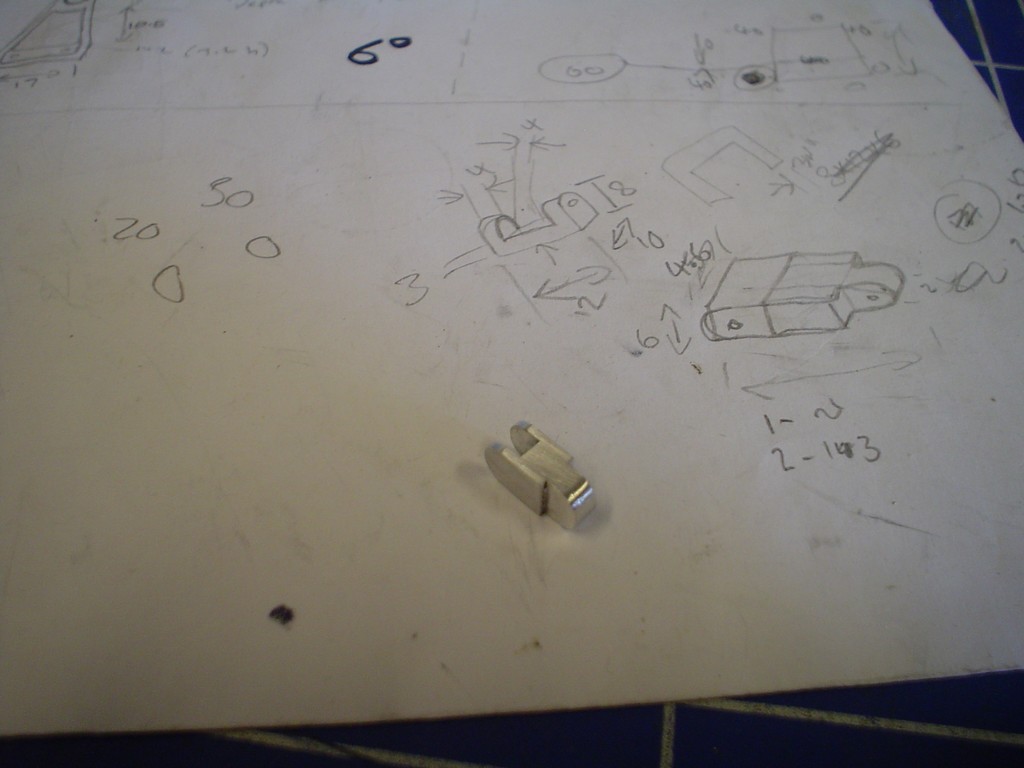 1st 2nd and 3rd section  the M2 screws do for all the joints except the tip of the fingers, these need to be even smaller! down to M1.6, thats 1.6mm thread width, dont want to do too many of these, I keep dropping them! 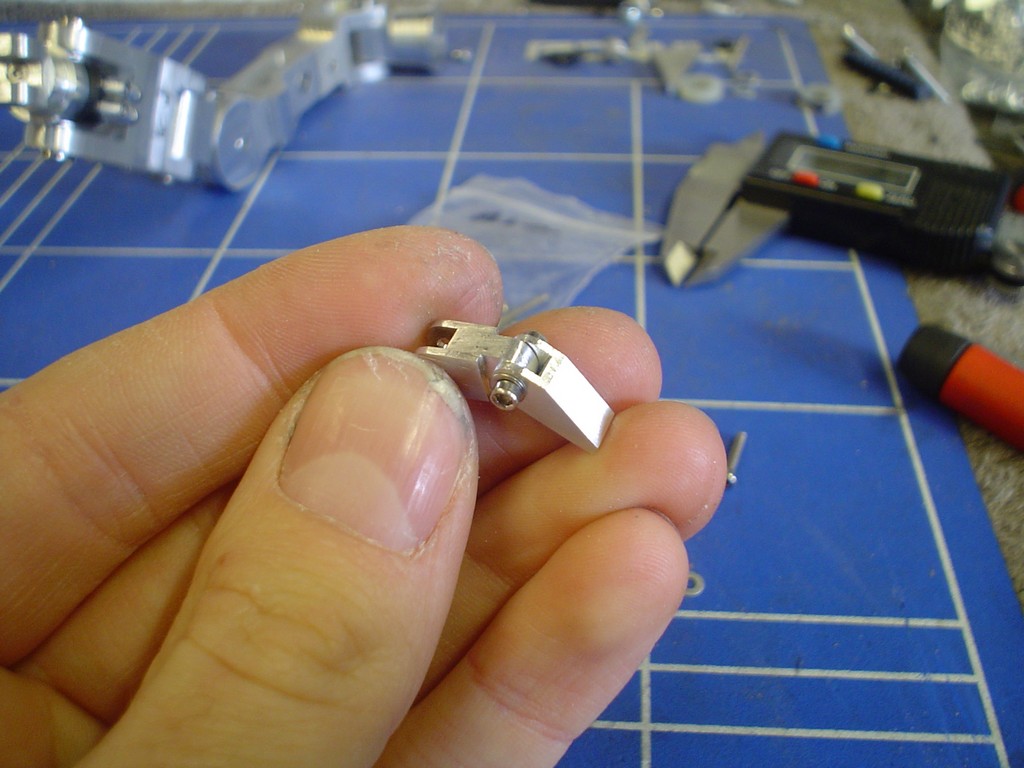 |
|
|
|
Post by magengar on Jun 24, 2010 16:42:02 GMT -5
Man, This has GOTTA go down in RJ's history as the Best Custom thread ever. Ya hear that, Ed? Pleeeeease, Sticky this baby!  zozo-Magengar |
|
|
|
Post by magengar on Jun 25, 2010 11:25:07 GMT -5
BUMP. For those who haven't been watching this work in progress.  zozo-Magengar |
|
|
|
Post by candyman on Jun 26, 2010 15:52:12 GMT -5
Thank you for making me a sticky! means a lot, thanks Yes, well in a model of fiddly bits this is a pretty fiddly bit. trial fit 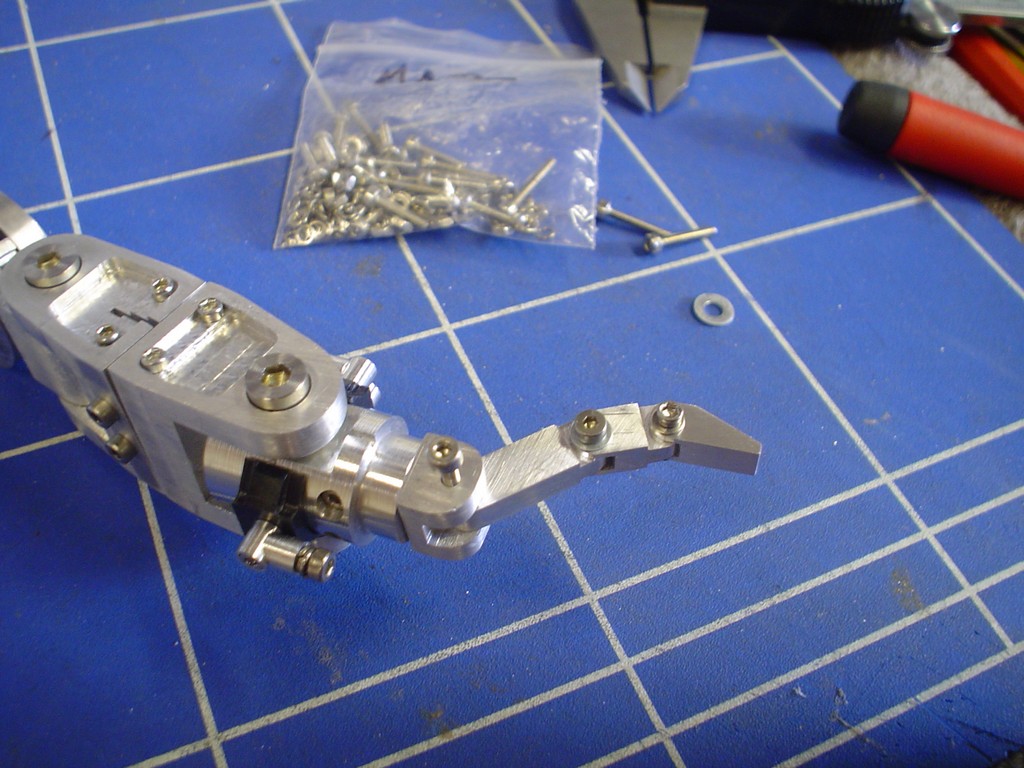 making the hand where the 2 fingers attach  little knuckles, my camera has trouble focusing, I must remeber to keep back. 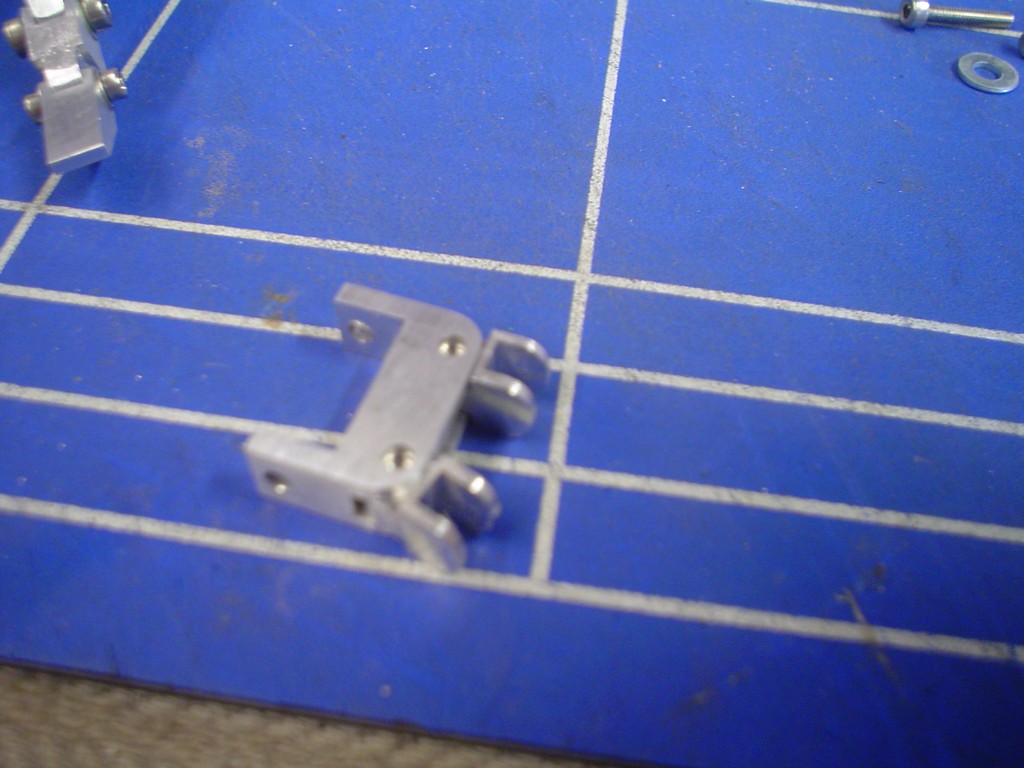 start of the fingers 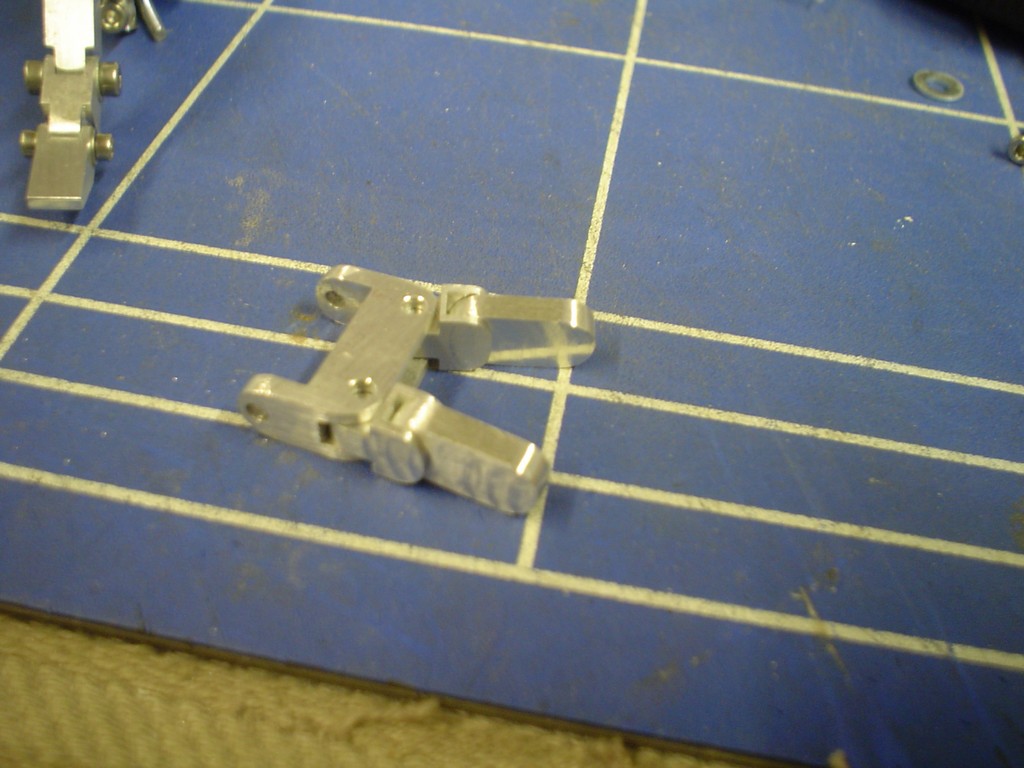 just the tips to do and then drill and tap everything. The tips need a bit more work as they have a thicker "pad" than the finger part. 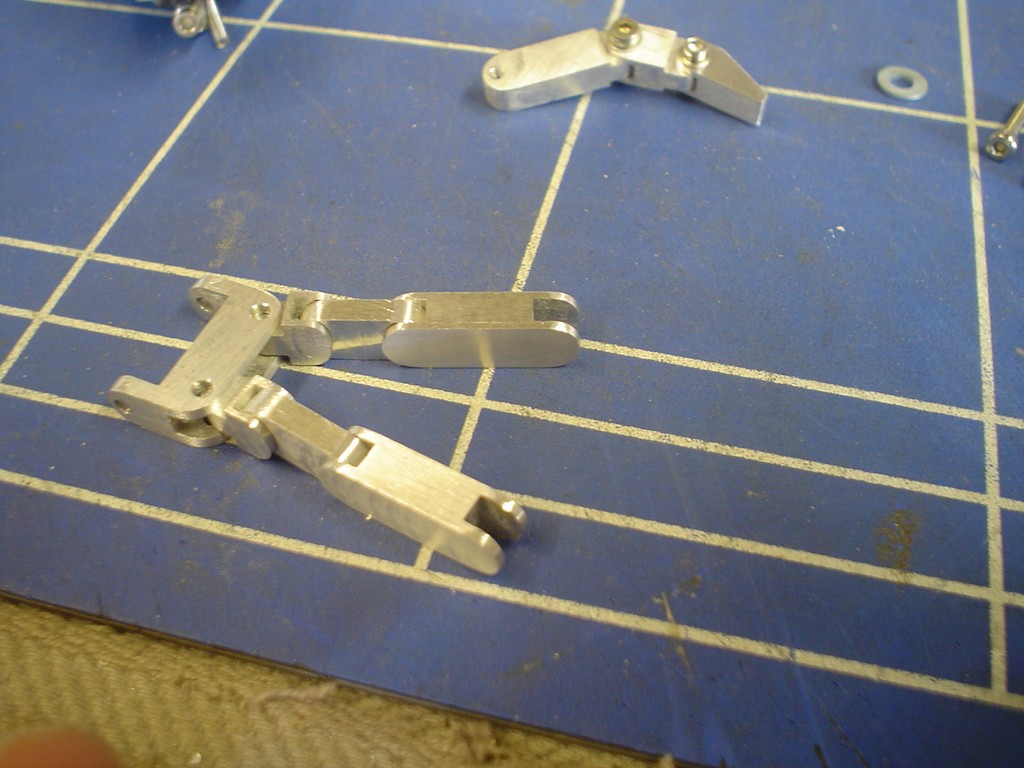 |
|
|
|
Post by magengar on Jun 28, 2010 11:23:11 GMT -5
They made this a Stickey....YYYYEEESSS!!!! Thanks Ed!!! ;D Look at That! Fingers! F-i-n-g-e-r-s!! FIIINGERRRRS!!!Yo, This is Da Bomb, indeEed YES!  ;D zozo-Magengar |
|
|
|
Post by candyman on Jun 28, 2010 15:55:38 GMT -5
Done the little finger tips, quite had as the "pad" as I said is wider than the finger part  then drill everything 2mm or 1.7mm if its going to be taped to M2 thread. Each joint has a screw both sides except the ones with the hydraulic pipe fitting, so all screws had to be cut down accordingly. 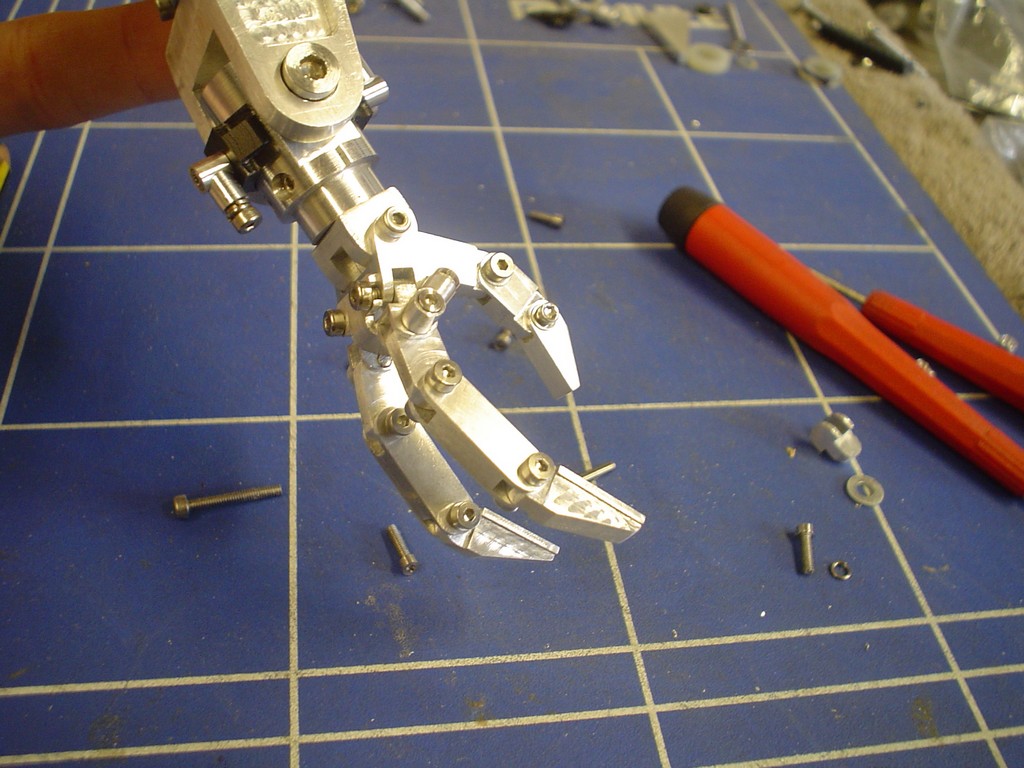 then there was a big spark! and he's got me aaaaaaaaaghghhhhhhhh 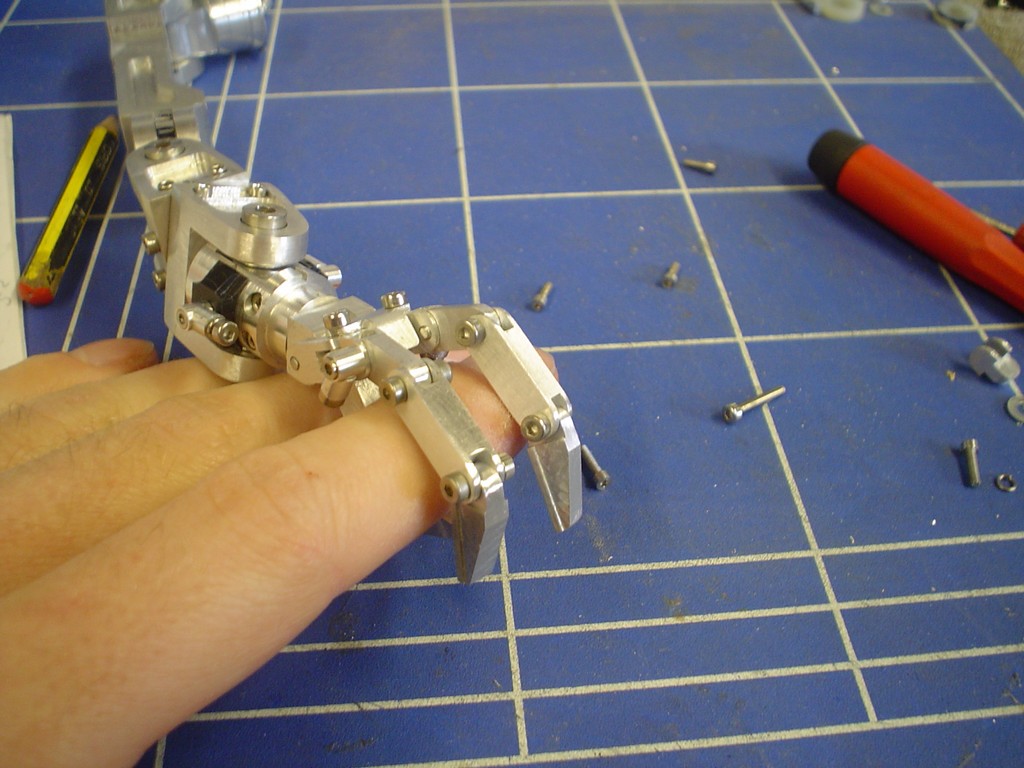 ..... it gets worse, he dives for the knife! 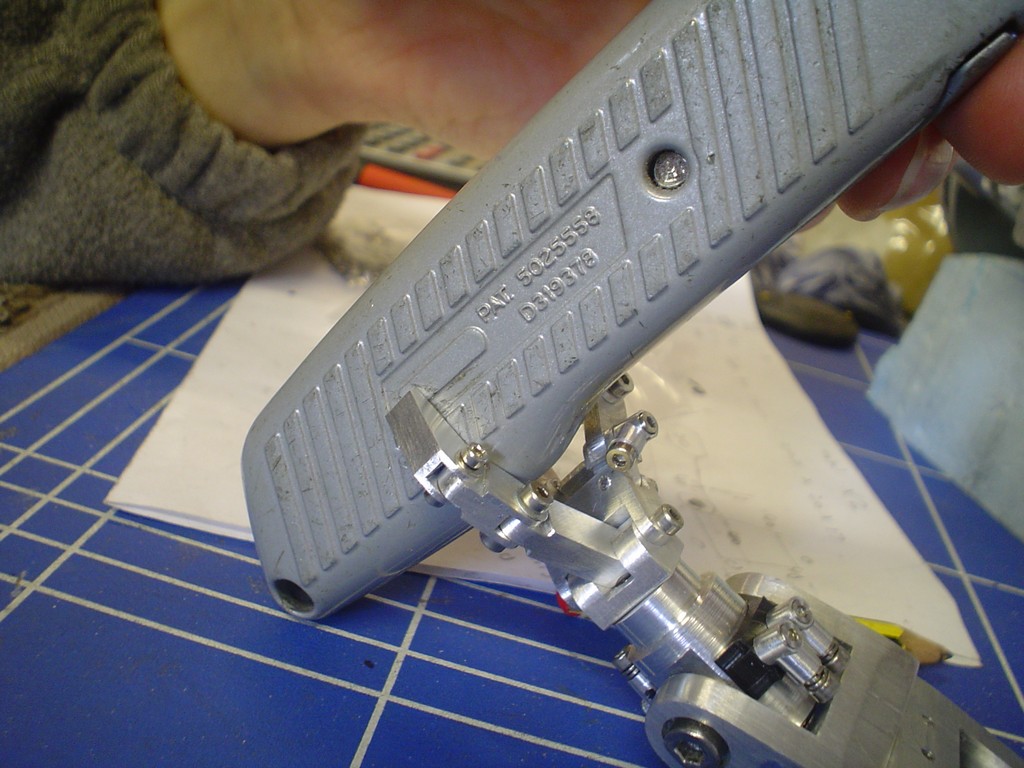 PUT THE KNIFE DOWN! it'll be ok. I manage to persude him to give up and let me trial fit to the shoulder. 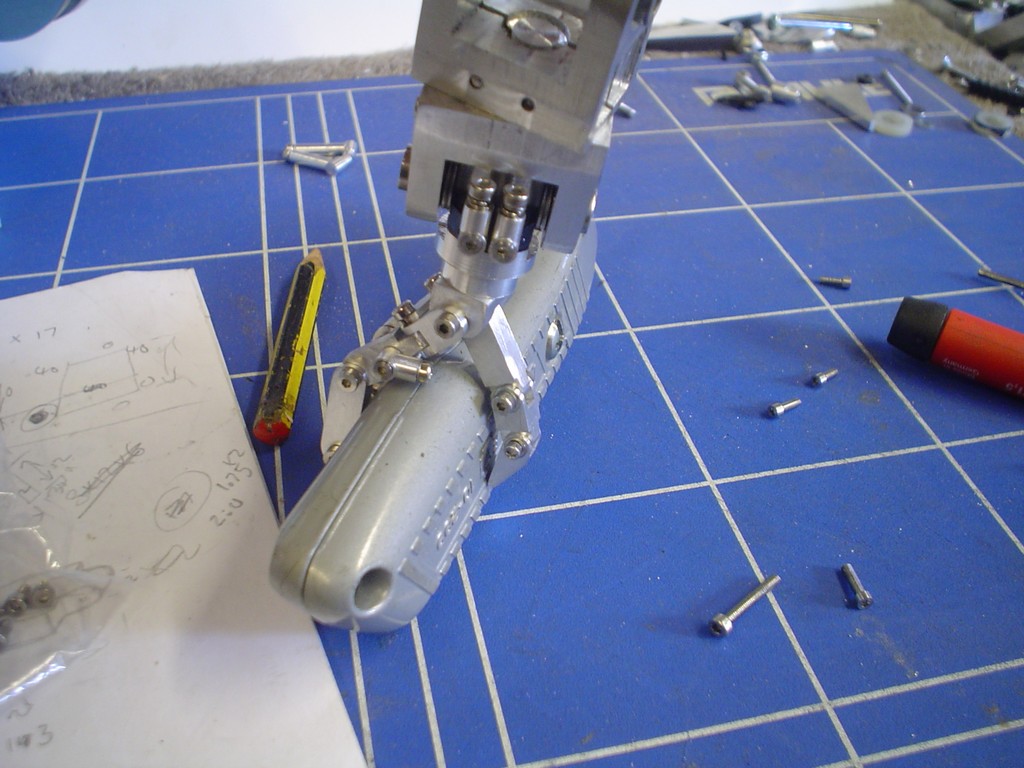 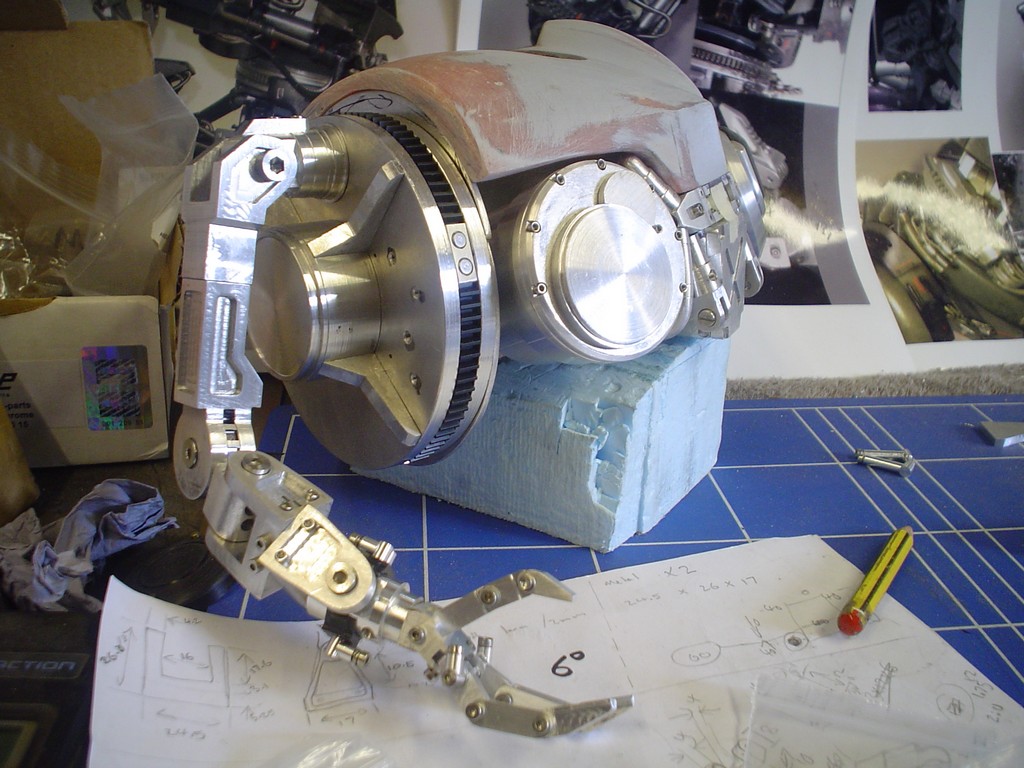 Ok back to work, no where near finished yet im afraid, each finger section thats each one, needs a little protective cap. These are so small and fiddly I will have to use styrene, made a start on one. 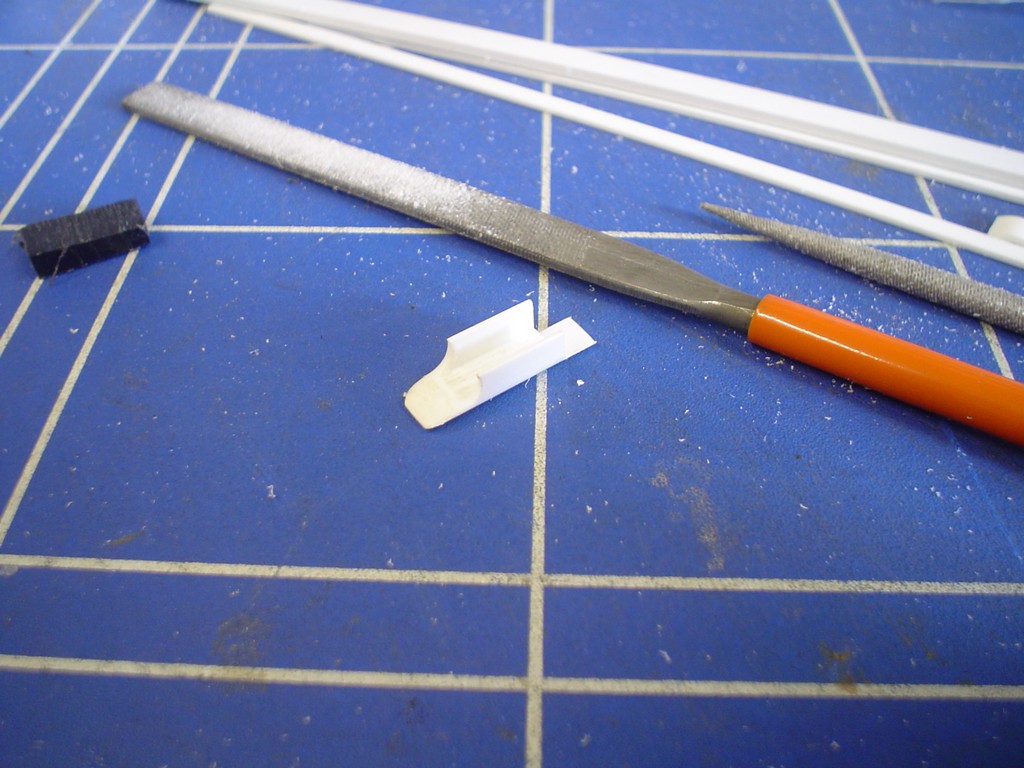 more on Thursday. |
|
|
|
Post by magengar on Jun 28, 2010 19:08:56 GMT -5
Wow, that detail sure is intense!  I also like the little "knife drama"... ...them mechs like to jump to life sooner than they're completely built. LOL ;D zozo-Magengar |
|
|
|
Post by admin1 aka Ed on Jul 1, 2010 21:12:32 GMT -5
Sick cool work as always  |
|
|
|
Post by candyman on Jul 2, 2010 14:39:45 GMT -5
lol  Ok getting better with styrene now 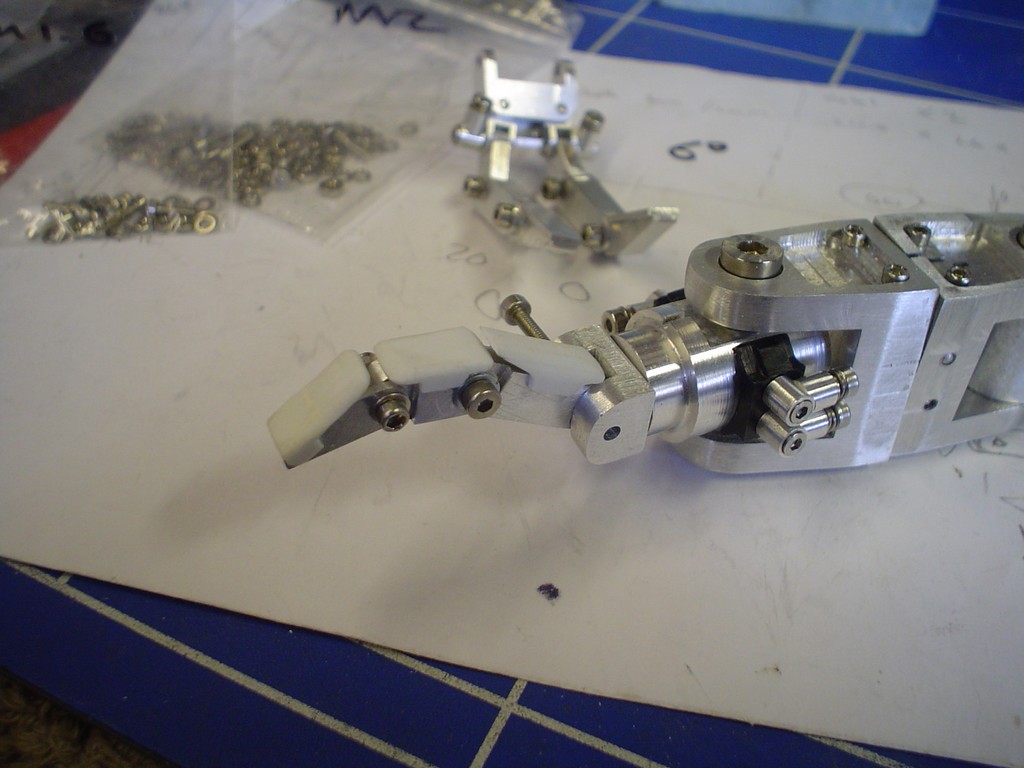 easy to work the stuff as its so soft, but quite easy to make a mistake too 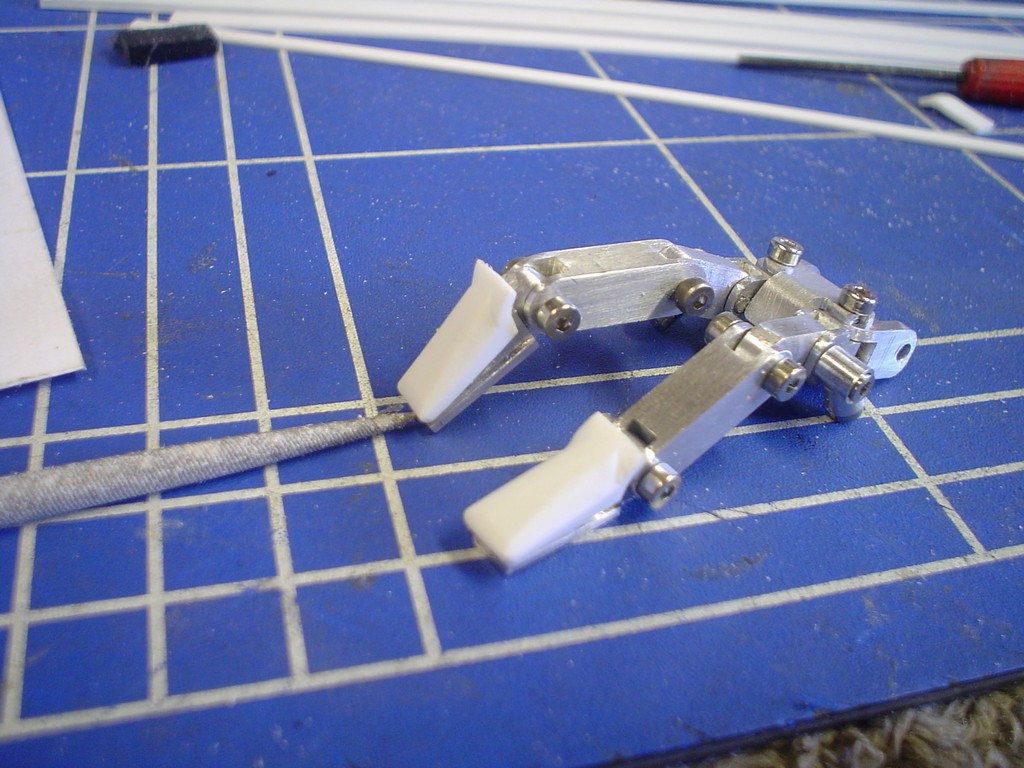 giving it all a blast with grey paint 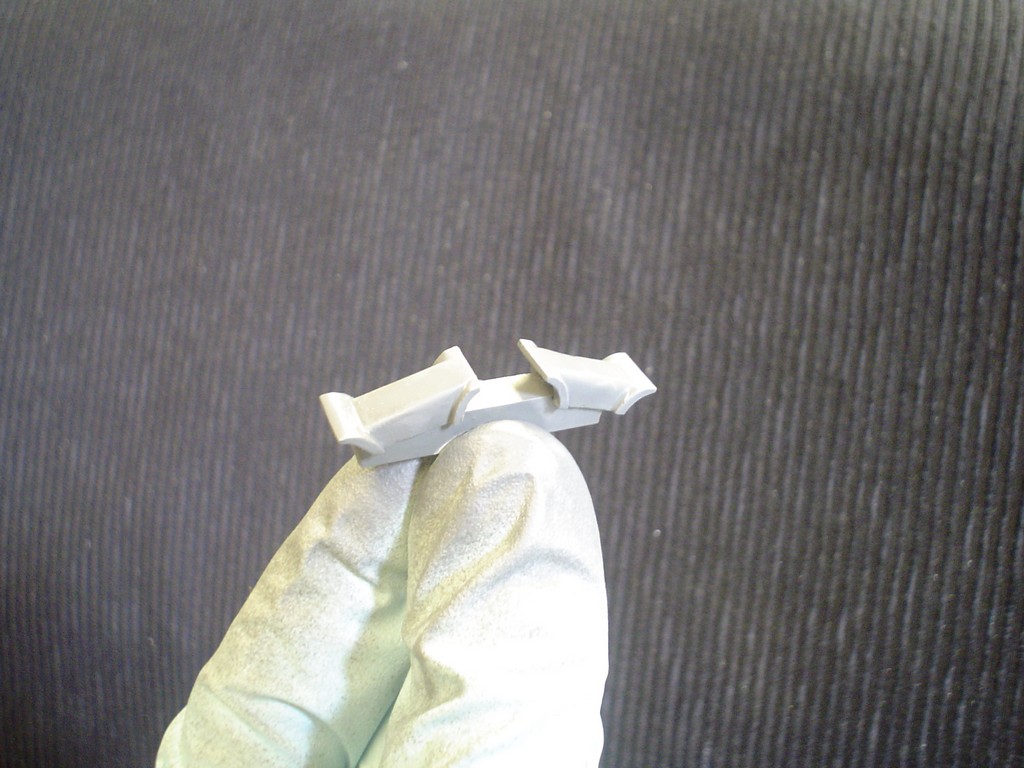 not easy to file these like this by hand 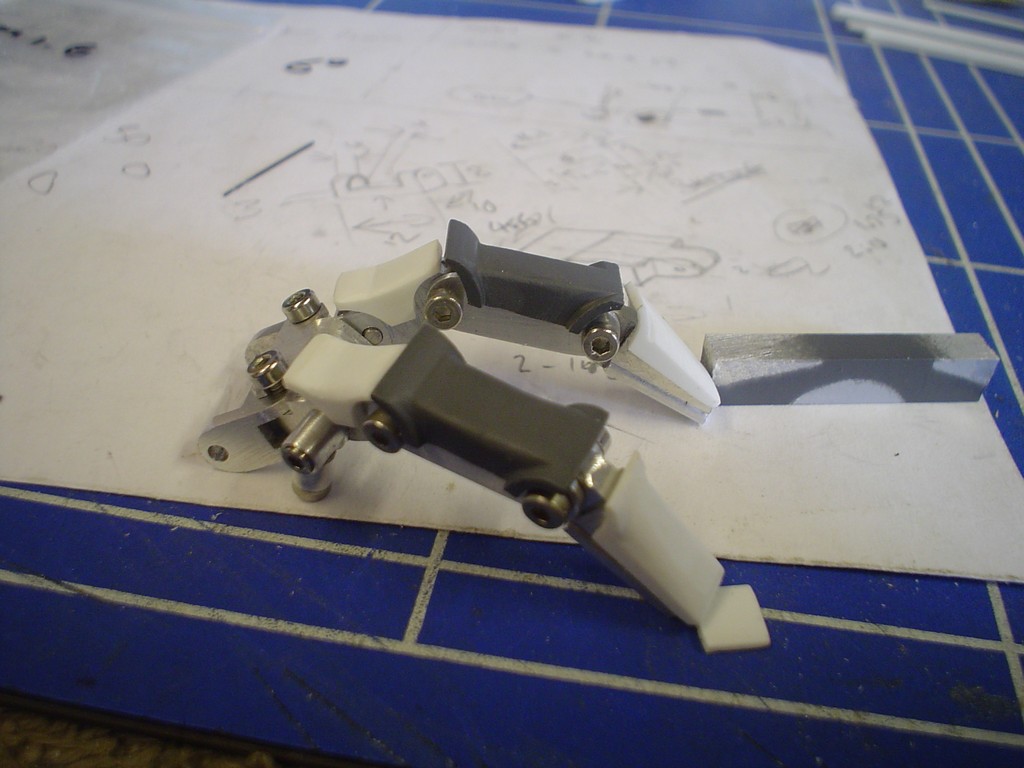 now this looks good!   very proud of myself here 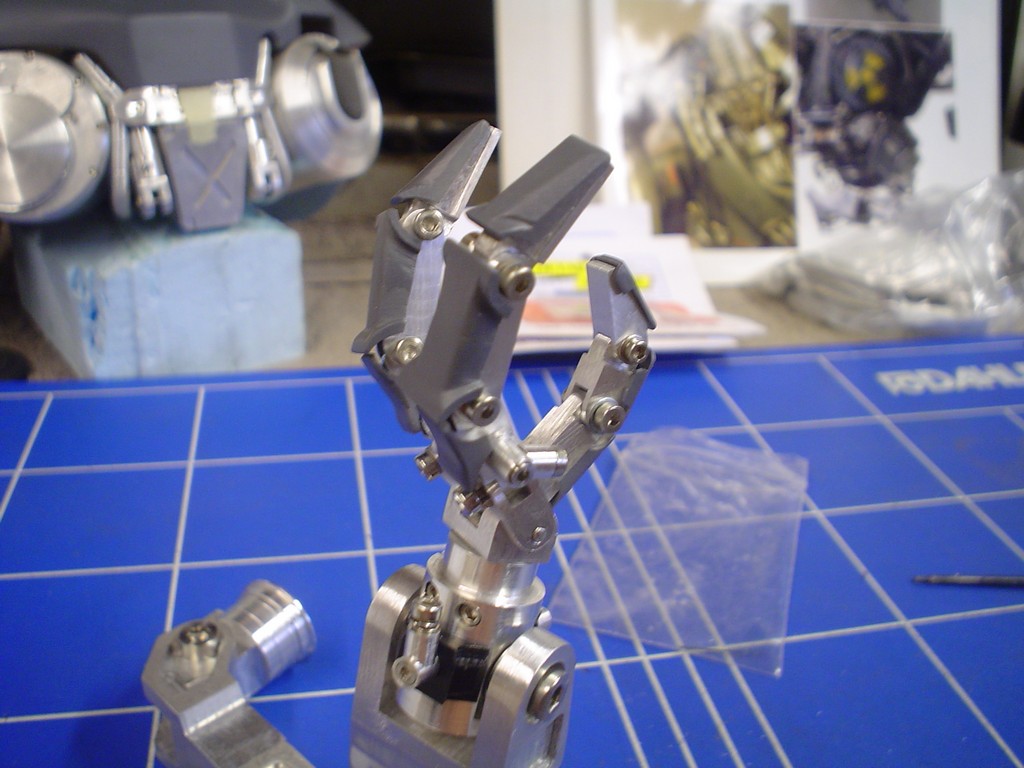 |
|
|
|
Post by droutmaster on Jul 2, 2010 22:39:57 GMT -5
rise of the machines i tell you
|
|