|
|
Post by magengar on Jul 3, 2010 15:41:09 GMT -5
I can see your pride all the way from Here where I am. That hand detail sure looks Killer! Have you built any other customs like this one, with such detailed work? You oughtta open up a live gallery to display your work. It's also Magazine-worthy, too. Also, the movie industry would Luv to hire you as their model maker. Also-also, RJ should do a feature article about you doing this project.  zozo-magengar |
|
|
|
Post by candyman on Jul 4, 2010 17:07:21 GMT -5
Thanks mate, appreciate it. I havnt made anything like this before, just the 4 guns and some radio controlled car stuff.............. just realised I didnt properly introduce myself! sorry! I started making radio controlled car chassis, monster trucks, about 6 years ago, in my early 20's, this sort of thing:  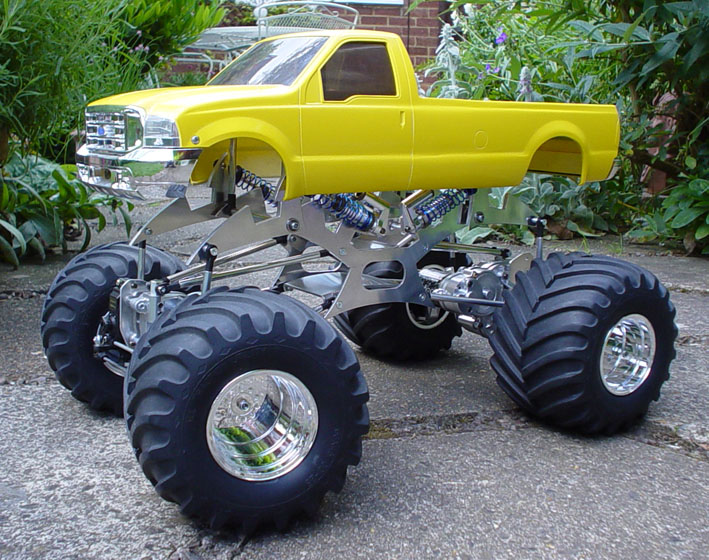 all that stuff is here: www.ukmonsters.co.uk im still big into rc stuff, recently made this chassis:  anyway back then I didnt have a milling machine or a lathe or anything really, other than a pilar drill. All the chassis sides, flames and so on I cut by hand, as in hacksaw and files:  Then a couple of years later I decided I wanted to make an airsoft gun, not big into it but I saw the WA2000 and wanted it, didnt want to buy one so I made it! 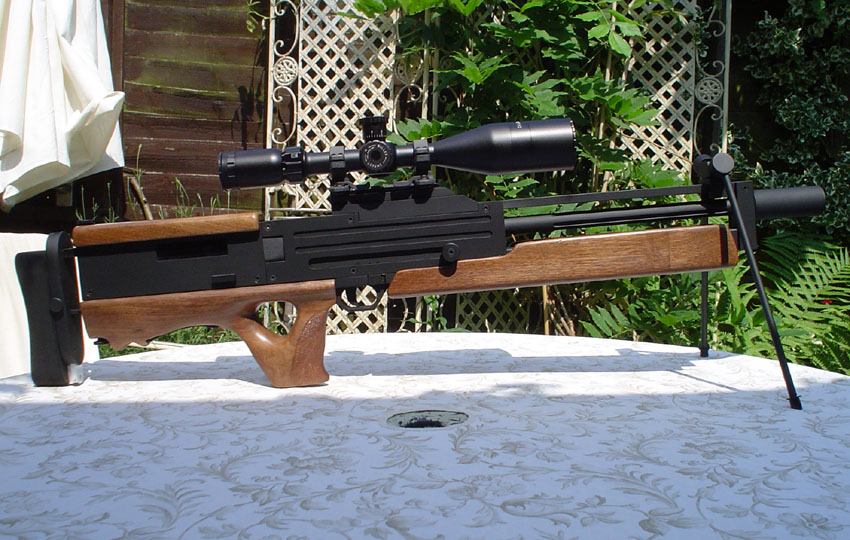 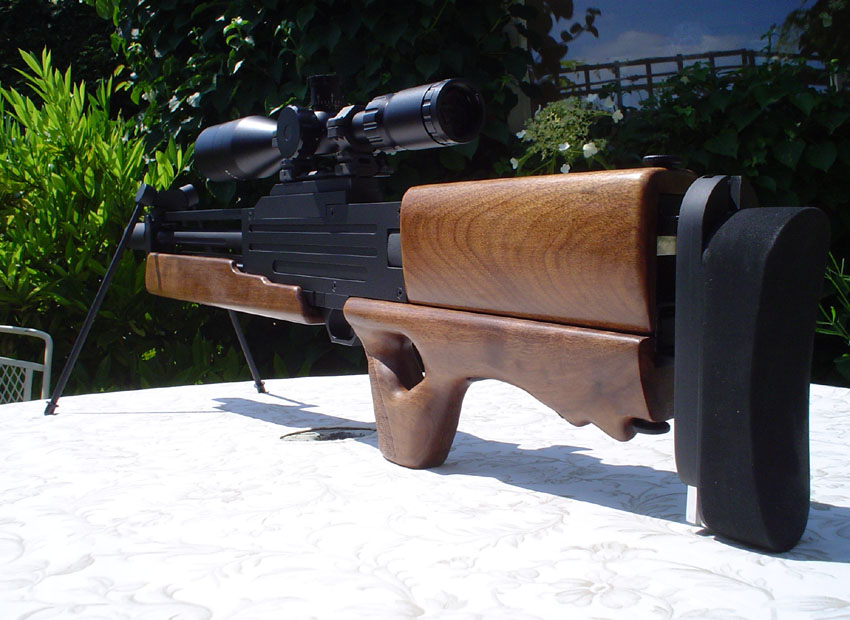 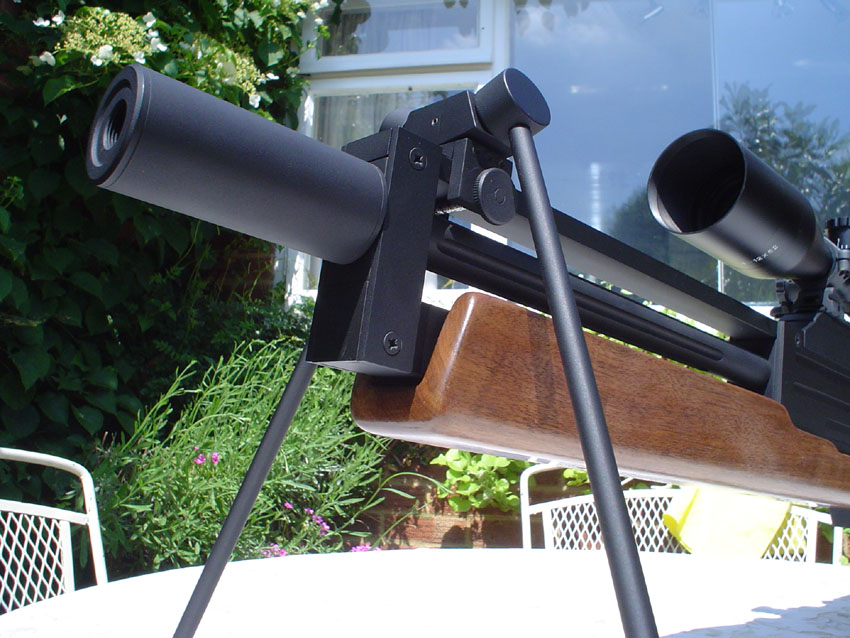 This was again with NO mill or lathe, just a pilar drill, hacksaw files, dremel, etc. It taught me a lot about not cutting corners, no matter what. If I made each part 100% as good as it could be then the sum of those parts would be truly awesome. this is the build of that: www.ukmonsters.co.uk/oldmadwebspace/WA2000%20Build%20pics/wa2000.htmAfter that I took a break then decided to make another, for this I bought the Milling machine and learnt how to use it, the result was this: 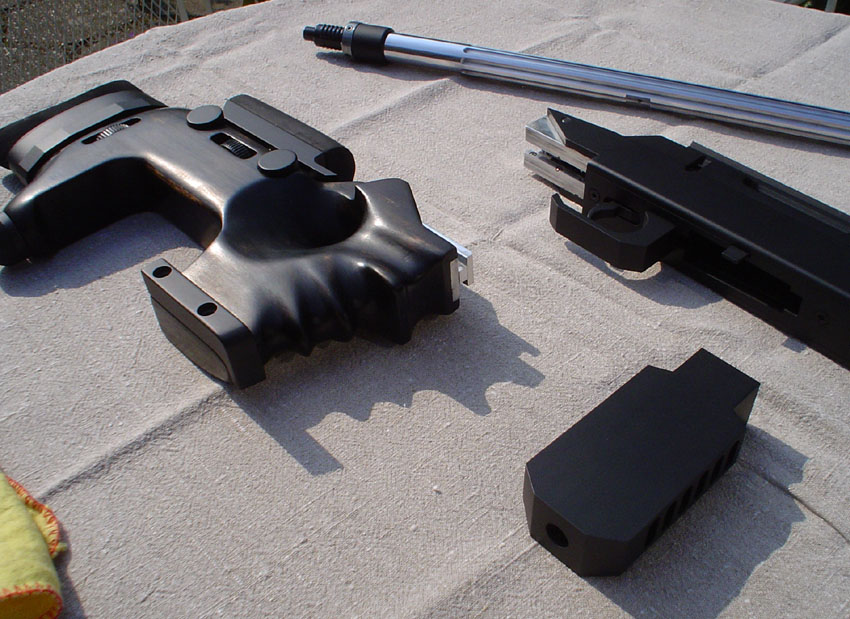 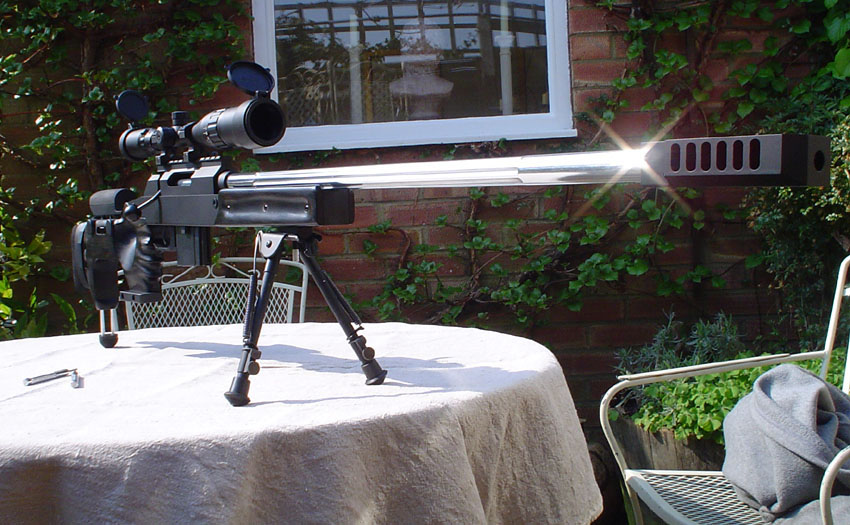 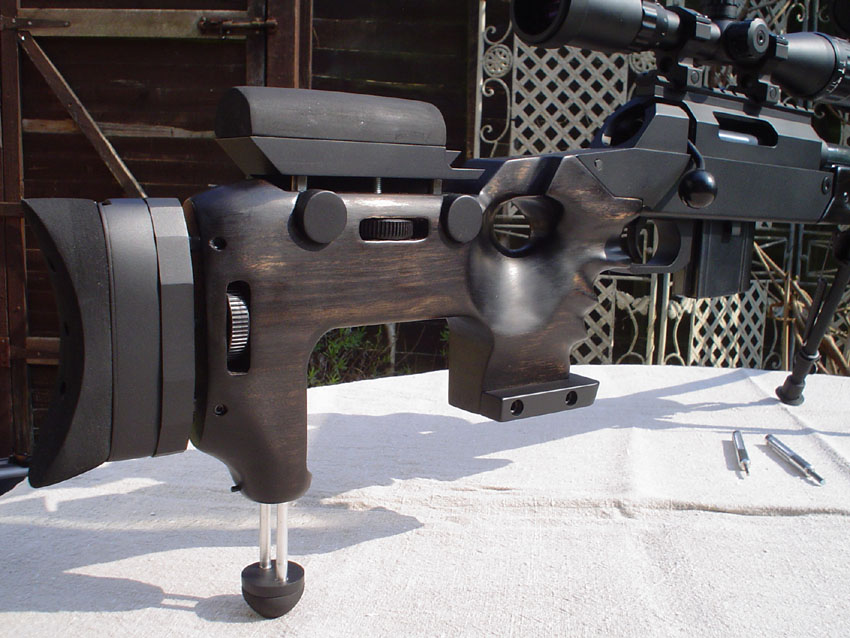 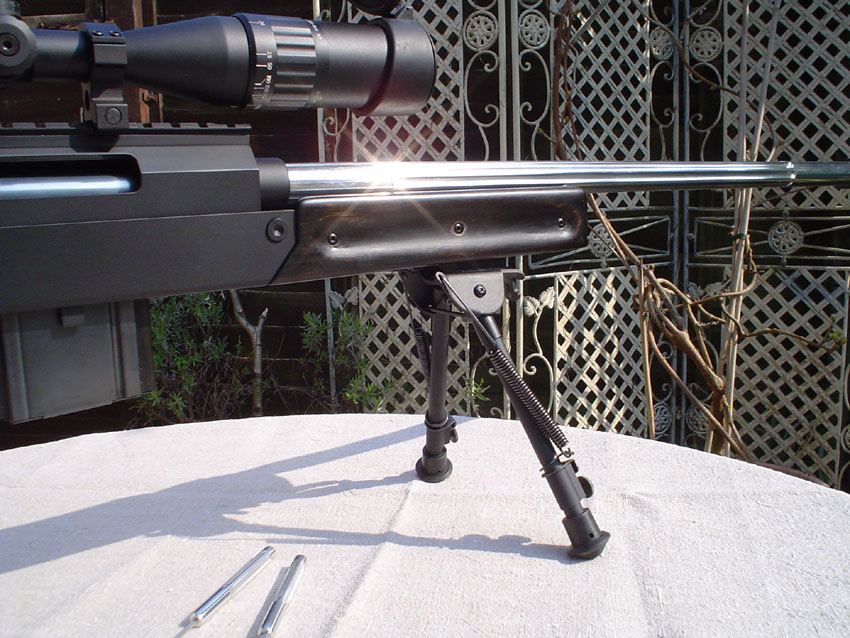 more of that here: www.ukmonsters.co.uk/Unique%20Alpine%20Build%20Pics/Candymans%20airsoft%20Unique%20Alpine%20TPG-1%20build.htmthen another break, 6 months or so and I made this: 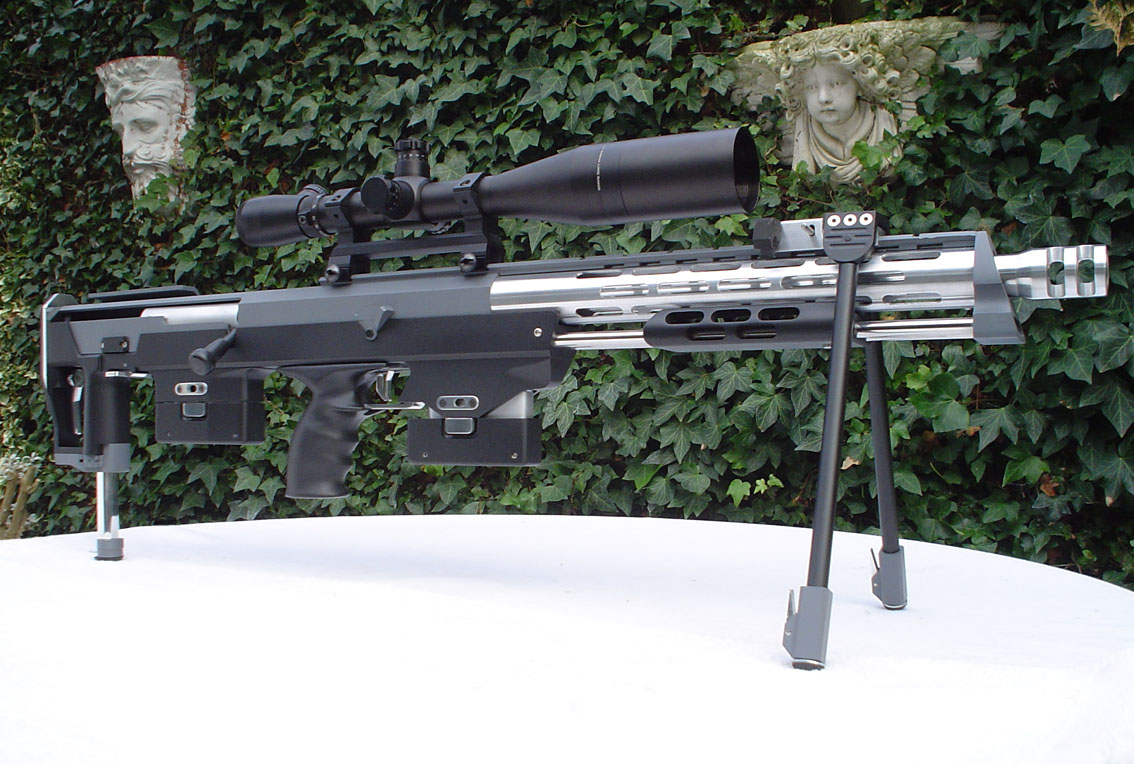 I am very proud of this one, it took a lot of work 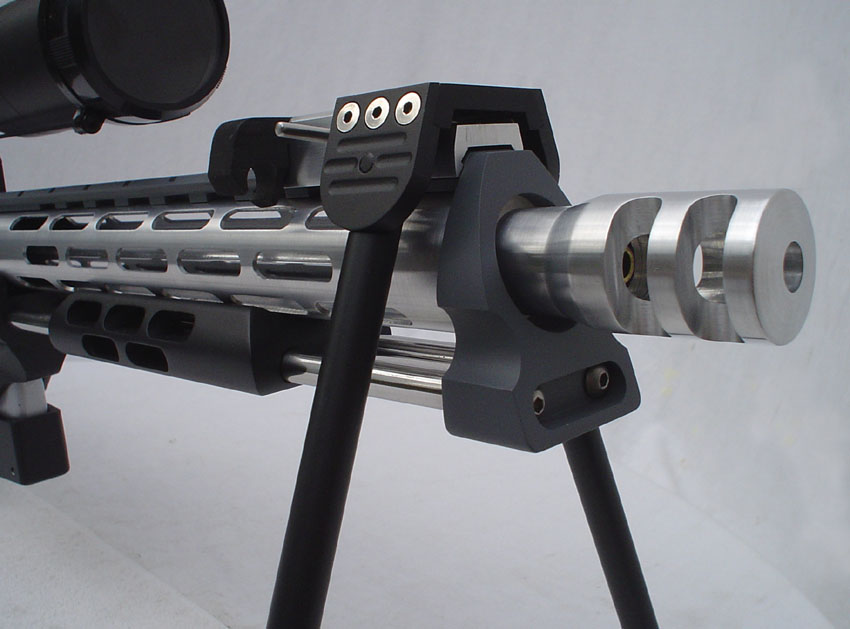 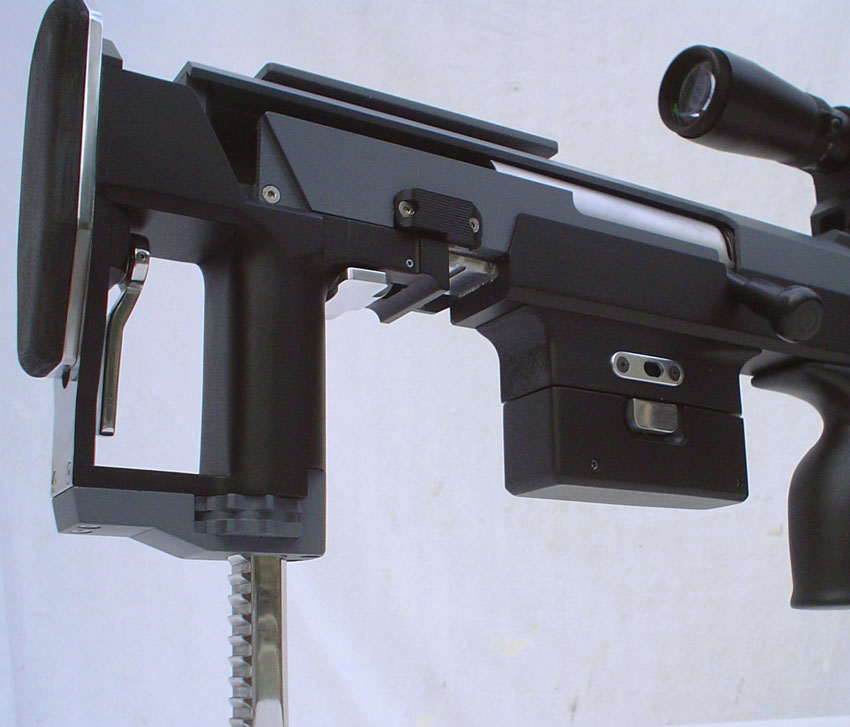 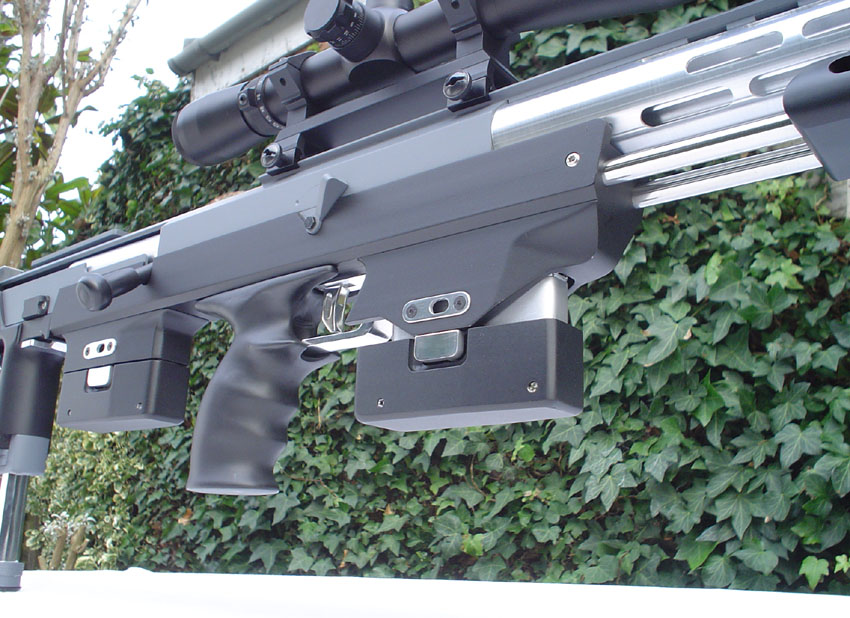 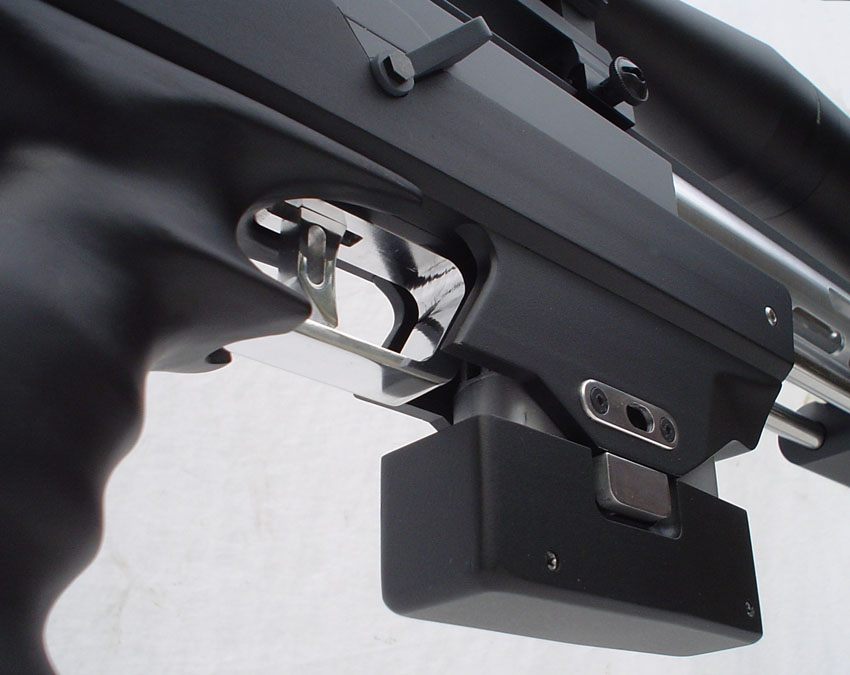 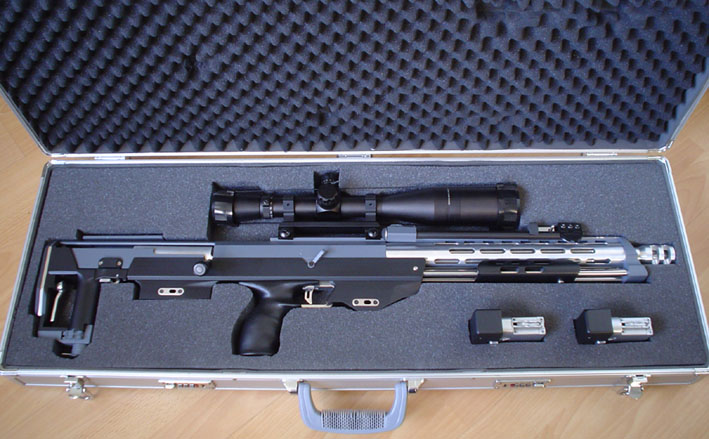  hope your all not bored yet! then a bit later I made this as a bit of fun 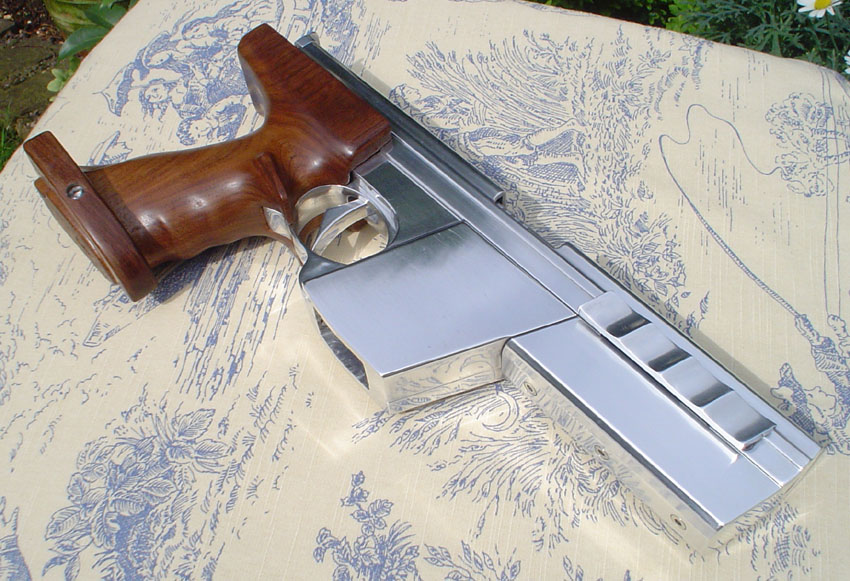 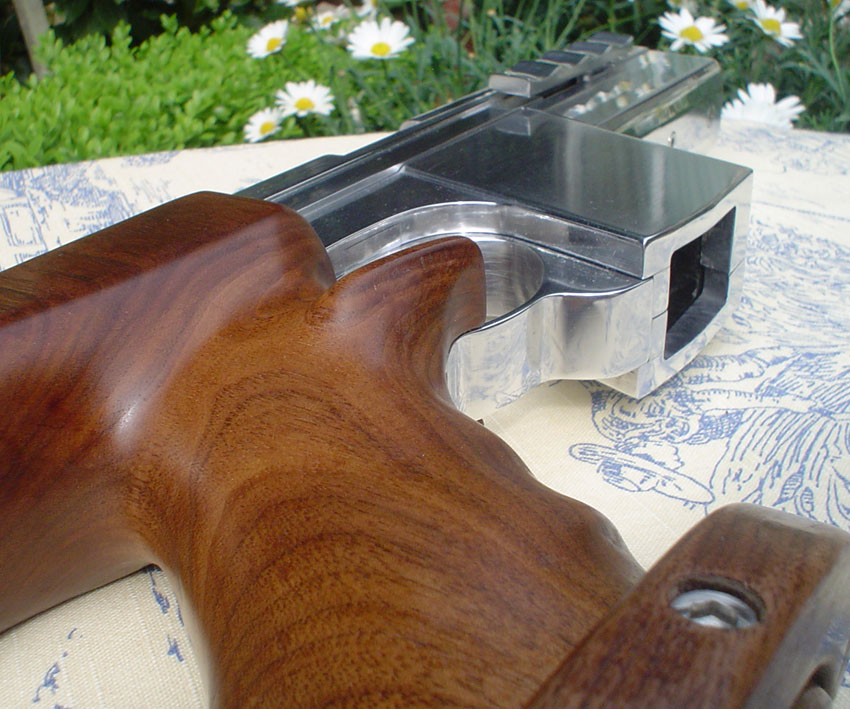 me working away! 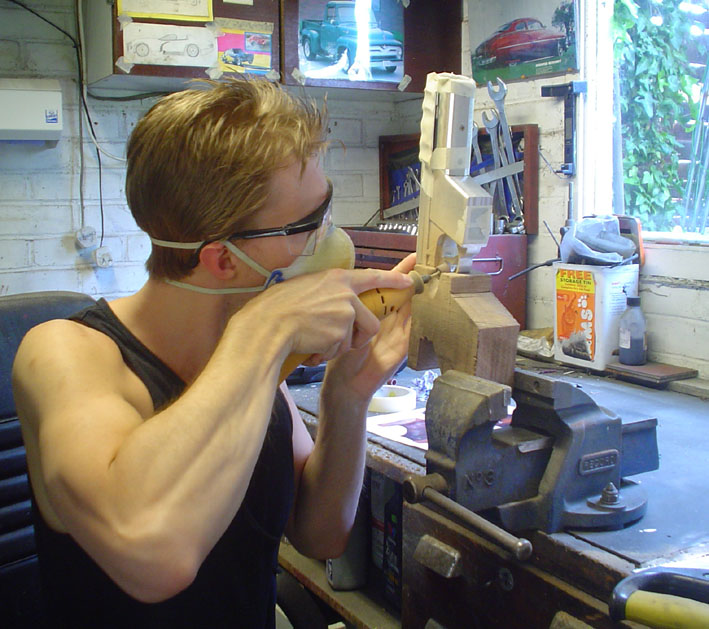 So thats it really. After the making the DSR-1 I had the confidence that I could do anything, I have limits but I feel that way. The support from the airsoft forums have been excellent through out my builds and some fans of my work have migrated across to follow this Robocain build and again give me the support I need. So there you go, if you have any questions please ask and do please have a look through all the pics on my site, I go about all my builds in the same way and take a pic every hour or so  |
|
|
|
Post by candyman on Jul 4, 2010 17:11:49 GMT -5
Finishing the arm off now, elbow covers   installed with the pipes under it 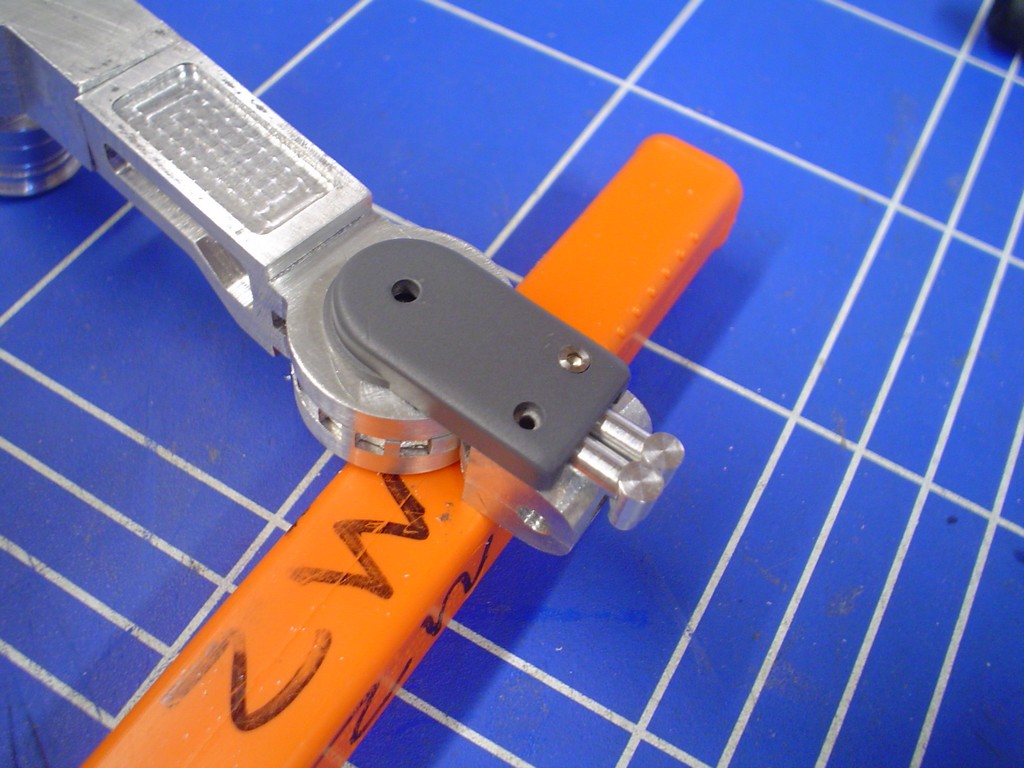 other cover was a bit more complicated 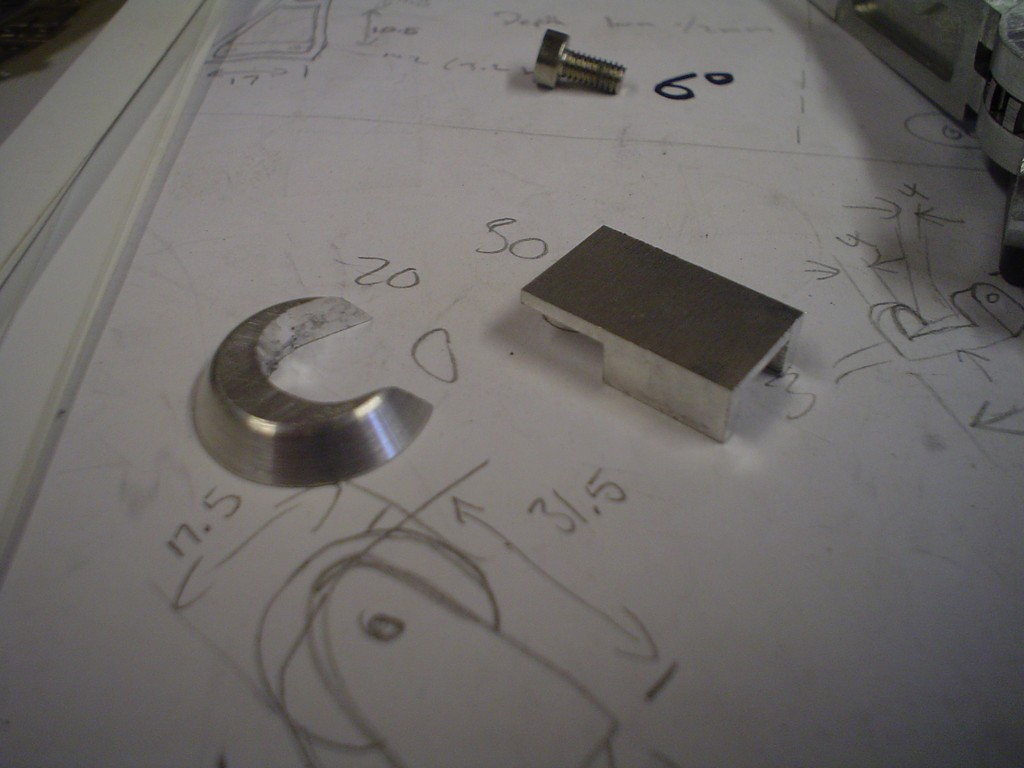 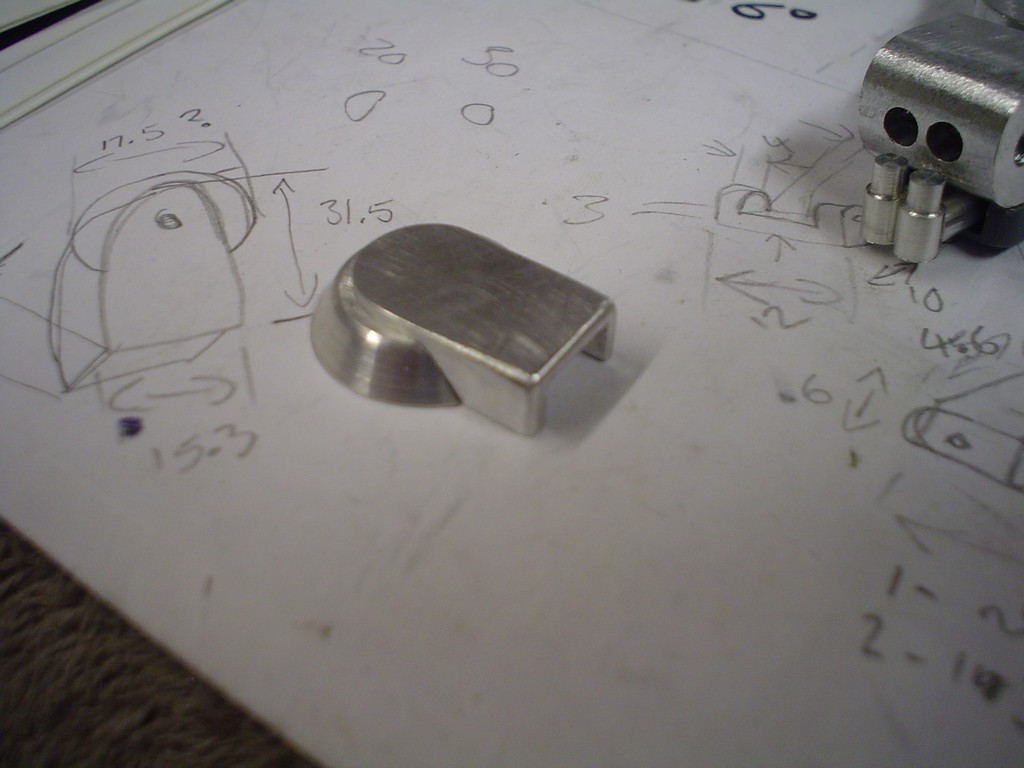 Now onto the big shoulder cover. Very hard to get the size right for this, had to look at a lot of pictures. It stands away from the shoulder so its hard to measure in the pics. After about 40 minutes of drawing pictures and measuring I start with a block of delrin 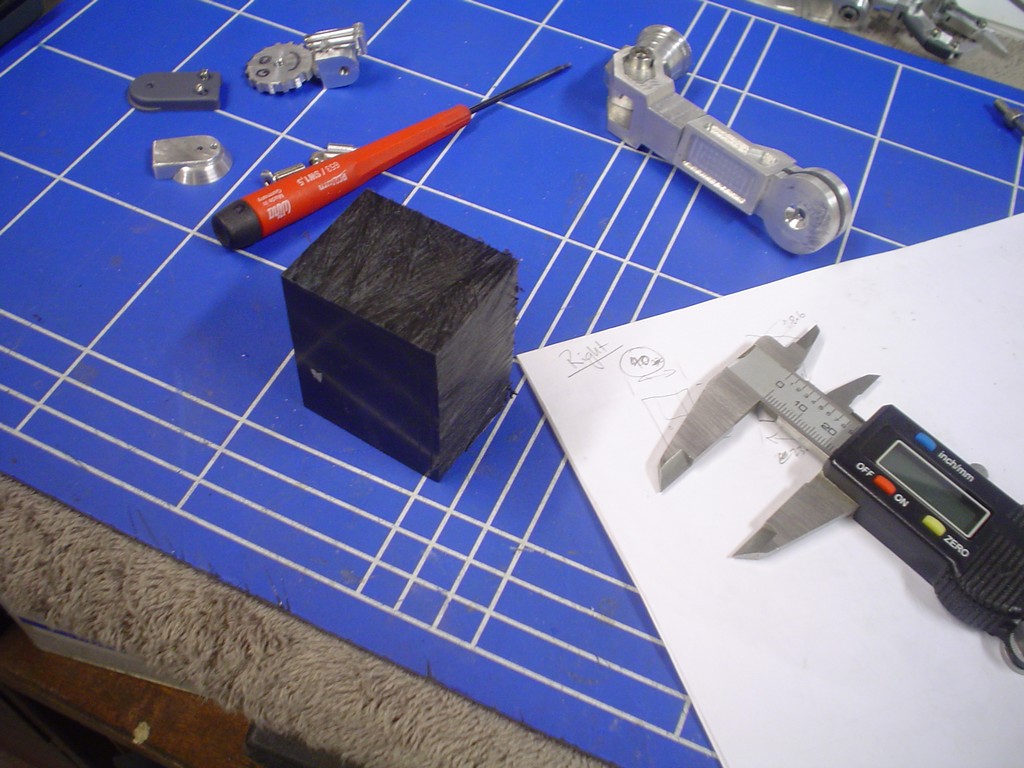 work out the angles  I rough cut the curve out then used a rough sandpaper on a tube to file the curve smooth 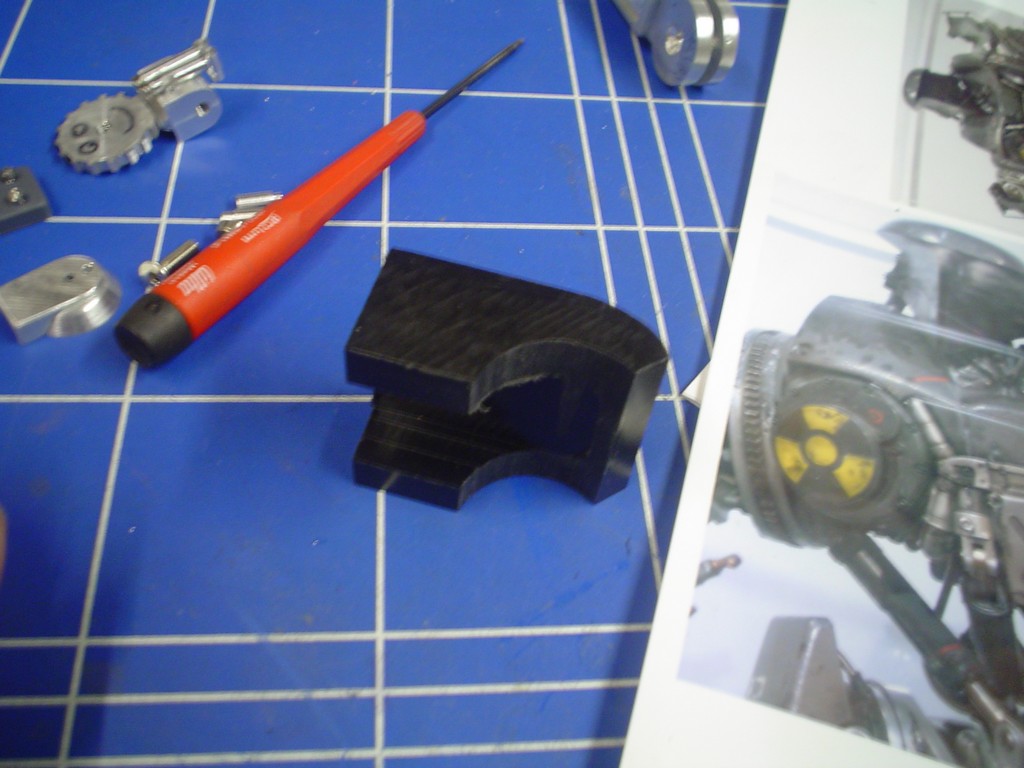 hollowed the inside out and test fit 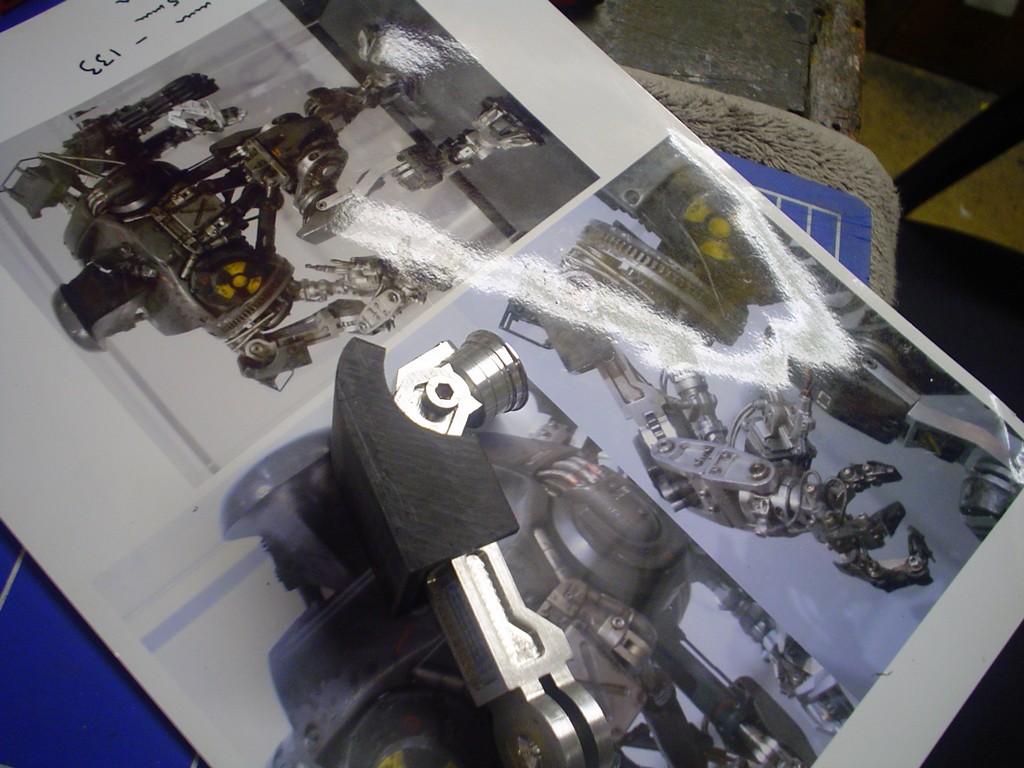 the little box that sticks out, again hard to imagine the shape to cut out as it sits on the curve 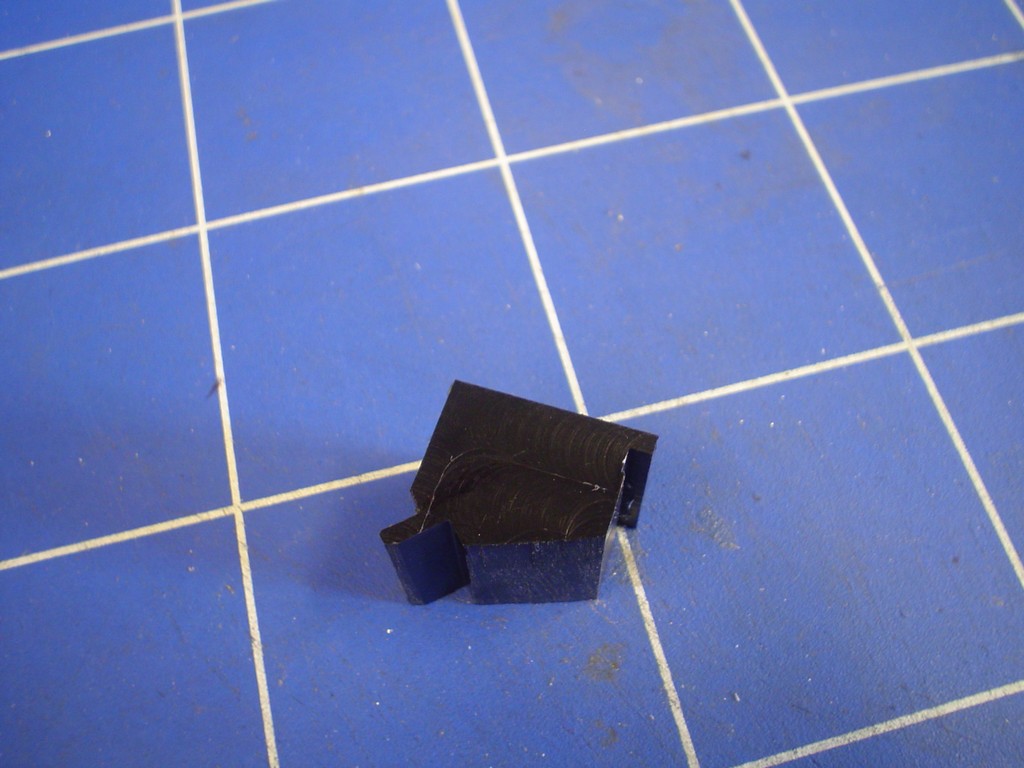 looking pretty good 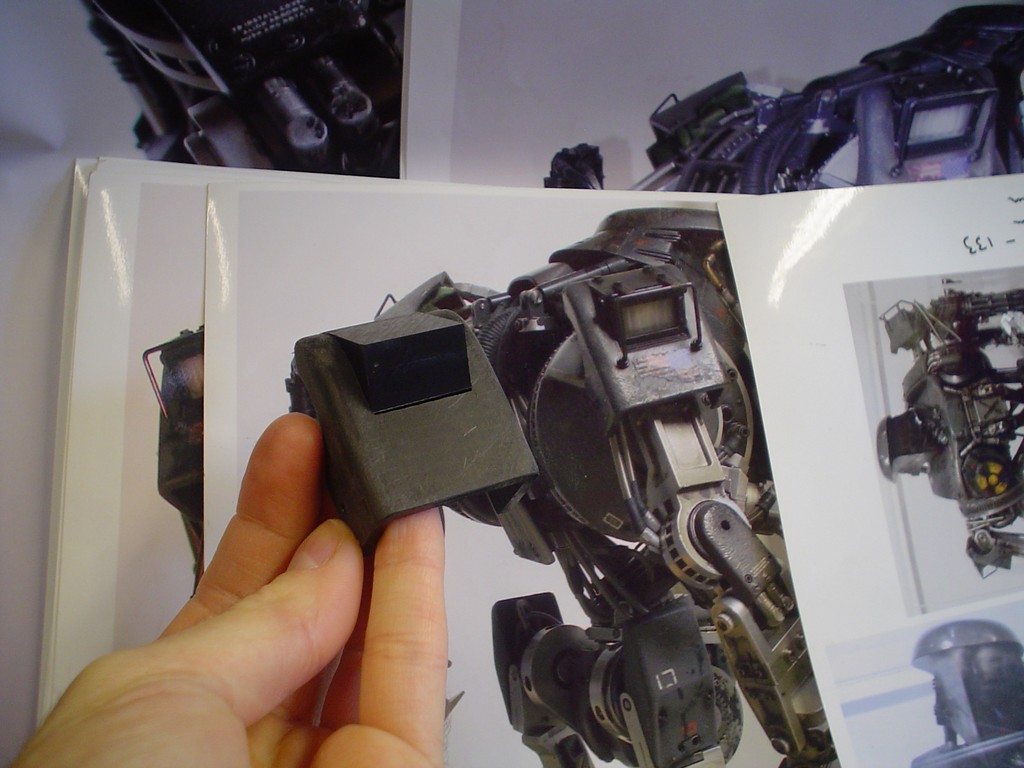 got these tiny hex head screws through, perfect for this sort of thing, I had to drill a 1mm hole in the top so the wire can sit in it 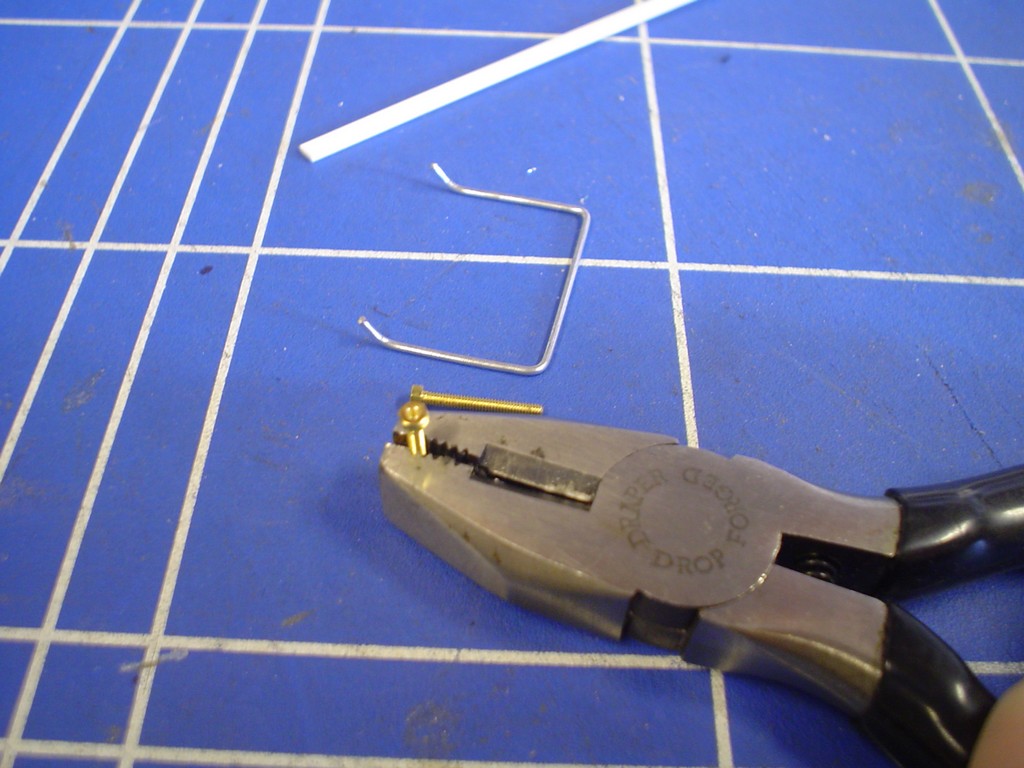 this was very fiddly, felt like making a house of cards 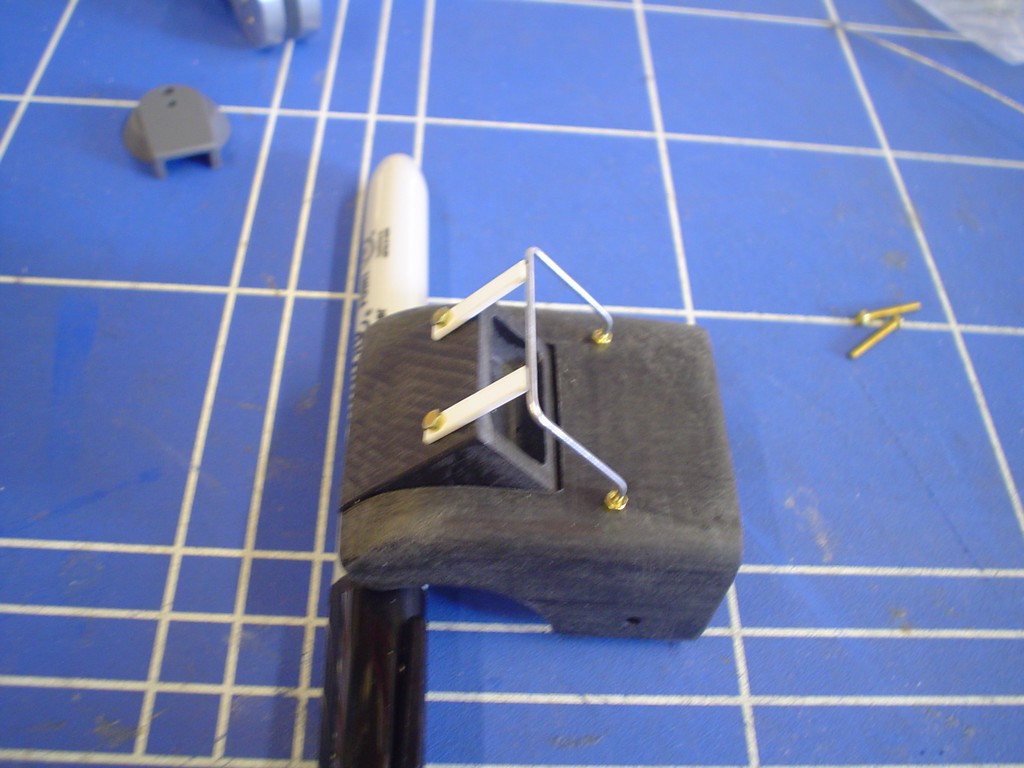 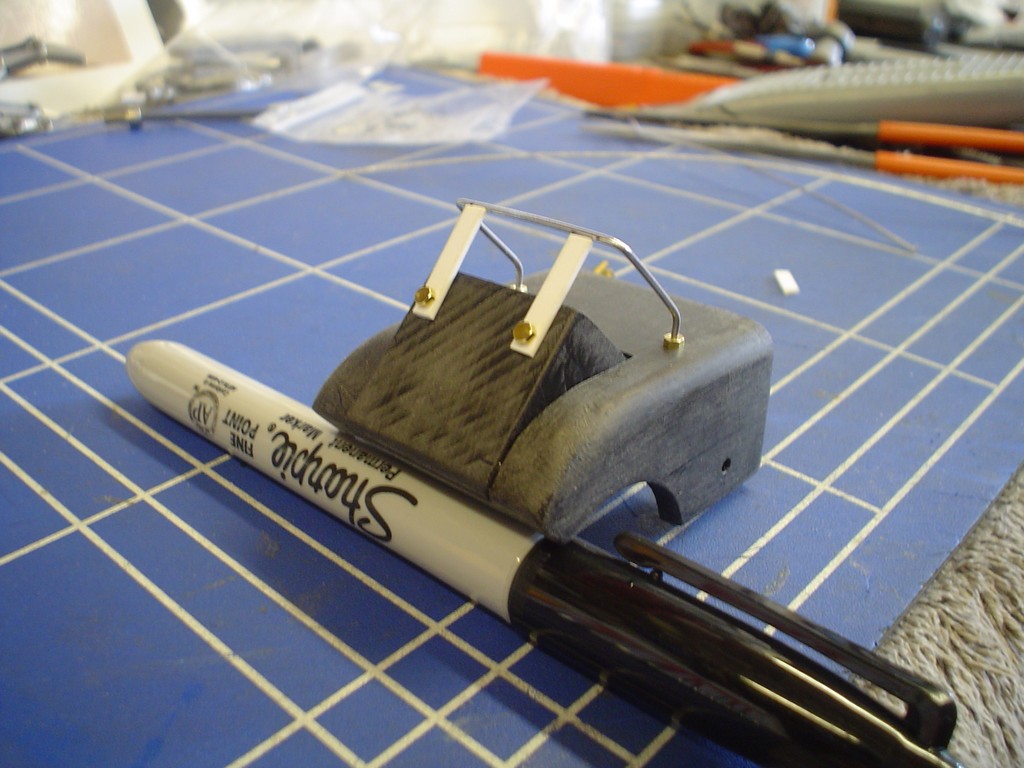 all attached and sprayed grey so its easier to see the shape. 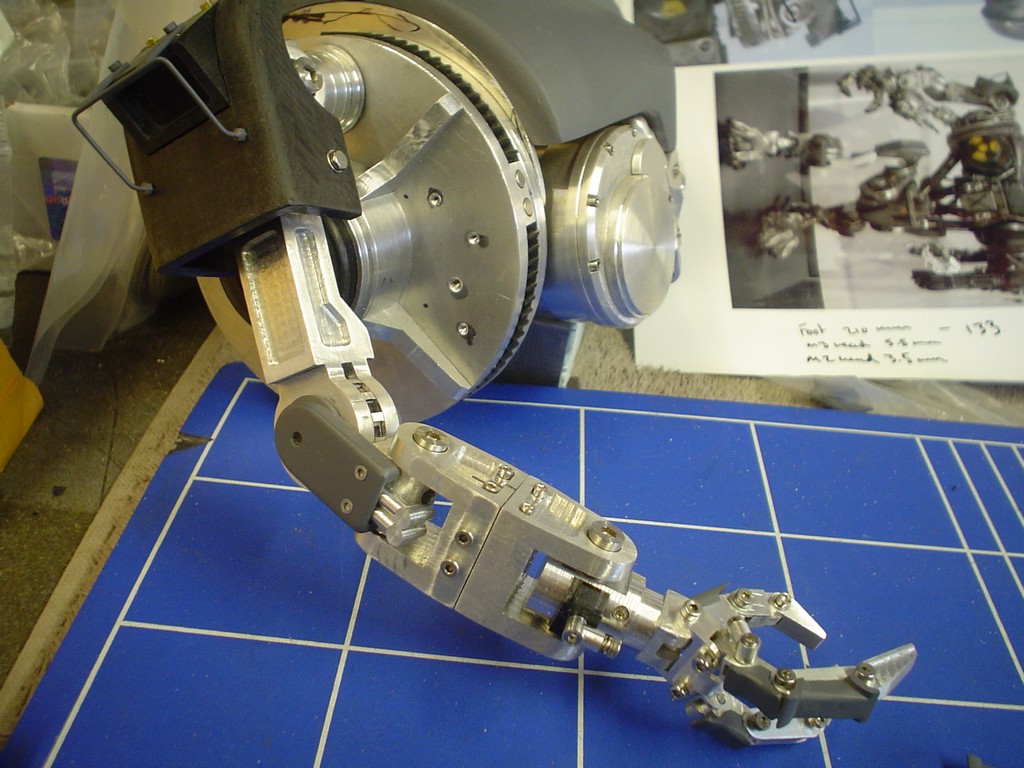 |
|
|
|
Post by magengar on Jul 6, 2010 10:29:57 GMT -5
 I can't wait to see them links you posted. Right now I'm busy moving to my new apt. Sometime next week I'll be online from home and I'll check them out.  zozo-Magengar
|
|
|
|
Post by candyman on Jul 9, 2010 7:56:59 GMT -5
yet more work on the fingers. These little rivets have a 1mm head and a 0.5mm stalk. I bought a tiny variable speed drill for the job, using a 0.5mm drill bit. 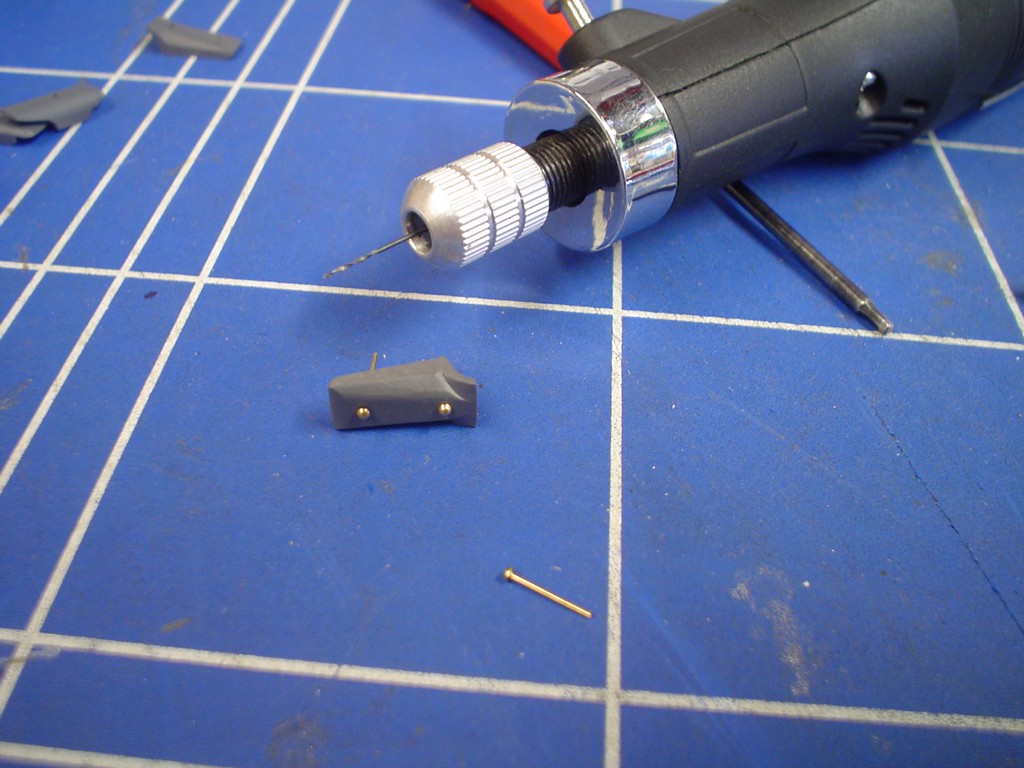 and then painted over, done this on all the finger guards 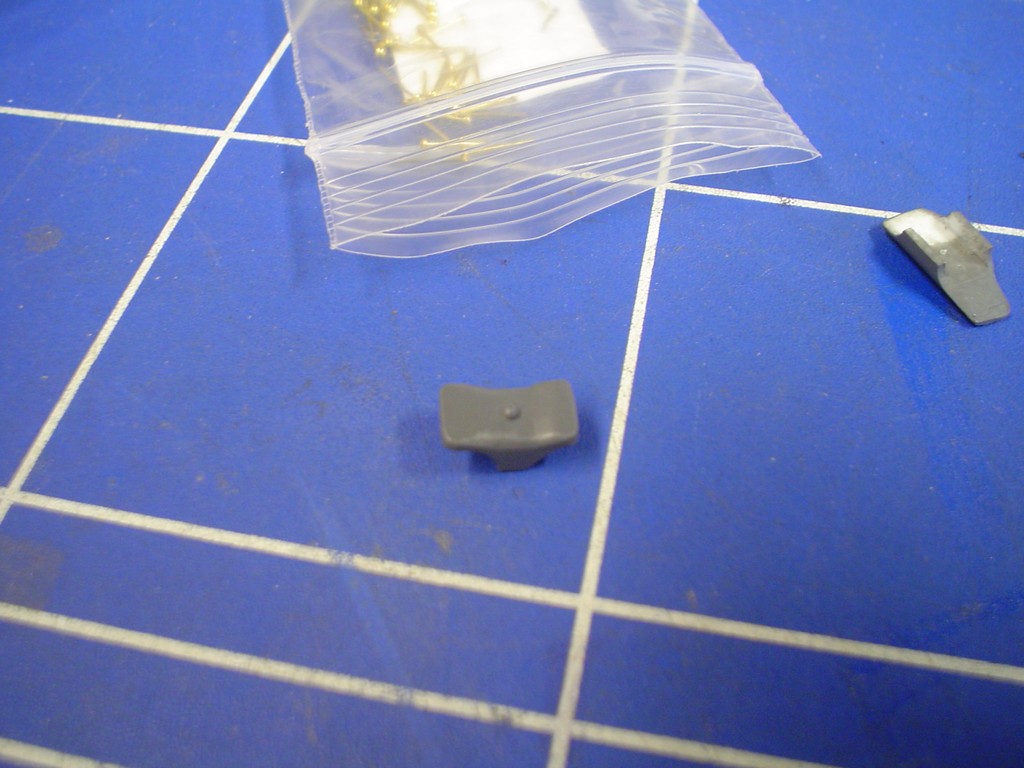 something I had forgotten to do. Another lump of delrin. 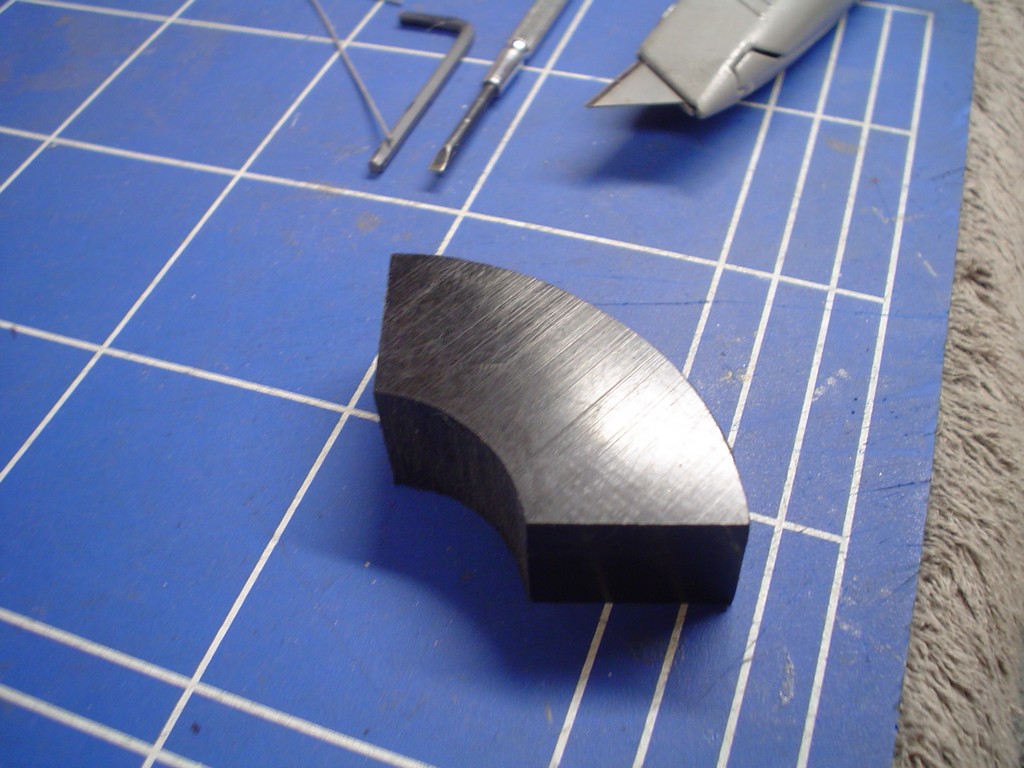 fits in that quarter  had to file it by hand, not easy. Took me a while to work out what this reminded me off, then I got it! the apollo capsule! just imagine it with a parachute out the top splashing down in the Atlantic.  put the hardware on the other side, some meaty 5mm hydraulic fittings 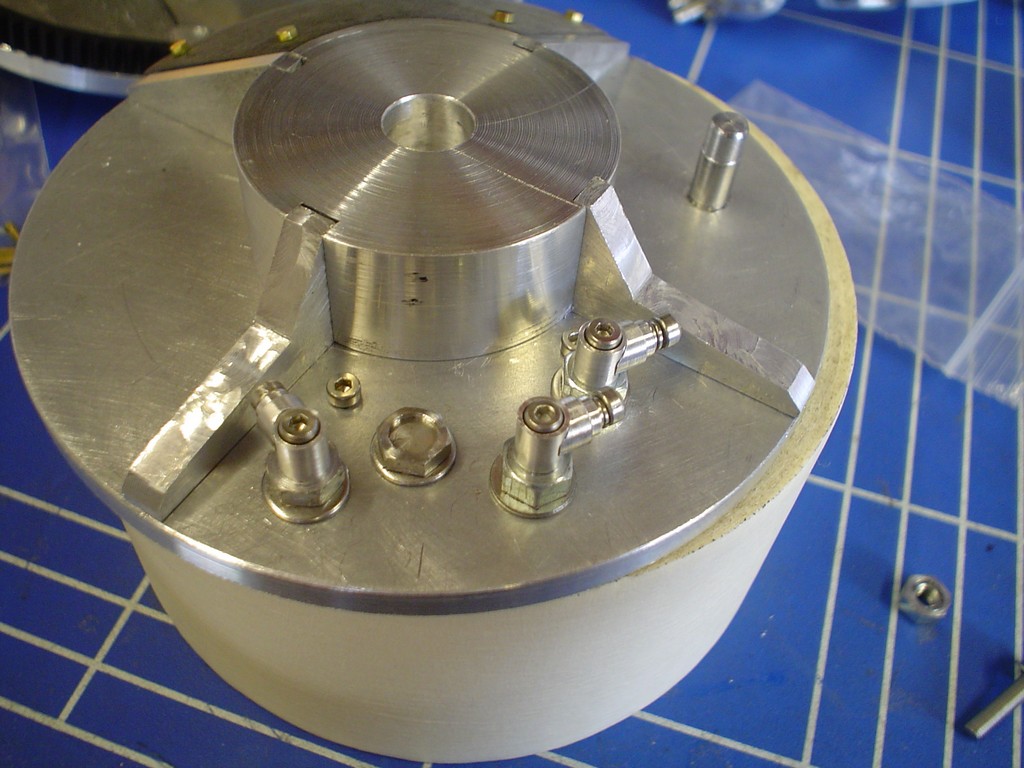 added the tiny hex heads to the nuke bin 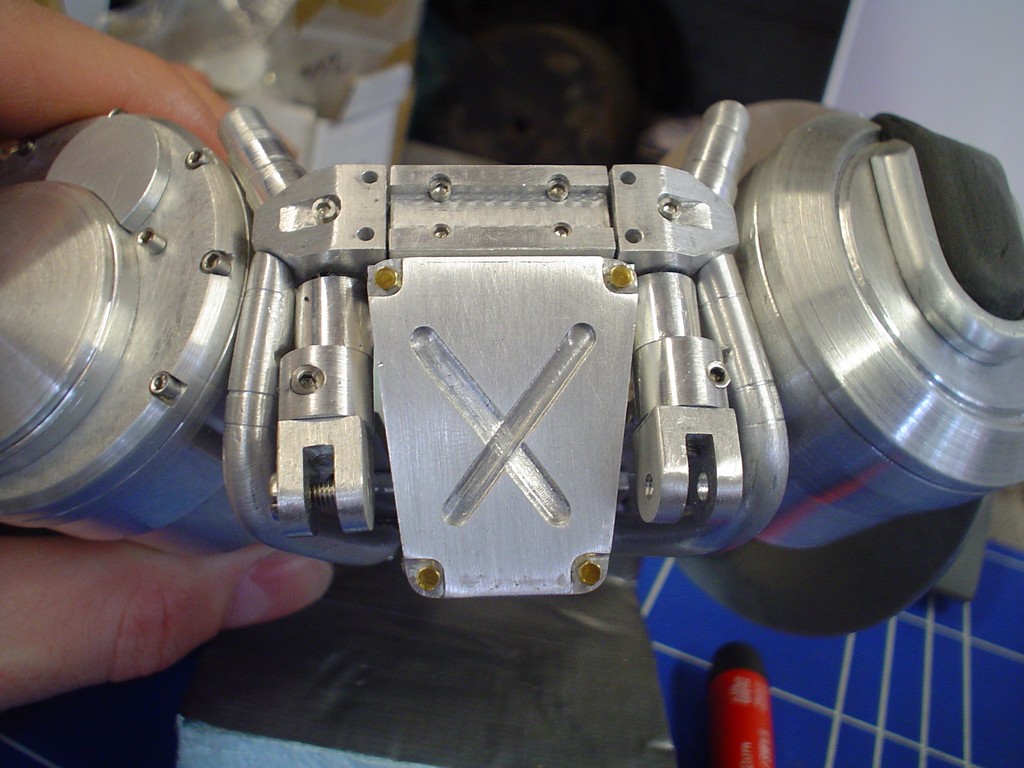 ...and made a start ont he fittings on the other shoulder disc 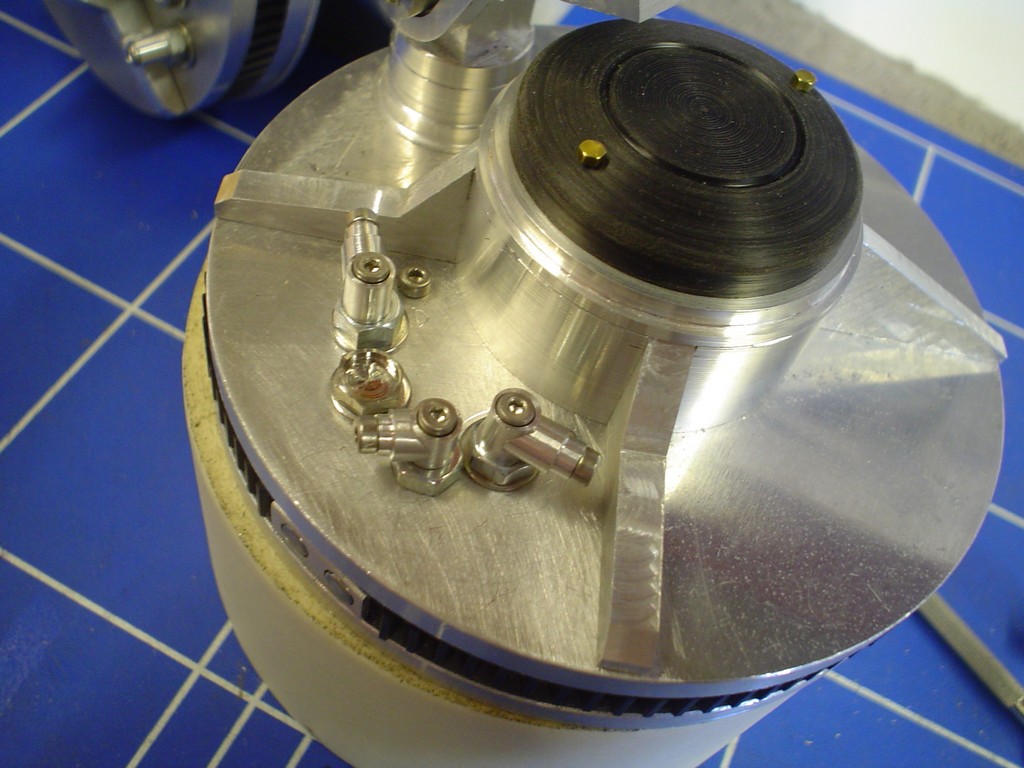 |
|
|
|
Post by thedarkknight77 on Jul 10, 2010 10:29:07 GMT -5
This is truly one of the most amazing things I have ever seen on any board. Simply Amazing Candyman!!!!!!!!! Thanks so much for sharing your work with us. I cannot wait to see this piece finished. I would love to know how many hours you have into this work.
|
|
|
|
Post by darksenshi on Jul 10, 2010 12:05:32 GMT -5
This is truly epic stuff man!  Keep it up! |
|
|
|
Post by candyman on Jul 11, 2010 17:15:13 GMT -5
|
|
|
|
Post by candyman on Jul 15, 2010 16:15:29 GMT -5
Got everything attached to this blck now, cut a slant on it too. 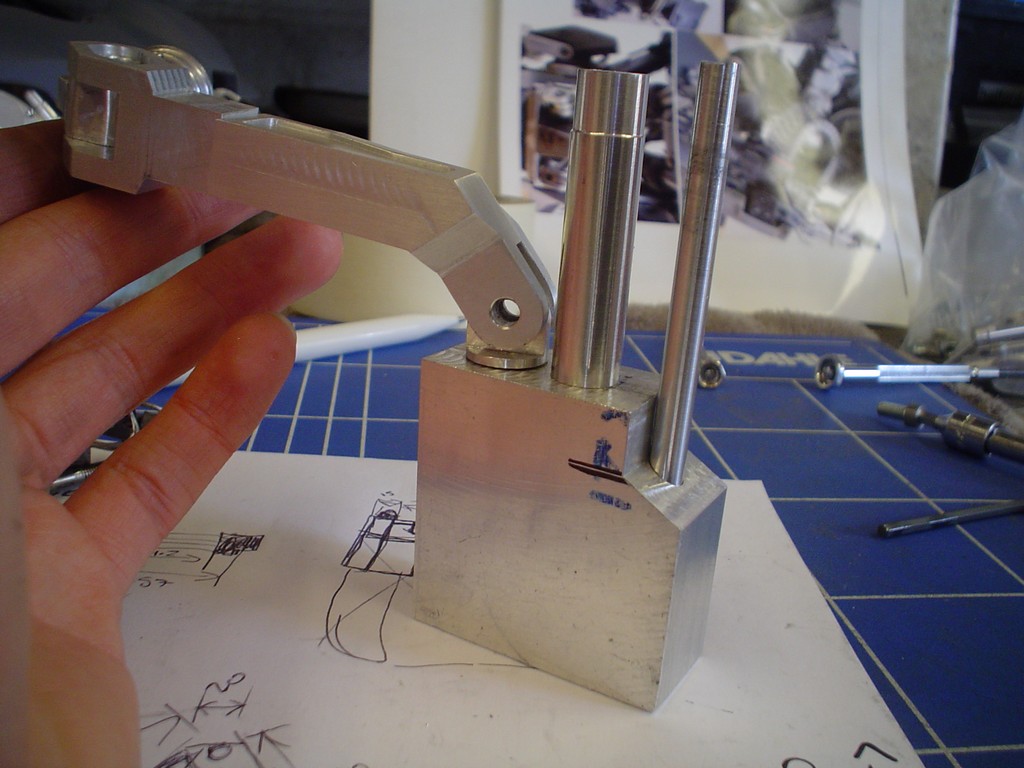 cut a piece for the end, curves, took a chunk out the thin end and put a slightly larger semi circle in. Held in place by my large hydraulic fitting. 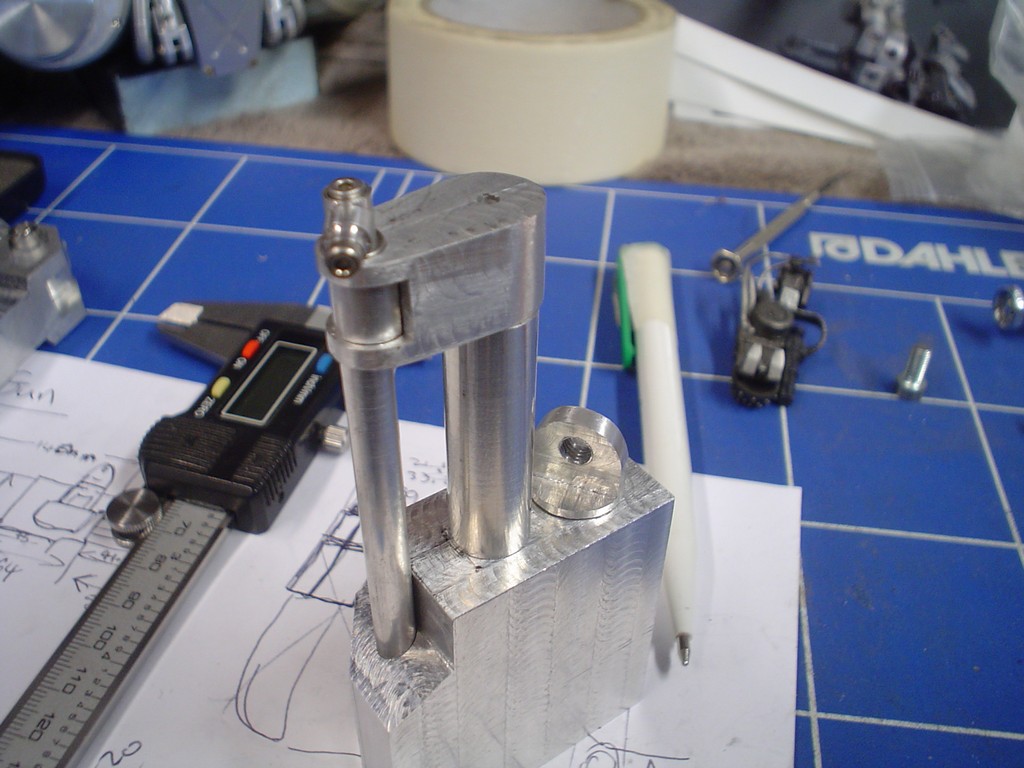 this too ages, lots of work here and very small, so much so my camera cant focus on it! the tiny brass hex heads are about 2mm across  crap picture but you get the idea 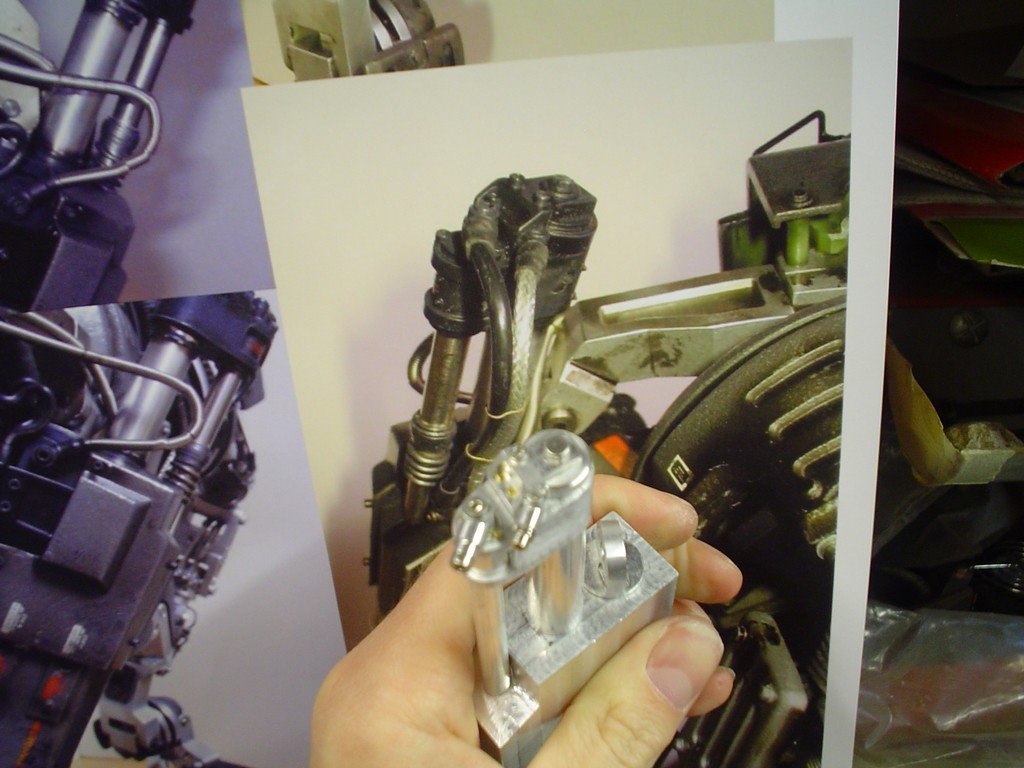 |
|
|
|
Post by bt1 on Jul 16, 2010 11:12:59 GMT -5
Candyman, your work is nothing short of amazing! I'm glad they made this a sticky.
I haven't posted much in this thread, but I look almost daily at your incredible work. As said by many others, your dedication and perserverance on this project is awe inspiring.
My hats off to you for keeping at it and keeping us updated with pics as often as you do. Thanks!
|
|
|
|
Post by droutmaster on Jul 16, 2010 19:43:48 GMT -5
the madness has started at last, soon we will all die by the hands of Robocain.
I BLAME YOU CANDYMAN!! XDlol
great work, can wait to see more on the left arm project now
|
|
|
|
Post by candyman on Jul 18, 2010 16:55:58 GMT -5
Thank you for your support, it is a lot of work but im in a routine now with taking pictures and uploading them every couple of days. Added the collars on the large rod, also a smaller collar and a spring thing. 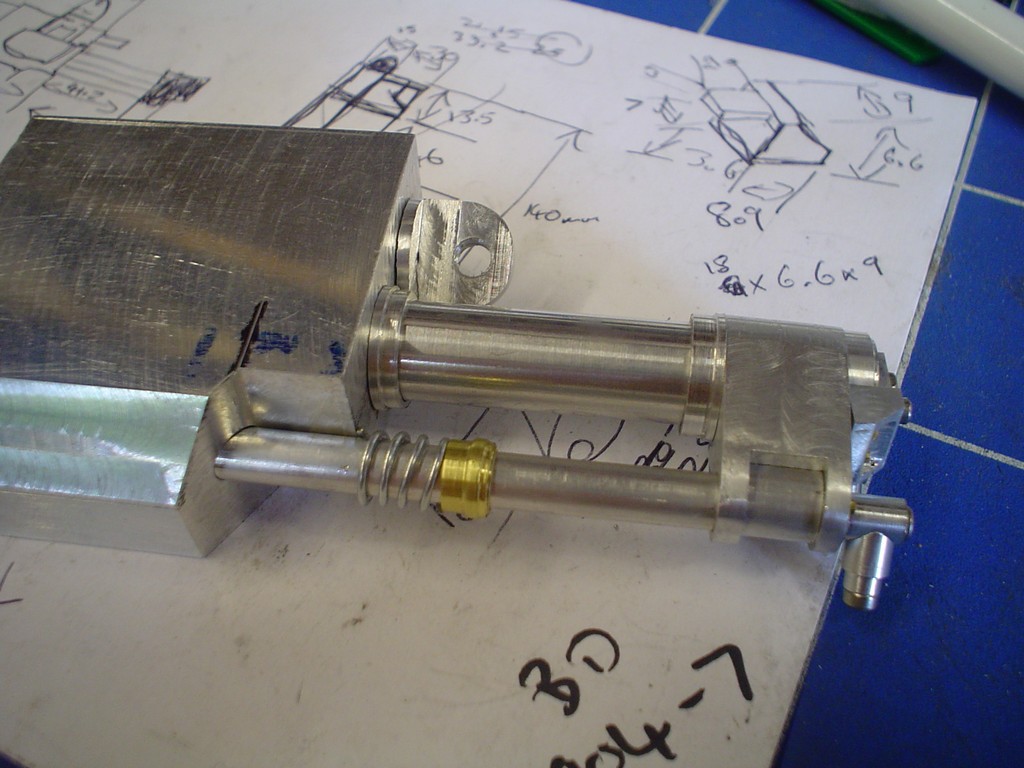 turned this on the lathe 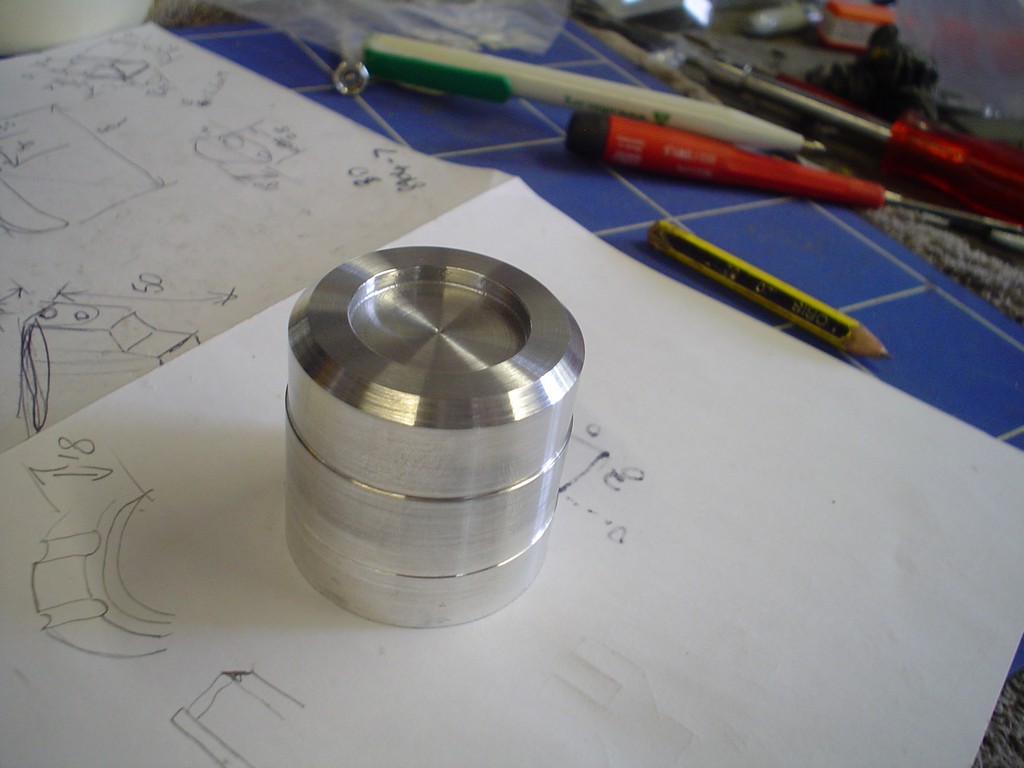 it sits on the back of the gun and is the drum of ammo. the basic shape was easy enough to turn then I had to mark out 8 segments and mill a half moon out of each section. 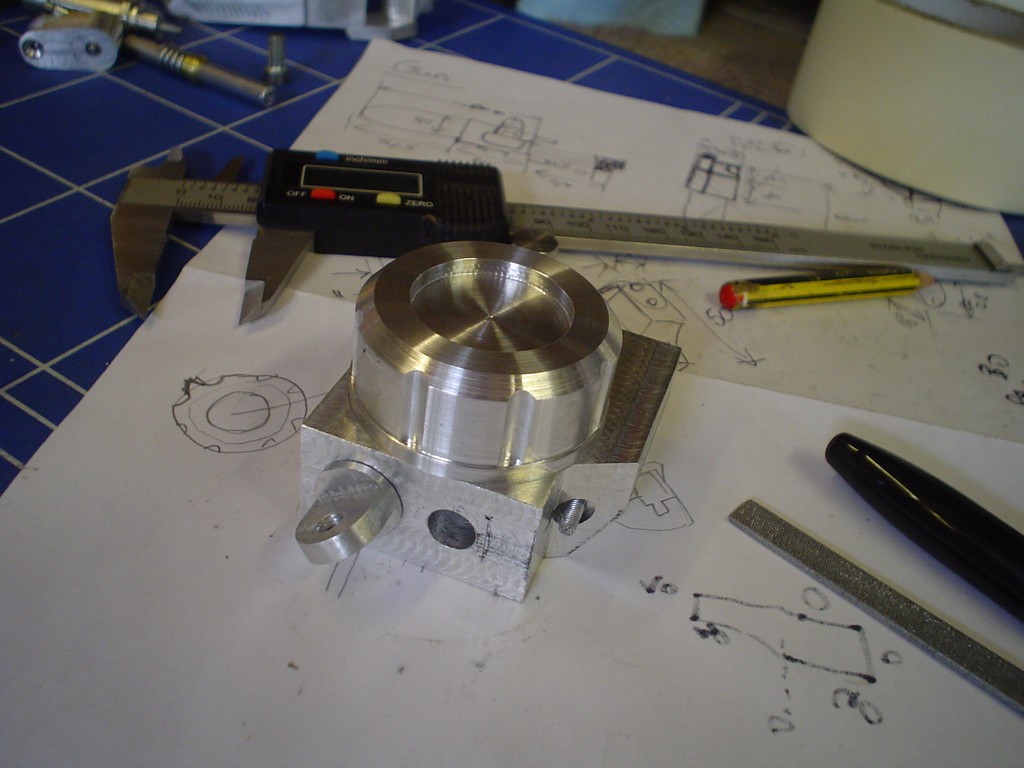 next bit, no idea what it is 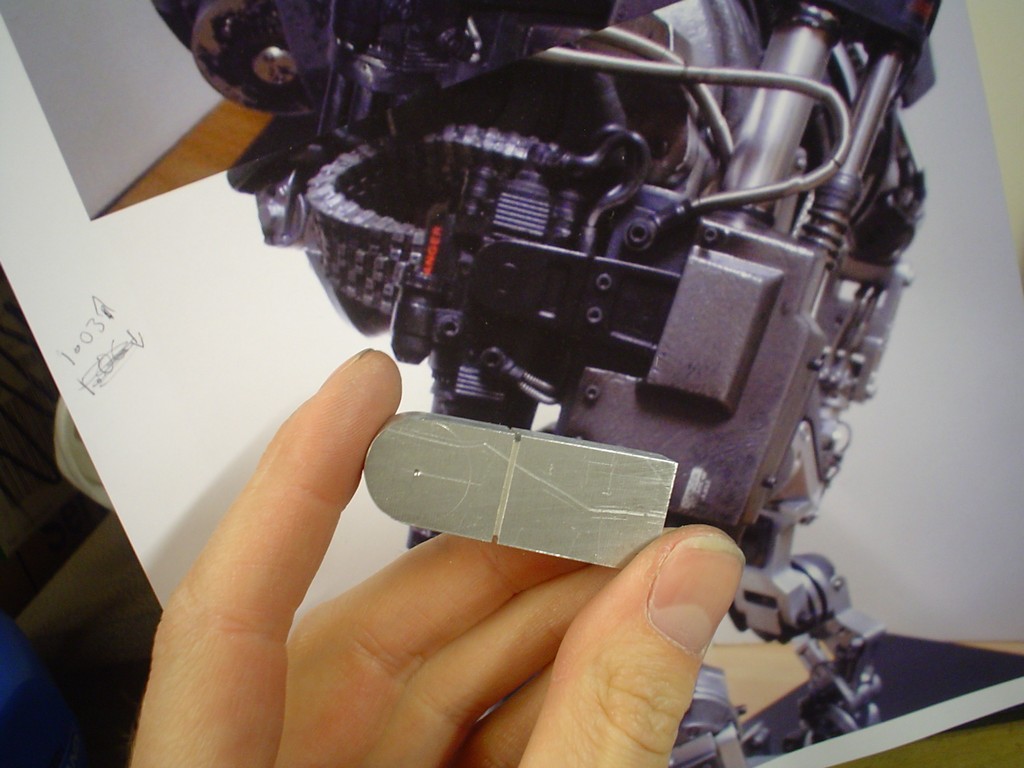 careful milling here, I will in time buff out all the machine marks 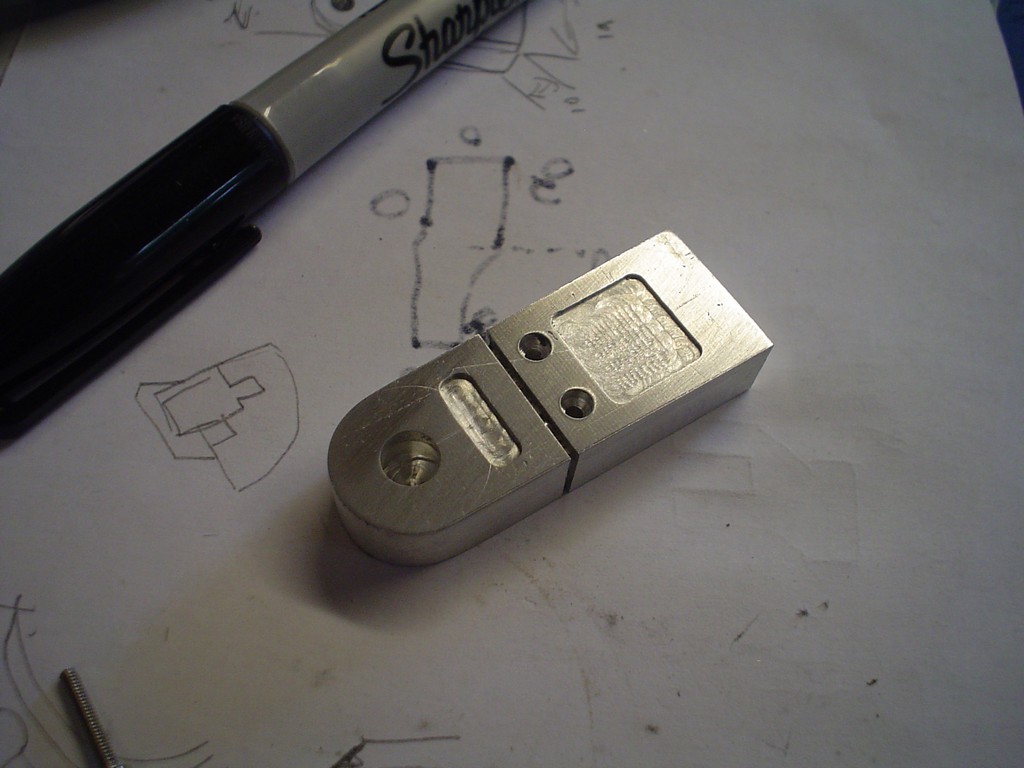 after some thinking and another awesome diagram (this one actually quite legible) I started on the fist that houses the big claw. Using delrin for this shape and using what I like to call "precision guesswork" 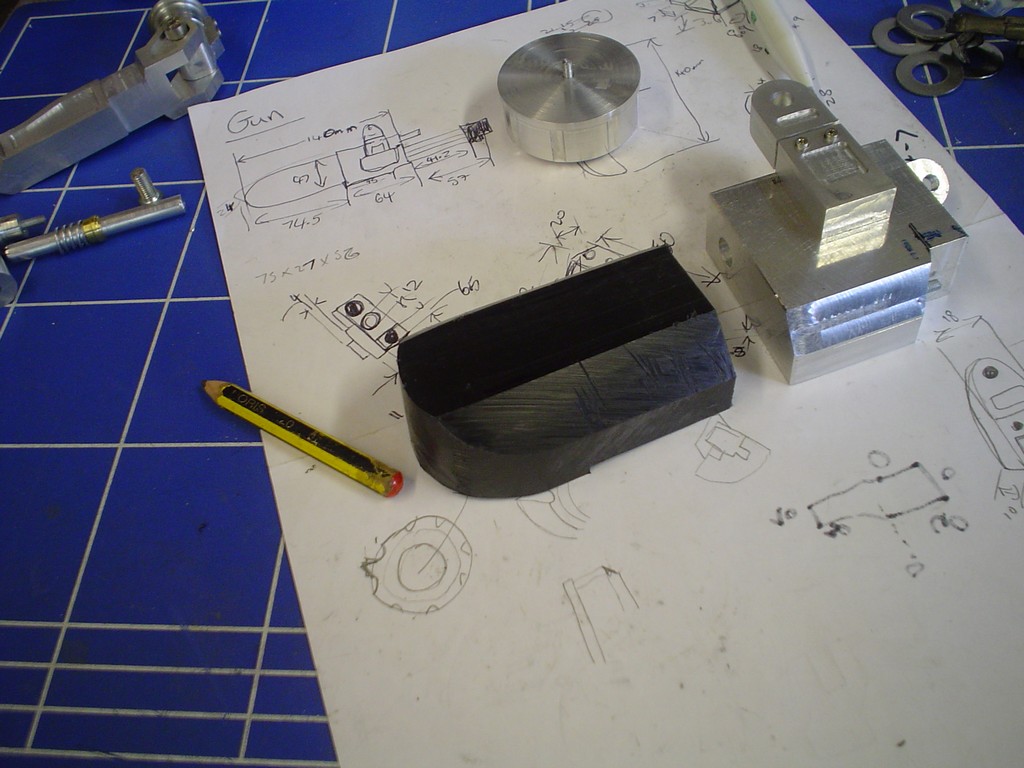 bit more shaping and filing  carefully hollowing the inside out, very hard to clamp in the vice now for milling. 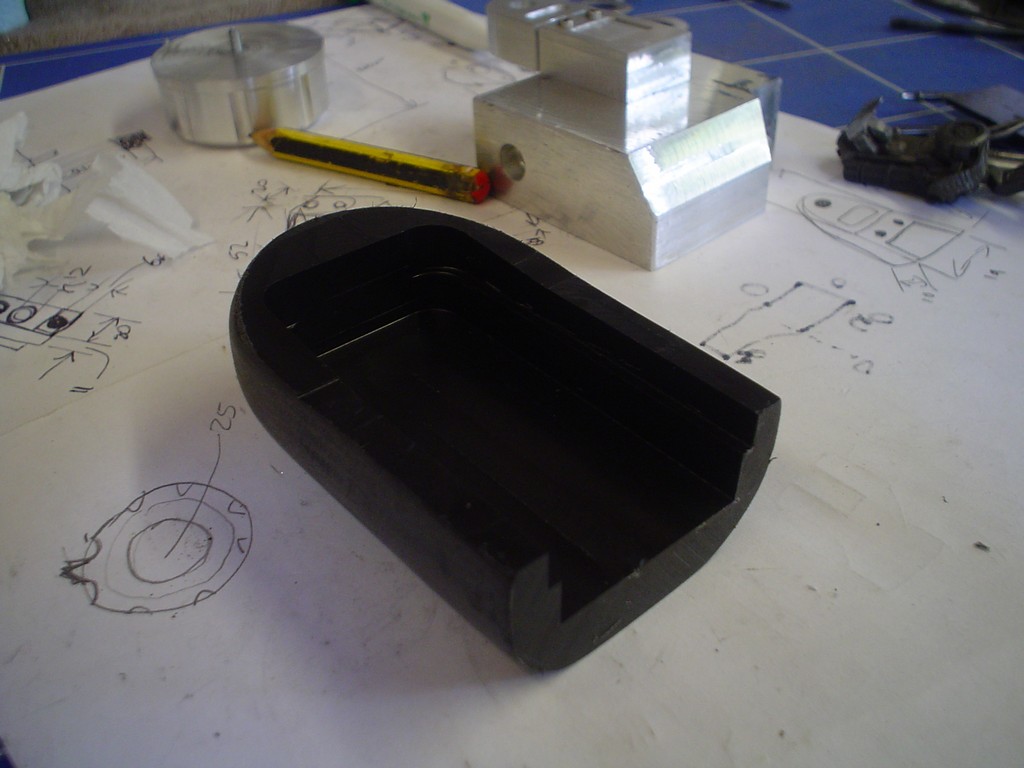 marking out where to drill for the studs. 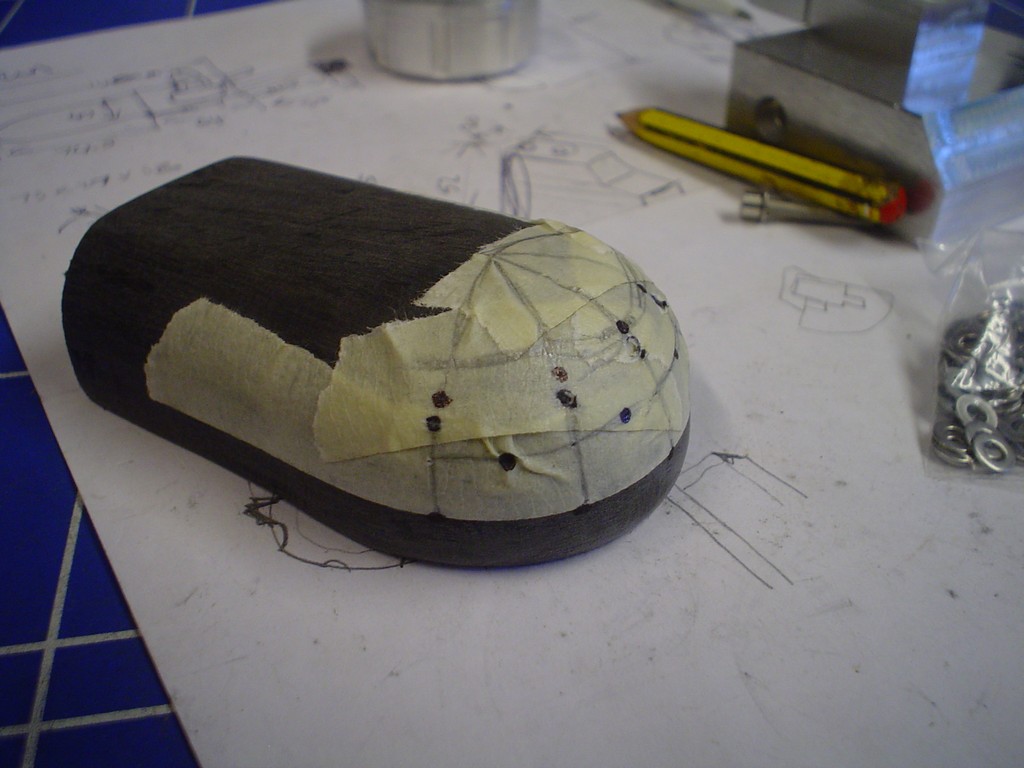 |
|
|
|
Post by candyman on Jul 21, 2010 17:33:56 GMT -5
Thanks guys  mounted the ammo wheel thing and made a checkered plate and another panel to go over the top 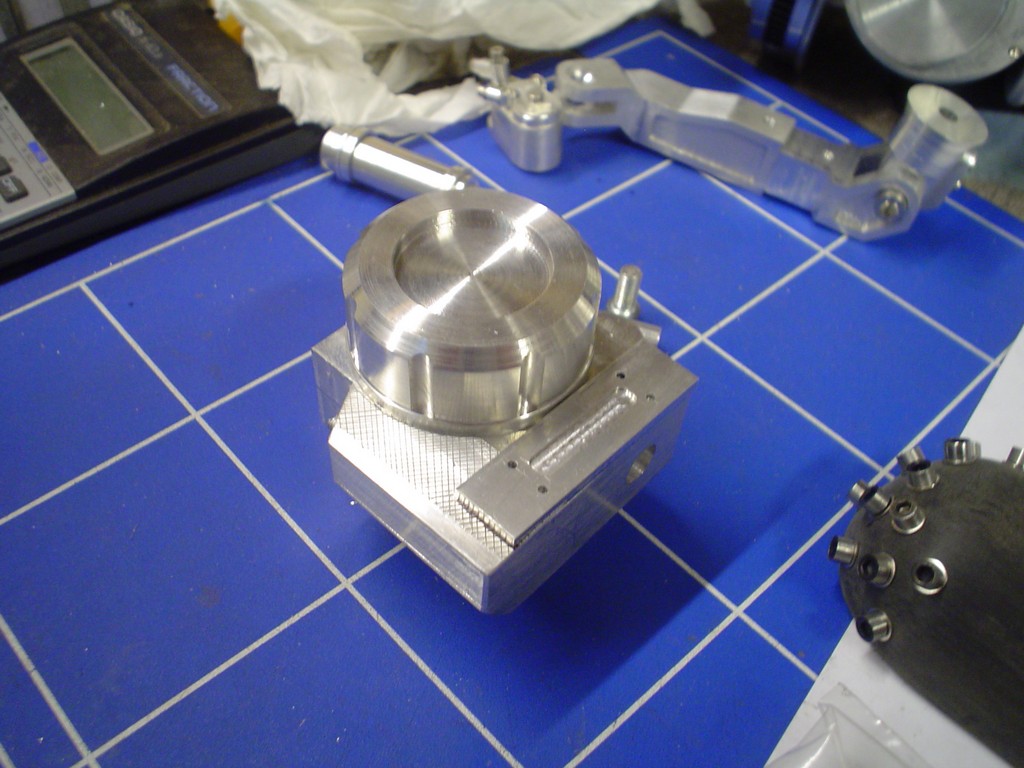 M2 was too small and the m3's were just a bit too big so I turned the heads down a bit, they look a bit funny because of the colour difference but im sure the size is correct now. 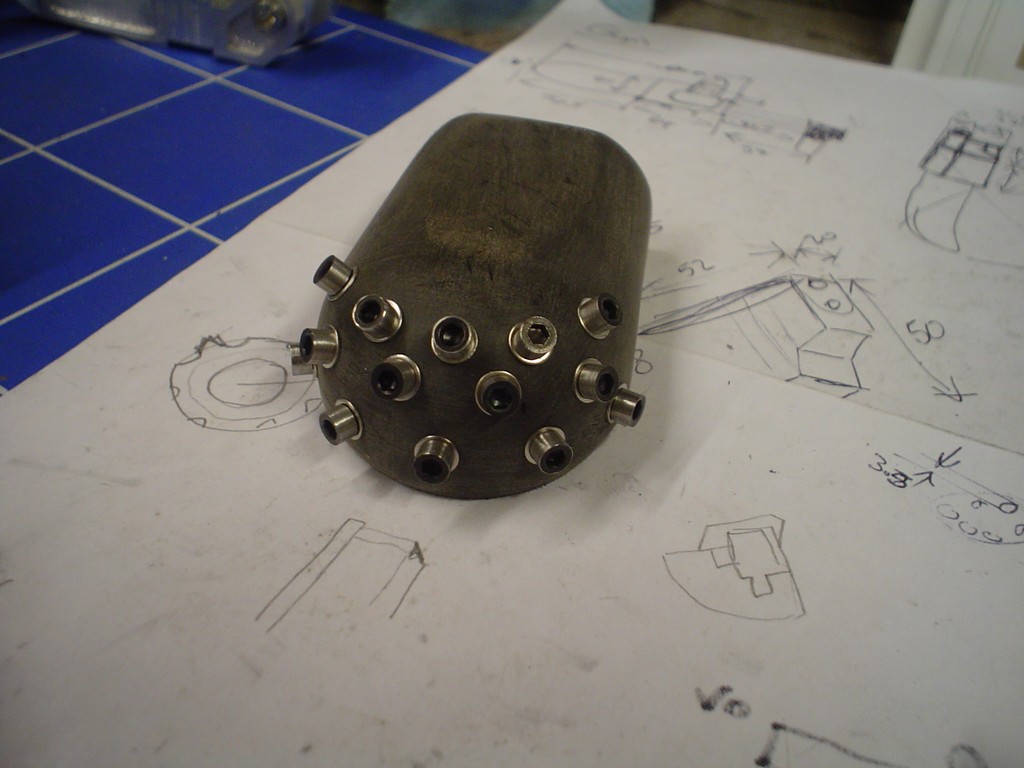 made 4 more fittings, 5mm and the tiny 4mm ont he right, this arm alone has something like 12 hydraulic fittings on it! 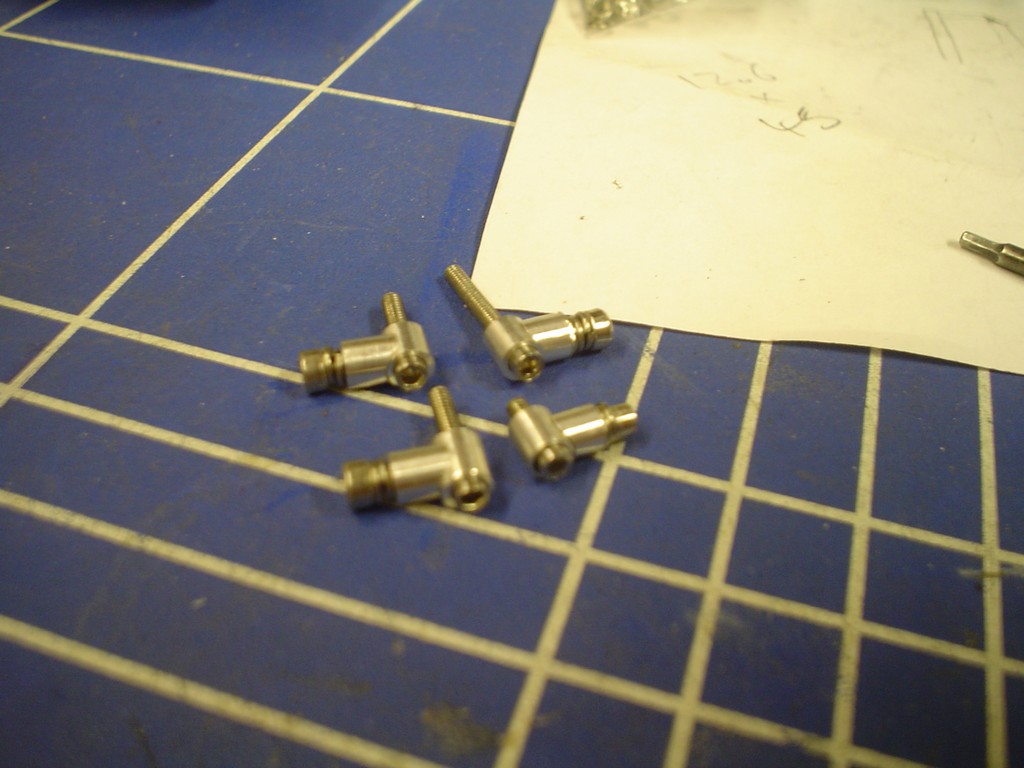 the 2 tiny ones attached, also the plate being held inplace by the tiny brass hex head bolts, 2 more to go in there. 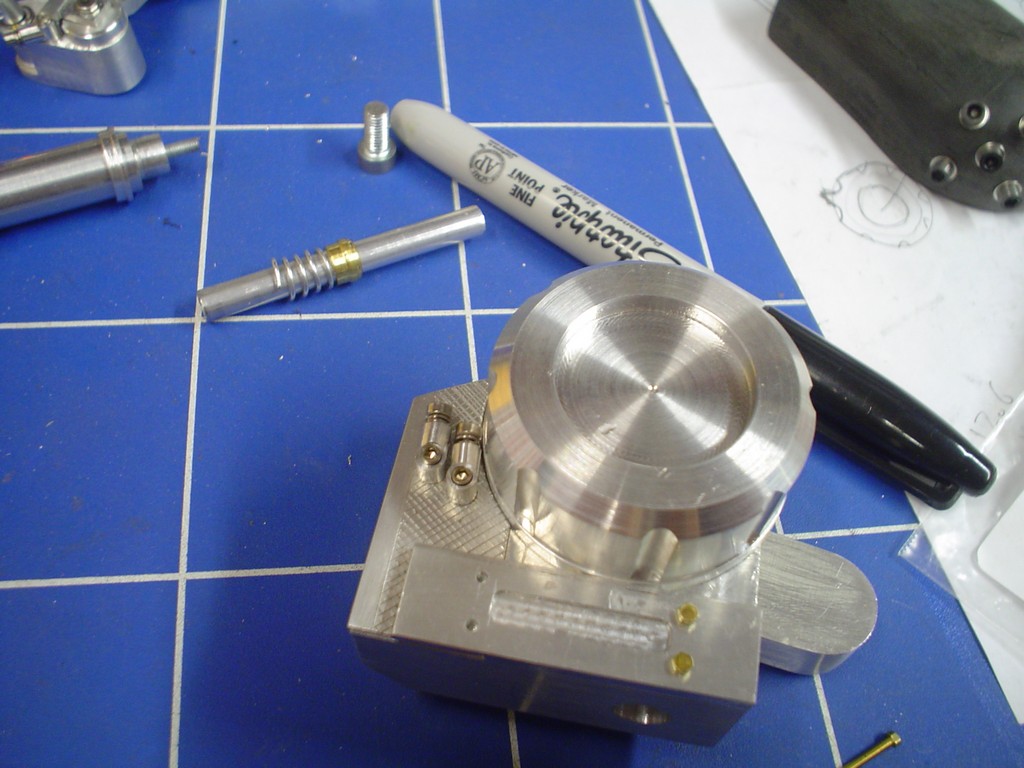 mock up assembly next to the naff koto model arm!  |
|
|
|
Post by candyman on Jul 28, 2010 11:31:49 GMT -5
Working on the claw now, 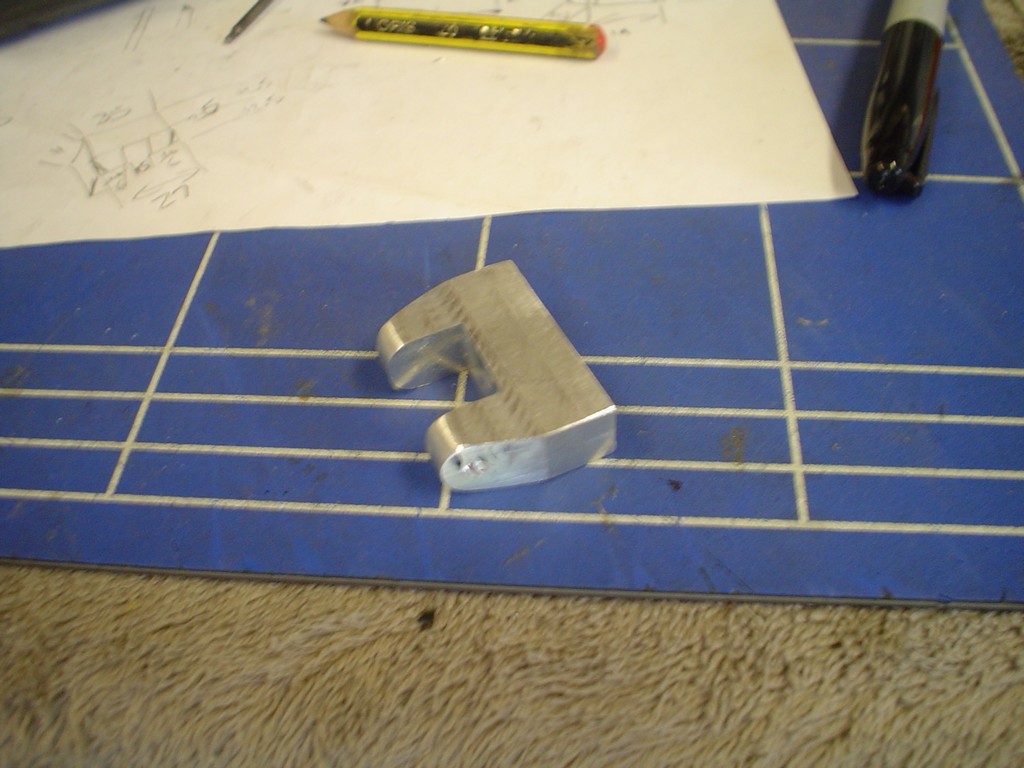 sits snug in here 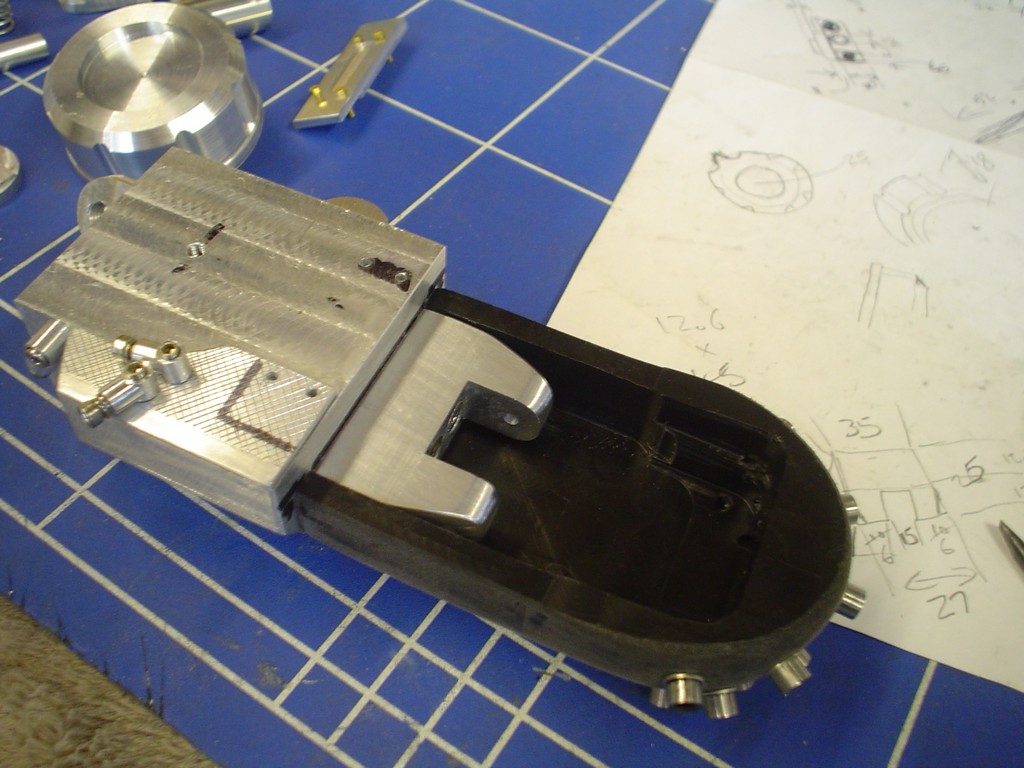 pivot joint  with a swivel on it  very carefully cut these pieces, always a lot harder when you have to do 2 exaclty the same. 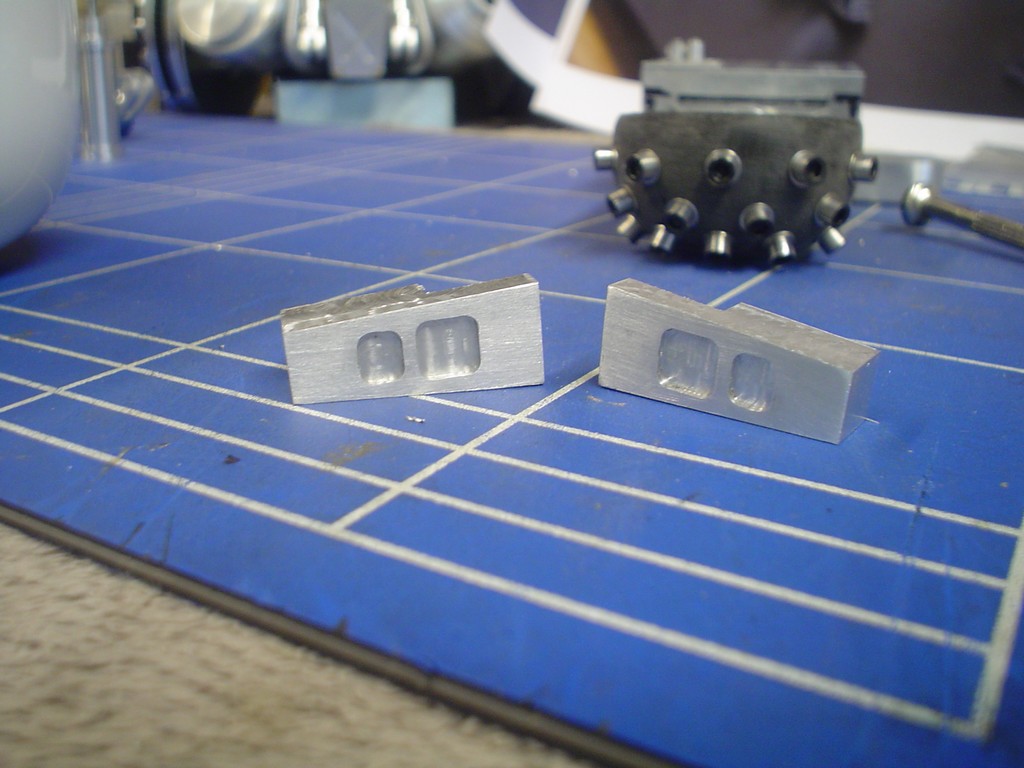 then trimmed the middle out. 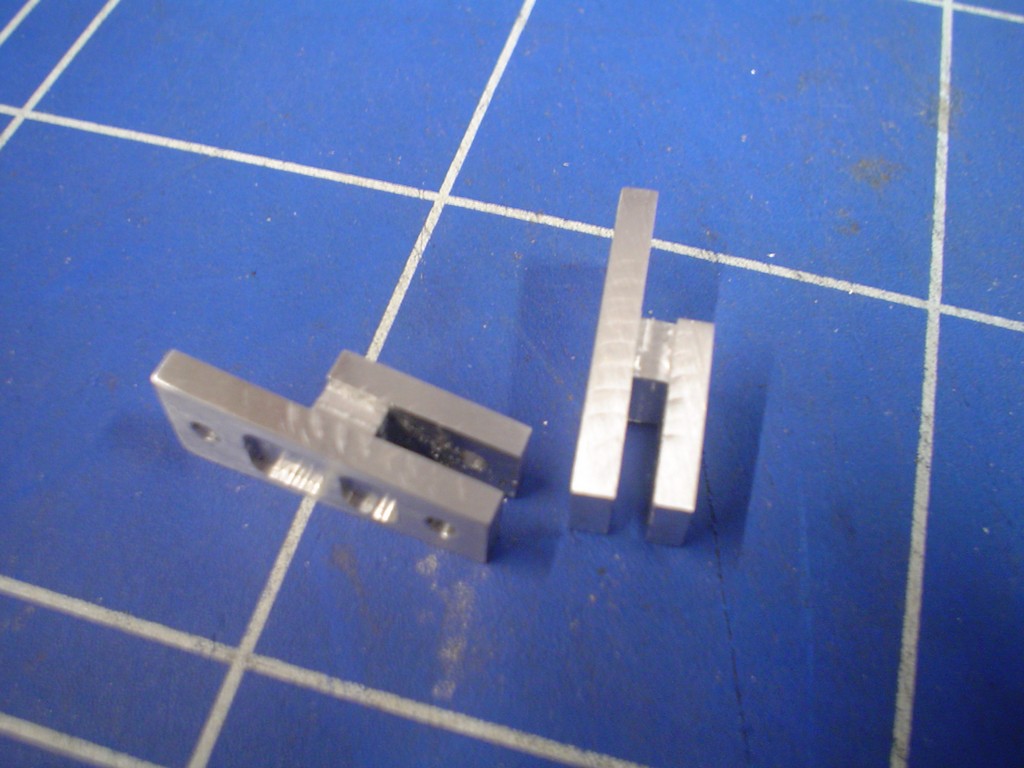 |
|
|
|
Post by droutmaster on Jul 28, 2010 14:43:44 GMT -5
oh man, cant wait to see the left arm complete XD
|
|
|
|
Post by candyman on Aug 1, 2010 3:10:13 GMT -5
Rounded these pieces off, drilled a 3mm hole and attached to the main... thing with a 3mm shaft. 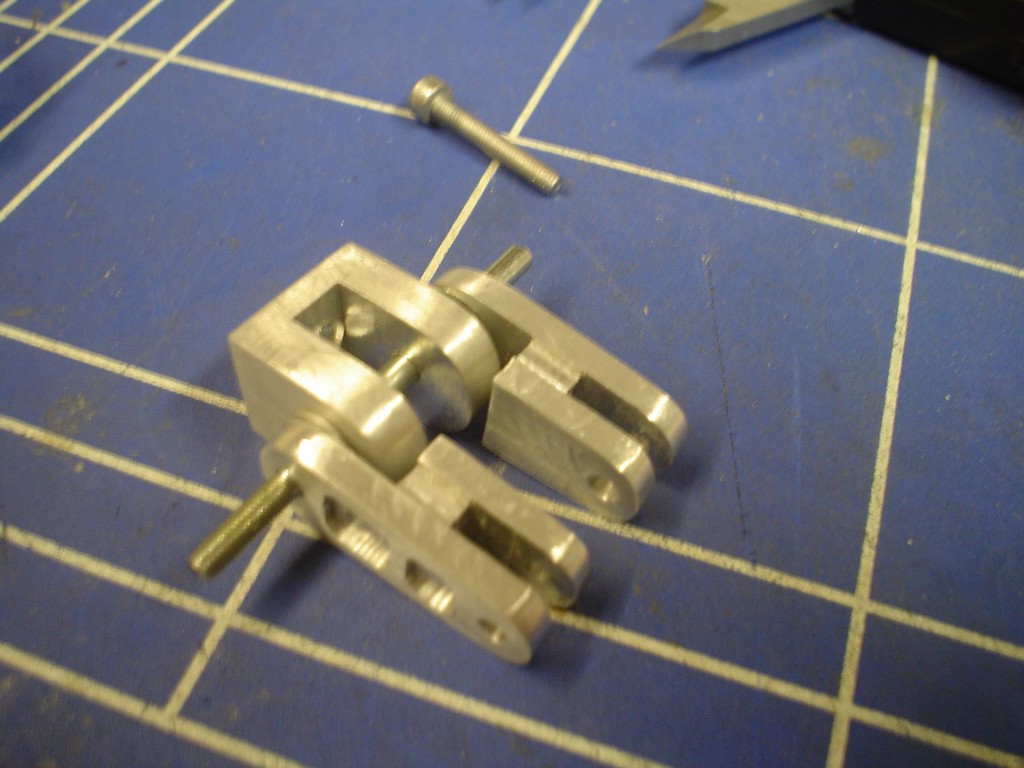 drilled tiny 1.7mm holes in the sides of them, tapped to M2 and put little screws in the hold them against the shaft. I will use M2 grub screws, I have ordered some. 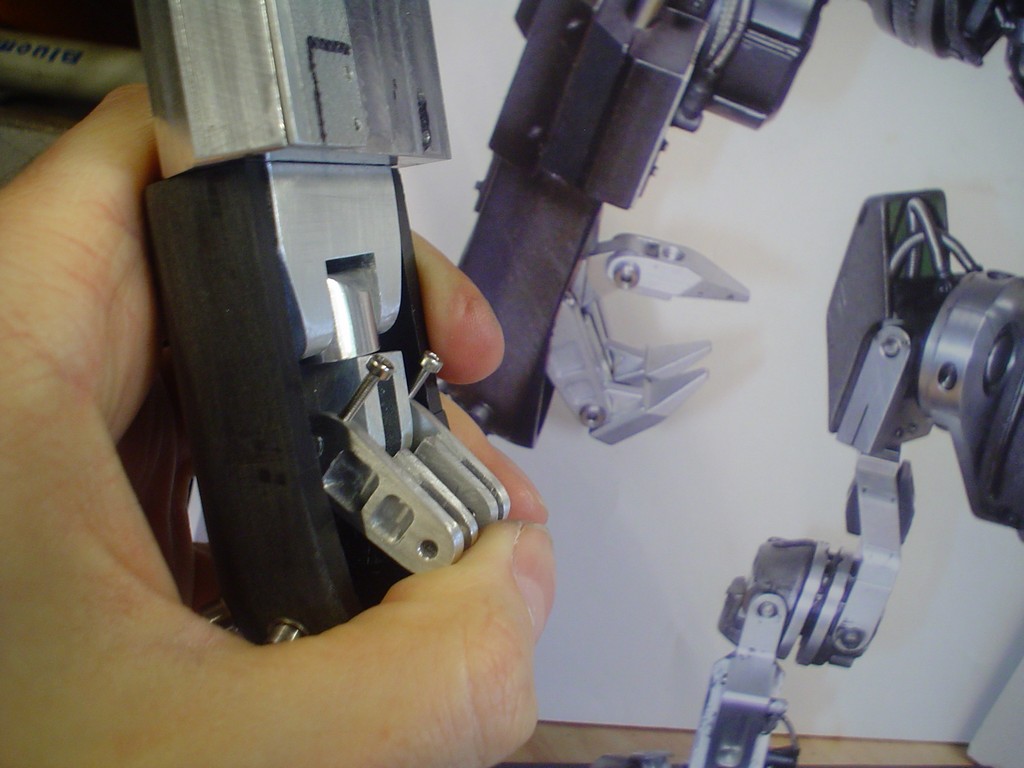 parts for the thumb 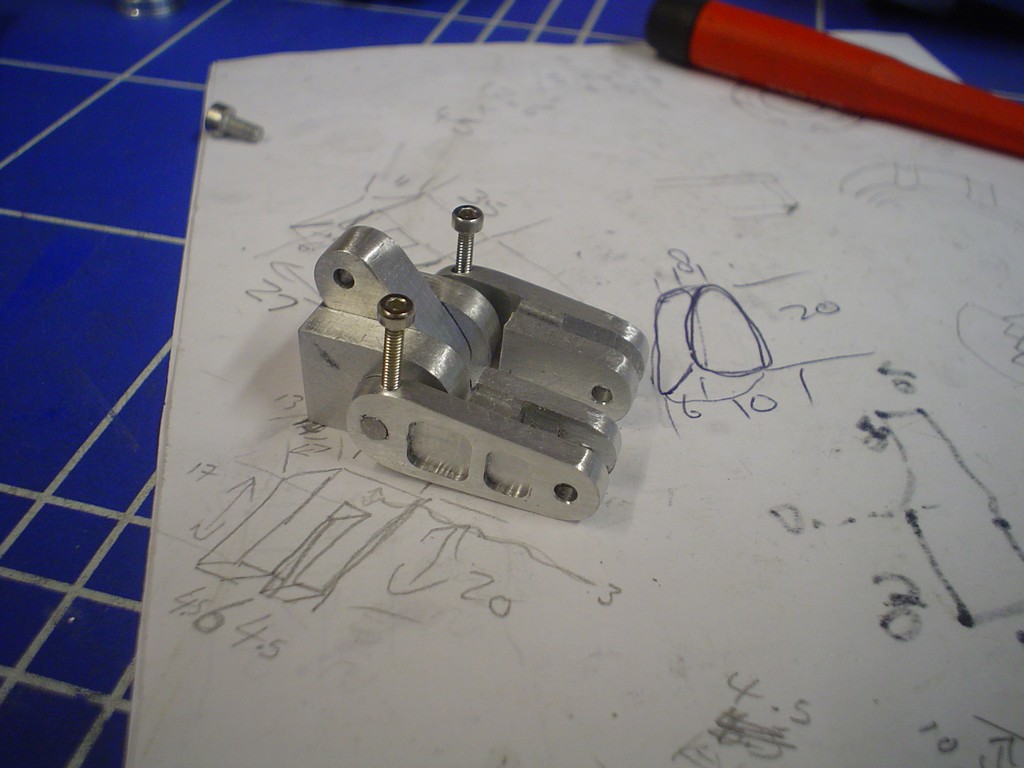 the 2 fingers  quite hard to make these, they are slanted on 4 sides so had to hold them in the vice with the peg that they pivot on and then rotate the vice to get the angles. drilled them through and checked movement 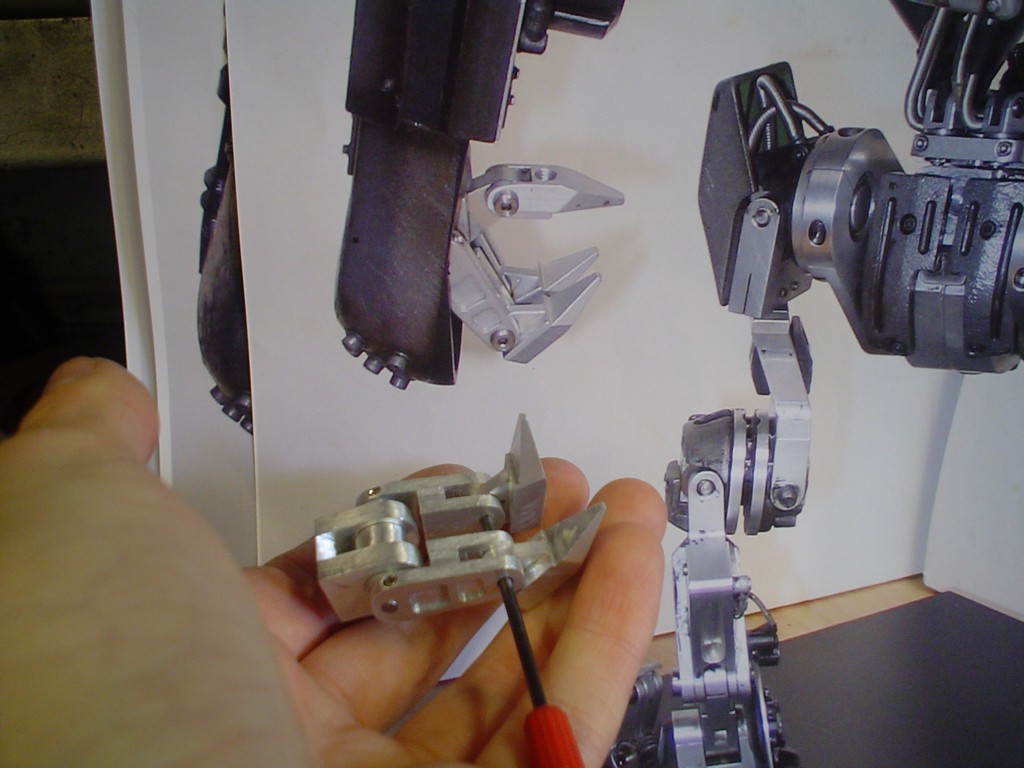 and the little thumb, same process, all drilled and taped. Had to counter sink the finger screw slightly to get the right look 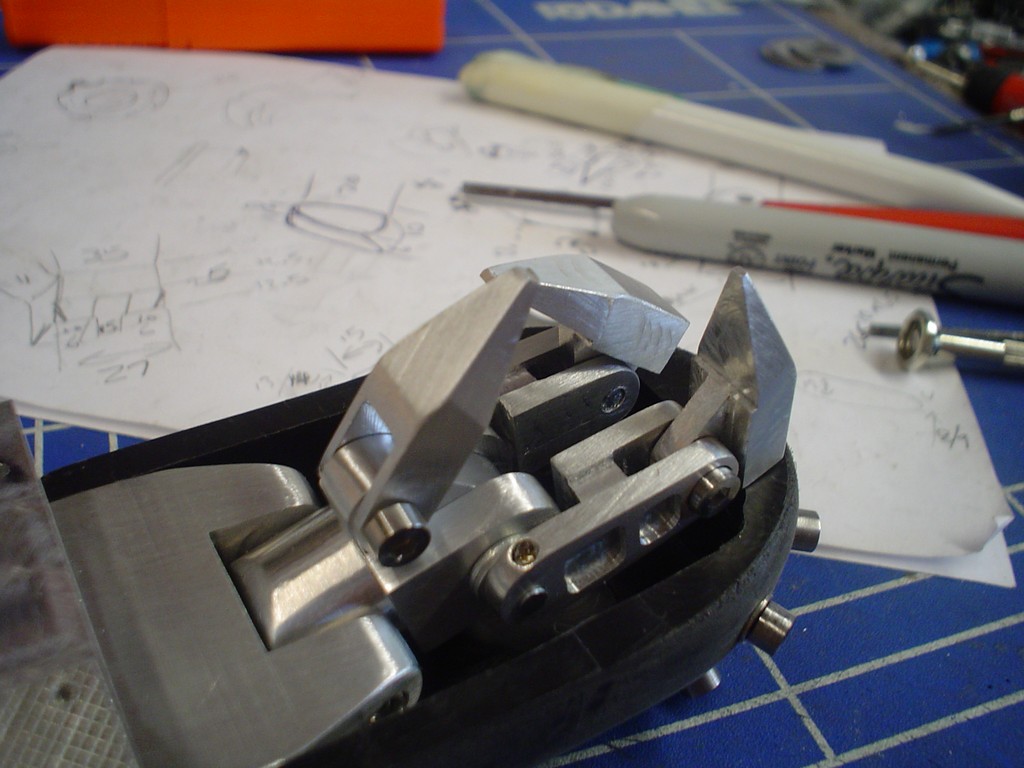 now spend best part of half an hour using fine grit paper to rub the machining marks off the ally to achive that satin finish, so they look smooth. I dont often blow my own trumpet, but im very proud of this picture and the likeness to the real thing  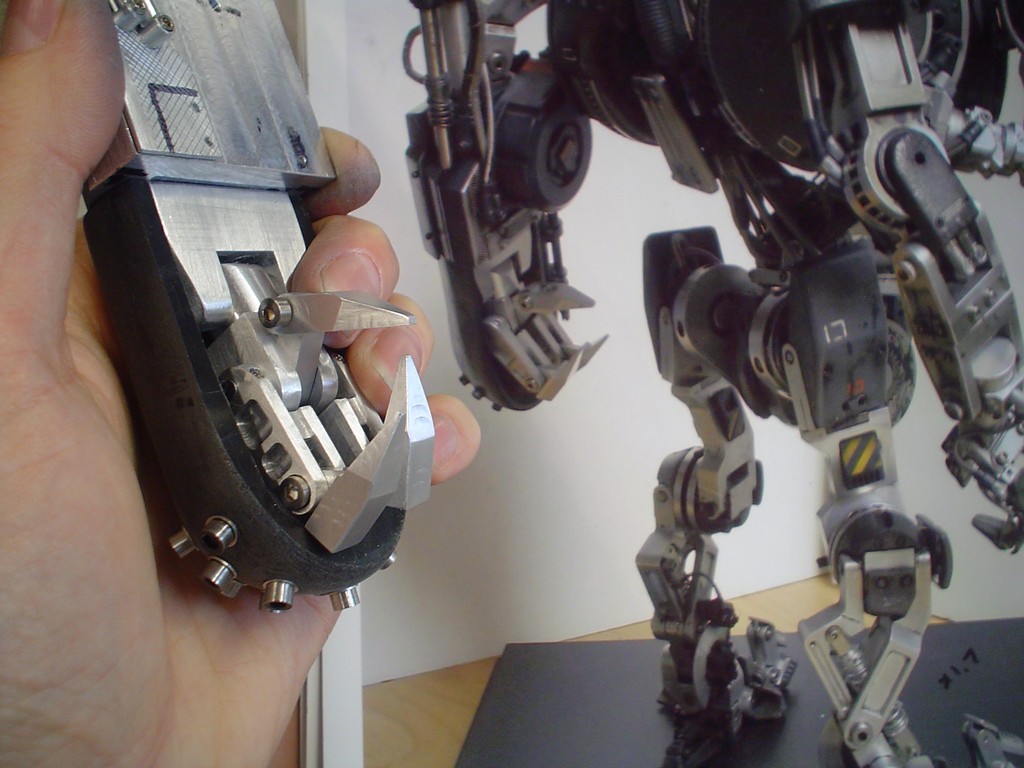 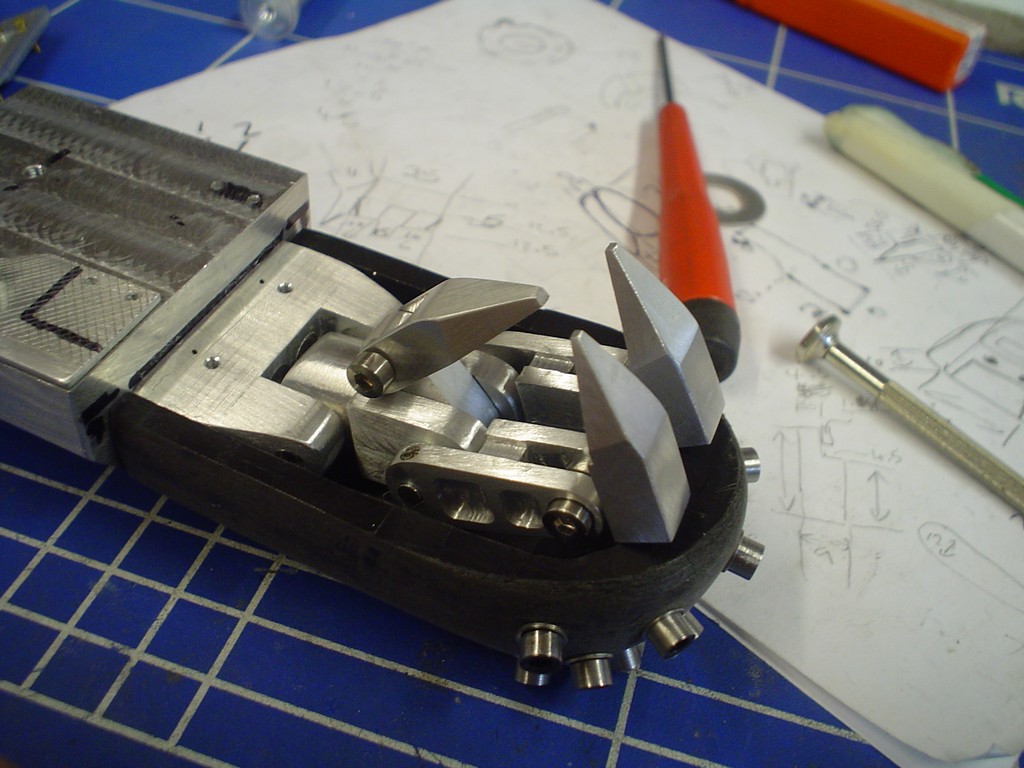 |
|
|
|
Post by Nyonk on Aug 1, 2010 8:37:28 GMT -5
that is 1 bad azz left arm bro...!!!! keep the good spirit
|
|
|
|
Post by OJA on Aug 1, 2010 12:22:42 GMT -5
That is why robots need a hand... Nuff said.  |
|
|
|
Post by shinmazinger on Aug 2, 2010 0:24:09 GMT -5
YOU ARE SICK!!!!! (I thought I was sick for being a maniac customizer, but no I am ok YOU ARE SICK!!)
Oh and Ultra nice the way!
|
|
|
|
Post by droutmaster on Aug 2, 2010 17:46:04 GMT -5
the claws is done......now im scare ToT()
excellent update
|
|