|
|
Post by droutmaster on Aug 30, 2010 19:42:48 GMT -5
oh man thats gonna be huge  |
|
|
|
Post by jessedart on Aug 31, 2010 12:19:38 GMT -5
Dude this is AMAZING! My hat is off to you; outstanding job, Sir!  |
|
|
|
Post by xiombarg on Aug 31, 2010 13:00:02 GMT -5
I just can't believe how much precision you achieve for such a complex build, and all from photo reference! Insane man. You my friend should be working for a movie studio.
|
|
|
|
Post by candyman on Sept 2, 2010 13:17:58 GMT -5
Thanks guys, I appreciate the continued support! 2 arms down, 2 to go! Turned the 2 shoulder joints, these fit to the shoulder disks. 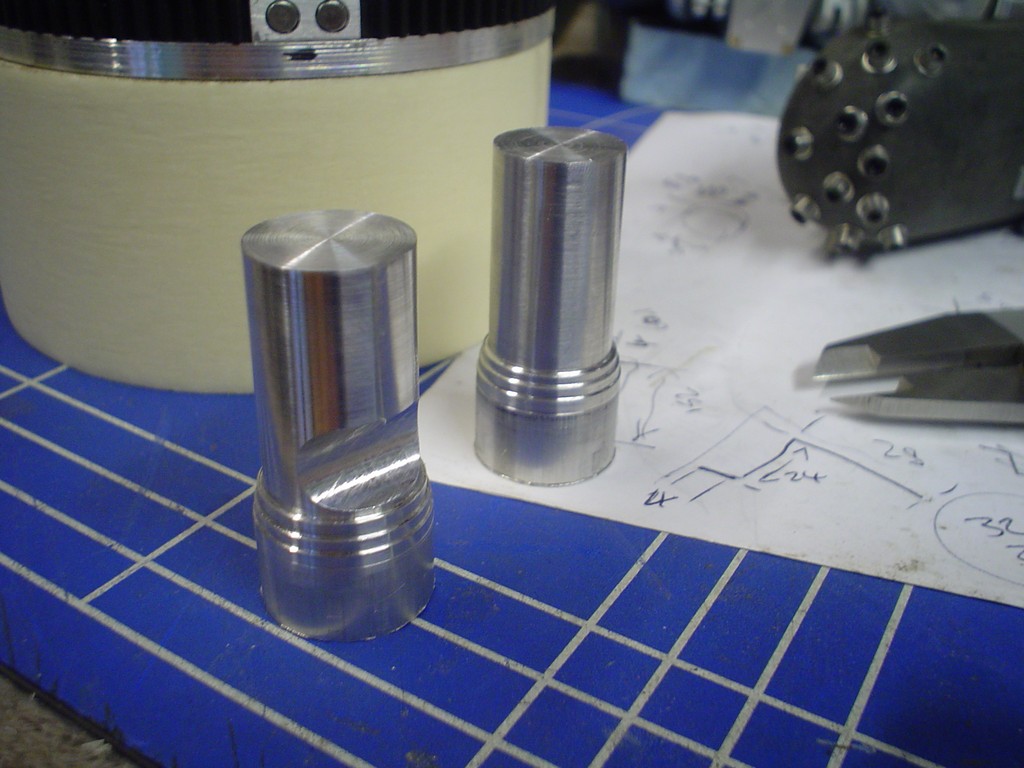 cut and shaped to look as close to the picture as I can get  then the end cut flat, drilled and a pin mounted on the disk. 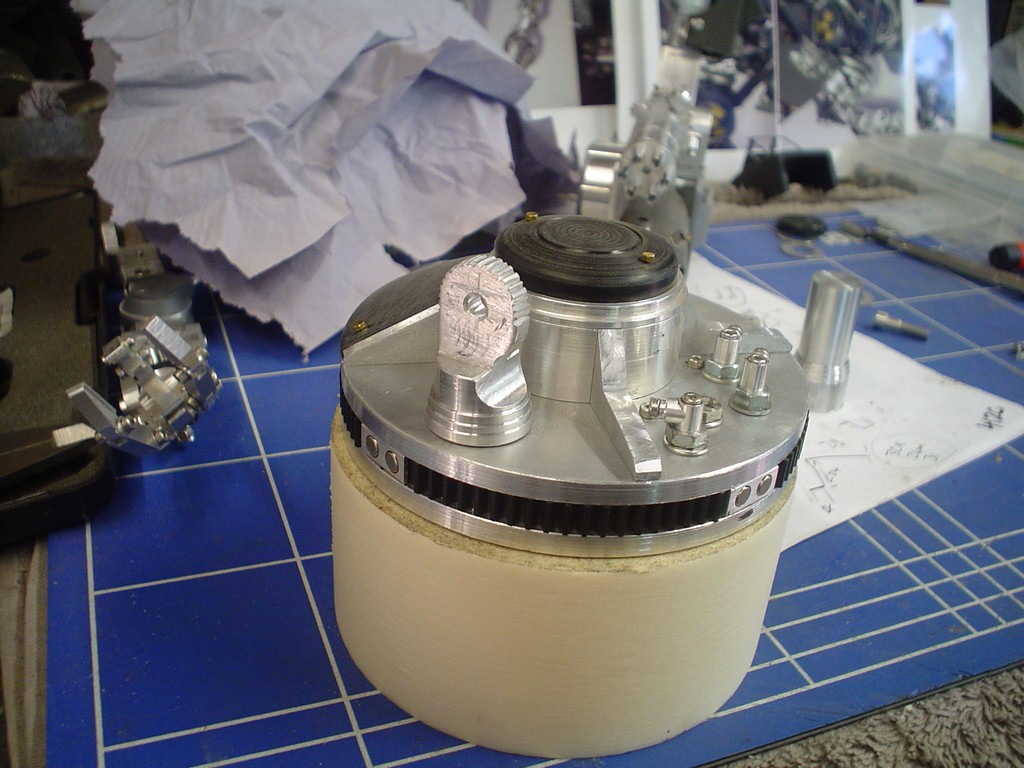 |
|
|
|
Post by magengar on Sept 2, 2010 20:36:55 GMT -5
Bro, you're truly inspiring me to start some custom projects; but not on such a grand scale as This. (Me = Wimp) ;D I'll stick to silicone, rubber, plastics, and resins. This week I've started gathering all my moldmaking and casting supplies and materials. I really like how you're machining all these parts; and now you've come to my favorite part: Joints. I plan on casting large joints, similar to the revoltech joints designs; also some trial ball-sockets and ratchet joint systems. I'm using my DoGA CGA to design 3D models of my joints... then I'll try to import them as STL files for Shapeways to make me some of these as plastic templates for their molds. For now, my concepts are all in my head and I think about them day and night where ever I go. Moldmaking and Casting: it's my first time, and I'm a novice at it, just starting out. But, whatever successfully becomes of it, I owe it all to You and many other crafty RJ members here, as my way of saying Thanks for sharing this project experience with us. Pilder On!  zozo-Magengar |
|
|
|
Post by candyman on Sept 4, 2010 17:55:57 GMT -5
|
|
|
|
Post by magengar on Sept 4, 2010 19:16:34 GMT -5
Precision at it's Finest ever!  zozo-Magengar
|
|
|
|
Post by candyman on Sept 7, 2010 16:38:45 GMT -5
Got it fitted up and attached to the shoulder disk 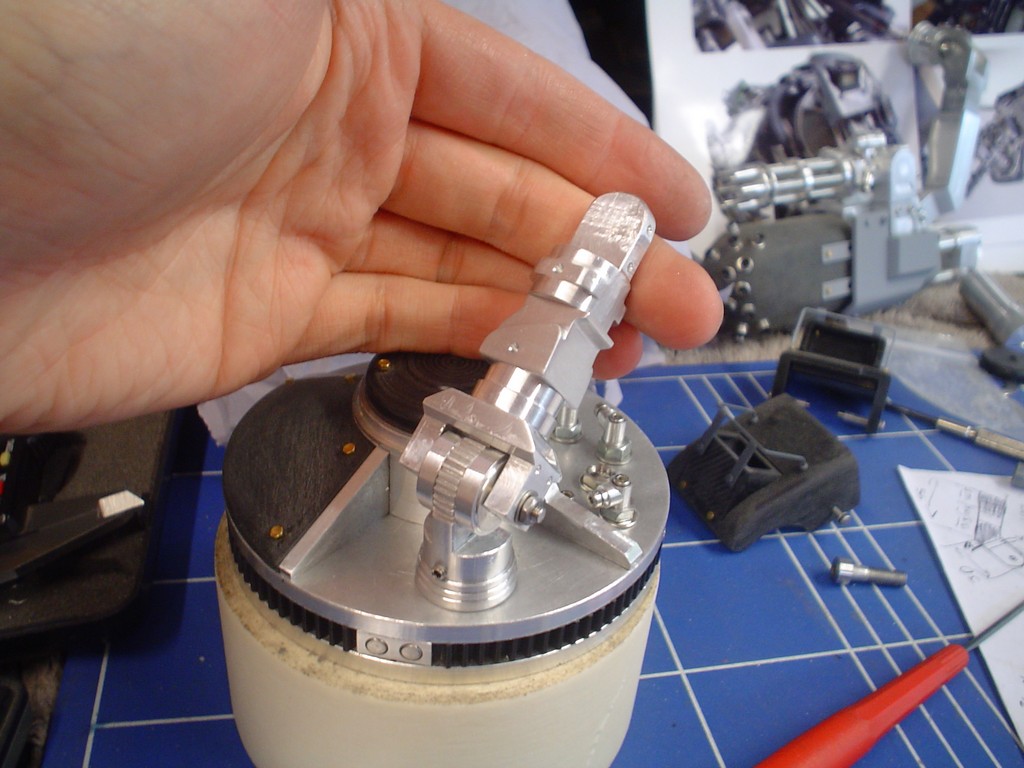 cut 2 blocks for the next parts and turned some disks 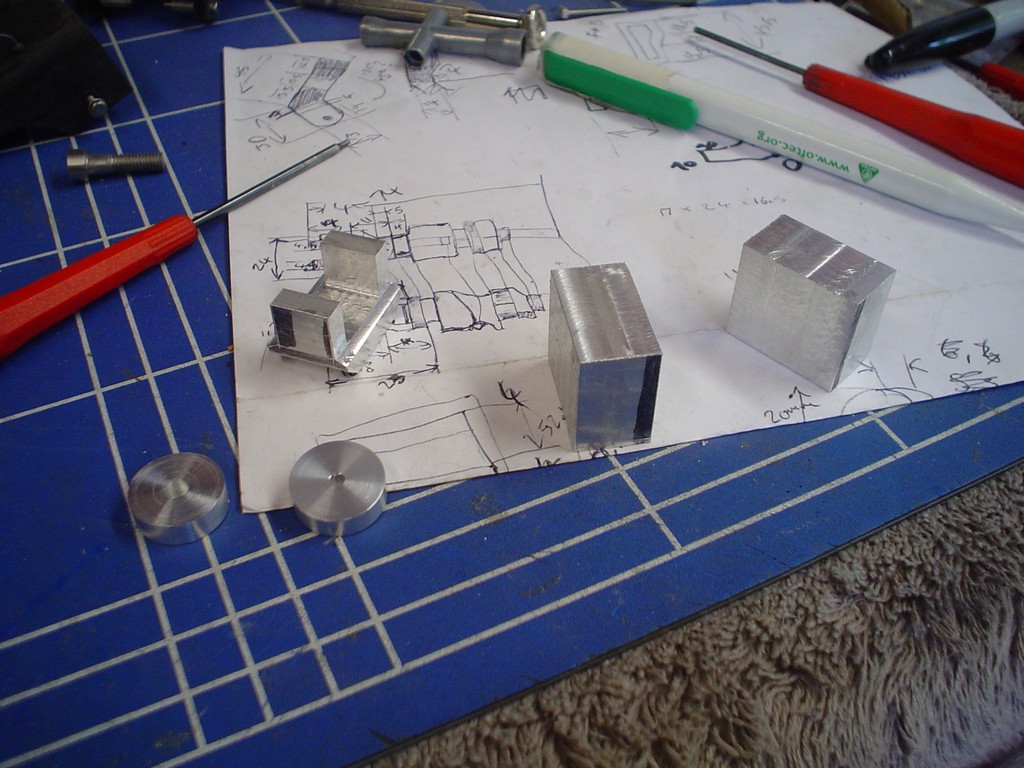 spent a bit of time rubbing everything down with 600 gritt to get that satin smooth finish. Most of the other parts ive done I havnt bothered yet but I wanted to do this arm as it would be on the finished model, most of the aluminium will look like this. This arm is tough to make as the original is just a piece of molded plastic so I have to think up ways of joining the parts together without visable screws etc. again this was hard to do, the tiny screws not real on the puppet, mine using tiny tiny M1.6 mm screws and nuts. 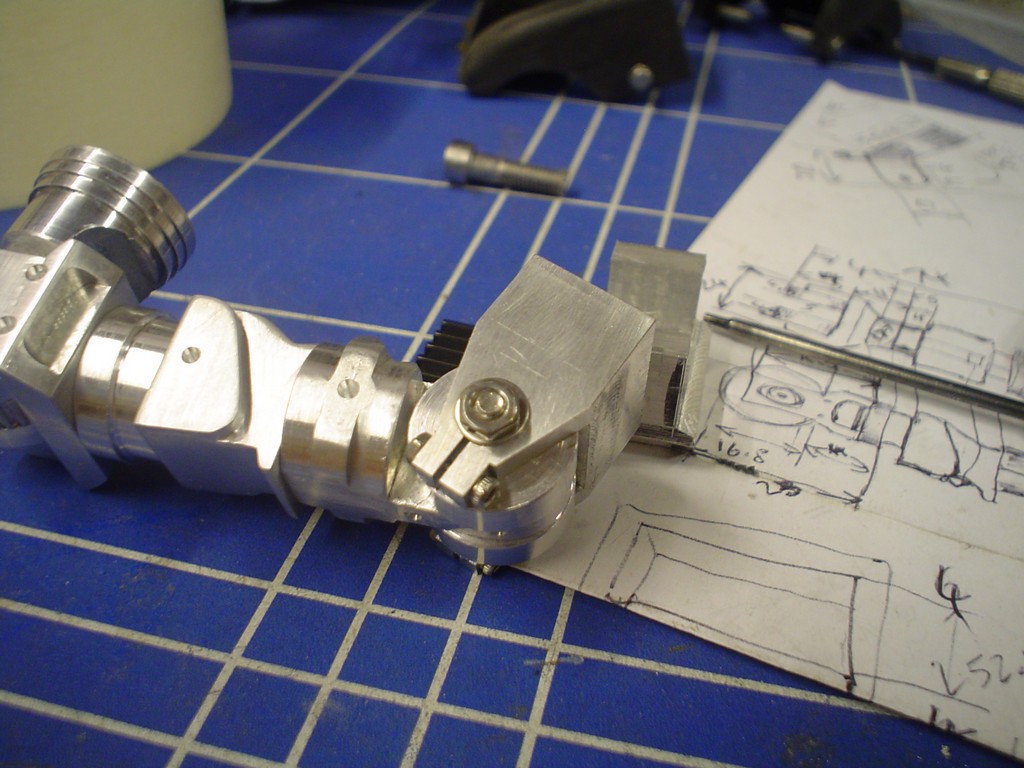 attached, note they are on both sides, 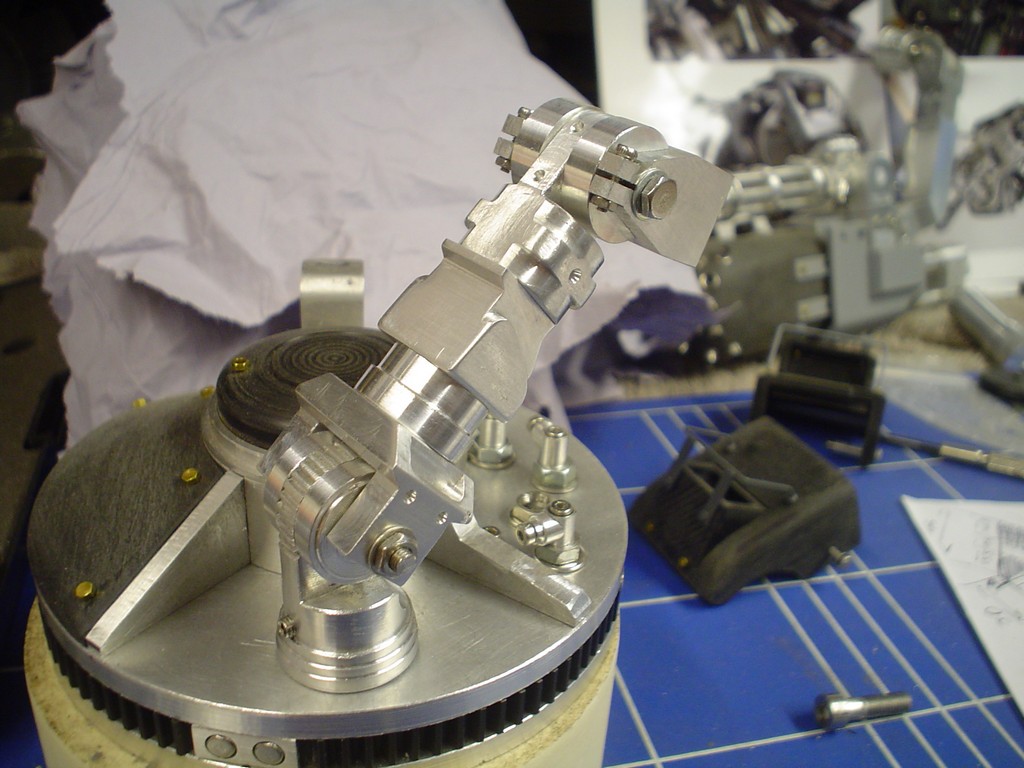 counter sinking holes so the screws, again M1.6, sit flush with the surface. 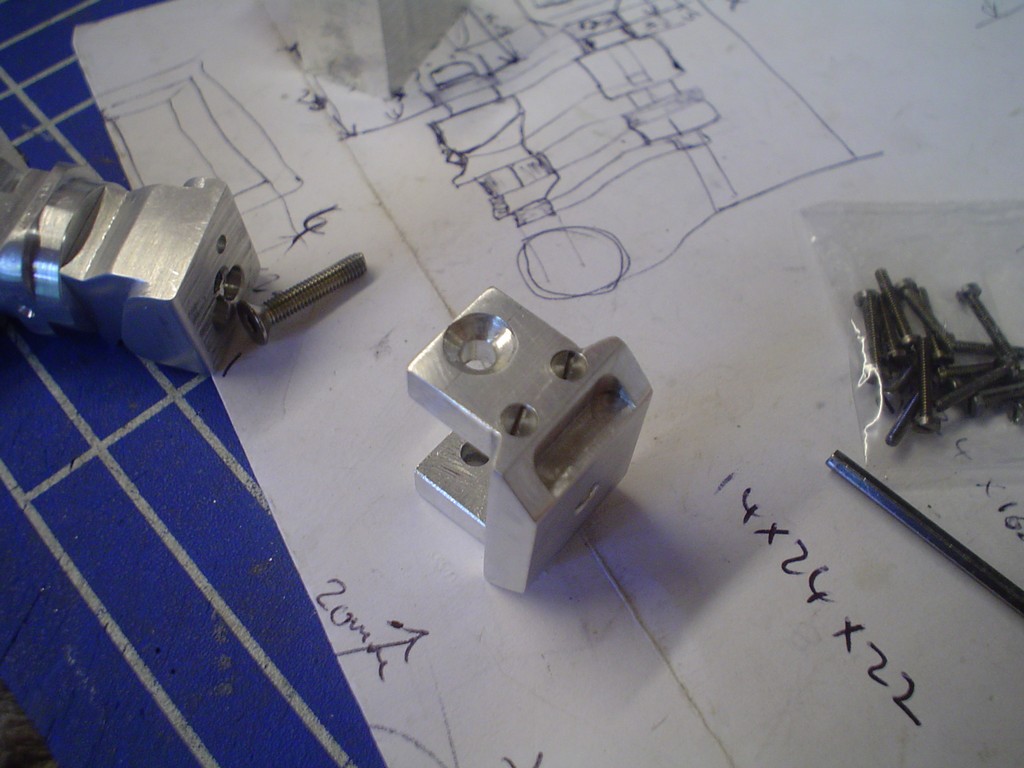 making another 1 or 2 of these parts, had to use the slitting saw to carefully cut the slot 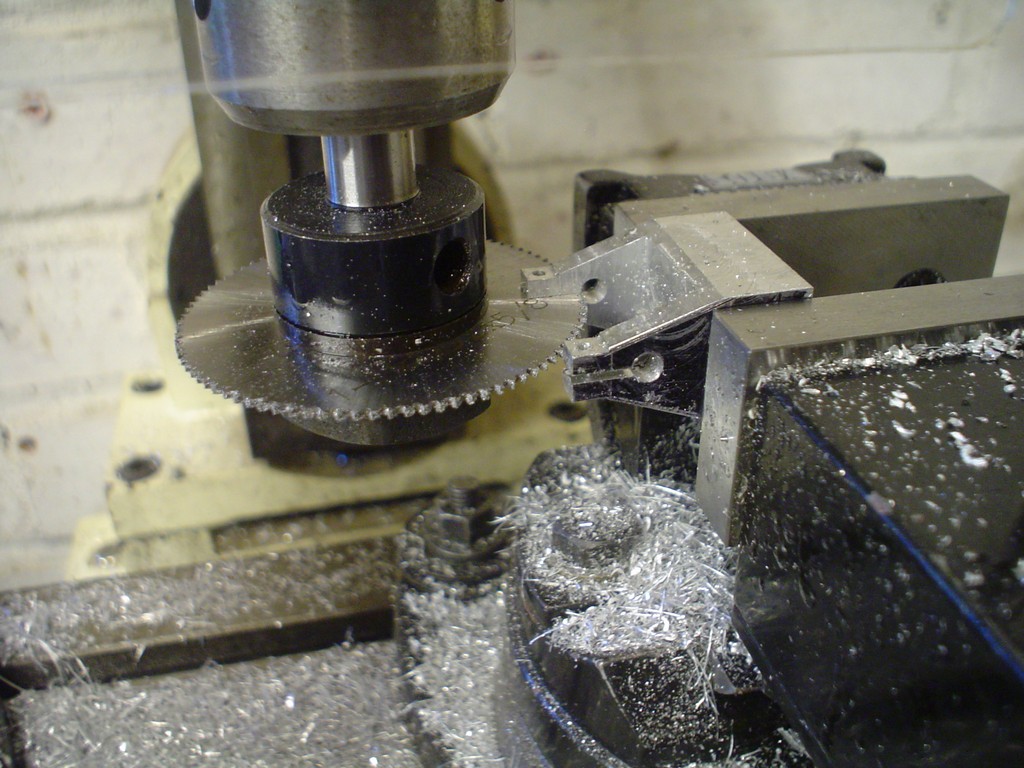 2 more, nearly done in their pre-rubbed down state.  |
|
|
|
Post by droutmaster on Sept 8, 2010 16:11:48 GMT -5
hmmm i wonder how you are gonna make the head.
|
|
|
|
Post by candyman on Sept 11, 2010 17:20:44 GMT -5
funny, I was wondering that too sunk the tiny screws into the clamp joint parts 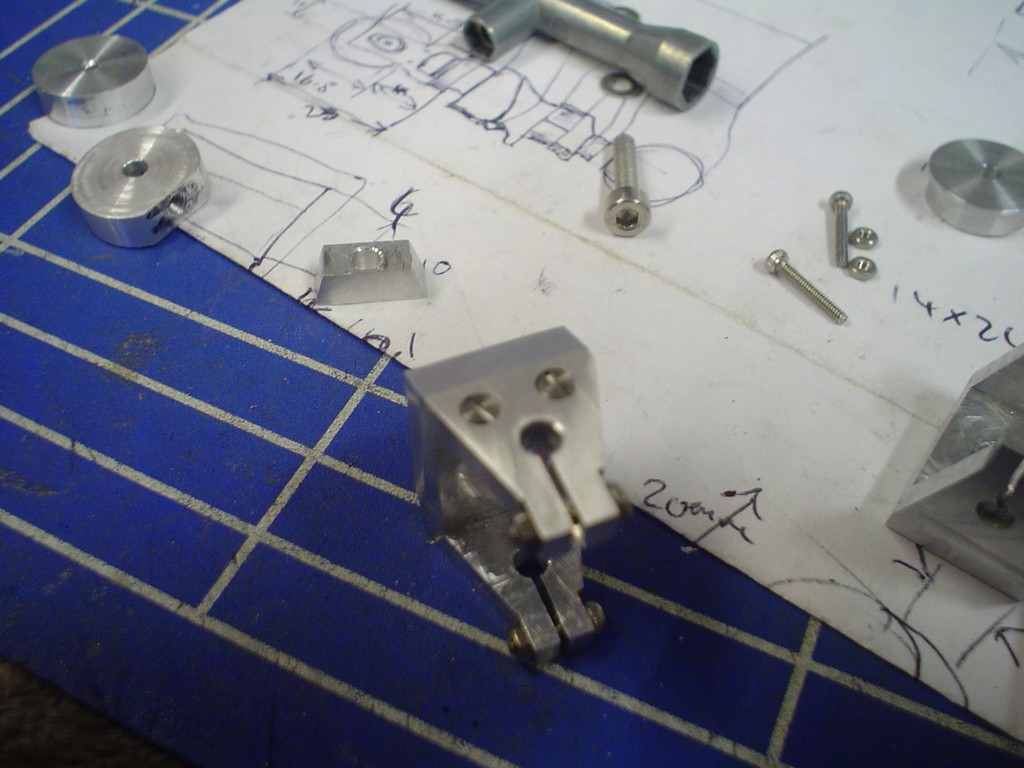 had to make some odd parts and disks etc to join everything together 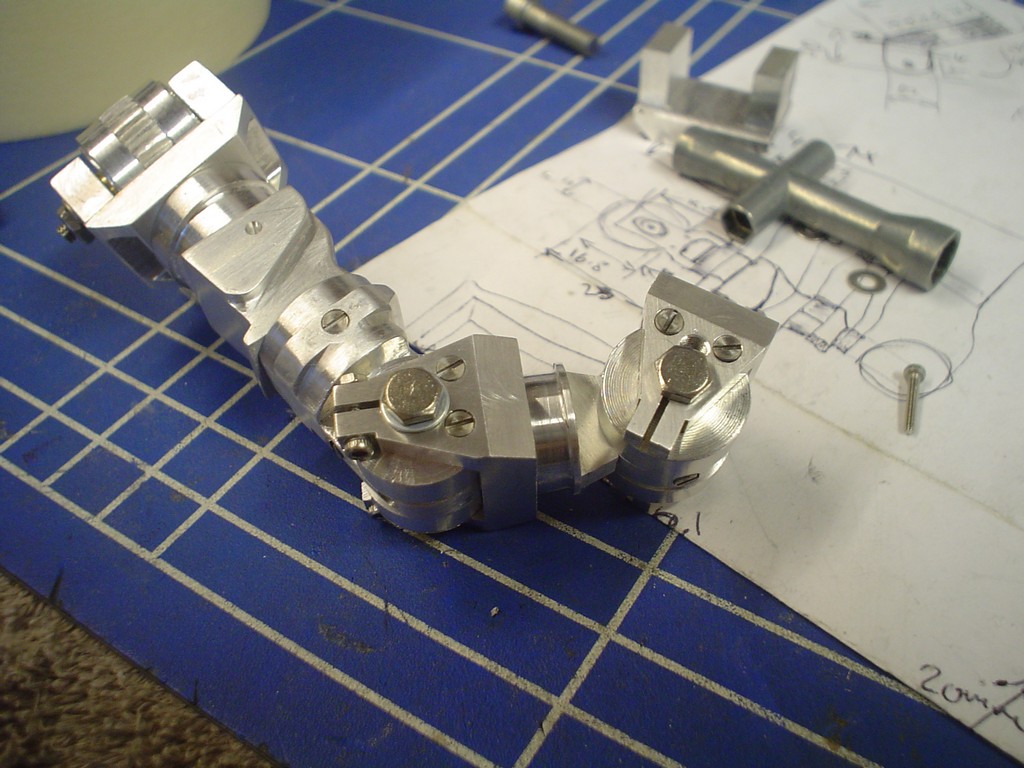 realised it was too short so had a re-design and spaced it out a bit more, this section will be covered so it doesnt need to be as detailed.  This arm has the spot welder thing on it, hard to know where to start on such a complex lump, so after some thought and a lot of measuring im quite happy with this 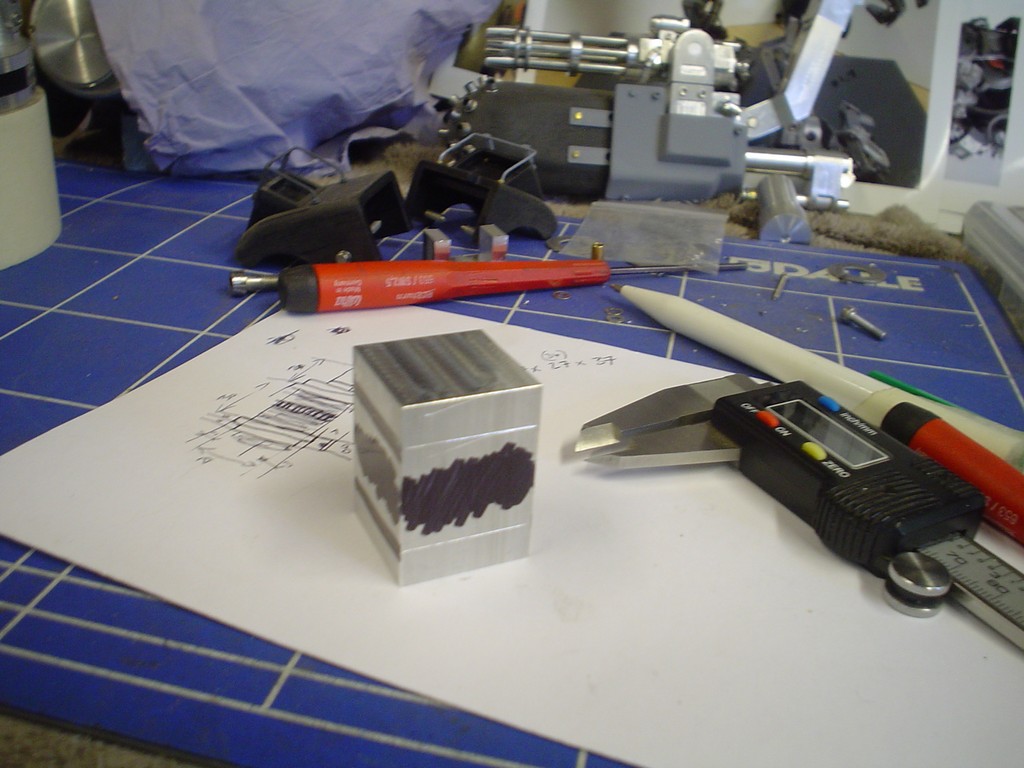 looks about the right size to me, trim the middle out  and the top, sitting on another turner prize of a diagram that looks like a cross between a babies rattle and a policeman hiding behind a tomb stone 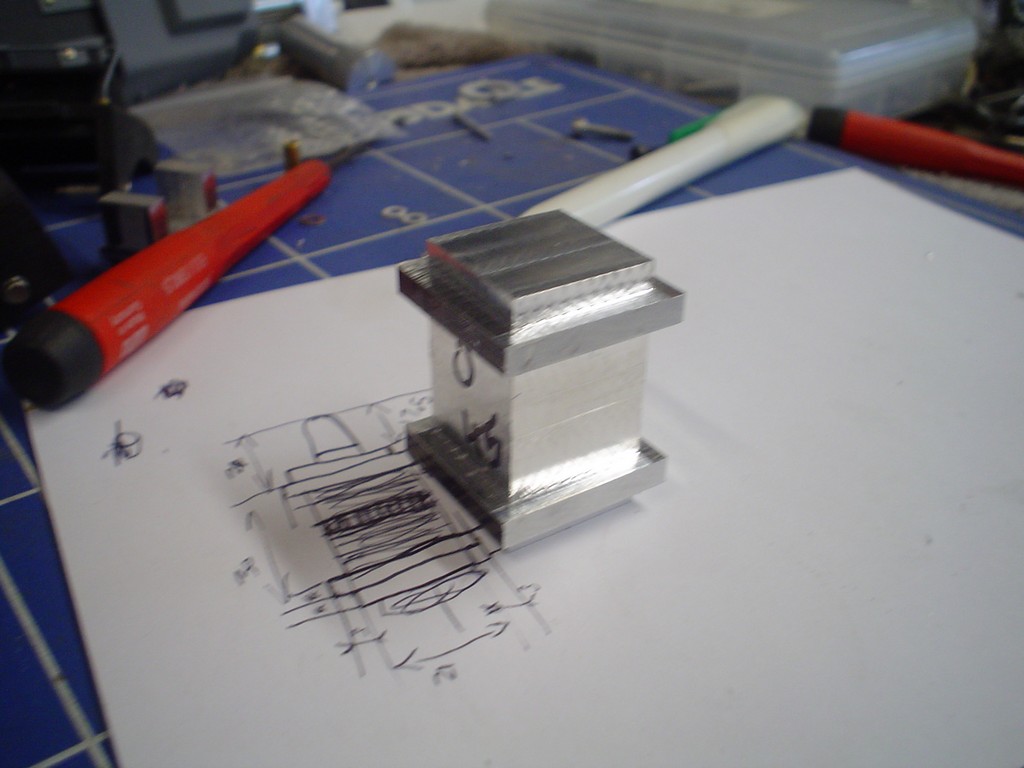 carefully recessed the edges and drilled through so they lign up top and bottom. 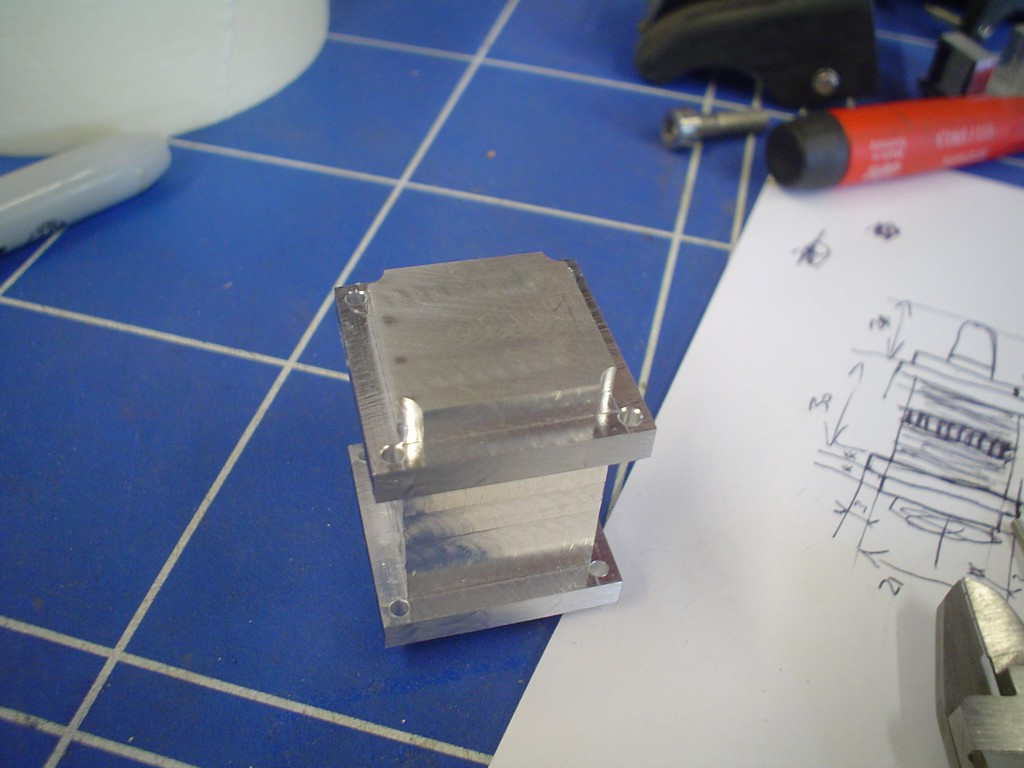 |
|
|
|
Post by droutmaster on Sept 11, 2010 20:12:34 GMT -5
so where the block piece go exactly?
|
|
|
|
Post by candyman on Sept 14, 2010 16:44:42 GMT -5
you can see in the top pic here: ok cut a groove around the middle and found a good imitation of the stripe around the middle, a cable tie! 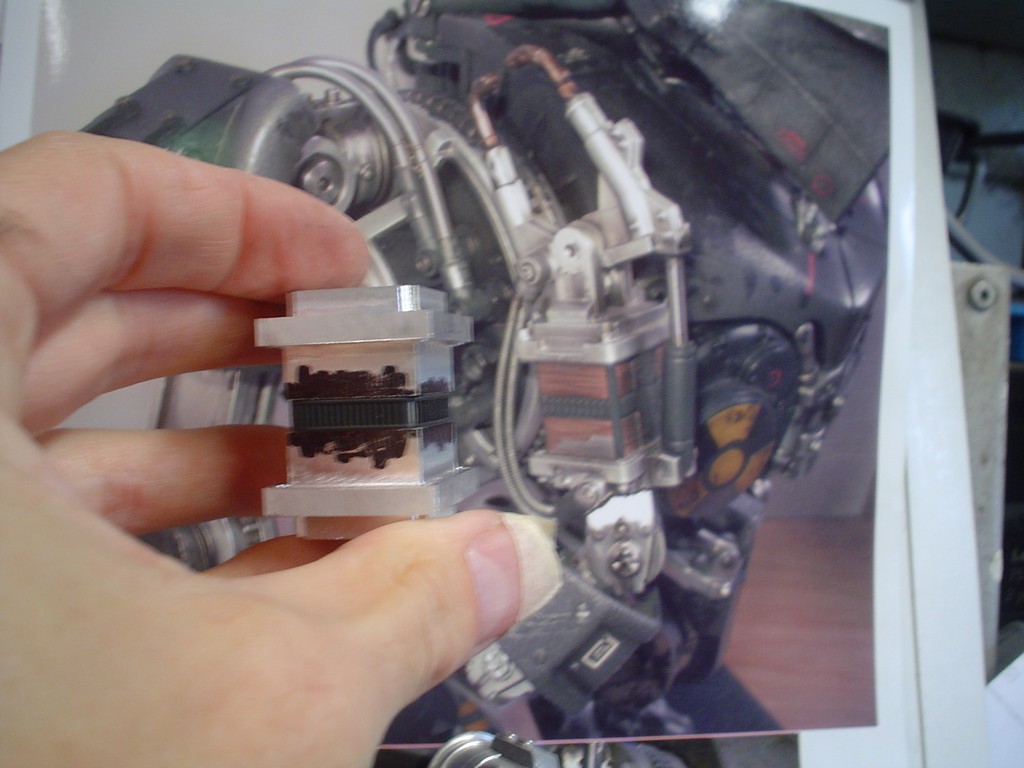 more trimming and recessing, here and there 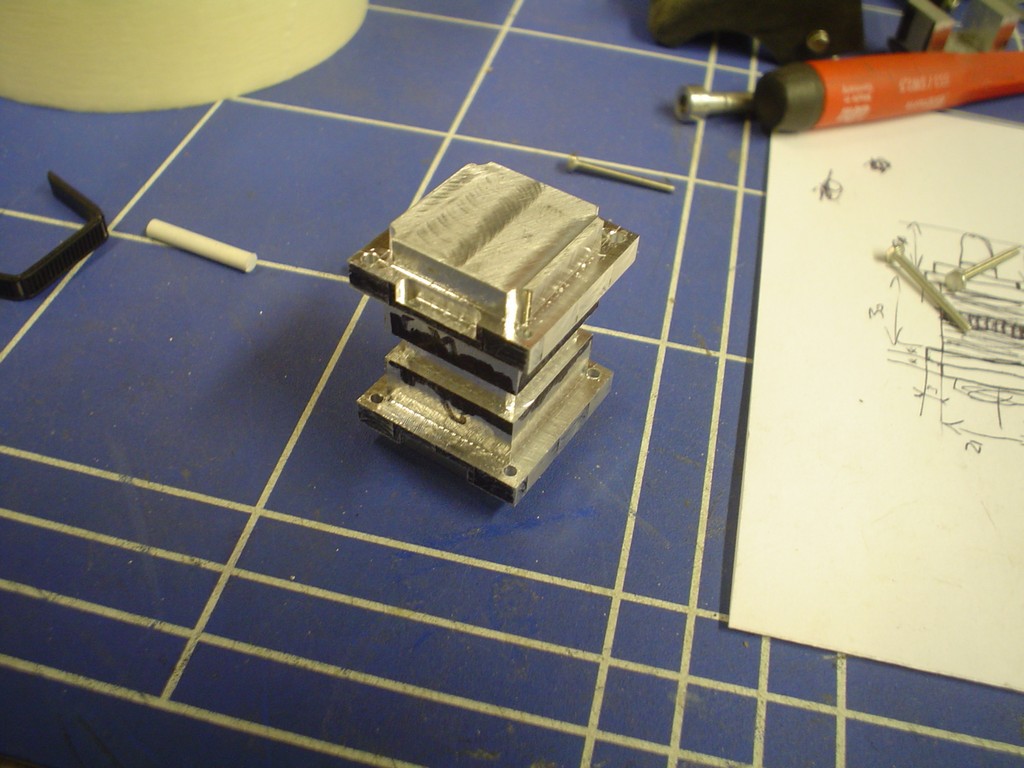 top part 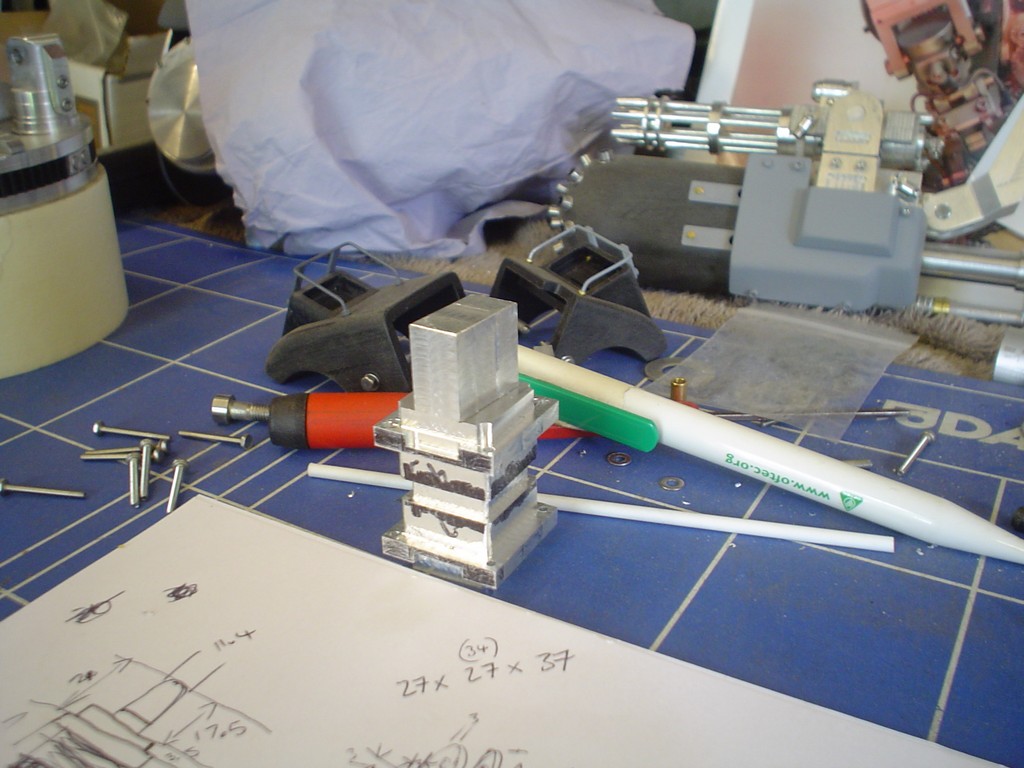 using the end I made earlier, made the small part that will hold the bottom of the ram and cut that top part to shape. 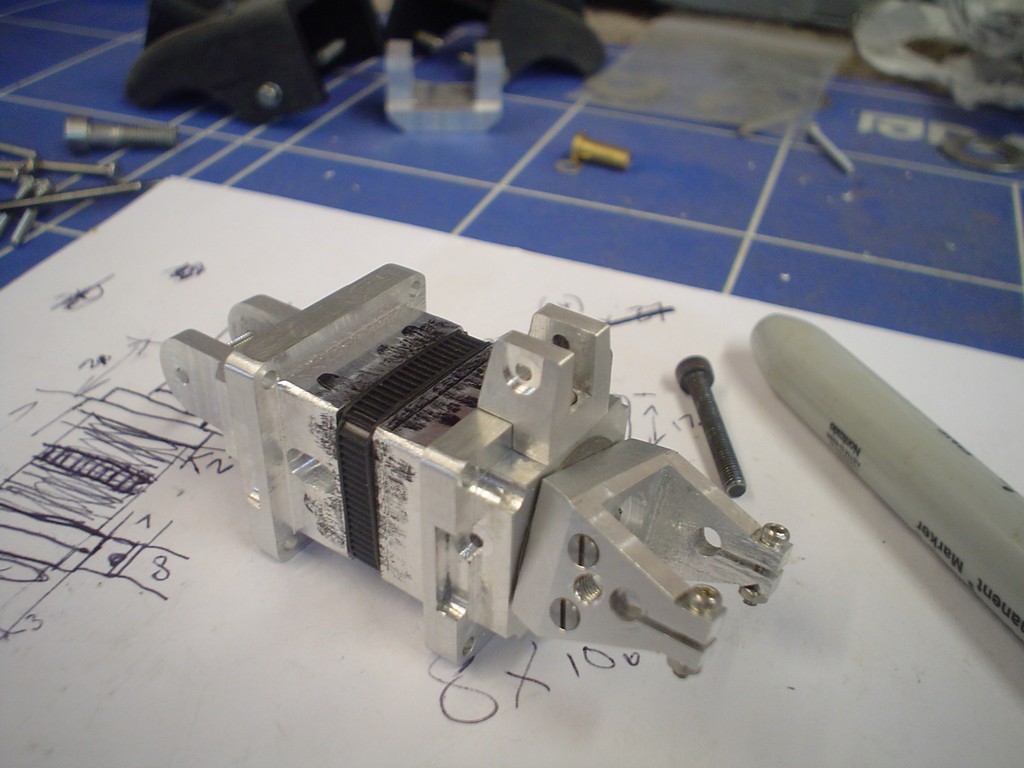 |
|
|
|
Post by magengar on Sept 14, 2010 17:57:49 GMT -5
Coolness! I always imagined the ol' cable tie could be of Some use, but I never imagined it used This way. Genius! Raw recycleable materials like plastics and other odd thingies (like tubes, bottle caps, cassette spools, and yes Cable Ties...) can go a long way in this aspect of this hobby. Rock On!  zozo-Magengar |
|
|
|
Post by candyman on Sept 16, 2010 14:15:41 GMT -5
tis true! a secret I will let you in on  on my alpine gun, at the time I didnt have a lathe and I made the adjuster wheels in the stock from plastic milk bottle tops filled with resin! here: www.ukmonsters.co.uk/Unique%20Alpine%20Build%20Pics/ua211.JPGwww.ukmonsters.co.uk/Unique%20Alpine%20Build%20Pics/finished/ua264.JPGI thought a lot about the arms of the welder, the originals are solid moulded pieces, I eventually settled on this design, when you only have to make one its not so bad to shape it by hand, its when you have to make 2 or 4 the same that this is the harder option. 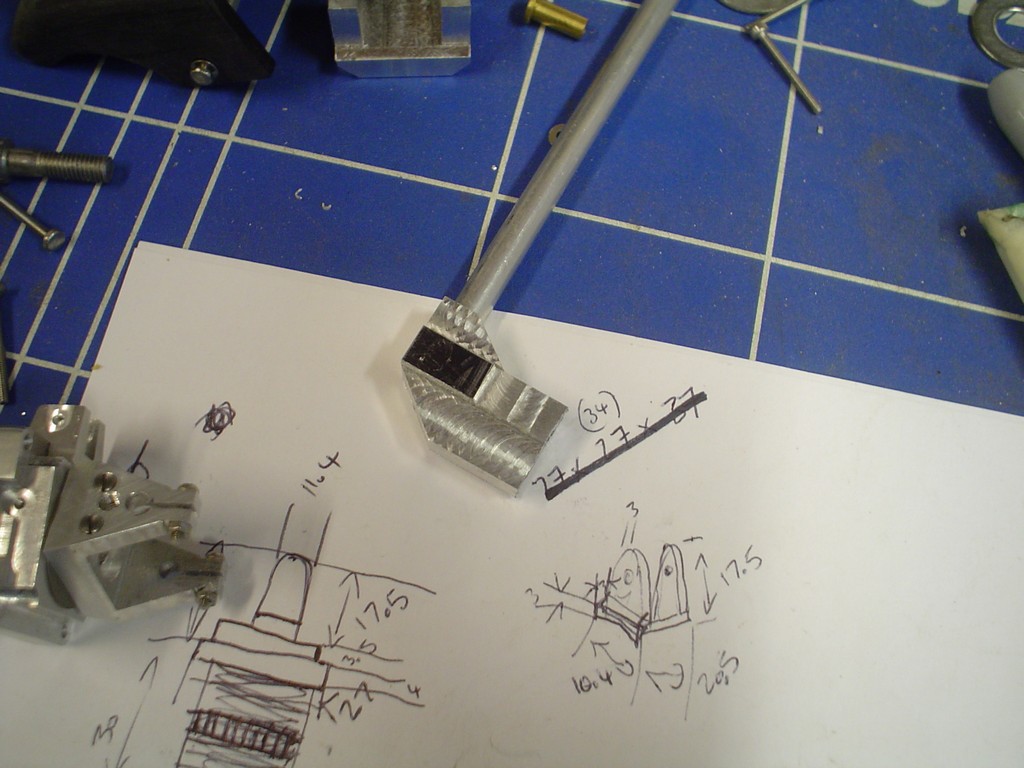 attached and trimmed to size, needs a hole in it for the electrode oart and the whole thing blending and filing  yeh?  |
|
|
|
Post by magengar on Sept 16, 2010 15:07:10 GMT -5
I hear ya... making just ONE of something is easy. But making identical pairs (especially Left and Right) is very challenging if they're made by hand. Opposite parts have to be mirrored asymetorically correct or else one side will look weirder than the other. Man, that's it, I'm commending myself into a nursing home right Now... I can't believe all the GENIUS tricks and mods I've seen thus far (VERY Genius using Bottlecaps as Adjuster wheels for your alpine gun!) using scrap recycled plastic odds and ends. I never would've thought of such things. Dude, I kiss the workshop floor you stand on! ------------------------- Fan Request:Admin! Mods! Eunochs! and Handmaids!..... We need a " Robot-Japan Fan Art and Customs HALL OF FAME" built right here at the RJ website, and I want this member and his project inducted, A-S-A-2-da-Peeeeeeeeee!  And each year induct other member's awesome works. If not a Hall Of Fame, then at least an annual "Robot-Japan's Best Fan Art and Customs of 2xxx" for each year, showcasing the best Fan Art, and the best Customs in categories; with 1st, 2nd, and 3rd Place winners-- and top ten runnerups. Or, around Christmas towards New Years, a special thread "Robot-Japan's Top 25 (or however many) Fan Art and Customs Of The Year". Anything! PolllEEEEEZ!  zozo-magengar |
|
|
|
Post by candyman on Sept 19, 2010 9:51:53 GMT -5
|
|
|
|
Post by magengar on Sept 19, 2010 12:55:08 GMT -5
Wow, I luv how you're using Plastisol for that "light" thingy on the shoulder there... an LED light with a hearing-aid battery would definitly make this custom Screeeeam!  zozo-magengar |
|
|
|
Post by Kidchuckle on Sept 20, 2010 11:30:39 GMT -5
holy crap the process is awesome!!!! seeing the progress is very exciting. and the craftmanship rocks!
|
|
|
|
Post by candyman on Sept 23, 2010 14:50:04 GMT -5
Ok back to it. take one block of delrin, cut it square 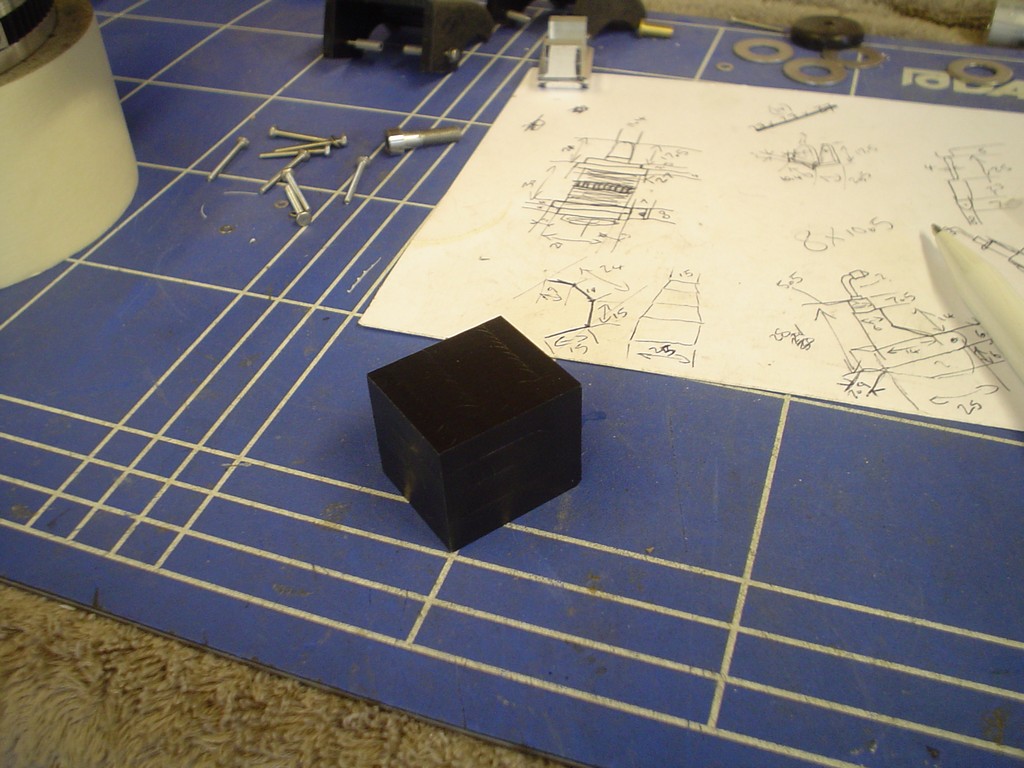 remove 80% of it 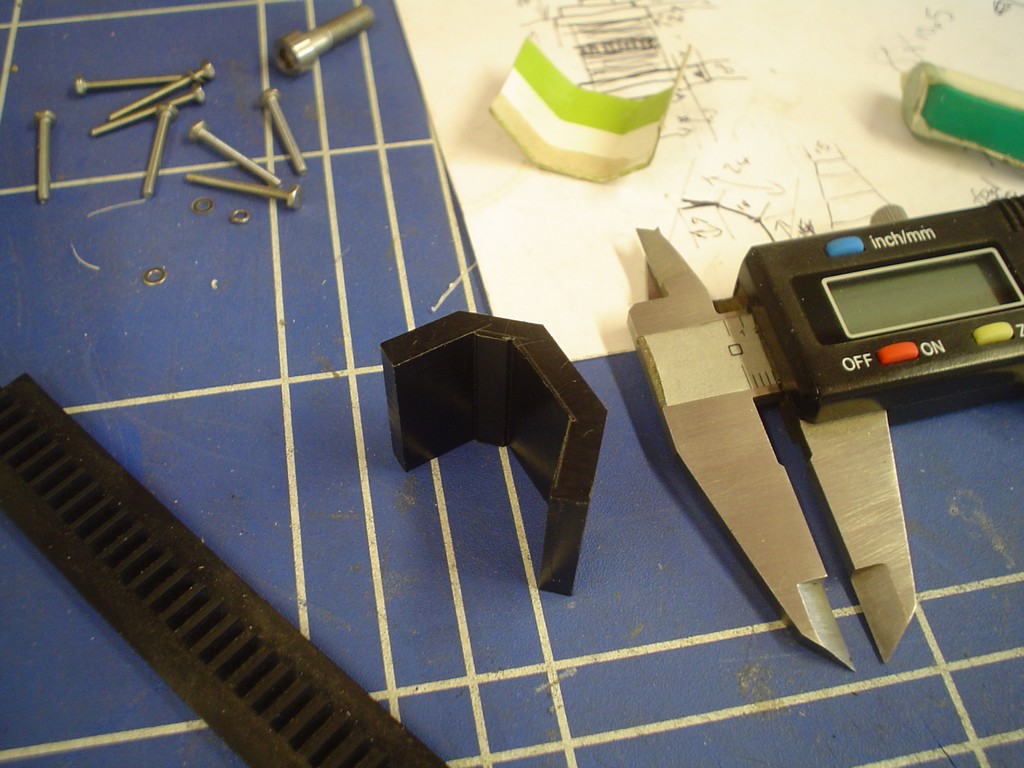 mill a funky recess 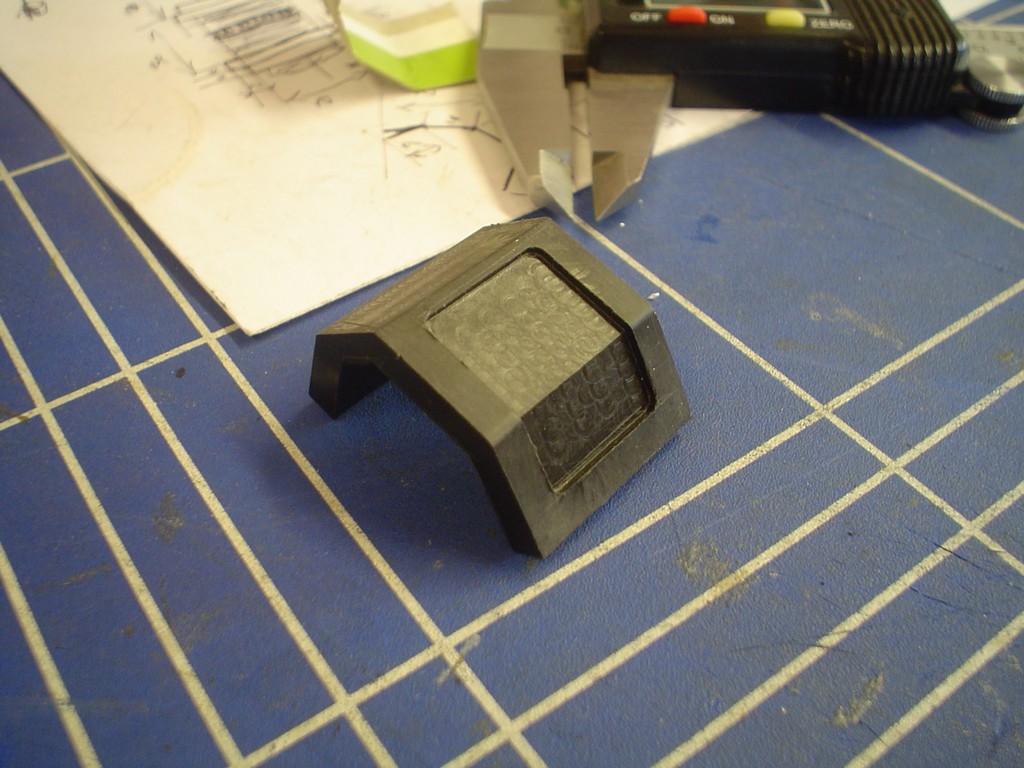 drill, countersink etc etc 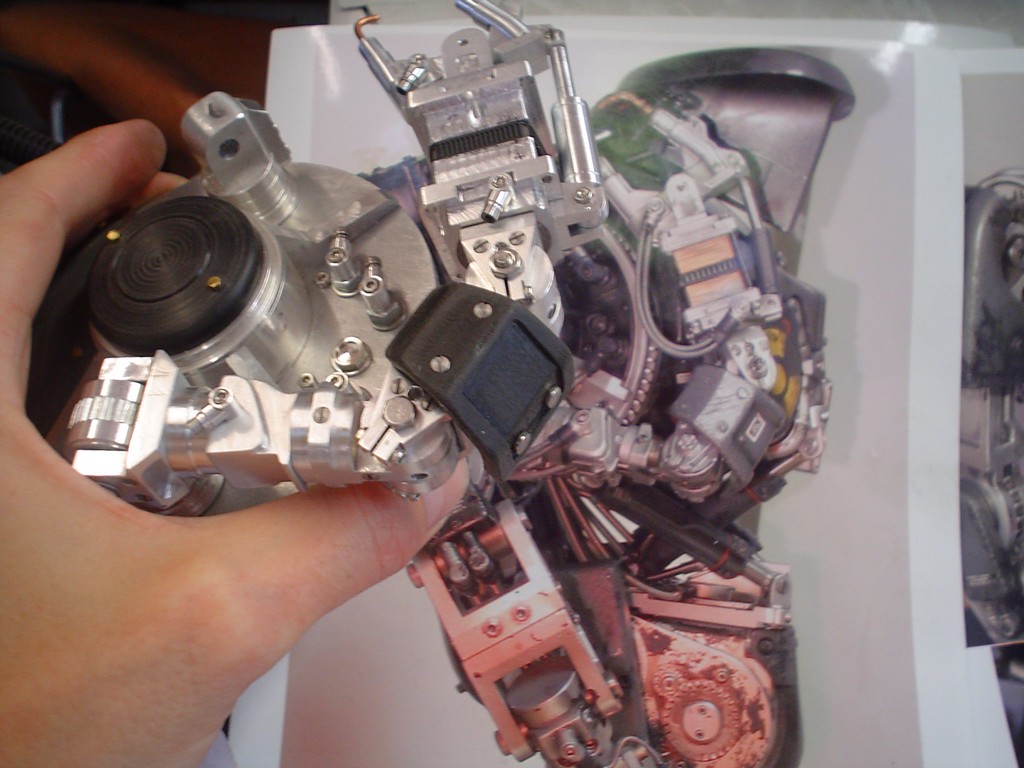 got some 3mm brass tube which is spot on fer these bits, managed to tap the inside to M2 for the bolt head M2 screws to hold it in. 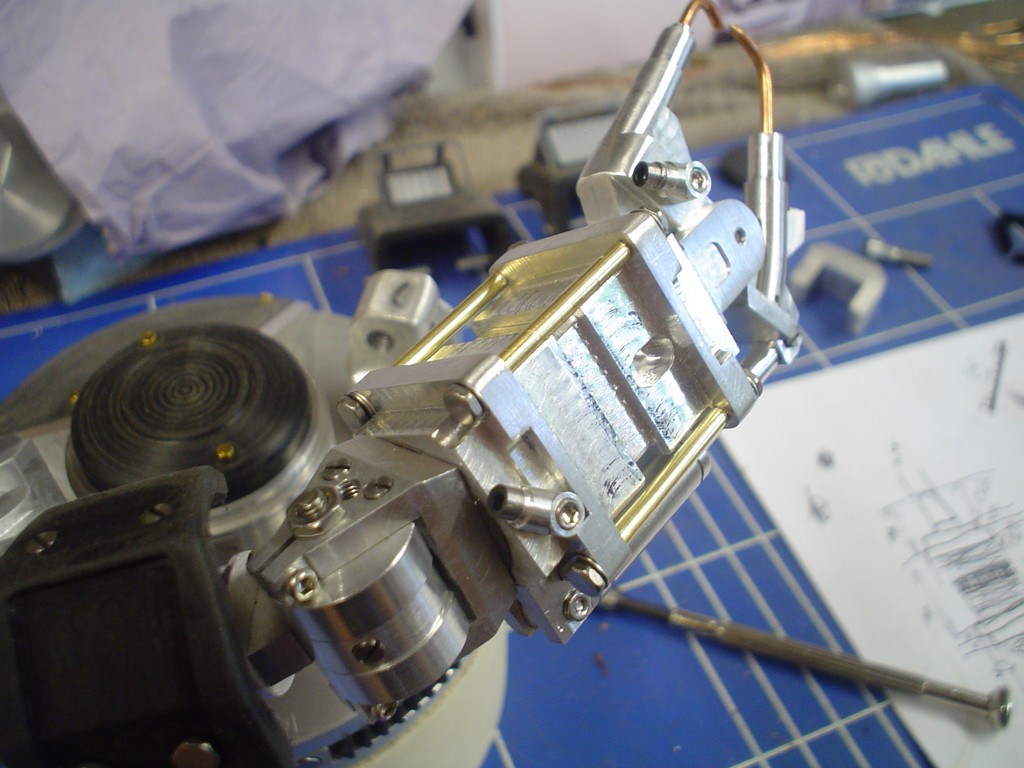 spot on 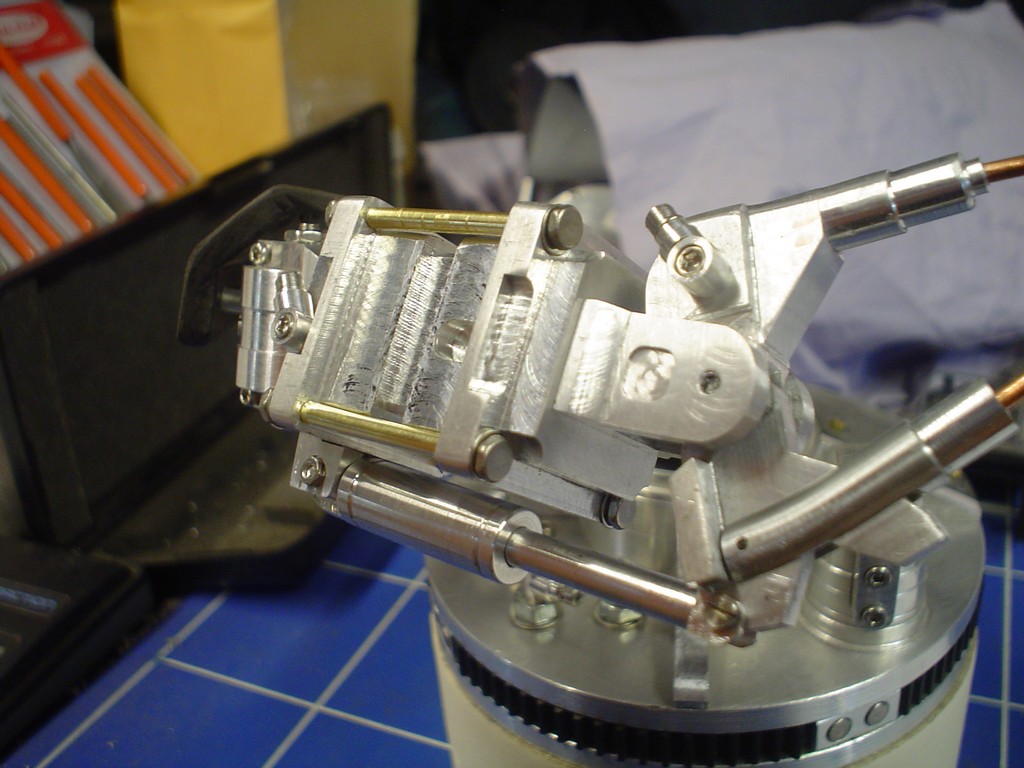 |
|
|
|
Post by acturus on Sept 23, 2010 14:59:09 GMT -5
Just amazing!!!
the feel i get is that you just need to pass current in there and it will start moving by itself.
ITS ALIVE, ALLLLIIIVVVVVEEEE!
|
|